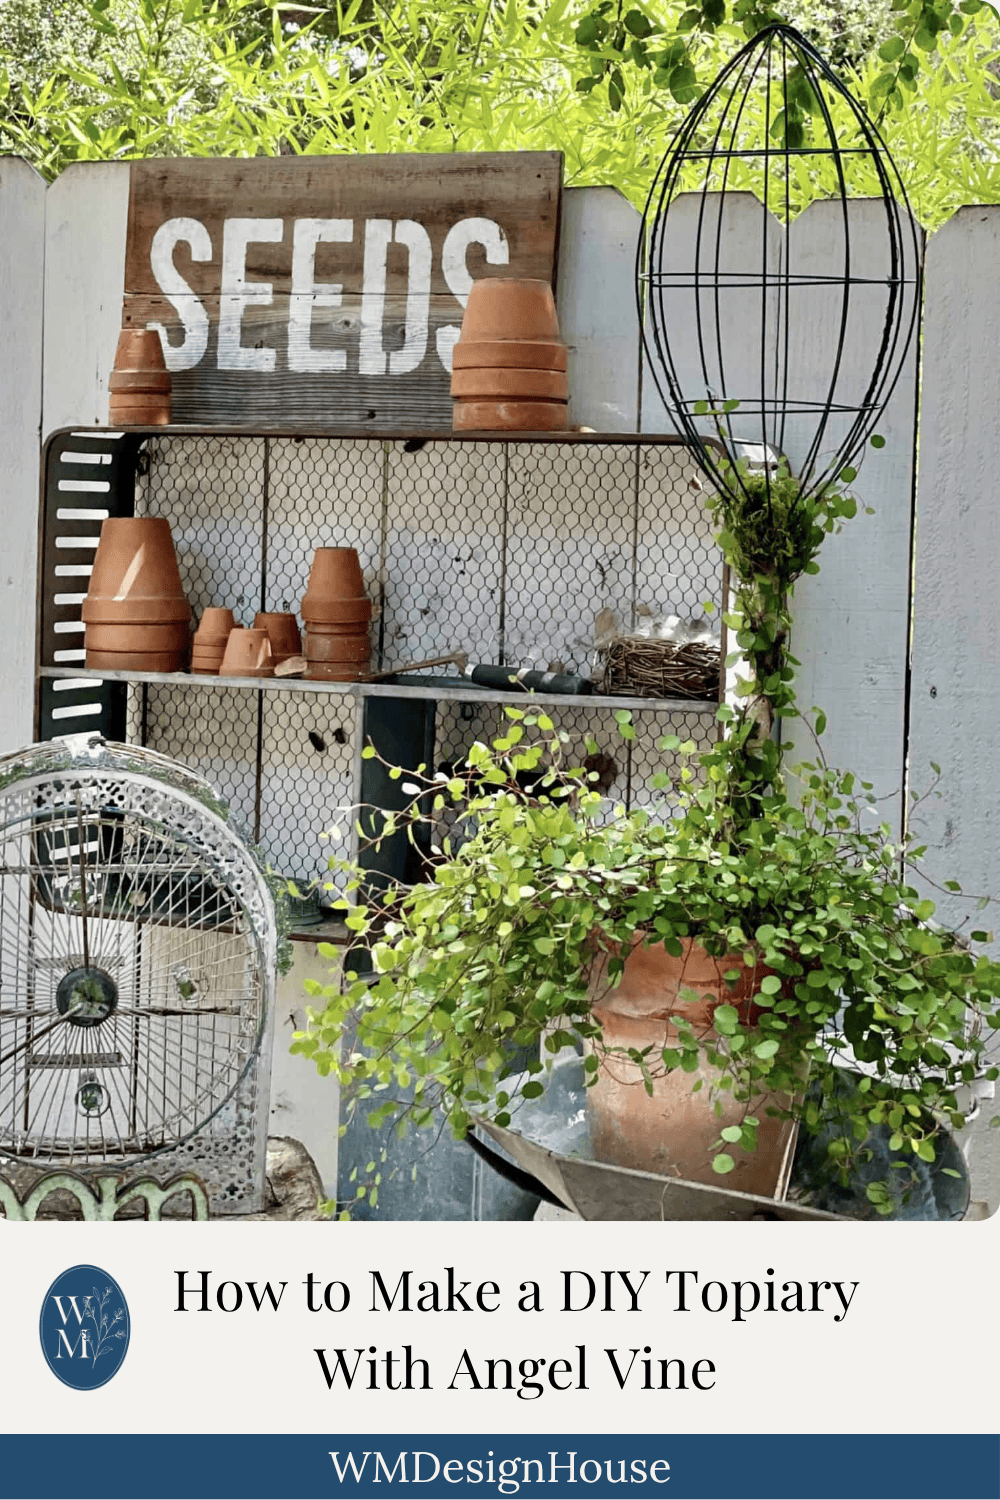
How To Make The Best Topiary: Step By Step
Learn how to easily make a beautiful diy topiary for your garden or porch with this step-by-step guide.

On my blog WM Design House, I may sometimes use affiliate links, which means a small commission is earned if you purchase via the link. The price will be the same whether you use the affiliate link or go directly to the vendor’s website using a non-affiliate link. Read my full disclosure policy here.
Have you ever tried to make a topiary tree? I’m here to tell you that it’s easier than you might think, and with just a few simple supplies, you can easily create a garden full of topiaries.
This is a true beginner project: I’ll walk you through how to make a topiary from scratch using a simple wire form, a stick, and a real, live vining plant.
Whether you want a small topiary for a tabletop or a pair of larger topiary trees to flank your front porch, the steps are exactly the same. Let’s make one together.
How to Make a Topiary Tree
A topiary is simply a plant trained to grow into a decorative shape, and you don’t need a formal hedge or years of patience to enjoy one at home. By starting with a wire form and a real vining plant, you get that classic topiary look right away while the plant slowly fills in over time.
I love a good DIY topiary because it’s so forgiving. You can use an assortment of plants and shapes to create beautiful topiaries, including angel vine topiaries, ivy topiaries, and boxwood topiaries. I’ll show you the exact method I use, and you can adapt it to whatever shape and size suits your space.
Why You’ll Love this DIY Topiary
- It’s truly a project for beginners. If you can use a hot glue gun, you can make this.
- It works at any size, from a small topiary for a shelf to large topiary trees for the porch.
- It’s easy to customize with different shapes, pots, and plants to match your style.
Tools and Supplies Needed to Make a Topiary
Start by collecting all of the supplies you will need to make a DIY topiary
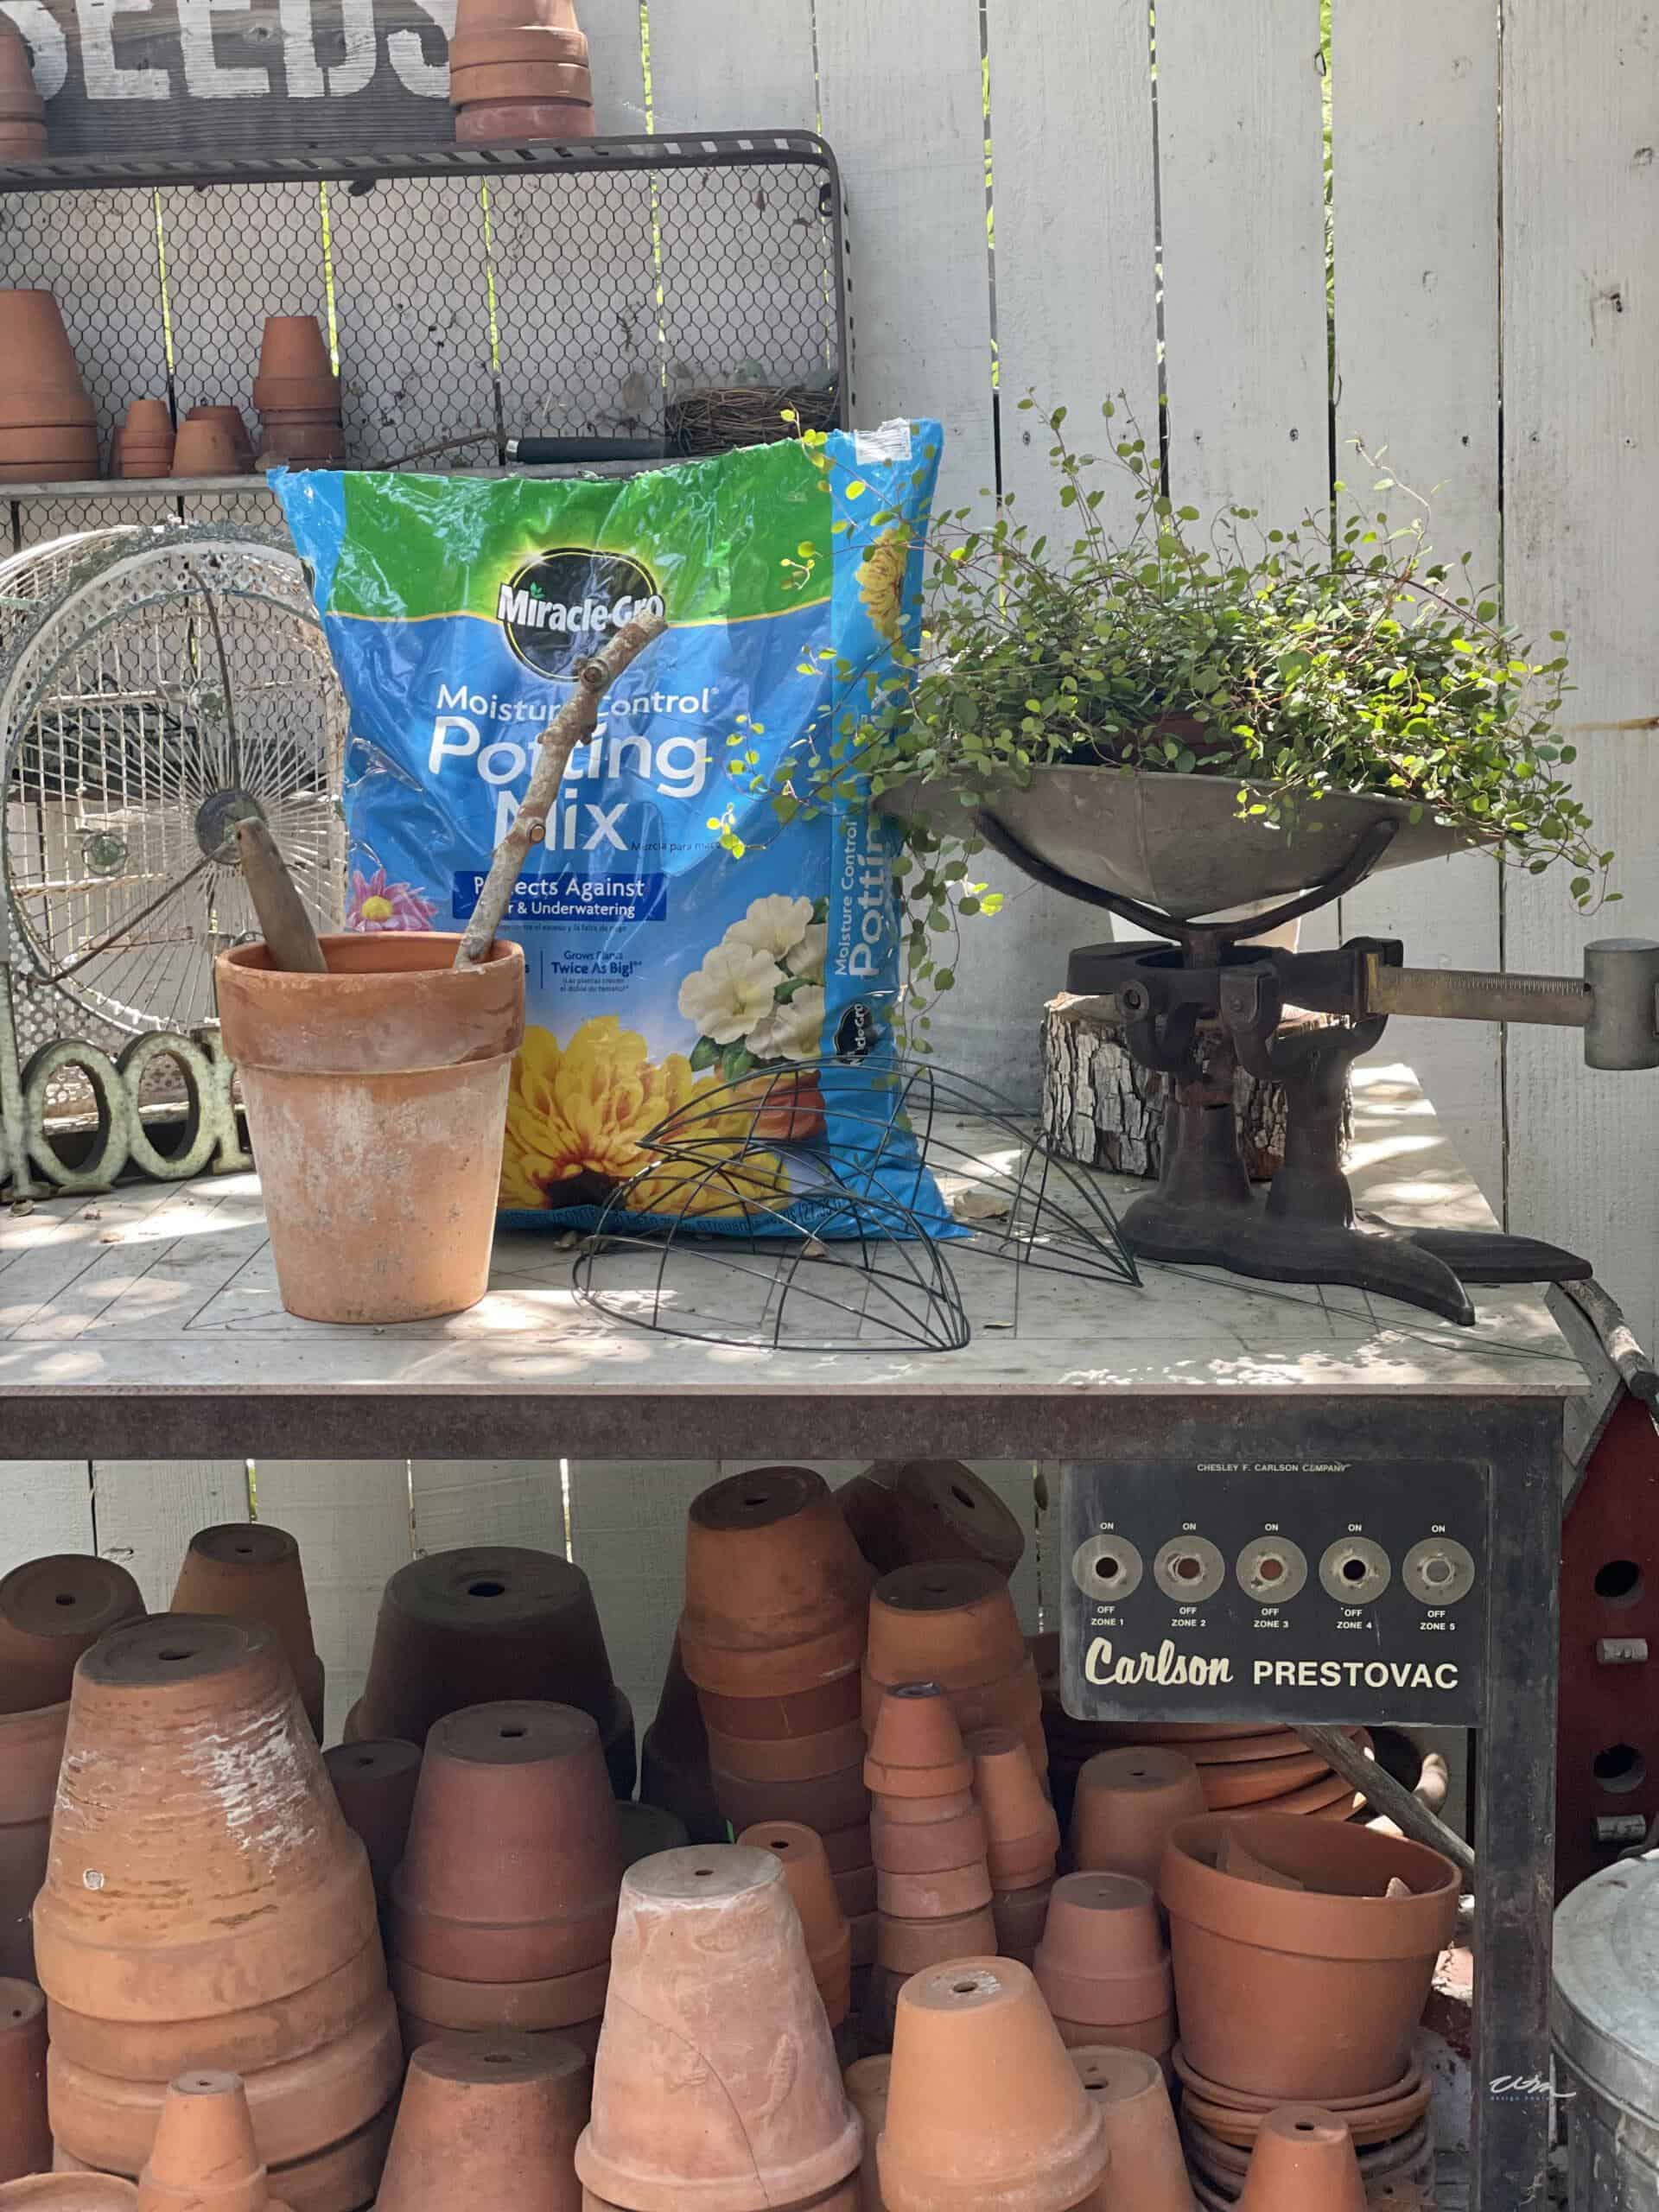
- A pot: I’m a big fan of old or new red clay pots and love how they age in the garden. Almost any container works as long as it has good drainage. The larger the container, the larger your topiary should be.
- Gravel: A few inches in the bottom of the pot holds the stick in place and helps with drainage.
- Potting soil: Any kind works; I’m a big fan of Miracle-Gro potting soil.
- A garden trowel
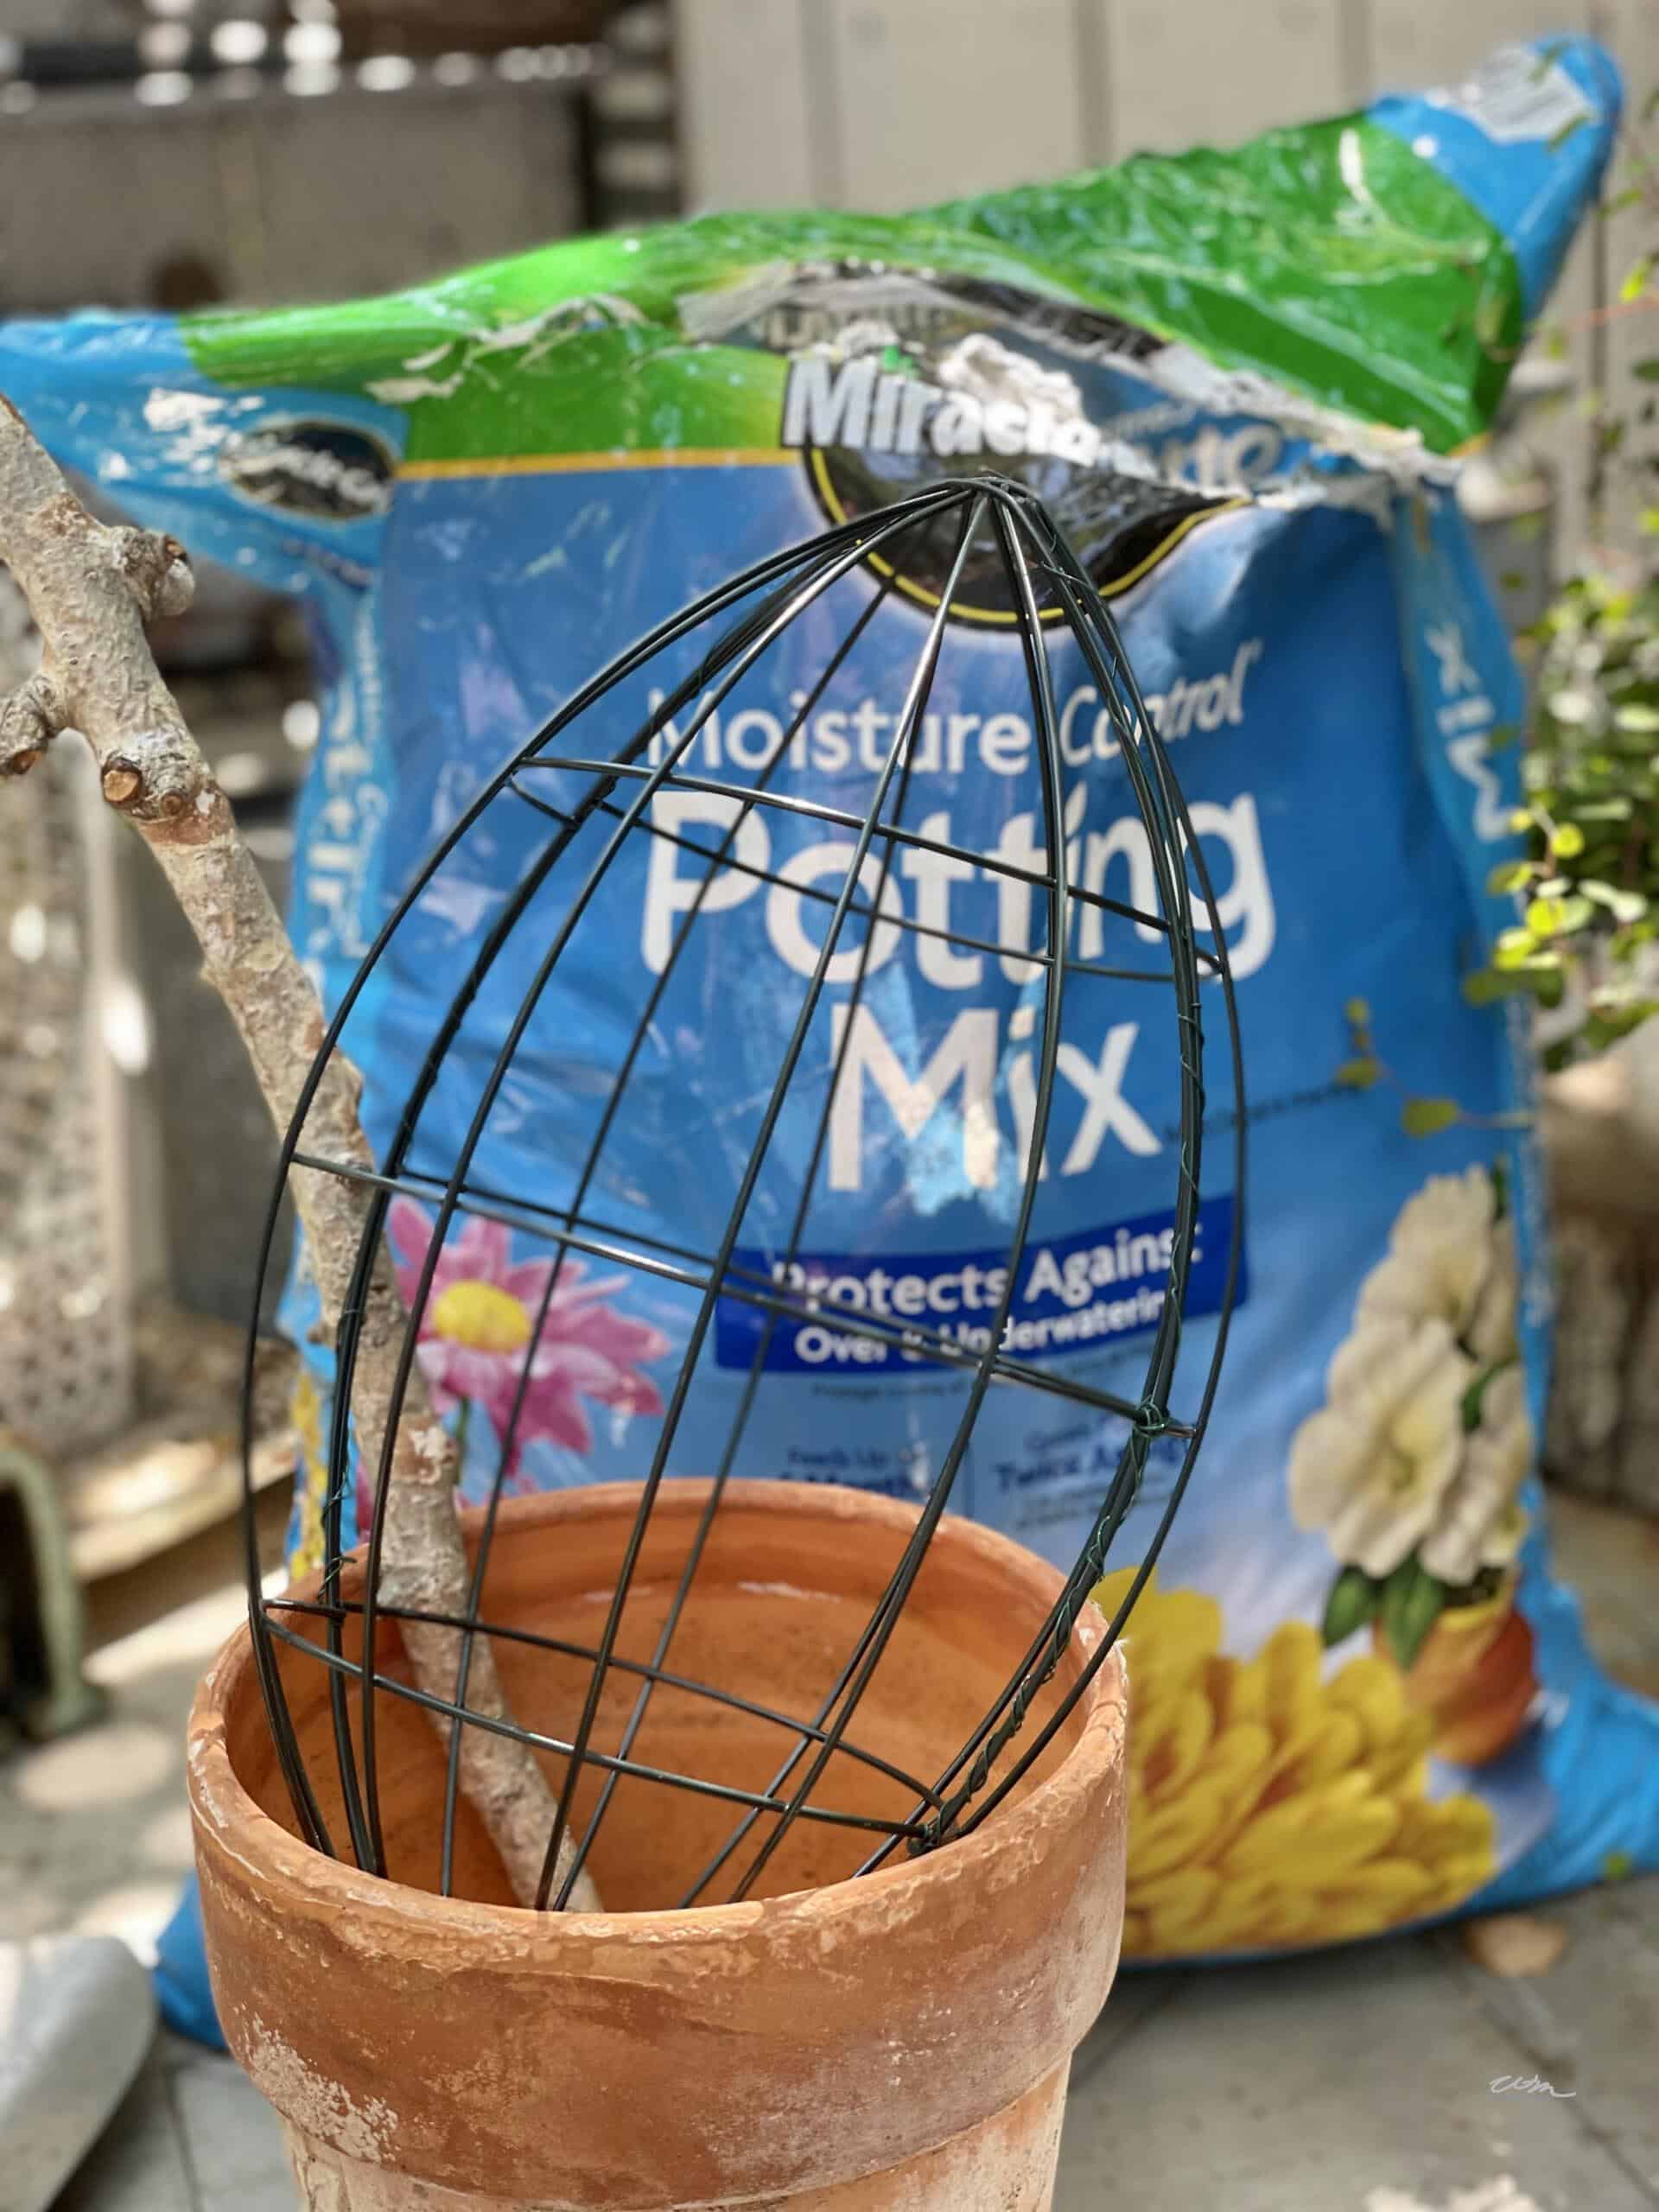
- A wire form or shape. I used two football-shaped wire forms from the Dollar Tree, but you can order topiary forms or a heart-shaped topiary form online. To make your own form from scratch, bend a wire coat hanger into shape.
- A vining plant. English ivy, angel vine, periwinkle, or Boston ivy all work well.
- A paddle of wire.
- One stick for the base. I used a birch branch about 1″ in diameter.
- Green moss.
- A hot glue gun and glue sticks.
Choosing the Best Topiary Plants
The plant you choose is what makes your topiary come to life, so pick a vining variety that will happily climb your form. English ivy is the most common choice, and if you want to know how to make an ivy topiary, this is the plant to reach for. Any vining plant will work, though, such as periwinkle or Boston ivy.
I chose to use angel vine for my topiary plants because it grows beautifully in the shade where I like to keep my trees, and it has the prettiest delicate leaves. Whatever you choose, a healthy, vigorous vine will fill in your form the fastest.
Choose a vining plant – English ivy is a common choice, though any plant that vines can be used, such as periwinkle or Boston ivy. I chose to use Angel vine, and it grows well in the shade where I like to keep my trees.
Green moss.
How to Make a Topiary: Step-by-Step
Step 1: Wire the Two Forms Together
Using the two wireframes from Dollar Tree, wire them together starting about 3” above the bottom. Wire all the way around to the other side.
Step 2: Insert the Stick
Pull the end of the wireframes apart that is not wired and insert the stick.
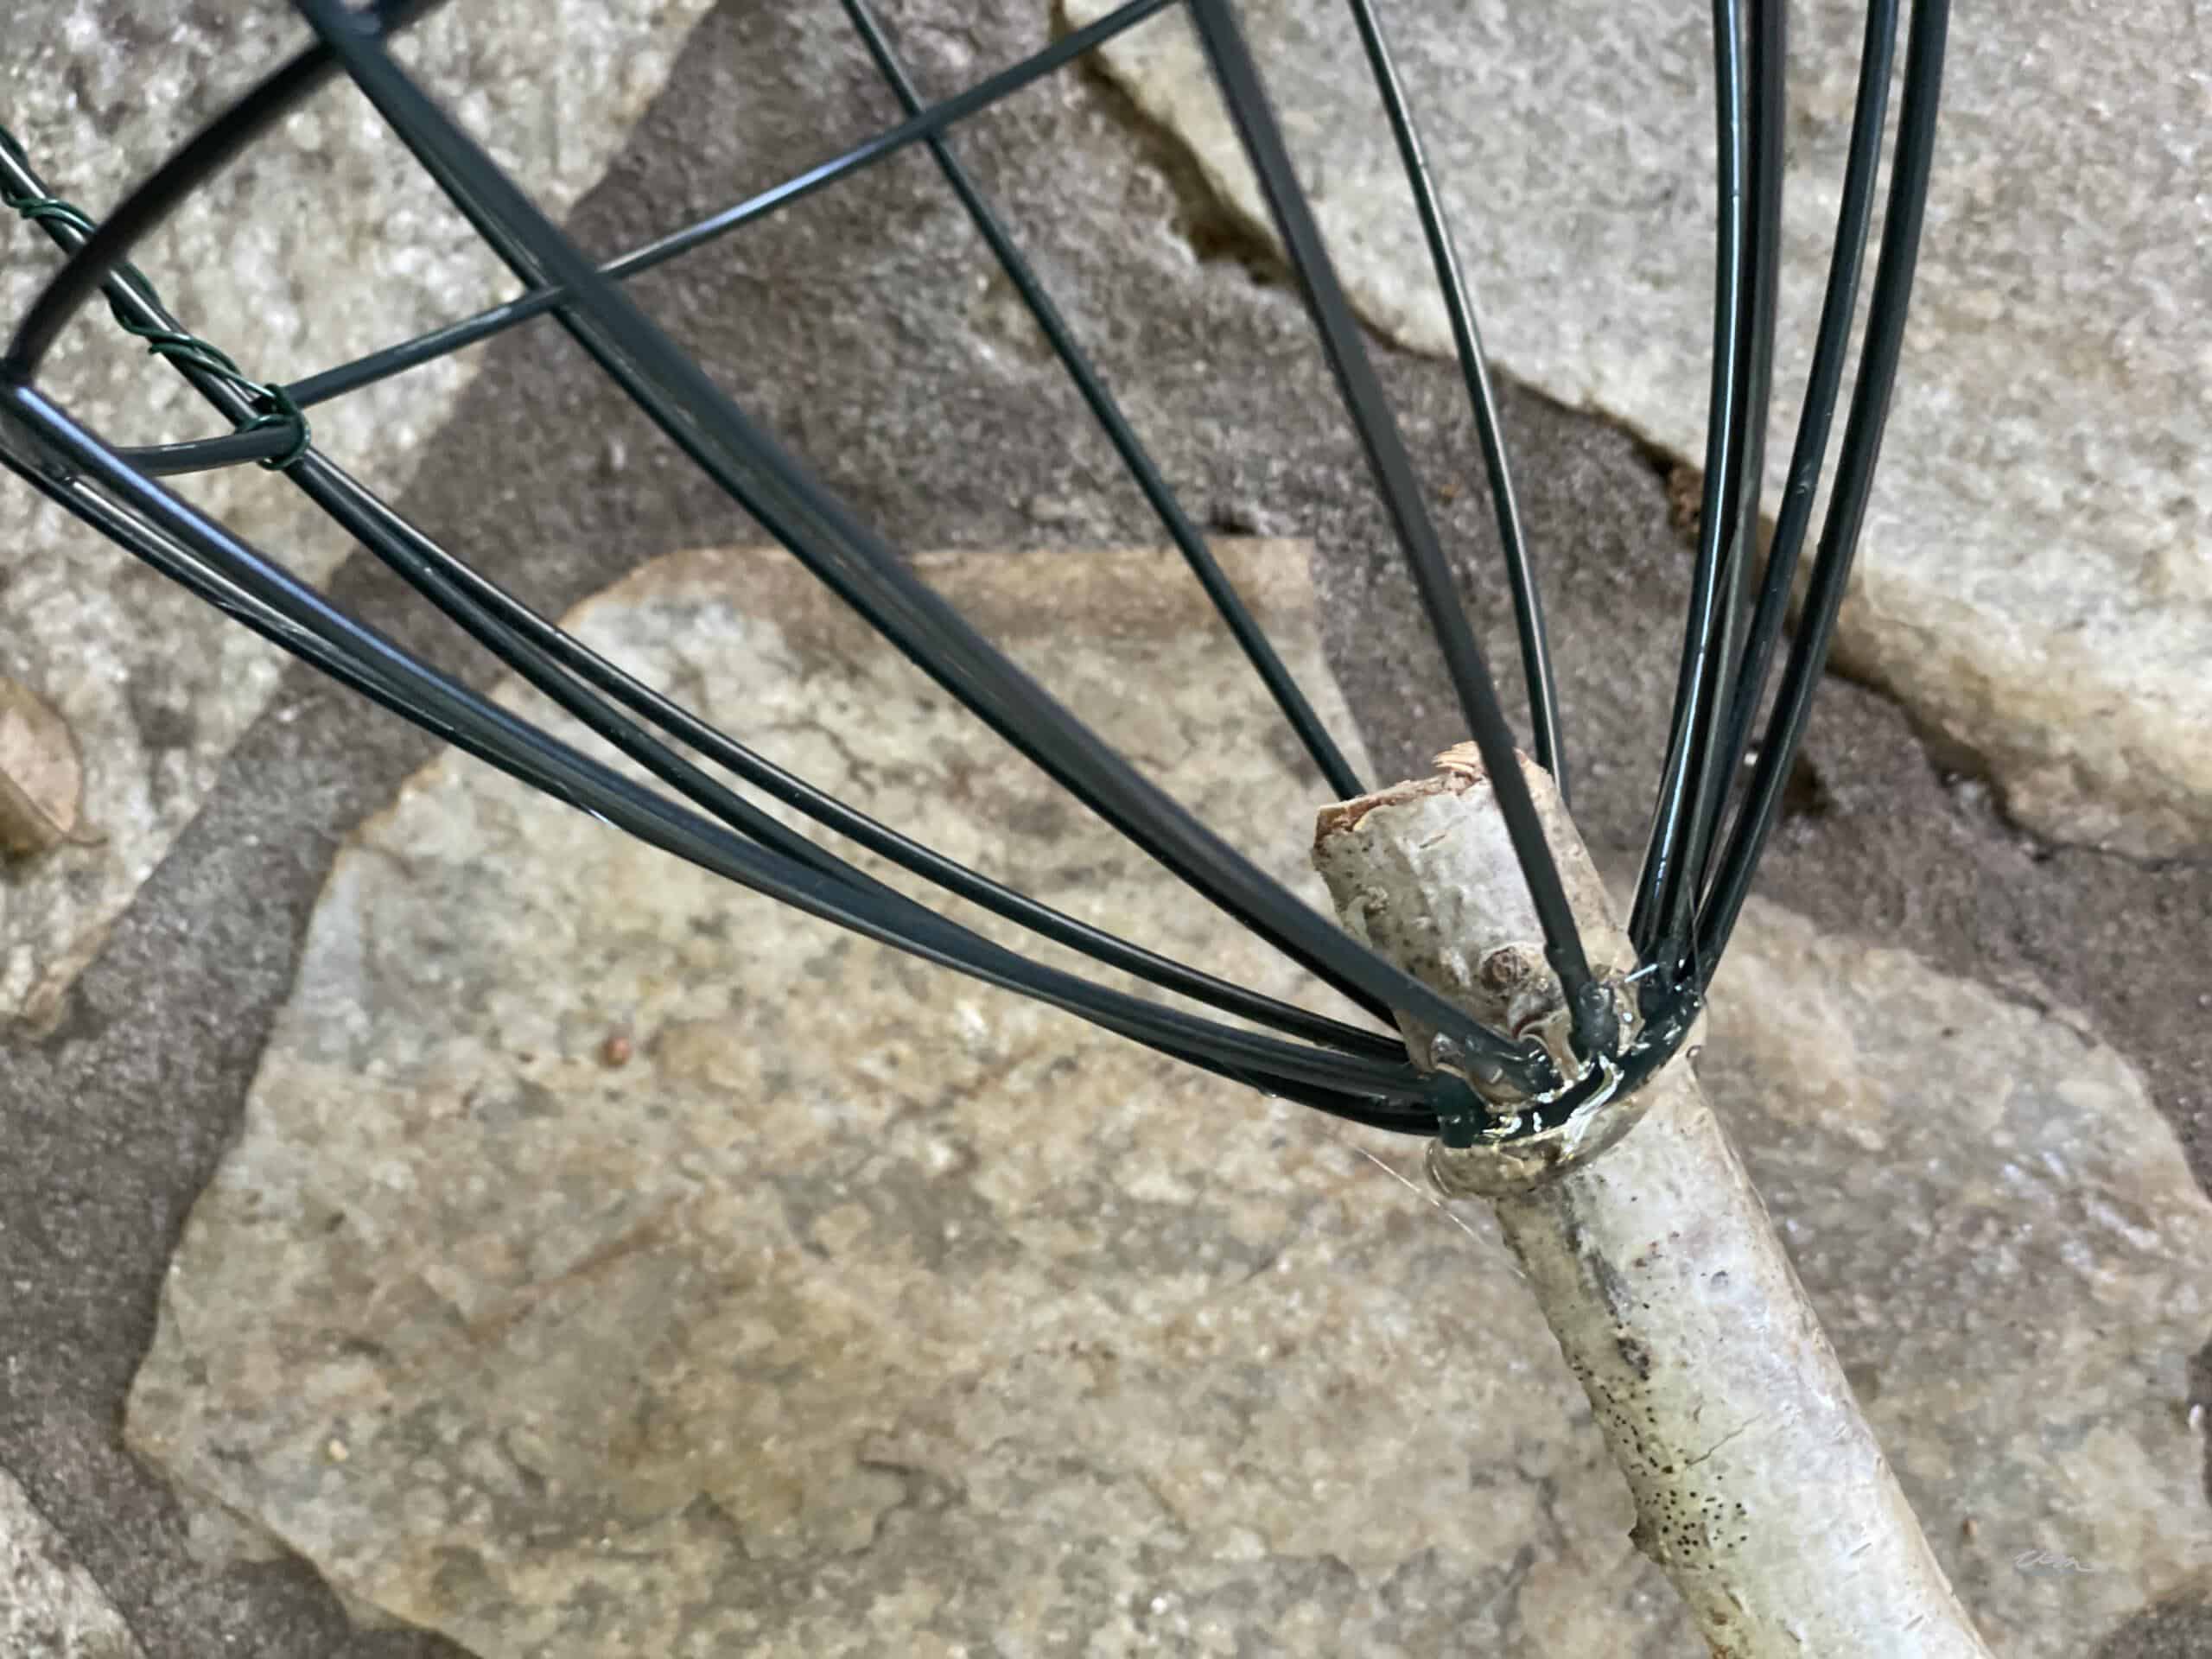
Step 3: Hot Glue and Reinforce
Hot glue around the wireframe and the stick.
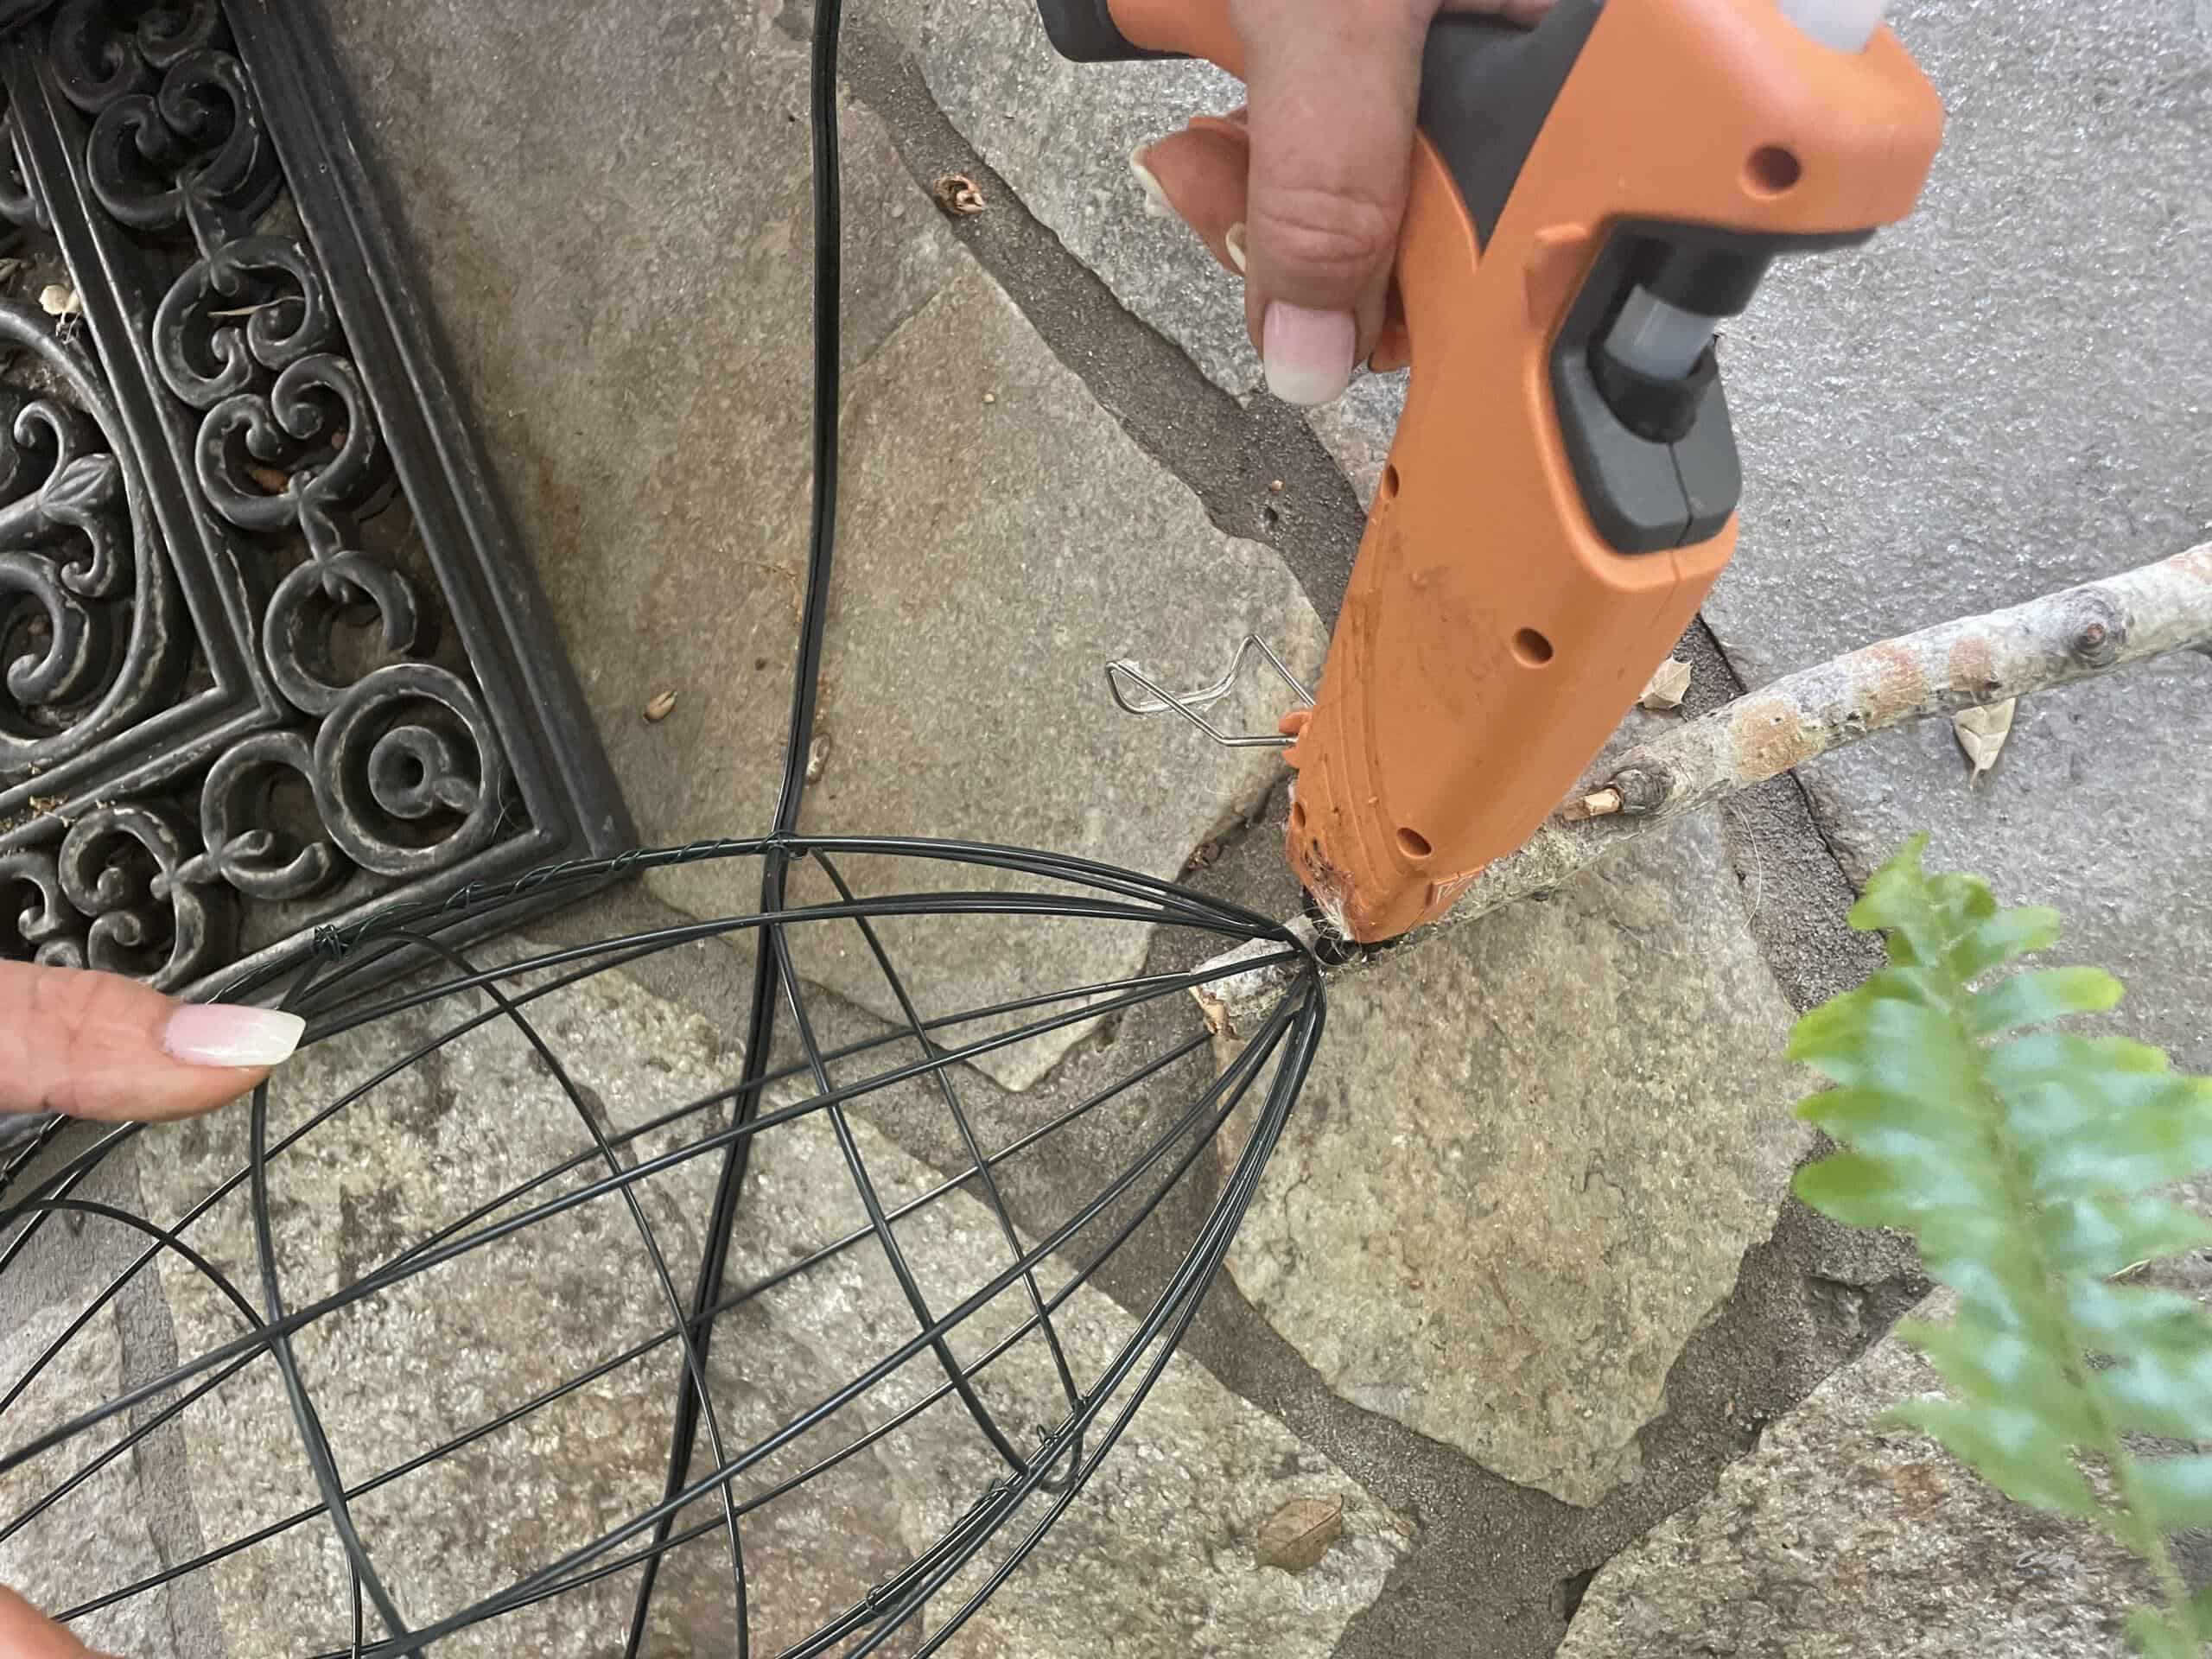
Using the paddle wire, reinforce the stick and the frame with some wire. Hot glue around the wire again to give it extra strength.
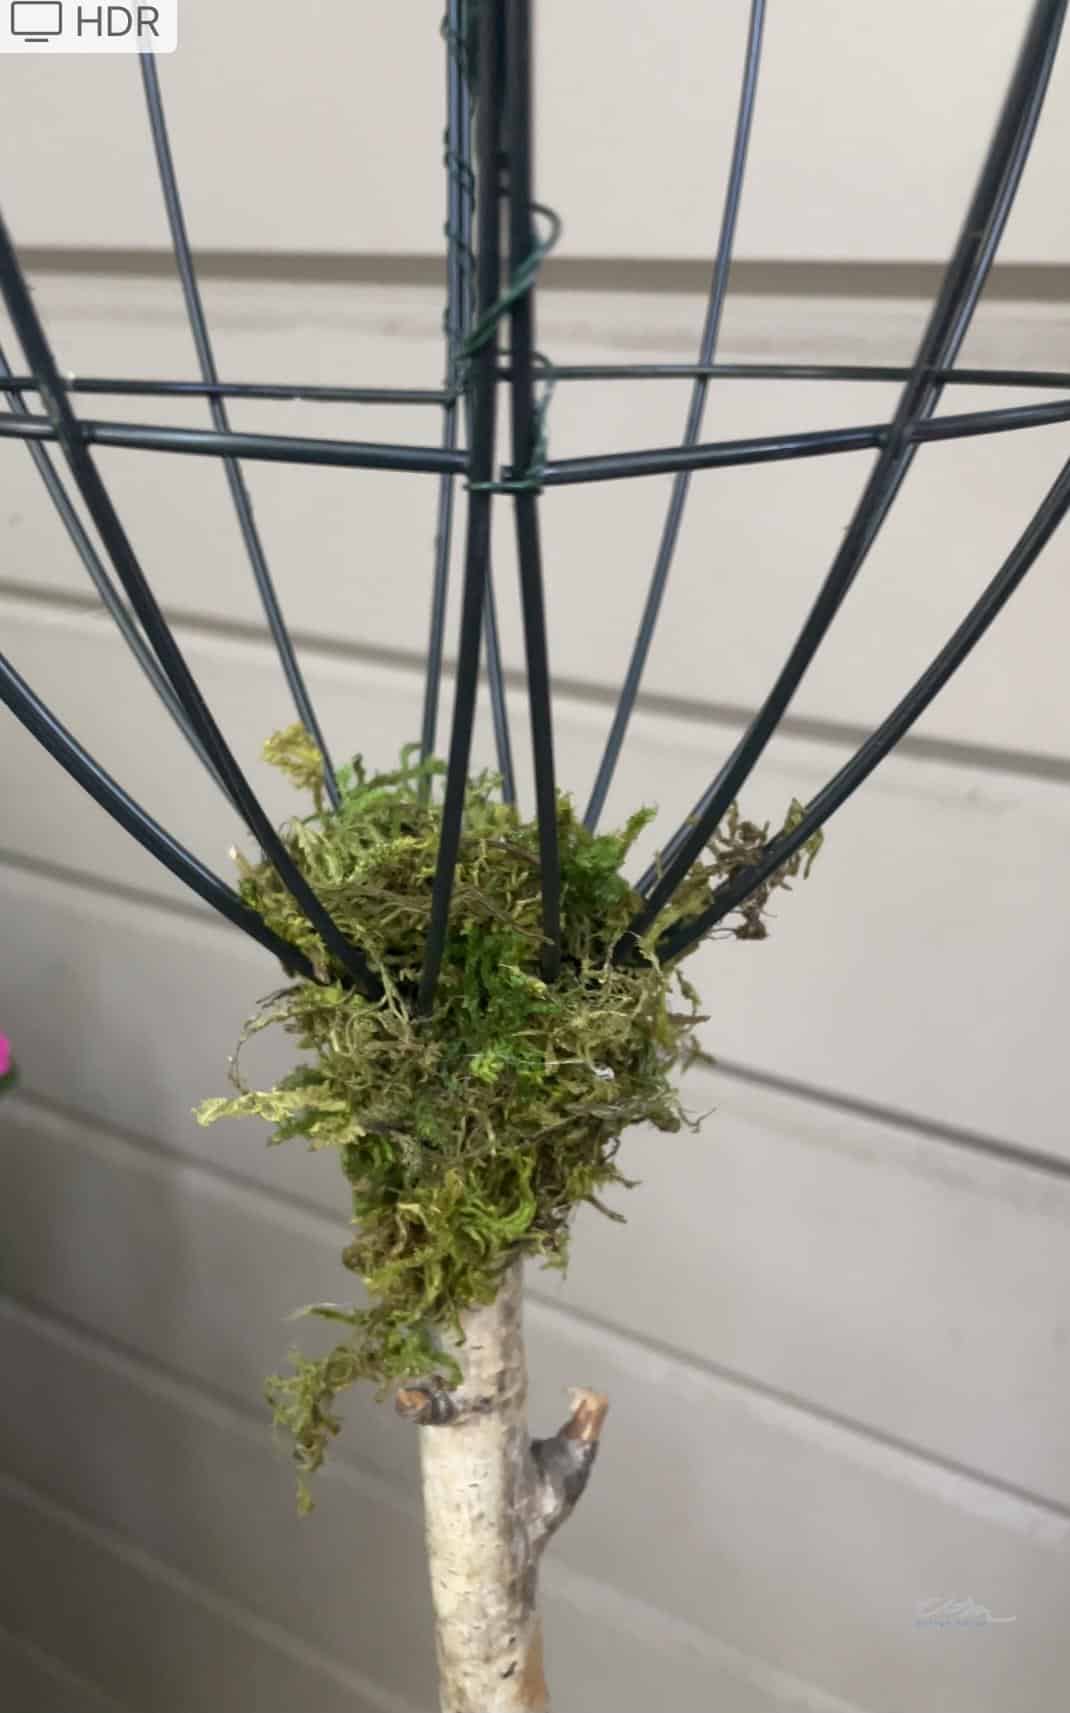
Step 4: Add the Moss
Hot glue some green moss around where you attached the wireframes.
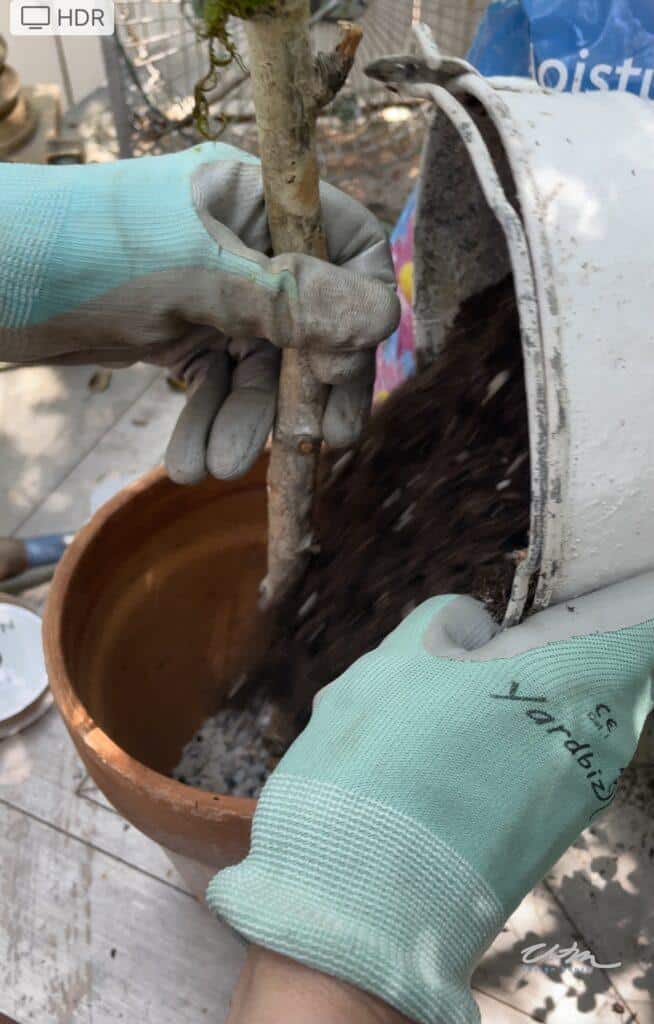
Step 5: Set It in the Pot
Stand the stick up inside your pot and our a few inches of gravel around the bottom to give it some stability.
Step 6: Plant Your Vines
Place potting soil around the base of the stick and compact the dirt down.
Separate your plant into three pieces. For example, I bought a 6” plant and tore it into three parts.
Plant the three pieces of your plant around the base of the stick.
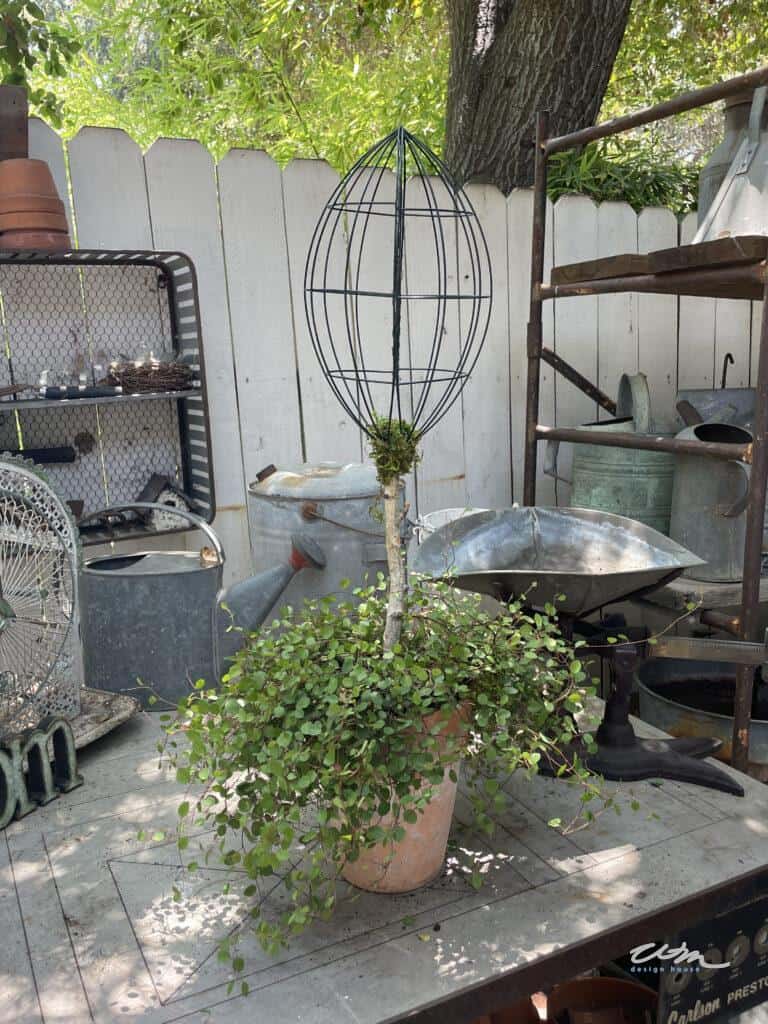
Step 7: Train the Vines Up the Form
Take the longest vines on the plant, wrap them around the stick up to the wire form, and intertwine them into the topiary shape. Repeat with as many vines as you can. As the plant grows, keep training new vines up to the form so it fills in over time.
If you prefer a clean trunk, you can remove the leaves on any stems that remain along the stick so the vines are leafless on the trunk and full at the top.
How to Care for Your Topiary
- Water often and keep your topiary in a shady spot, especially if you’re growing angel vine.
- Feed occasionally with Miracle-Gro about once a month to encourage healthy, full growth.
- Keep tucking new vines into the form as the plant grows so it continues to fill in beautifully.
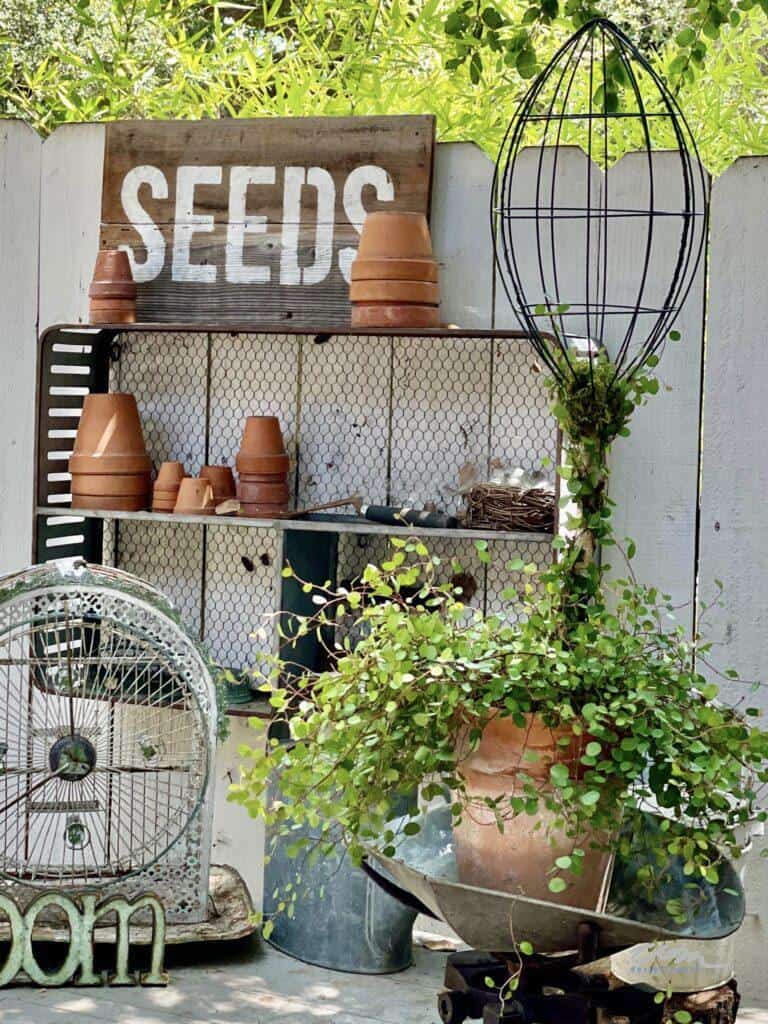
Where to Display Your Topiary
One of my favorite things about a DIY topiary is how versatile it is. A small topiary looks charming on a kitchen counter, a shelf, or as part of a centerpiece, while a matched pair of larger topiary trees makes a welcoming statement on either side of a front door. Here are a few of my favorite spots:
- Flanking the front door or steps of a porch
- On a shaded patio or balcony
- As a tabletop centerpiece (great in a small size)
- Lined up along a garden path or garden bench
- In a she shed or sunroom with bright, indirect light
More Ideas You’ll Love
If you love these topiaries, you might also enjoy some of my other favorite garden projects.

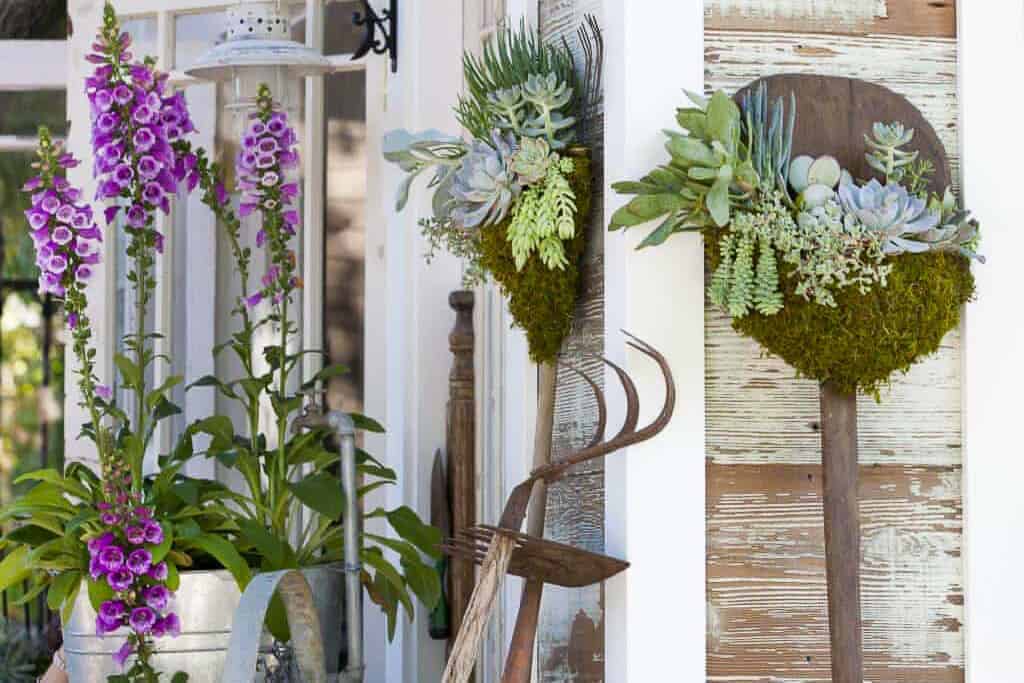
Vintage Tool Succulent Planters
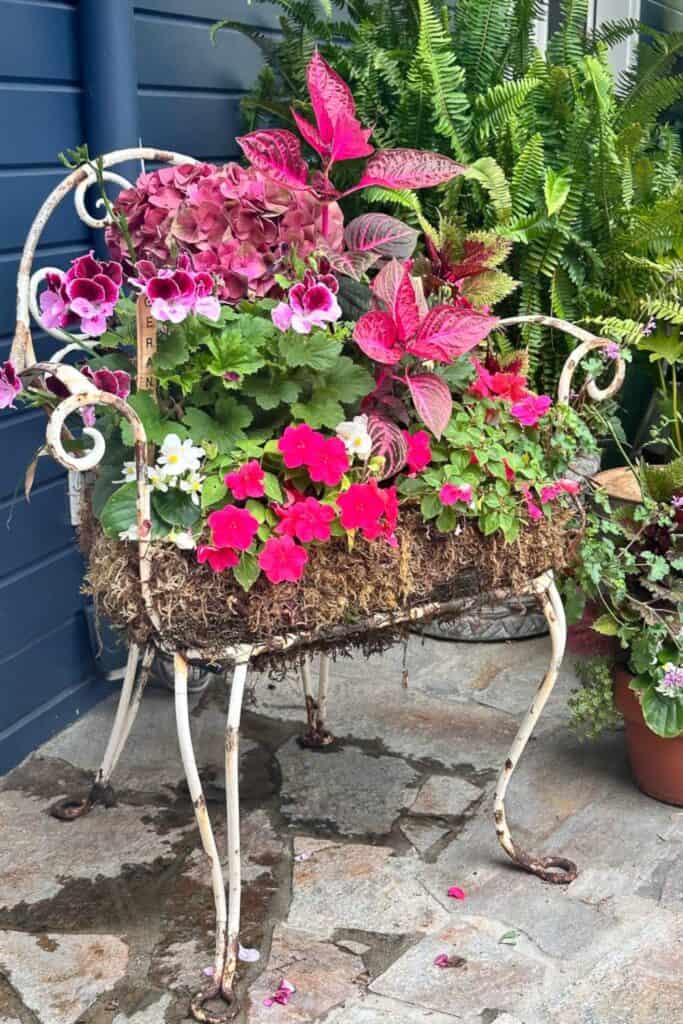
DIY Vintage Chair Planter
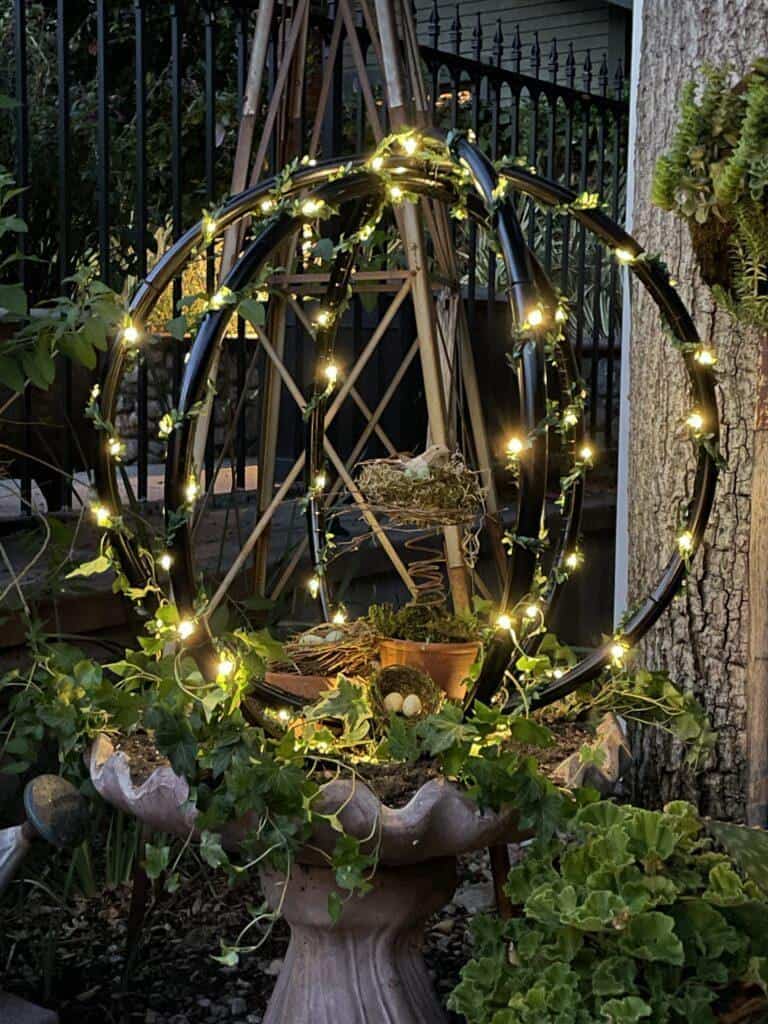
DIY Lighted Garden Orb
Wrapping Up
Now that you know how to make a topiary from scratch, I hope you’ll make a whole collection of them in different shapes and sizes. It’s such a simple, rewarding project, and watching the vines grow in over time is half the fun. If you make one, I’d love to see it.
Happy gardening!


Did you make this craft?
We would love to see what you have created, so mention us @wmdesignhouse or tag us using #wmdesignhouse so we can see your creations!
More about me!

Hello, I’m Wendy – a dedicated homemaker with a deep passion for decorating, gardening, cooking, and crafting. I find joy in harmonizing beautiful elements to fashion a space that is both comfortable and inspiring. I will help you create a beautiful home, one project at a time.