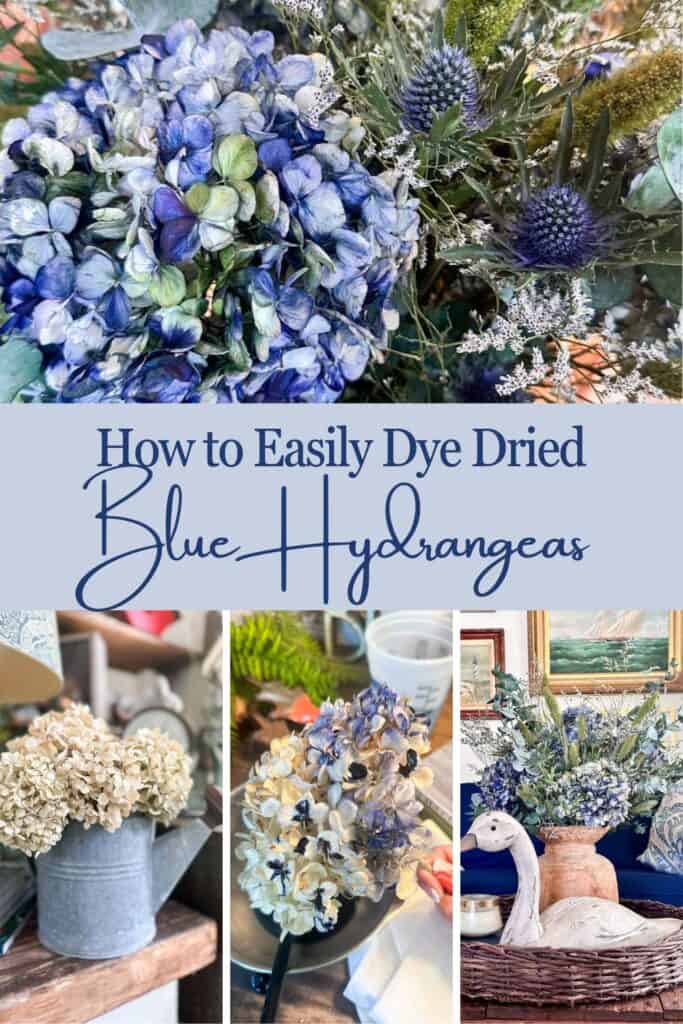
How to Easily Dye Dried Blue Hydrangeas in 3 Easy Steps
With our easy-to-follow guide, you can unleash your creativity and add a personal touch to your home decor. Learn how to dye-dried blue hydrangeas in three simple steps. Discover the best dyes and techniques for vibrant, lasting colors to enhance your home décor.
On my blog WM Design House, I may sometimes use affiliate links, which means a small commission is earned if you purchase via the link. The price will be the same whether you use the affiliate link or go directly to the vendor’s website using a non-affiliate link. Read my full disclosure policy here.
Today is our Handcrafted Society post, and we were all challenged to use dried or pressed flowers in our projects. Since I love dried flowers, this was an easy choice for me.
Don’t forget to check out all of the girls’ posts at the end of this post. There are so many unique projects.
Introduction to Dying Dried Hydrangeas
Using dried hydrangea flowers in home decor is a timeless choice. They retain their beauty for years, although they can fade over time. But what if you’re ready for a new color scheme? Surprisingly, you can transform them right at home with a simple DIY process. This guide will walk you through dyeing dried hydrangeas in just three easy steps, offering a refreshing update to old blooms or a chance to create a custom color palette for your home decor.
Supplies Needed to Dye Hydrangea Blossoms
Hydrangeas are a popular choice for drying and dyeing due to their sturdy stems and the delicate nature of their petals, which can hold their shape well and create beautiful dried arrangements.
Preparing Your Dried Hydrangeas for Dyeing
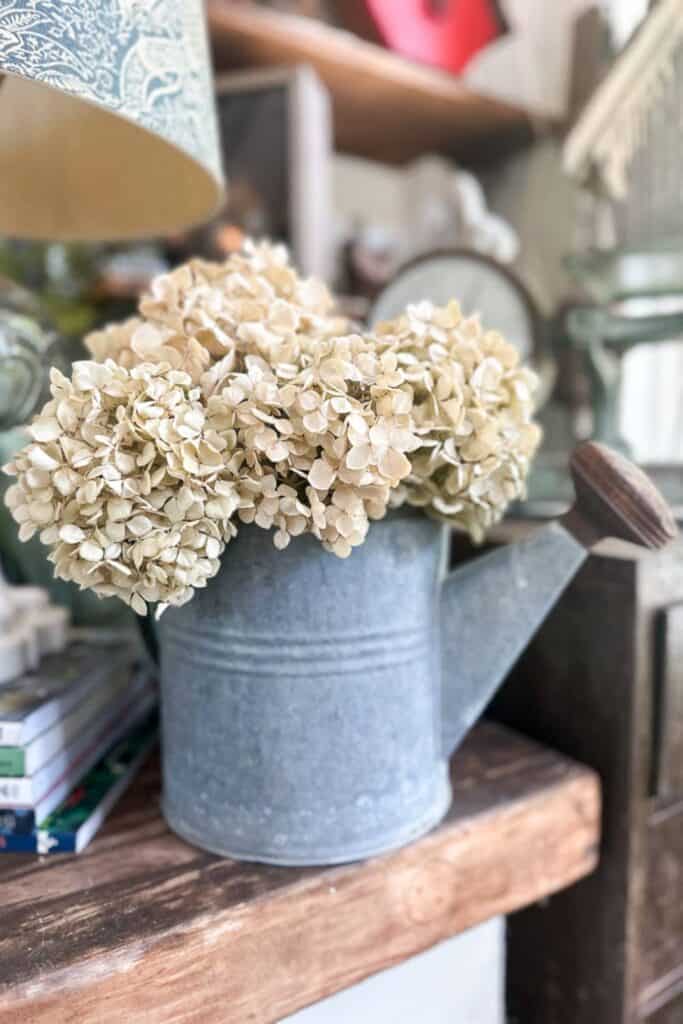
Hydrangeas are beautiful flowers to dry. I cut flower stems from my Annabelle hydrangeas using sharp shears when they are in full bloom. This is typically late summer or early fall. This type of hydrangea creates beautiful dried hydrangeas.
When it comes to preserving hydrangeas, there are two main drying methods, each with its advantages.
Vase Drying Hydrangeas:
- This is the more straightforward drying process and is ideal for those wanting a more natural, vintage look for their dried hydrangeas. You cut the hydrangea blooms at the right time (when the florets feel slightly papery) and place them in a vase with several inches of water. Let the water evaporate naturally in a cool, dark location. The blooms will dry slowly, taking a couple of weeks, and develop softer, muted colors. (This is the method I use) Over time, they lost their color and turned off white.
Air Drying Hydrangeas:
- This method offers faster drying times and potentially more vibrant color. You cut the stems and remove the leaves, then hang the blooms upside down in a cool and dry environment in a dark area with good air circulation. You can use a clothesline or tie the stems together. This method can take 1-2 weeks for the blooms to dry completely.
Regardless of the drying method you choose, patience is key. Keep the blooms out of direct sunlight to prevent fading throughout the drying process.
Choosing the Right Dye for Your Hydrangeas
It is very important to choose the correct dye for your dried blooms. I tried three different methods before I found one that worked.
Here is what I tried.
- A bucket of water adding acrylic paint. I then dipped the flower head in the bucket and allowed it to soak. However, the dried flower did not soak up the paint much. It did give a hint of color, but not what I was looking for.
- The second method I tried was spray paint, which gave a very interesting look, but again, it was not what I was looking for. Maybe I should of tried floral spray paint, but I did not have any in my cupboard.
- Third, I tried making a dye bath using acetone and oil-based gourd dye. I then soaked the flower head in this solution, but I did not have success.
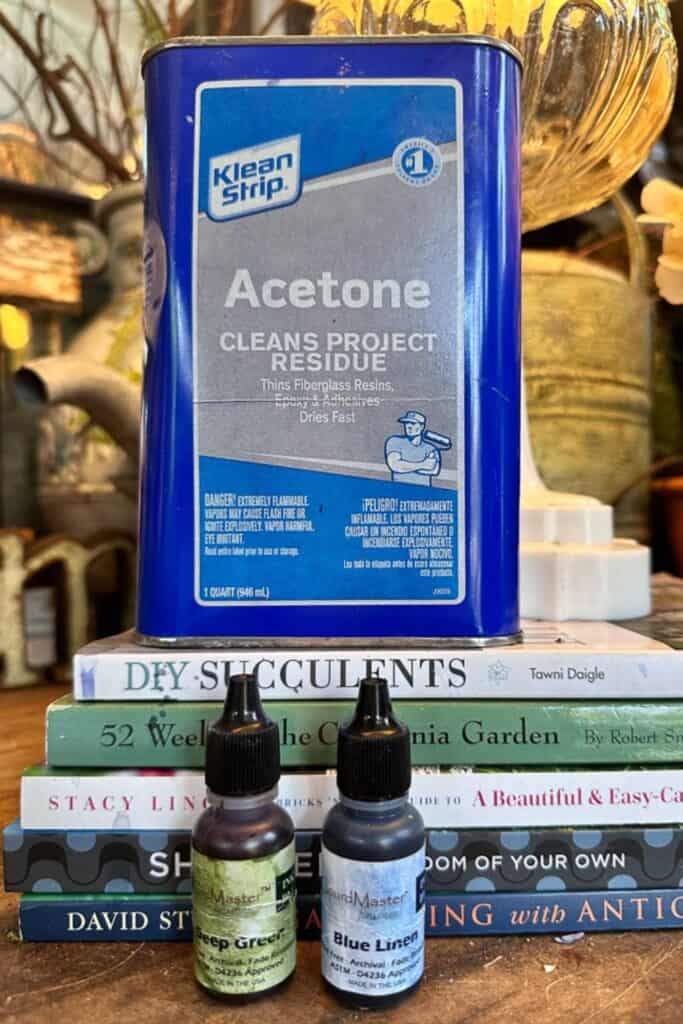
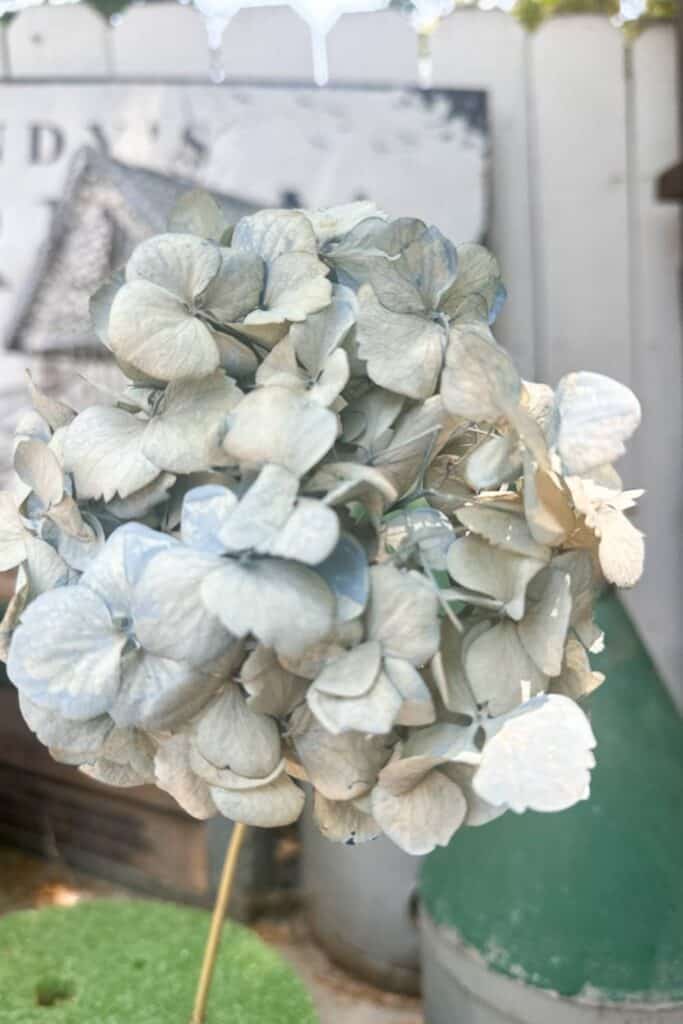
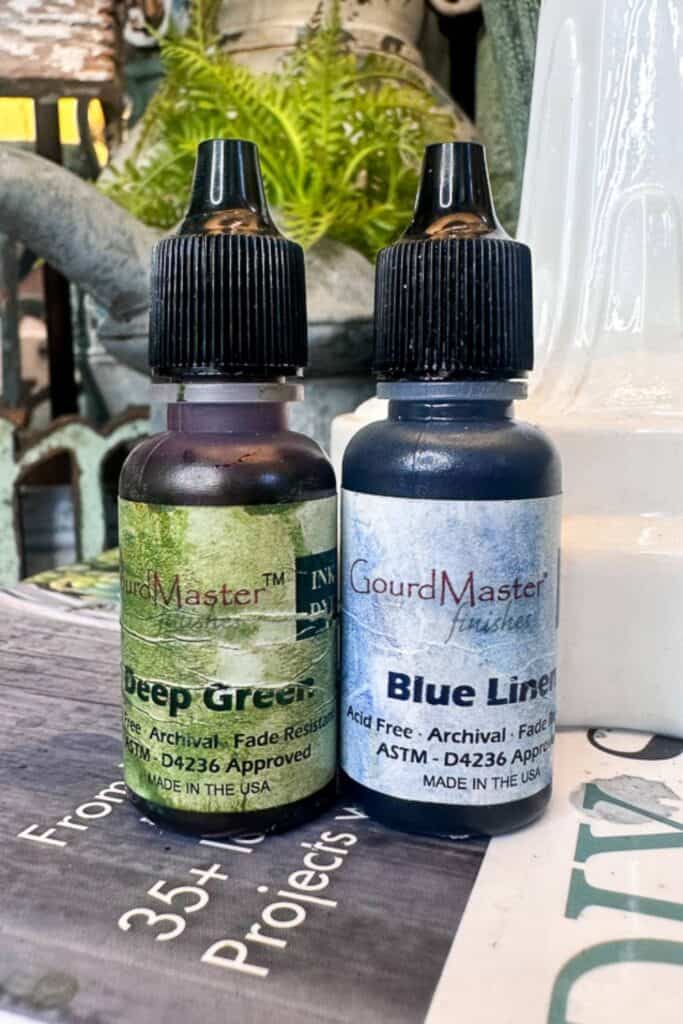
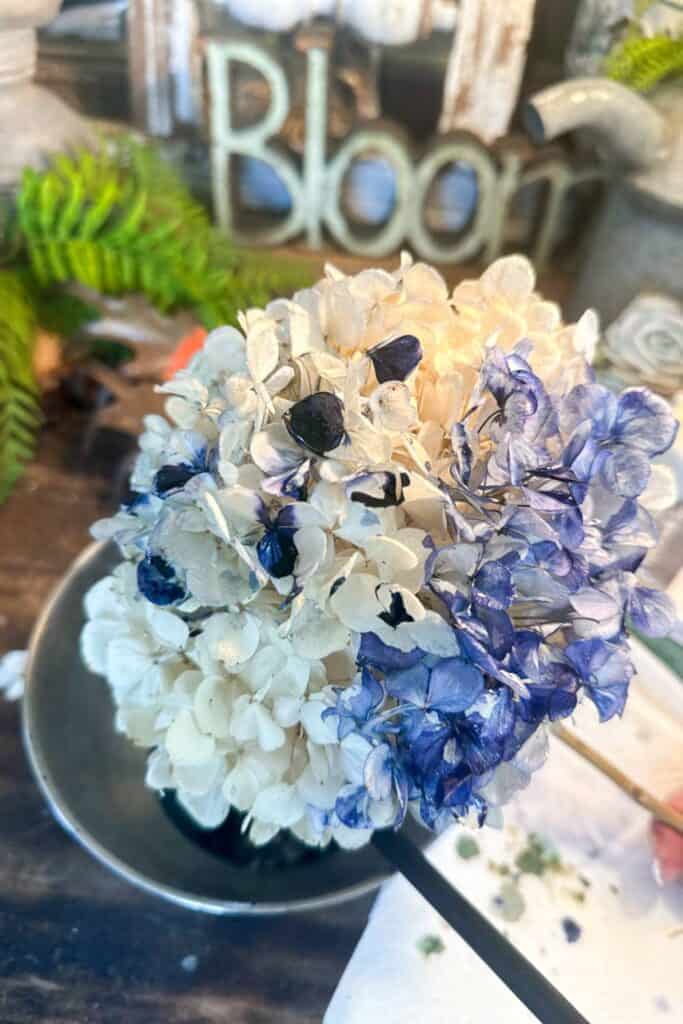
- Lastly, I tried dipping the flower head in acetone and then dropping the ink dye onto the flower. I found the best dye (gourd master dye) for dried hydrangeas; it was the best way to get the perfect watercolor look of a realistic hydrangea bloom.
- I am thinking that you could also try alcohol inks. They are the same type of ink as the gourd inks and are easier to find.
Tip from wendy’s craft room:
Don’t be afraid to experiment with different types of paints and mediums until you achieve the look you want.
Choosing the right colors
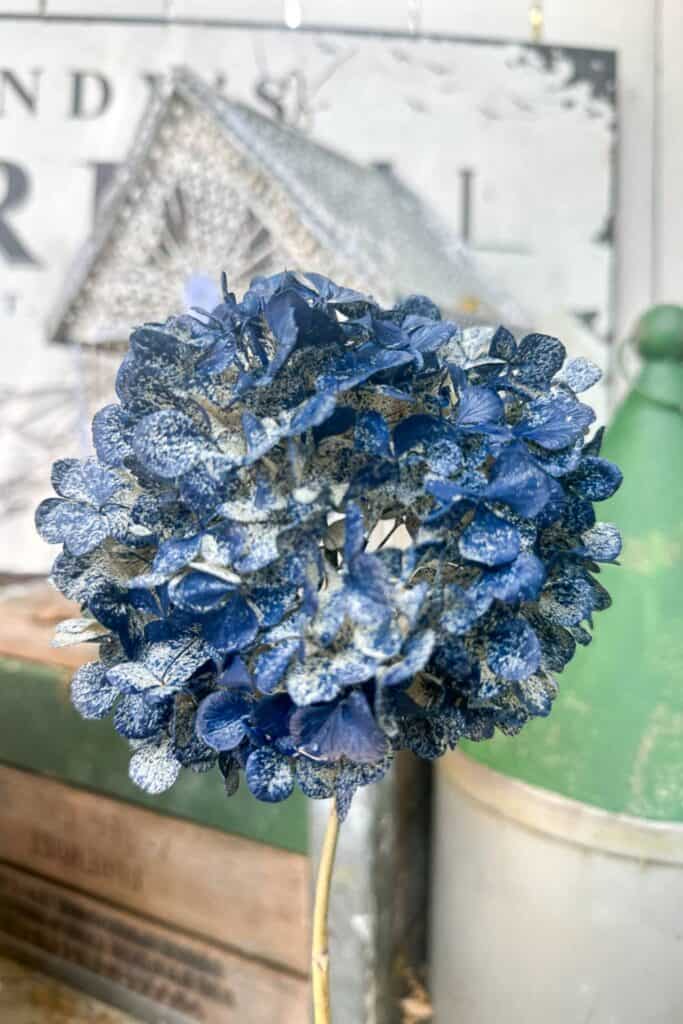
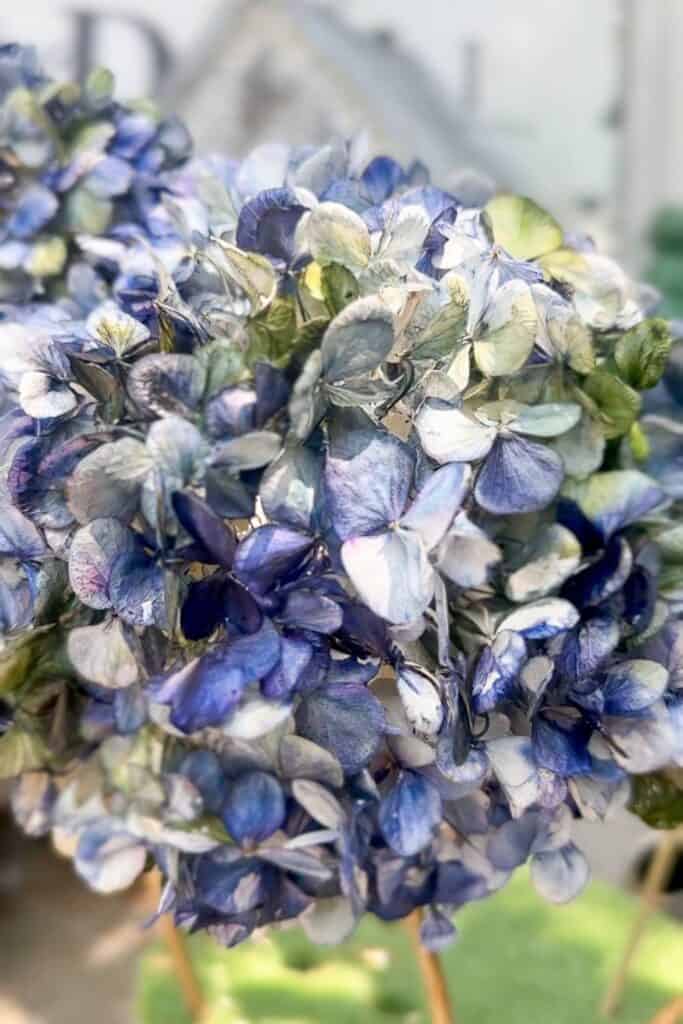
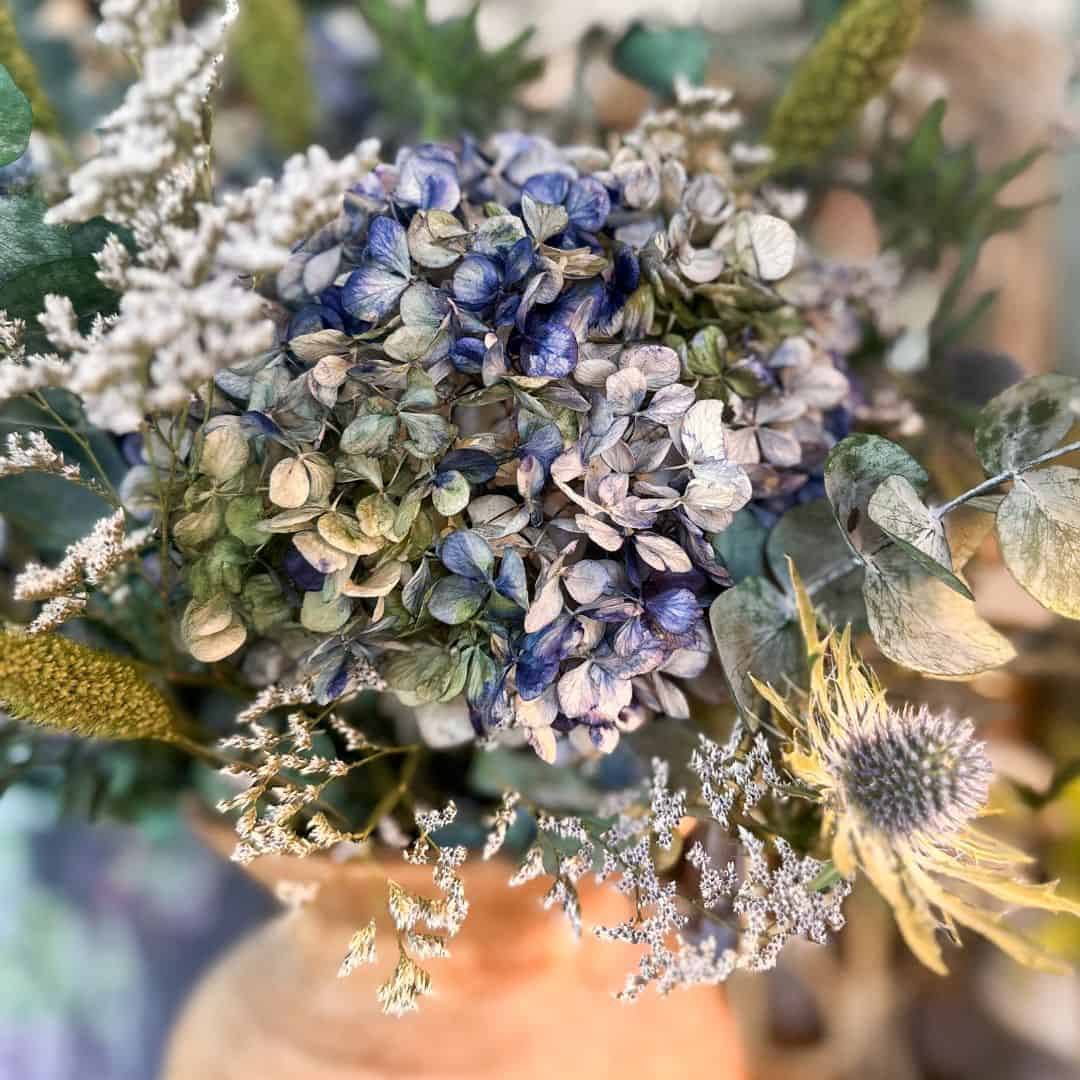
Since I love keeping my hydrangeas’ natural look, I used a touch of green mixed with blue dye to mimic their original color. While hydrangea stems come in various hues, the beauty of dried flower dyeing is its creative freedom. With a wide range of colors available in gourd dye, alcohol inks or fabric dye like Rit dye, you can customize your dried blooms to perfectly match your décor!
Tip from wendy’s craft room:
There are no hard rules when it comes to choosing a color. My advice is to choose the colors you love and will go with the decor in your home.
The Dyeing Process: Step-by-Step Guide
The dyeing process I created is very simple.
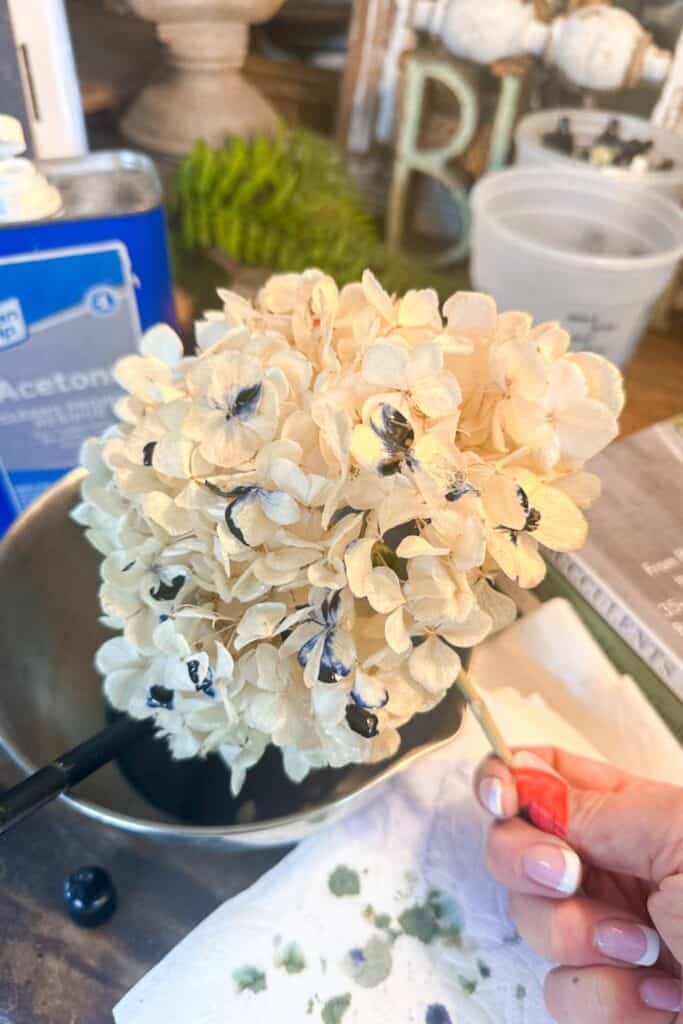
- Dip the dried white hydrangea flower heads in a bath of acetone, or simply pour some acetone over the hydrangea flower head.
- Drop a few drops of the gourd dye or alcohol ink onto the hydrangea.
- Dip your paintbrush into the acetone and then spread the dye on the petals until you get the peak color you are looking for.
- I used both green and blue dye to create a natural-looking hydrangea.
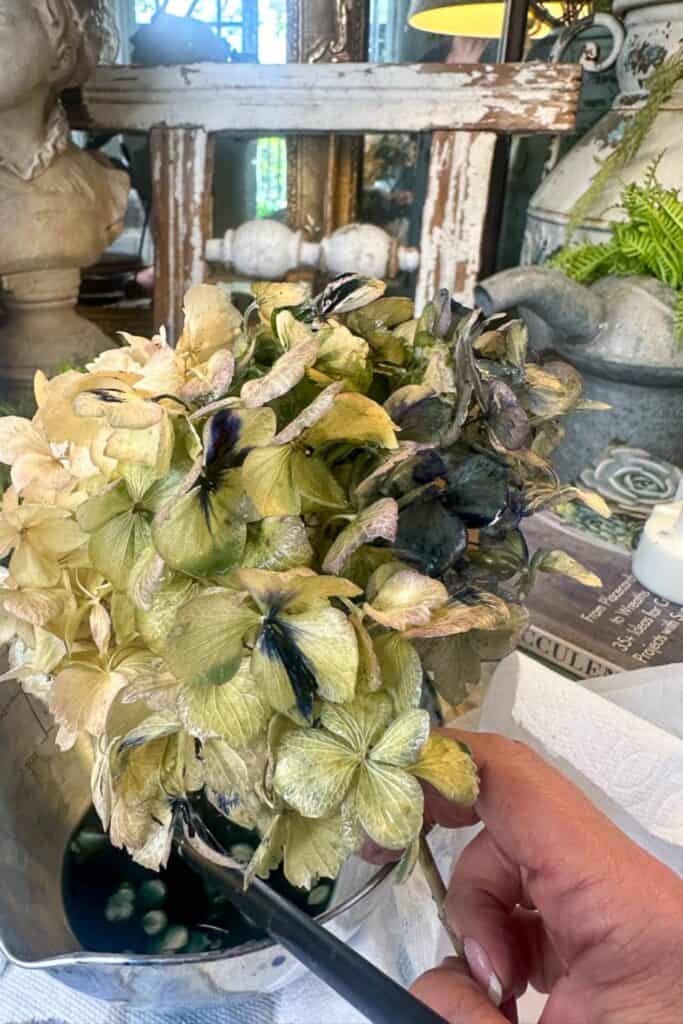
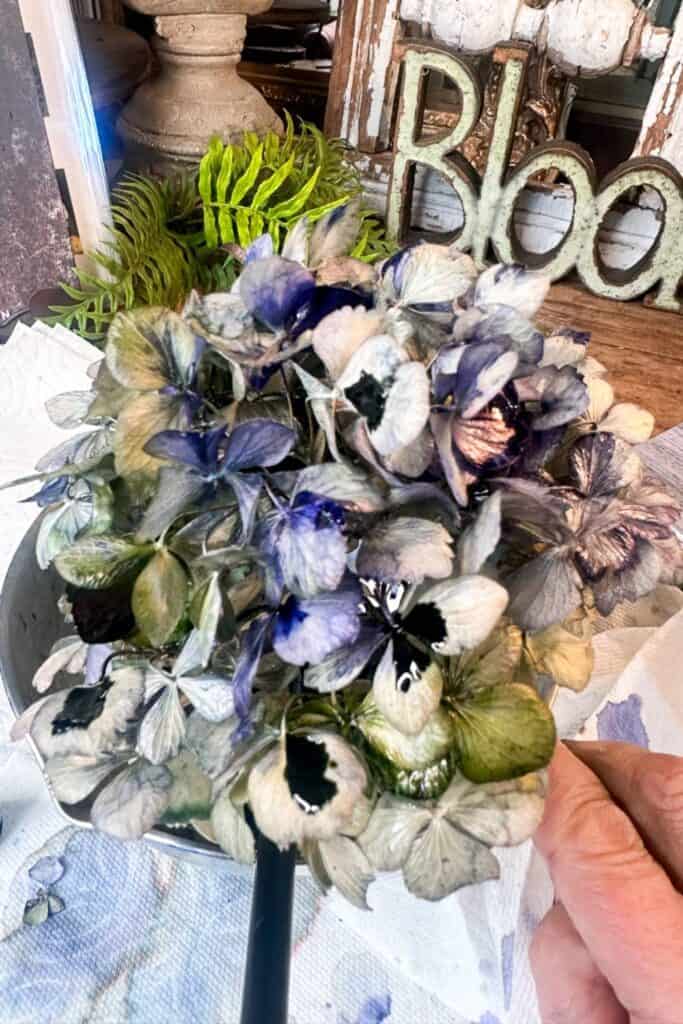
- Continue this process until you have a perfect hued bloom of your choice.
- Place the dry flowers into a piece of styrofoam for a few hours to dry.
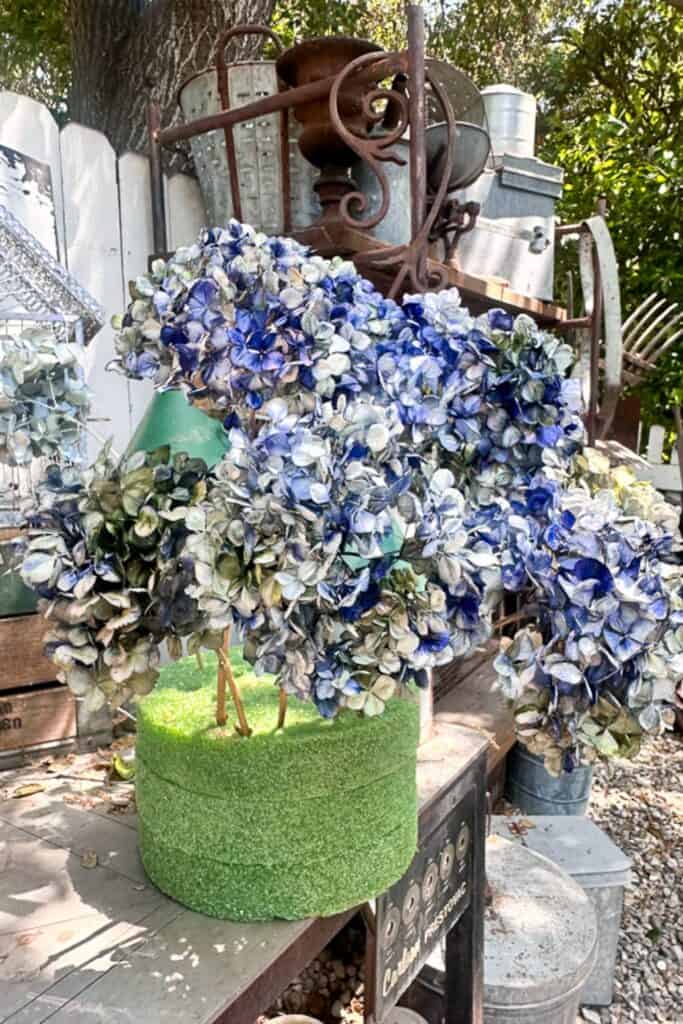
- Once the flowers are dry, spray them with hairspray. Dried flowers become brittle and delicate. Hairspray can help stiffen the petals slightly, reducing the chance of them breaking off and creating a mess.
Tip from wendy’s craft room:
Try mixing a few different colors together to create a more natural look.
Styling your dried blossoms
Now that your hydrangeas are dyed, let’s get creative with them. Here are three of my favorite ways you could use your new dyed blue hydrangea blooms.
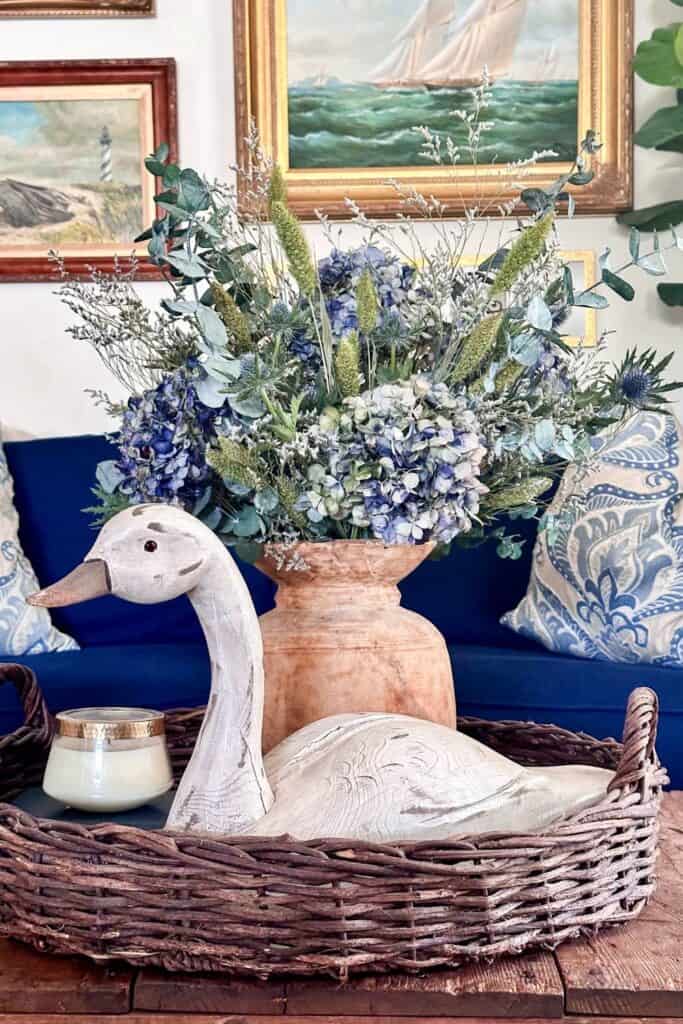
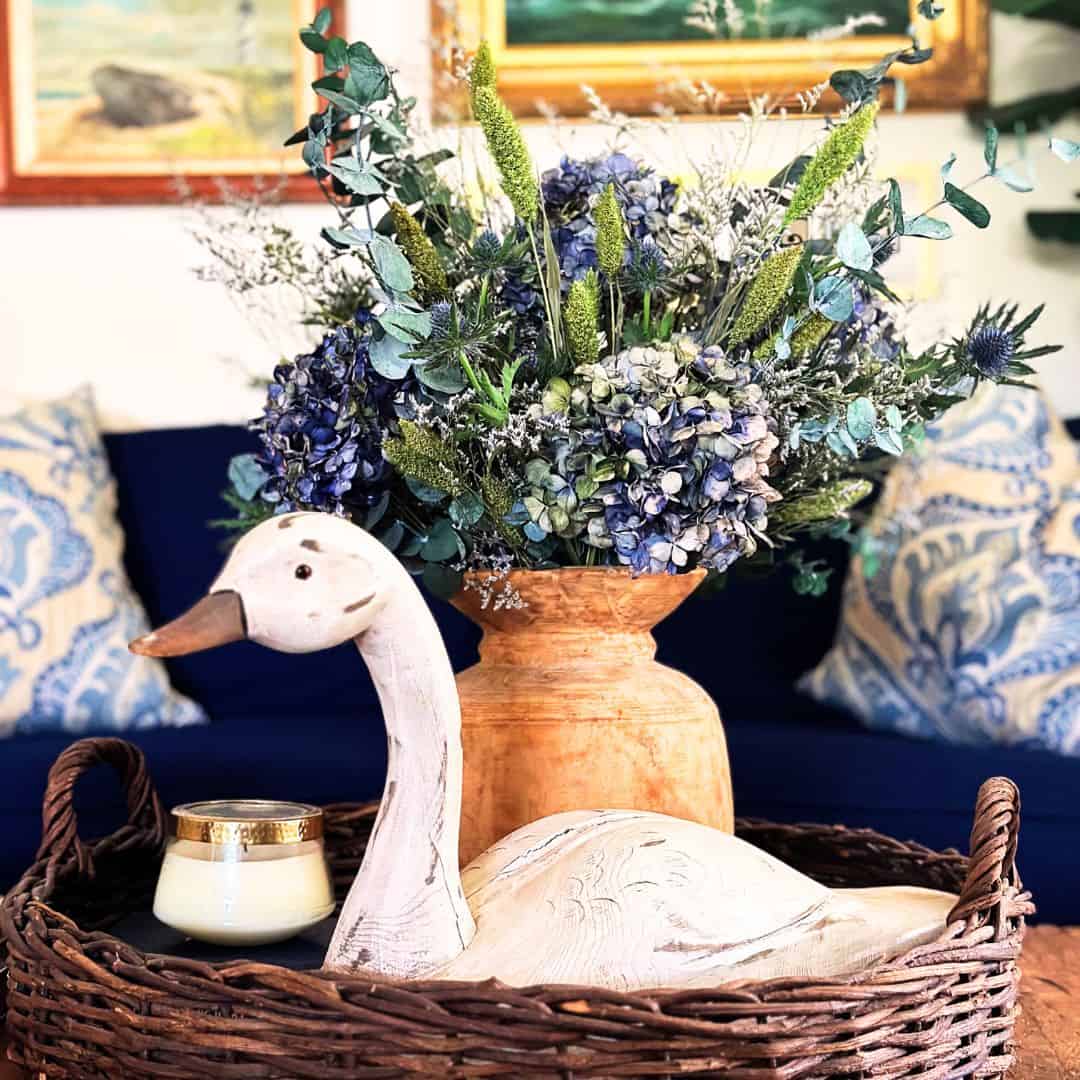
- Incorporate them into a Textured Arrangement like I did: Dried hydrangeas add a beautiful pop of color and texture to floral arrangements. Combine them with other dried flowers like eucalyptus, baby breath, and cat tails in a beautiful wood vase for a rustic elegance.
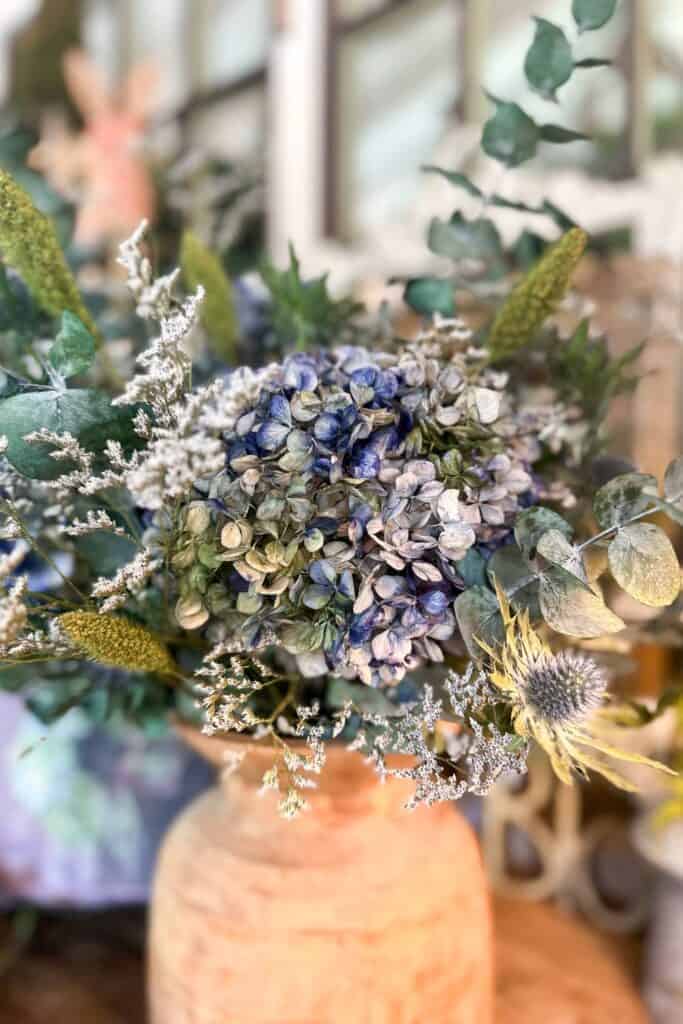

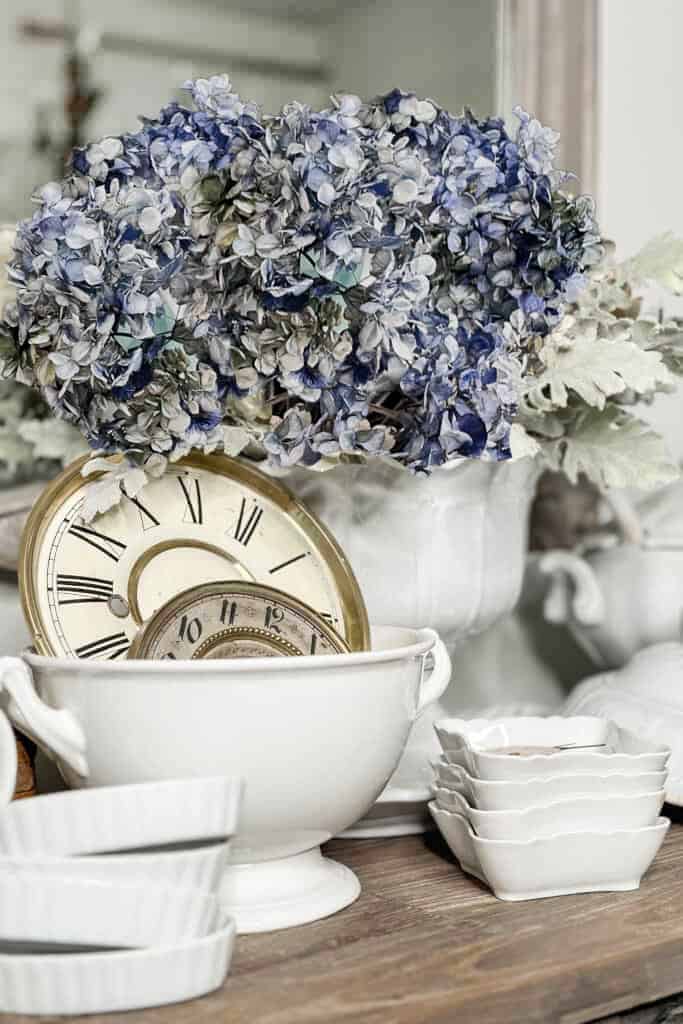
Create a Standalone Statement Piece: Dried hydrangeas with full, fluffy blooms can be a stunning centerpiece. Display them in a large ceramic vase or a vintage urn for a classic look. Opt for a modern approach with a sleek glass vase or a woven basket for a more rustic feel.
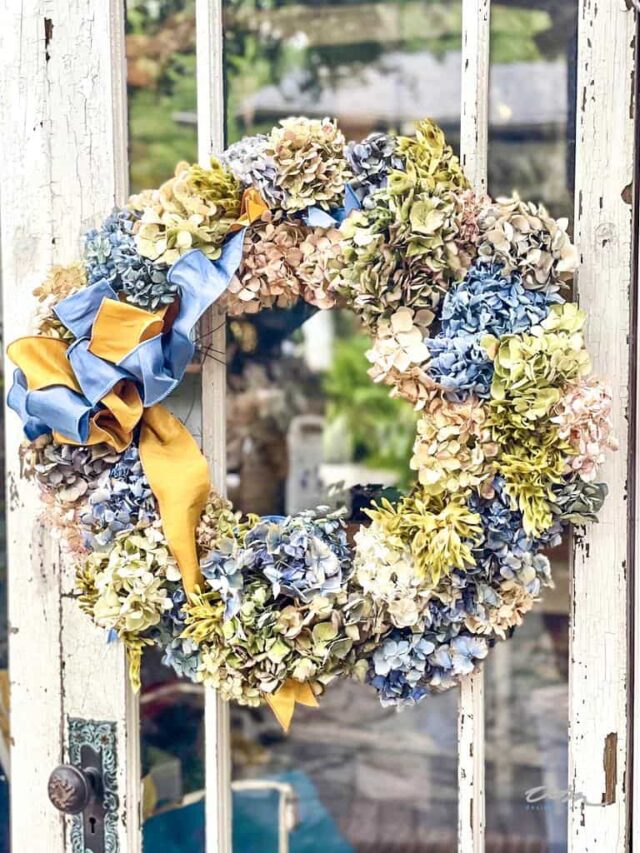
Craft a DIY Wreath: Dried hydrangeas are perfect for creating beautiful, long-lasting wreaths. Use a floral wreath form as the base and secure the hydrangea blooms with floral wire or hot glue. For added visual interest, you can incorporate other dried elements like berries, twigs, or leaves. This wreath can be displayed on a door, wall, or even as a table centerpiece.
Tip from wendy’s craft room:
Mix and match different colors of hydrangeas for a stunning look.

How to Dye Dried Hydrangeas in Three Easy Steps
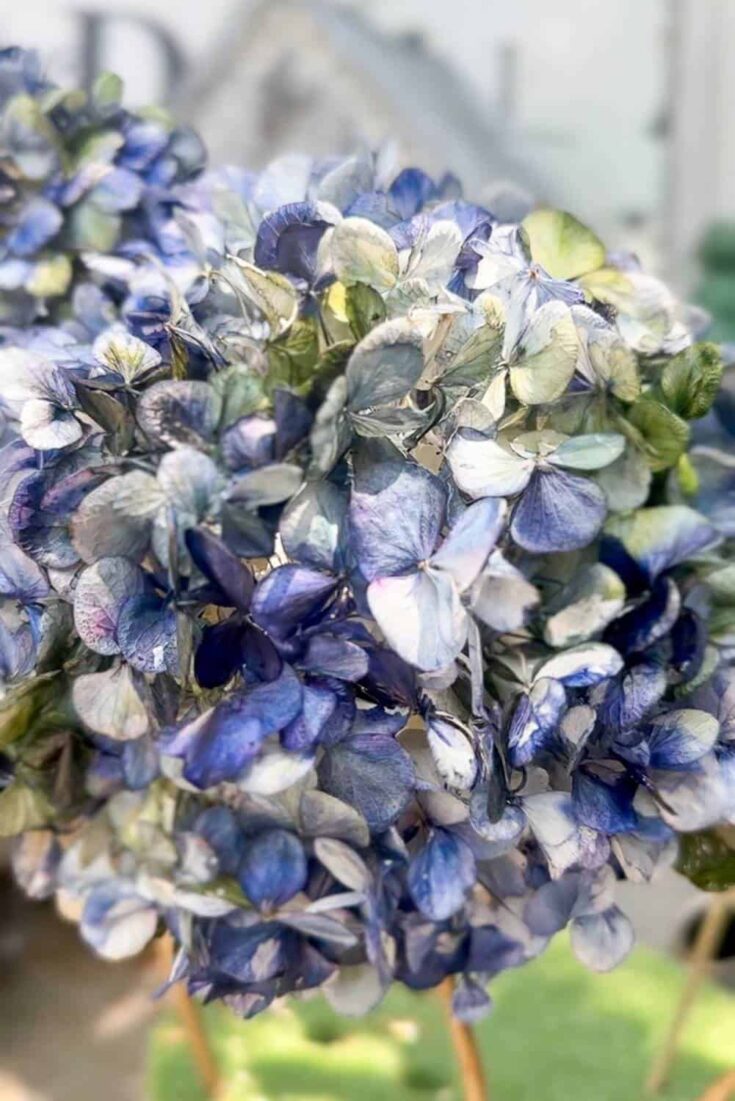
Learn how to dye-dried blue hydrangeas in three simple steps with our easy-to-follow guide. Discover the best dyes and techniques.
Materials
- Dried Hydrangeas
- Acetone
- Paintbrush
- Gourd dye, color of your choice. I used denim blue and deep green. (You can also use alcohol ink)
- A piece of styrofoam to dry the hydrangeas
Tools
- Paper towels
- Hairspray
Instructions
- Dip the dried white hydrangea flower heads in a bath of acetone.
- Drop a few drops of the gourd dye onto the petals.
- Dip your paintbrush into the acetone and then spread the dye on the petals until you get the peak color you are looking for.
- Continue this process until you have a perfect hued bloom of your choice.
- Place the dry flowers into a piece of styrofoam for a few hours.
- Once the flowers are dry, spray them with hairspray. Dried flowers become brittle and delicate. Hairspray can help stiffen the petals slightly, reducing the chance of them breaking off and creating a mess.

Other Tutorials from WM Design House
If you loved this fun project, you might also enjoy some of my other favorites!
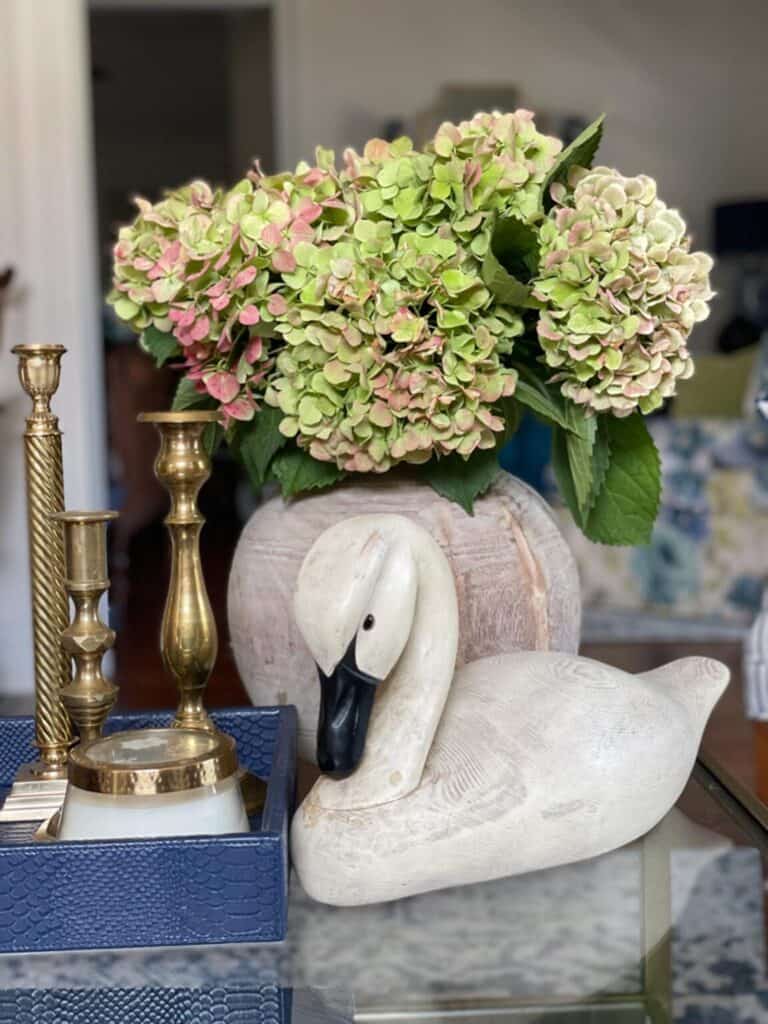
21 Easy Ideas for Decorating with Hydrangeas
Get creative with hydrangeas
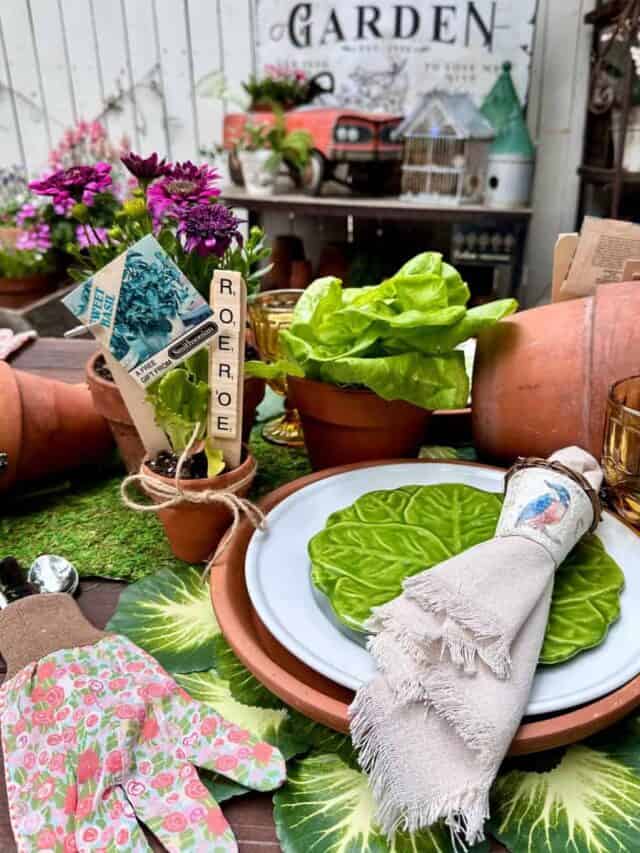
Easy DIY Napkin Rings for a Garden Party
Learn how to make these adorable napkin rings in under 10 minutes.
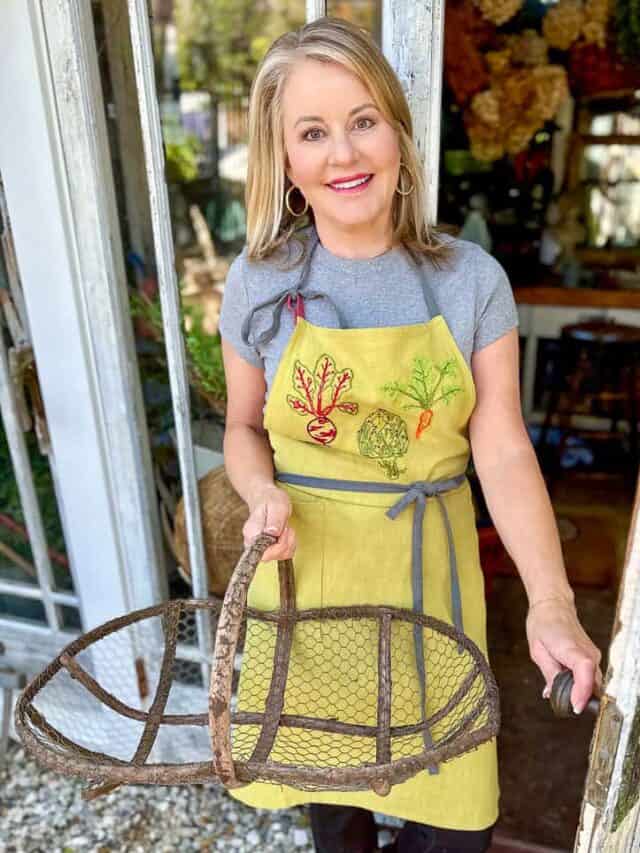
Embroidery Idea for a Garden Apron: Free Veggie Pattern
Download a free pattern to make a garden apron.
Wrapping Up
In just three simple steps – choosing your drying method, selecting your dye, and letting the magic happen – you can transform your dried hydrangeas into vibrant works of art! Don’t be afraid to experiment with different colors to create unique pieces that perfectly complement your décor. The possibilities are endless, whether you want to recreate the original hue or go for something entirely unexpected. So grab your dried blooms, unleash your creativity, and prepare to add a colorful personality to your space!
See the links below to all the other creative projects our Handcrafted Society has created.

Did you make this craft?
We would love to see what you have created, so mention us @wmdesignhouse or tag us using #wmdesignhouse so we can see your creations!
More about me!
Hello, I’m Wendy – a dedicated homemaker with a deep passion for decorating, gardening, cooking, and crafting. I find joy in harmonizing beautiful elements to fashion a space that is both comfortable and inspiring. I will help you create a beautiful home, one project at a time.
Connect with Wendy
Beautiful Blue and White Christmas Decor For the Holidays
Discover the elegant world of blue and white Christmas decor. Transform your home into a serene winter wonderland with sophisticated, calm holiday styling that breaks away from traditional color schemes. On my blog WM Design House, I may sometimes use affiliate links, which means a small commission is earned if you purchase via the link….
11 of the Best Artificial Christmas Tree Stand Ideas to Try
Discover creative uses for unique artificial Christmas tree stands, including buckets, baskets, sleighs, and even a wheelbarrow in action!
How to Make Easy DIY Vintage Christmas Ornaments
Create charming DIY Vintage Christmas Ornaments with our easy DIY tutorial that transforms old treasures into stunning holiday decor.


So clever and pretty, Wendy! And I love that you gave us ideas for how to use them, too! Pinned, and I’m happy to be featuring you at TTA this week!
Thanks so much Julie!
Wendy
I’ve never considered dying hydrangeas but now I want to try it. Thanks for the inspiration.
Thank you, Rachel; it was very easy once I figured out the suitable medium to use.
Hi Wendy! Your dyed hydrangeas are gorgeous! This is such a fabulous idea, I would have never thought to dye them! Thanks for sharing the process! I’m trying to grow them for the first time!
Thank you Donna. I hope you have success growing your hydrangeas. They are one of my favorite flowers!
Hi Donna. Thank you for your kind comments. I was so happy to find a way to revive them and restore some of their beautiful blue color!
The hydrangeas turned out beautifully Wendy. I experimented yesterday with faux flowers yesterday to see if I could revive the flowers in my outdoor planters. Mine was just ok, so I will have to give your idea a try with the ink. You would be so proud, our boxwoods died due to the blight, and so we pulled them and planted 5 hydrangeas, so far, so good, they are still alive! God has been watering them for me since he knows I either forget or overwater so I tend to have a large flower graveyard. The pink ones have bloomed, but the blue are being stubborn, hopefully they decide to join in the fun soon.
Thank you Cara. I hope you have success with your hydrangeas. I’m sure you’ll see blooms on the others ones soon!
I had no idea you could dye dried hydrangeas! GENIUS. Thank you for the wonderful tutorial. I may have to give this a go!
Thanks so much Kelly. I hope you give it a try!
You are genius my friend!!! I can’t wait to give this a try. But sadly my hydrangeas don’t dry white — maybe if I clip them earlier, before they start taking on their Fall tones.
Thanks Diane. Hopefully you can give it a try! It was such a fun project.
I love these! They turned out beautifully!
Thanks so much Amy.
I would’ve have never thought to dye hydrangeas. This is so clever Wendy and they look fabulous. Thanks for sharing the different processes. It shows sometimes you juts gotta play! XO- MaryJo
Thanks MaryJo. That’s exactly right! Sometimes it takes some experimenting to get the perfect end result!
Oh, Wendy! Your hydrangea arrangements are spectacular!! Thank you for sharing this flower dyeing technique. I’ve never done that before, but certainly plan to now with my hydrangeas this summer!
Thanks Kim. If you try it let me know. I’d love to see how yours turn out!
I’m loving this idea of dyed dried hydrangeas, and how beautiful they look in your arrangements. I would love to have a dried hydrangea wreath too. So gorgeous! Thanks so much for the tutorial!
Thank you Michelle. I’m go glad that I can find ways to reuse my hydrangeas even after they are done blooming!
Hi Wendy- This is such a clever idea! I had no idea you could dye dried hydrangeas. Also, I learned about a new type of dye. (Gourd Dye). Thanks for the tutorial and inspiration.
Thanks Anna. You are so welcome. I hope you can give it a try sometime.
Hydrangeas are my favorite flower and these dried and dyed flowers are gorgeous! I just planted two hydrangeas and hope I will be able to keep them alive in the Florida heat! Pinning this now in hopes of using it one day with my flowers!!
Thank you Donna. I hope they do well for you. Good luck!
SO pretty, Wendy!! The blue color is fabulous and so perfect for Summer!
Thanks so much Rachel!
The shades of blue that you achieved with this method are spectacular! I was so eager to see how you did this. The end result is really amazing, Wendy!
Thank you Missy. I am in love with the blue color from the ink dye and so happy with how this project turned out.
Wendy, never tried to dye my dried hydrangeas. Such an interesting project! Your dried flowers turned out beautiful.
Thanks so much Tammy!
Wow I had no idea you could dry hydrangeas and I love the color you chose Wendy!
Thank you Nicolle!