Easy and fun DIY Advent Calendar boxes: Christmas in July
Looking for a fun way to countdown to Christmas? Look no further than this easy and affordable DIY advent calendar tutorial!
It’s a blog hop day! So grab your coffee and hop along with me. I am hoping with several friends to give you all the inspiration you will need for the holidays this year.
Christmas is my favorite time of year. I love all of the traditions associated with the holiday, from watching Christmas movies to decorating the tree. One of my favorite traditions is counting down to Christmas with an Advent calendar. Last year, I decided to make my Advent calendar for our granddaughters using Dollar Tree boxes. In this blog post, we will discuss the meaning of Advent and why we use a calendar to count down to Christmas. We will also provide instructions on how to make your DIY Advent calendar!

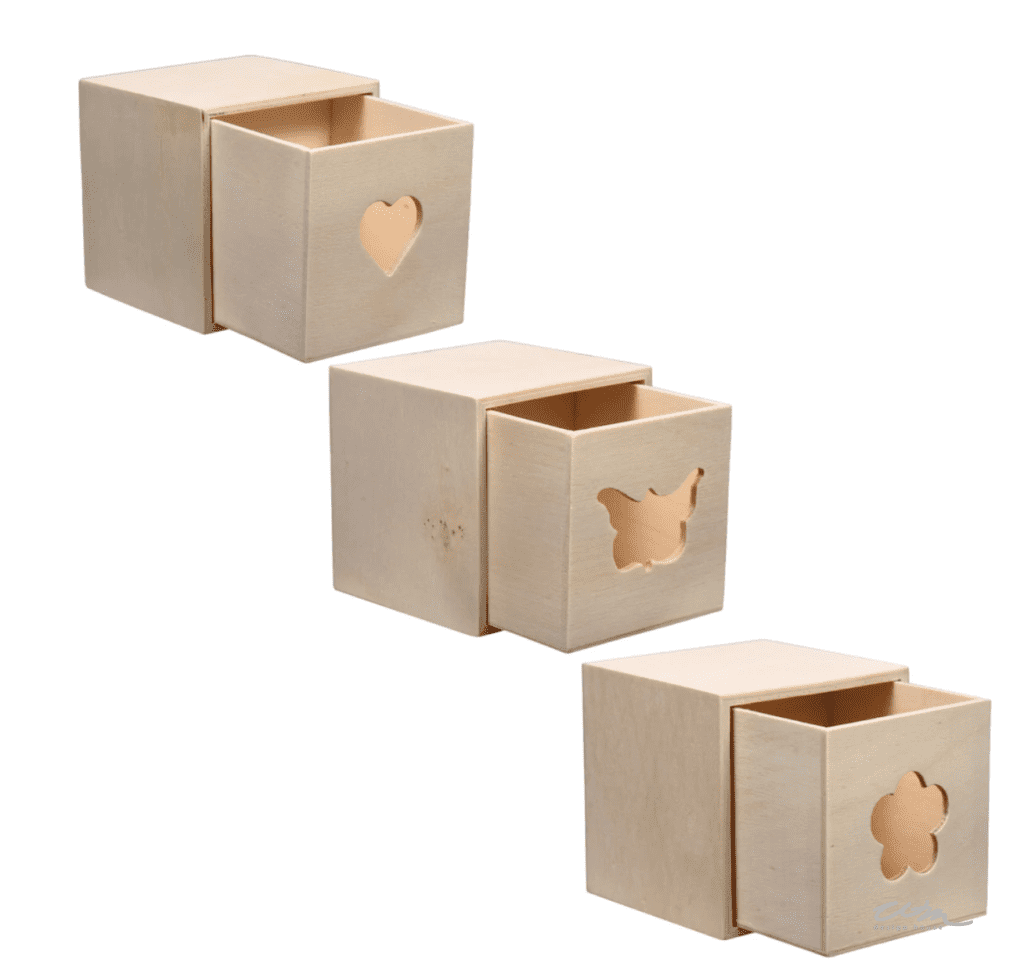
Some time ago, I wandered into the Dollar Tree store and came across these little wooden boxes.
I was intrigued by them and started loading my cart up. Mind you. I had no idea what I would do with the boxes. However, I knew one day soon. The idea would come to me.
Then, like Magic, it came to me!
A Budget-friendly Advent Calendar for my granddaughters
Advent Season starts on the fourth Sunday before Christmas and leads up to the Nativity of Christ and the second coming of Christ. That means that Advent lasts for around a month in total.
Every December, people worldwide celebrate Christmas by opening up this particular kind of calendar. These calendars are called Advent Calendars, and they have been a tradition since 1852 when someone decides to count down until Jesus’ birth with 24 little doors or boxes that you must open every day leading up to His grand arrival! Some may be simple enough, featuring pictures behind each door, but more elaborate ones will also offer toys/gifts.
Facts and History about Advent Calendars
I researched the history and story of the advent calendar so I could explain this to the children. And here is what I found from the factsite.com
- Christians thought of different ways of counting down the days from the start of Advent to Christmas Day.
- At first, Christians kept track of the days by making chalk marks on their door, rubbed off one by one as Christmas got closer.
- Advent Candles and putting up a small religious picture to mark each day were other ways to count the days.
- The first actual advent calendar, which we still buy today, was produced in the early 1900s. Although first mass-produced in 1908 by Gerhard Lang, who worked at the Reichhold & Lang printing office in Munich, Germany.
- A company produced over thirty different calendar patterns until the 1930s. These calendars had 24 doors and were much more decorated than the advent calendars we have these days.
- Before long, advent calendars had doors containing religious pictures, and some had chocolate. They used candy to keep the children’s attention.
- The Advent Calendar was favored over the years. However, it had to be put on hold during World War II because paper, cardboard, and chocolate were limited.
- Once the war was over, the production of advent calendars soon picked back up in 1946, not containing chocolates, though.
- Towards the end of the 1950s, chocolate advent calendars re-appeared and started to spread across the world.
- Ten years later, many countries used the advent calendar to count the days to Christmas Day.
- Advent calendars are still very popular worldwide and come in thousands of different varieties, some with pictures and others with just chocolate.
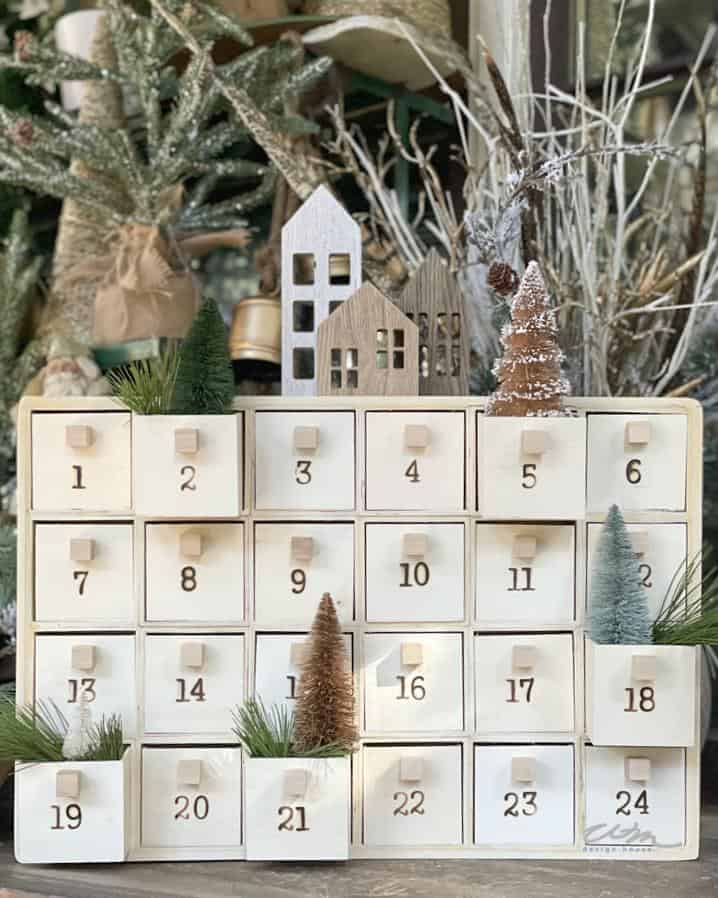
How to make this DIY Advent Calendar with the Dollar Tree wood boxes
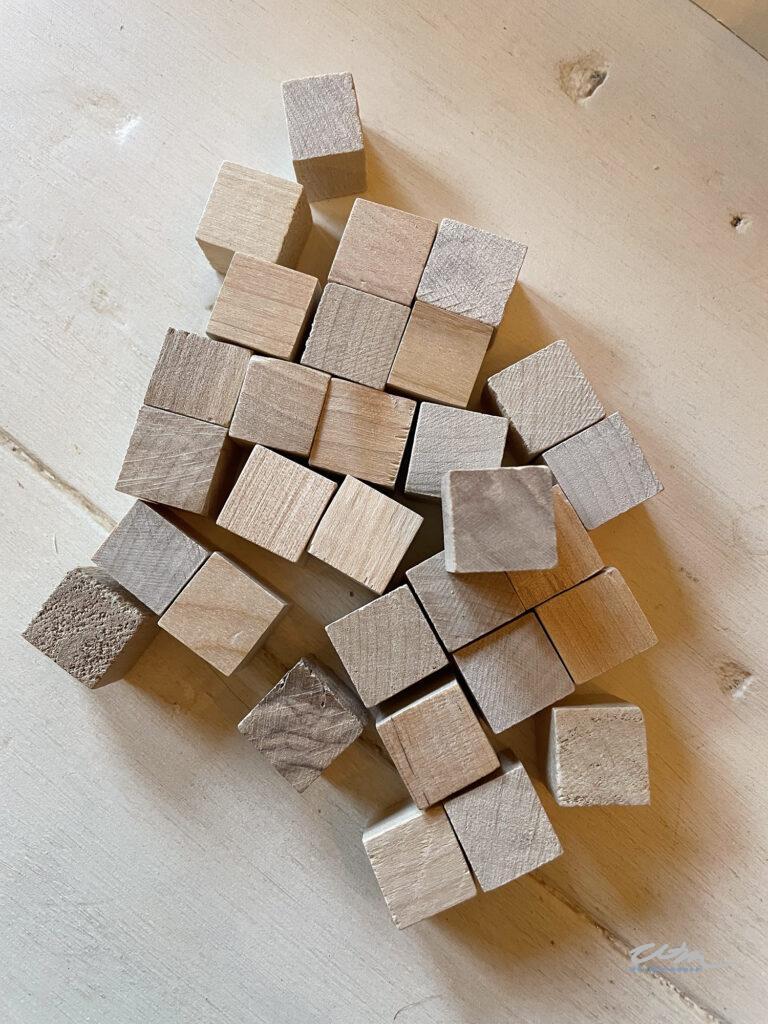
I started with 24 boxes, some wood glue, and a package of these little wooden blocks from Dollar Tree. You will also need clips to hold the boxes together while they dry and the branding tool with number attachments.
First, I separated the inner box from the outer tube.
Secondly, I glued the outer boxes together with wood glue. Glueing four rows of six boxes together, and let them dry.
Thirdly, I glued the four rows of six boxes together. You can see in the image that I clipped the boxes together after gluing them to help keep them together while they dry.
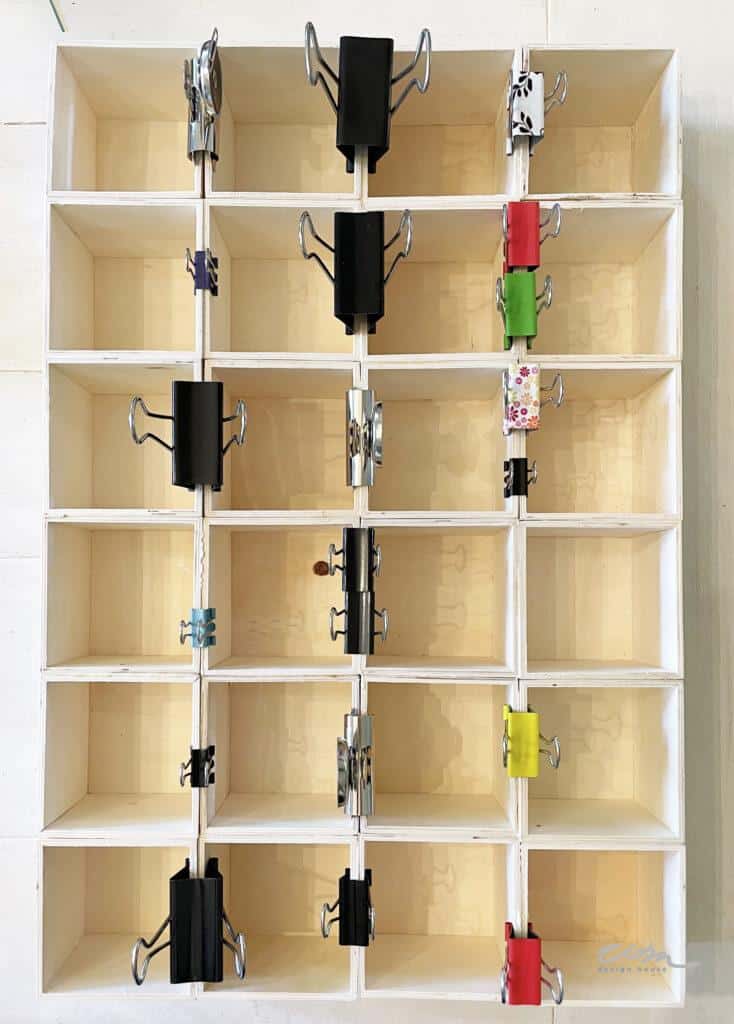
Lay some heavy books on the top to help keep the boxes together. Unfortunately, these boxes are not all the same size, so there were a few gaps. We filled in the gaps later with wood filler.

Next, I turned the inner boxes around so the cutout design was on the backside of the box.
Secondly, I glued the small wooden cubes onto the front of the boxes to serve as a handle.
I just eyeballed where to glue these.
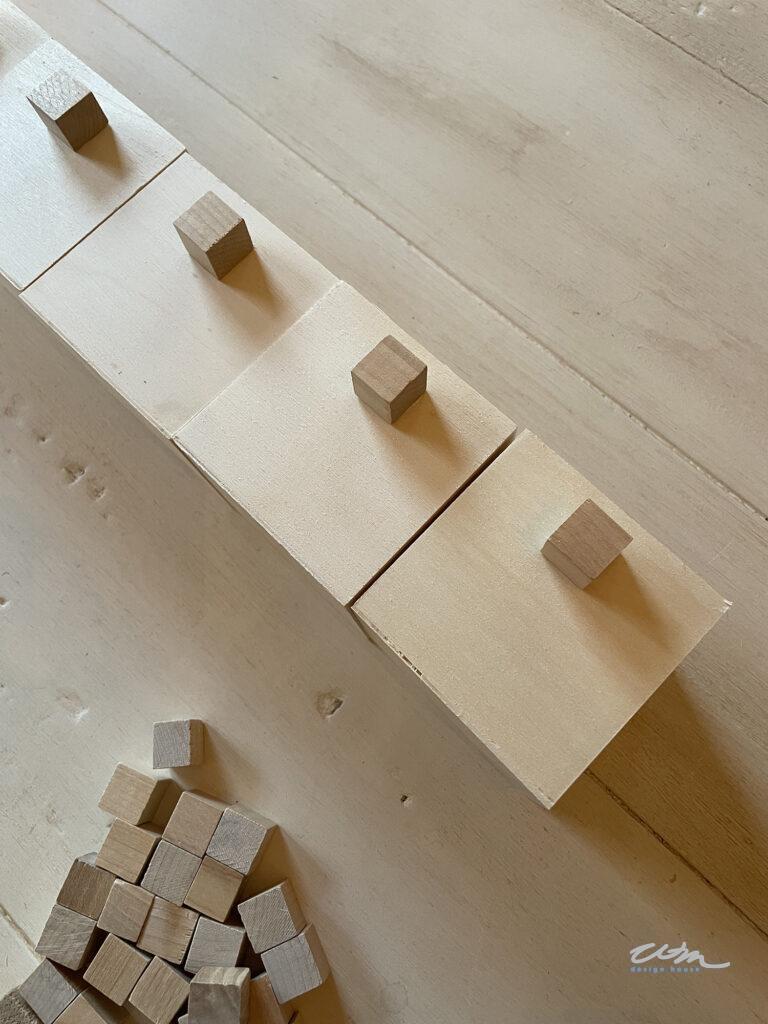
If you are particular, you may want to mark where the cubes go.
Now that your boxes are all glued together, it is time to put an outer border on them.
We purchased pieces of craft poplar hobby wood at Home Depot that were 3.5 x 3″ long. The color was perfect. We bought four pieces.
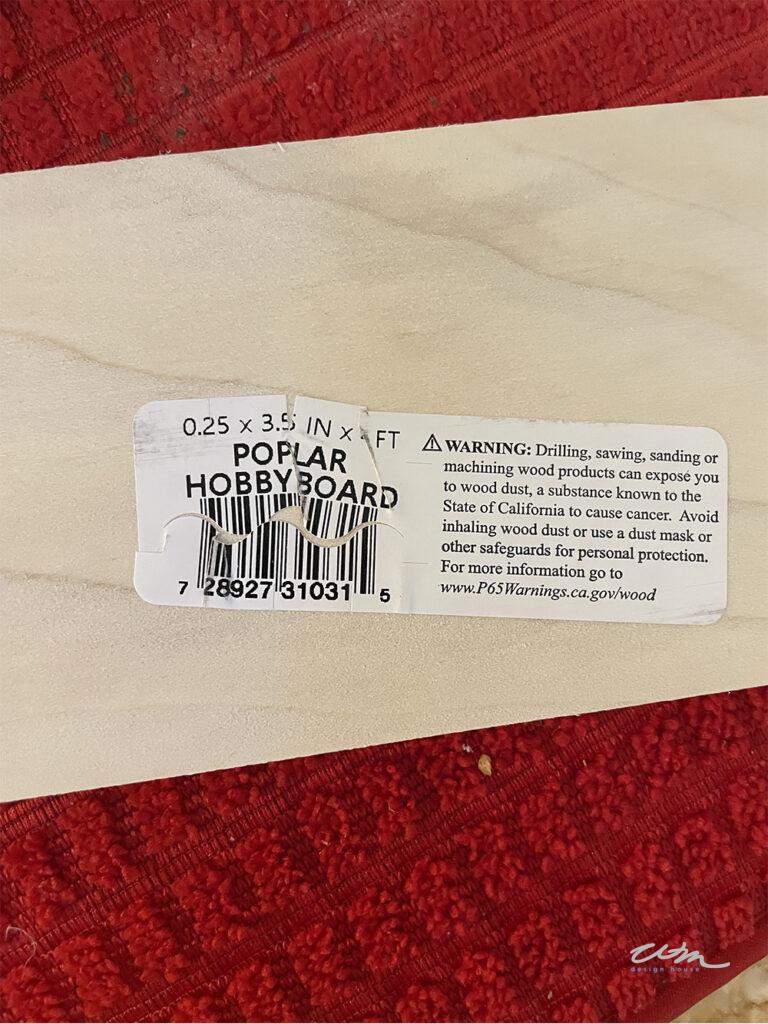
You must trim 1/2″ off the boards’ width and cut the lengths to fit the box.
Glue the two short sides first.
Next, glue the top and the bottom pieces to cover the side pieces.
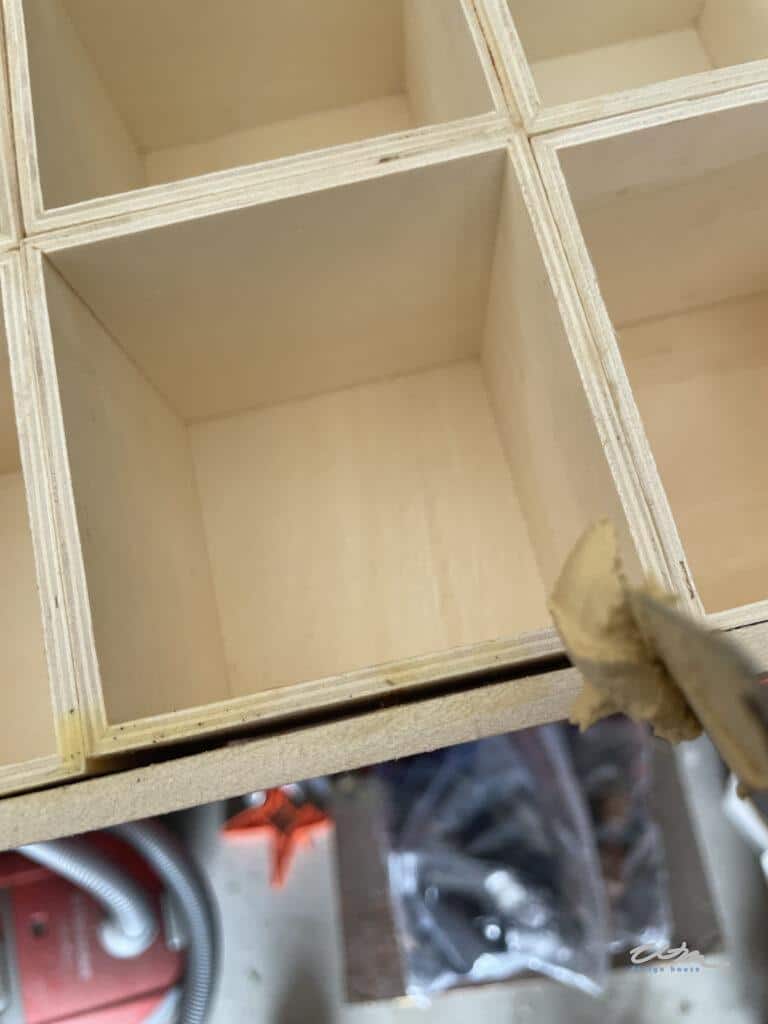
You can see a gap between the border and the boxes. We used wood filler and filled in all of the holes. Then, we added the edge because the boxes were not all even, and we wanted a smooth edge.
I then burnished the numbers on the drawers step-by-step
You have to burnish the numbers one at a time. So I just eyeballed the placement of the numbers.
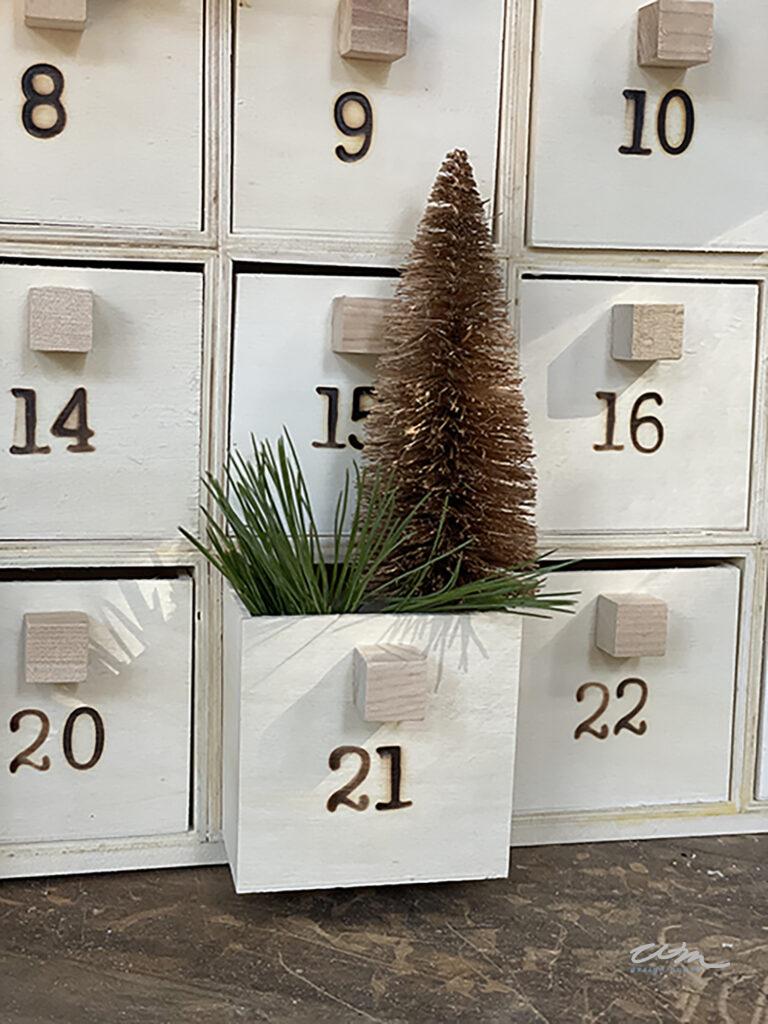
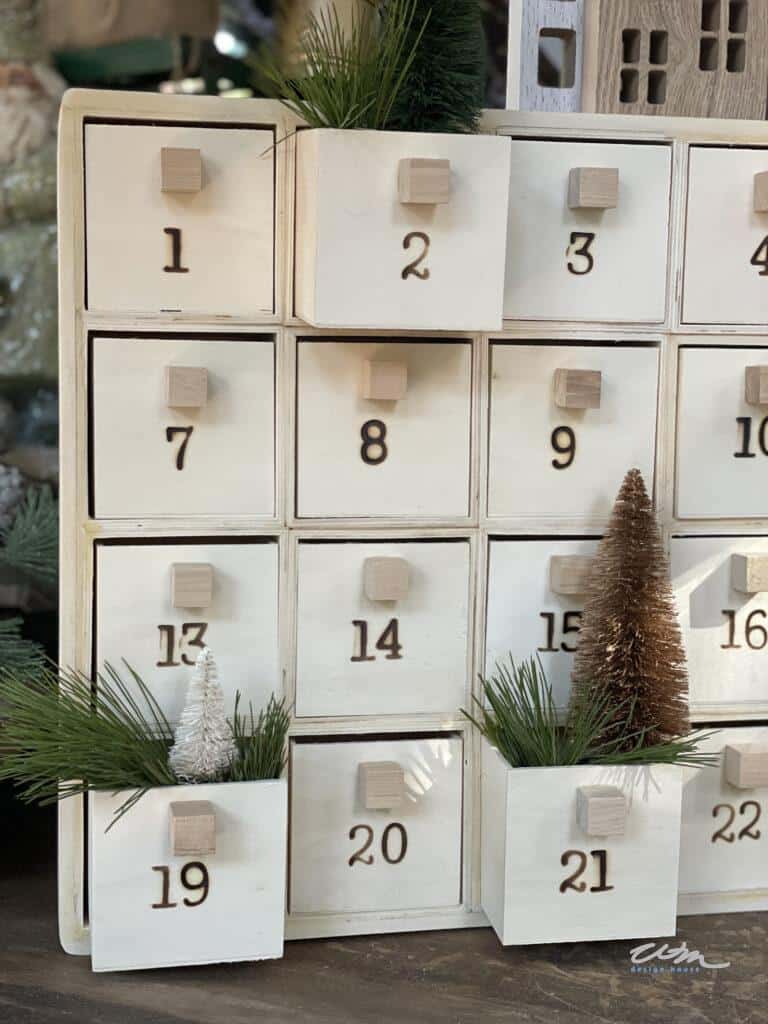
In the end, I was delighted with how this turned out.
Filling the Advent Calendar with goodies
What Can I put into my DIY Advent Calendar?
I filled mine with all kinds of treasures my girls would like. If I had an item that was too large, I put it in a bag and a note in the box.
- Household favorite sweets and chocolates
- Lego
- Tiny toys like cute erasers and plastic cars
- Crafty bits like glitter, ribbons, stickers, and washi tape
- Small jewelry and accessories
- Temporary tattoos and other fun novelties
- Movie tickets and experience vouchers
- Hair accessories, including scrunchies, clips, and slides
- Beauty bits, e.g., lip balm pots and tiny nail varnishes
- Lottery tickets and scratch cards
- DIY coupons for beach trips, breakfast in bed, and more
- Bath bombs, lotions, and other smelly stuff.
I had so much fun prepping this for the girls; they loved it. I can’t wait to fill it again.
Advent does not start until December 1st, so you still have plenty of time to complete this project.
Next up on our blog hop is my friend Kylie from truemantreasures, be sure to head over to her blog to see what great inspiration she has for you.
If you enjoyed this post, you might like my DIY gold foiled ornaments
Or how to decorate a Christmas Tree
And we all need to make our house smell like Christmas.
Cheers to the Holidays!

SHOP MY CHRISTMAS FAVORITES


I loved your project. I found felt Christmas tree advent banners on sale after Christmas and want to do it for the 4 teenaged grands in Maine. The girls are so easy as they all have pierced ears,love jewelry, and cosmetic stuff, but the 18 year old boy is a lot harder. Good thing he is a fisherman as he will be getting a lot of lures and flies! I would love to find sets of boxes cheaply!
Thank you, Kathy. Did you check the dollar tree on line? They sell small boxes by the case, and they are very inexpensive.
Well, if this isn’t the cutest darn thing in the whole entire world I don’t know what is! Gonna have to copy this!
It’s easy to make, it just takes some time. Your grands will love it. Thanks for stopping by my blog!
I love your adorable advent calendar, Wendy! You always have the best ideas! Your creativity and talent amazes me! I bet your granddaughters love getting little treats every day throughout December! I may try making one of these this year! I’m excited to see what you create this year! Whatever it will be I know it’ll be fabulous!
You are too kind Kristy. I do enjoy my little DIY projects.
I have to start dreaming some things up for this year. Thank goodness
for CHristmas in July to give me lots of inspiration.
Such a clever and ingenious project! I love reading the step-by-step instructions. And thank you for sharing the history of advent calendars. So interesting and I learned a lot! Always fun to blog hop with you, my friend!
Thank you Missy. It is always fun to hop with you. I am looking forward to filling those little boxes again this year.
Your post was so lovely, and I enjoyed all of the bright and Merry.
This is such a cute idea! How did I miss it last year?
Can’t wait to see you next week!
It’s so hard to see it all. We would just be sitting in our chairs reading blog posts all day! Sounds like a great idea, right. Only a few days before I see you!
This is such a great idea! I love it!
Thank you Kylie, I enjoyed making this for our granddaughters.
Wendy what a fabulous project! When I saw the picture at first I thought, or sure this cannot be easy. But it is!!! Wow and it looks so beautiful. Your granddaughters are such lucky girls to have you!!! And I am so very happy to hop along with you!
Thank you Crystal. It is not hard. You just have to be patient. It was so fun hoping with you today.
This turned out just darling Wendy, I love it! Pinned.
Thank you so much Cindy. I was so inspired by your post too, loved all of your DIY projects.