How to Make Easy DIY Vintage Christmas Ornaments
Rekindle the magic of Christmas past with these easy DIY vintage ornaments.
On my blog WM Design House, I may sometimes use affiliate links, which means a small commission is earned if you purchase via the link. The price will be the same whether you use the affiliate link or go directly to the vendor’s website using a non-affiliate link. Read my full disclosure policy here.
Vintage Christmas Ornament Ideas
My love affair for all things vintage has led me to create unique Christmas ornaments that whisper stories from the past. Over the years, I’ve transformed simple materials into nostalgic treasures – breathing new life into Dollar Tree plastic ornaments with careful brushstrokes of acrylic paint, delicate vintage embellishments, and hand-painting glass ornament with my personal touch.
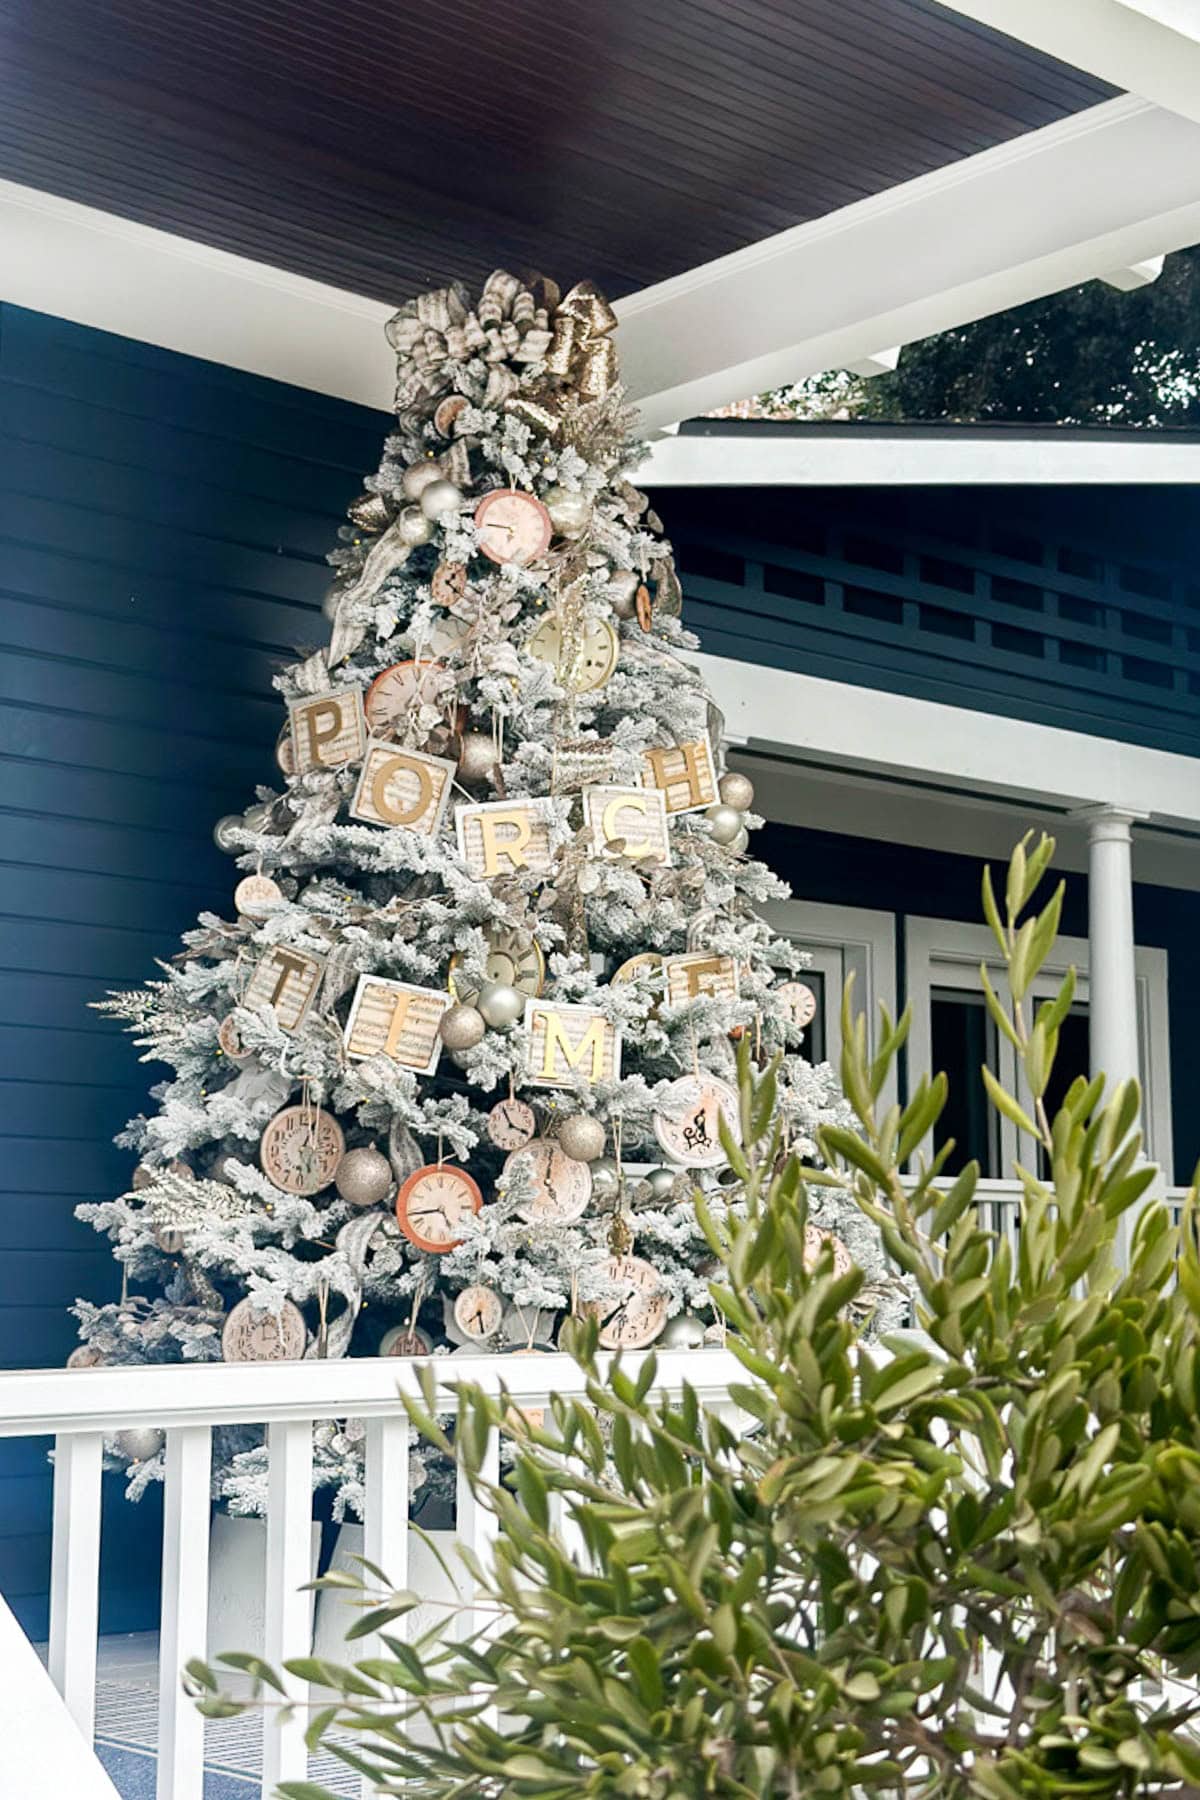
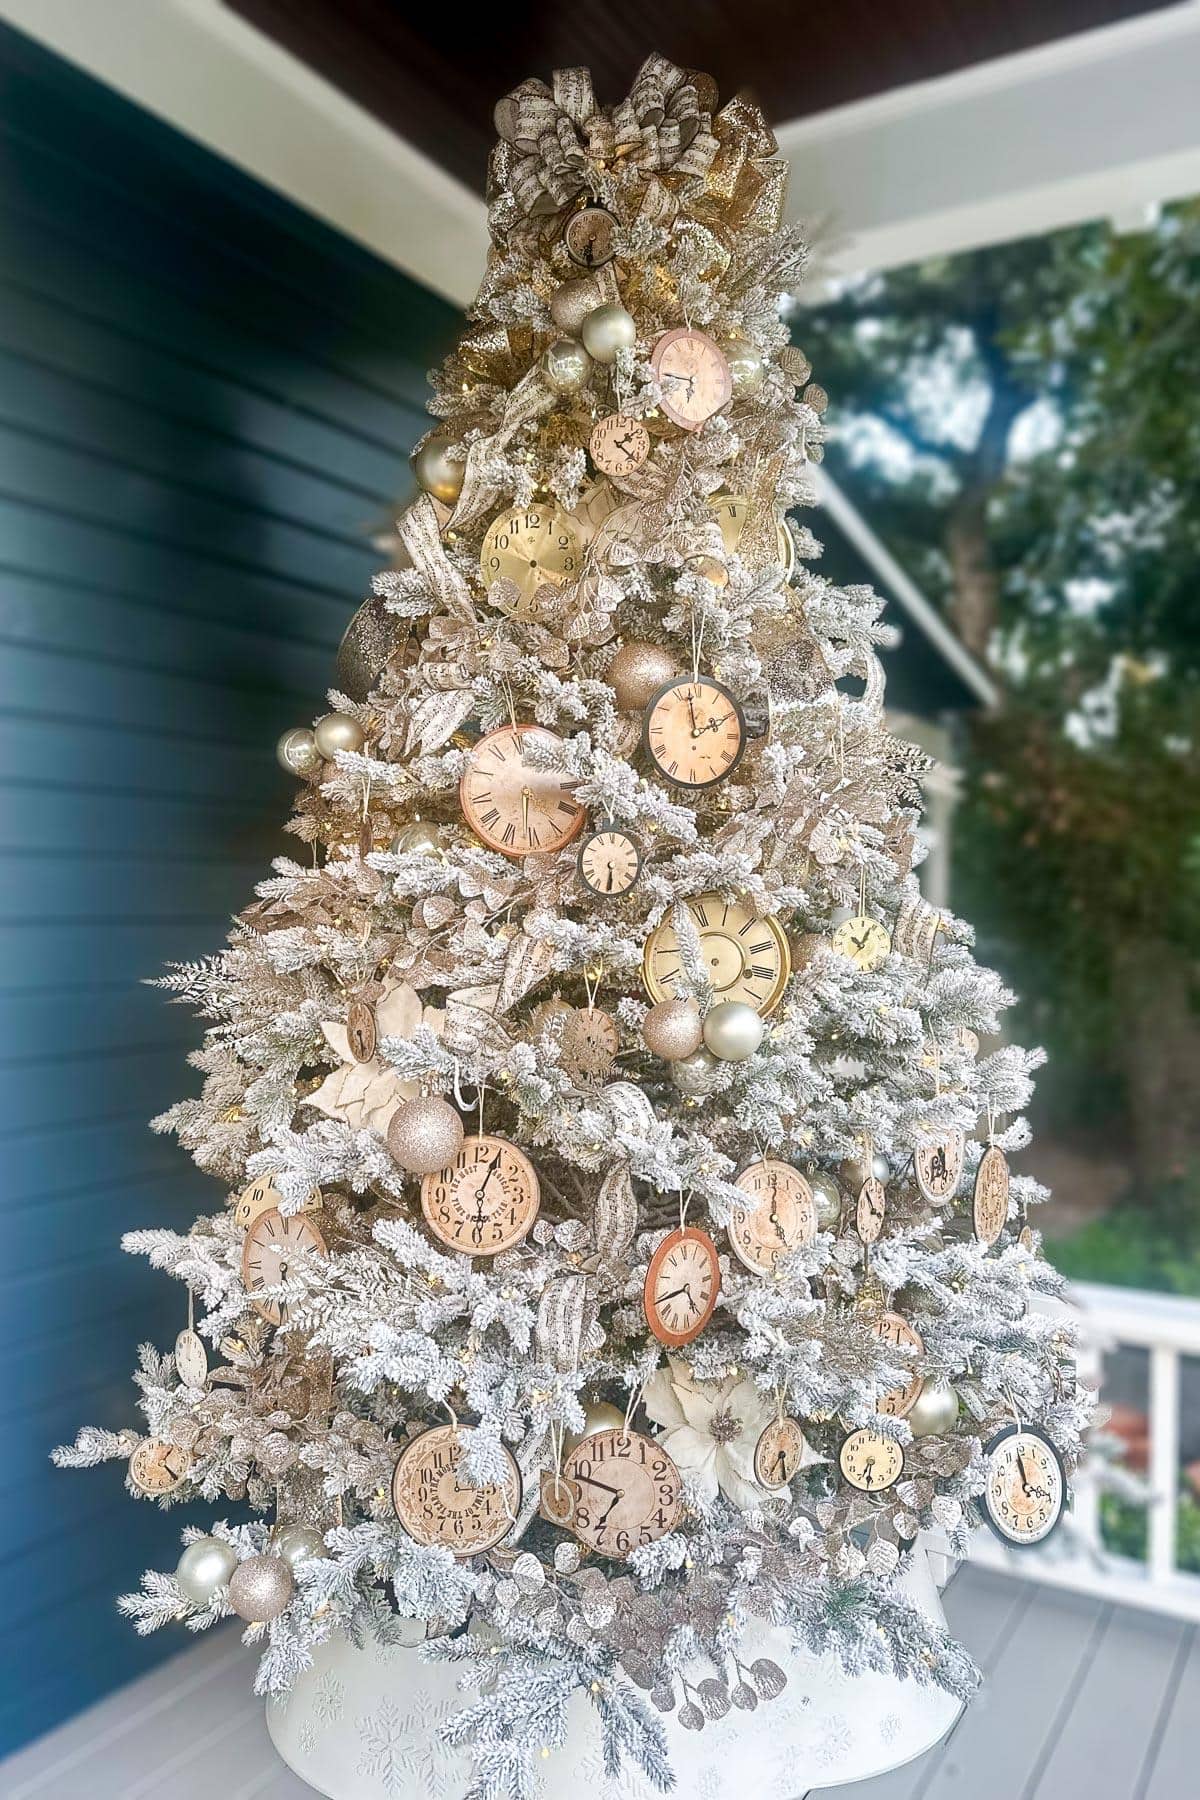
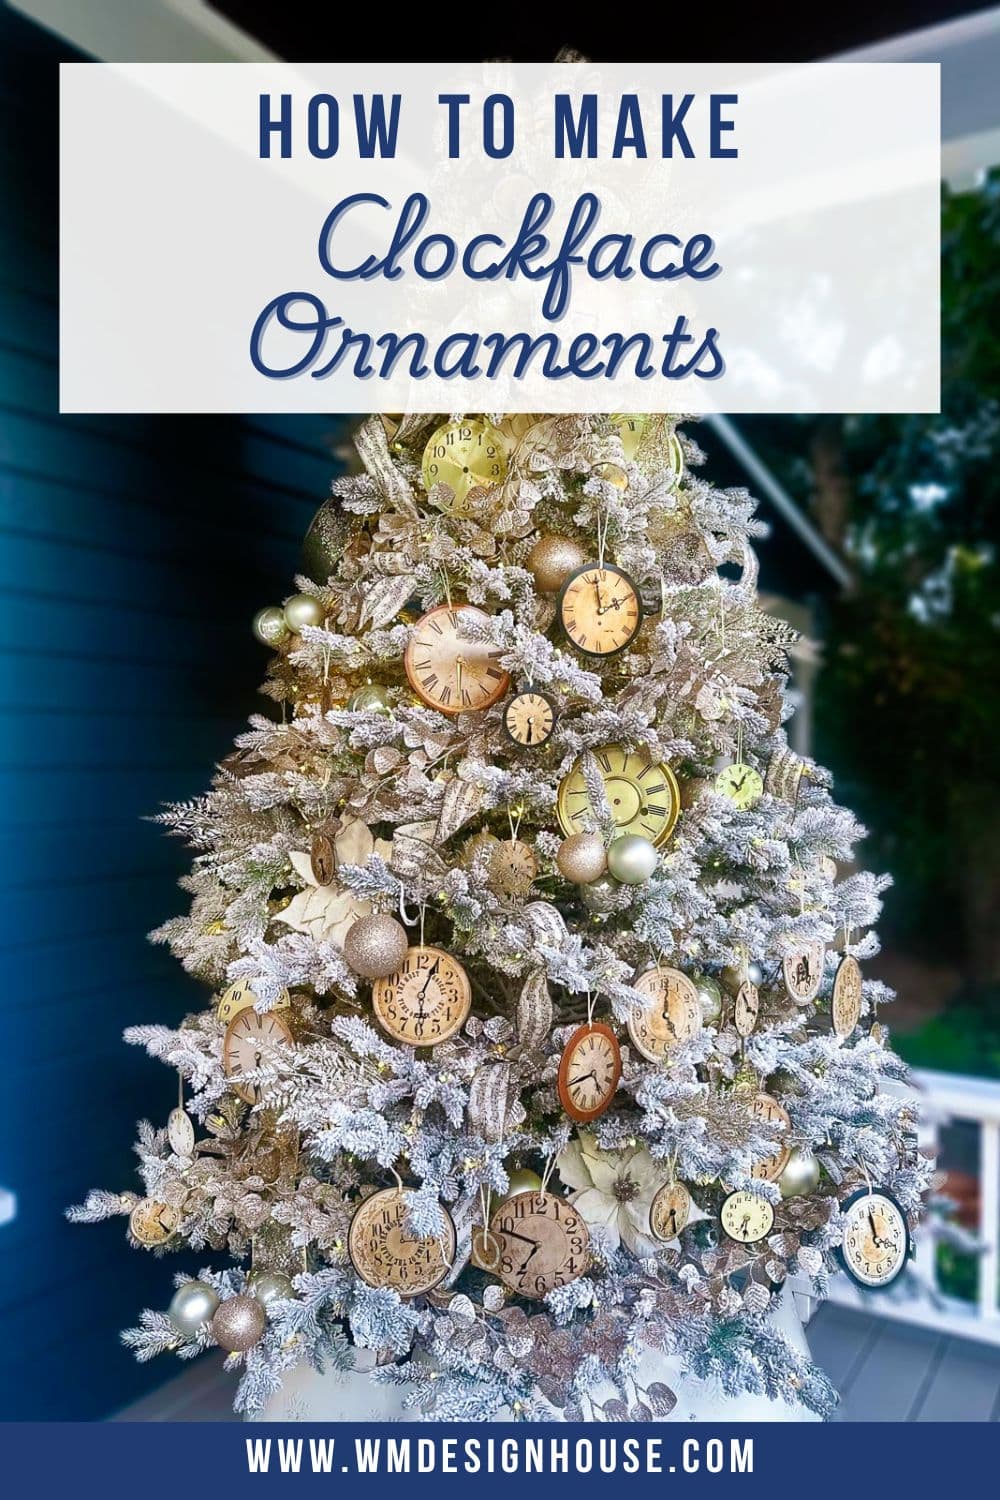
This year’s project holds a special place in my heart. Inspired by my grandfather, a master clockmaker, I’m creating a Christmas tree that celebrates the intricate beauty of vintage timepieces. It felt like fate when I discovered a treasure trove of clock parts at the thrift store. Those gears and dials spoke to me, reminding me of countless hours spent watching my grandfather work his magic.
My majestic 9′ Rushmore King of Christmas Tree needed more ornaments than my thrift store find could help provide, so I channeled my grandfather’s creative spirit and crafted additional pieces that capture the authentic charm of vintage clock faces. Each handmade piece is a tribute to his artistry and the timeless magic of Christmas past.
So, let’s start creating some handmade ornaments that have a vintage feel and will bring the holiday spirit to your Christmas tree this holiday season.
Materials Supply List
Additional Tools You’ll Need
You’ll find most of the supplies at major craft stores like Hobby Lobby, where I did most of my shopping. Check vintage markets, flea markets, estate sales and thrift stores for authentic vintage clock parts. I’ve included shopping links for each item in the supply list below to make shopping easier.
Step-by-Step Guide to Make Clock Face Ornaments
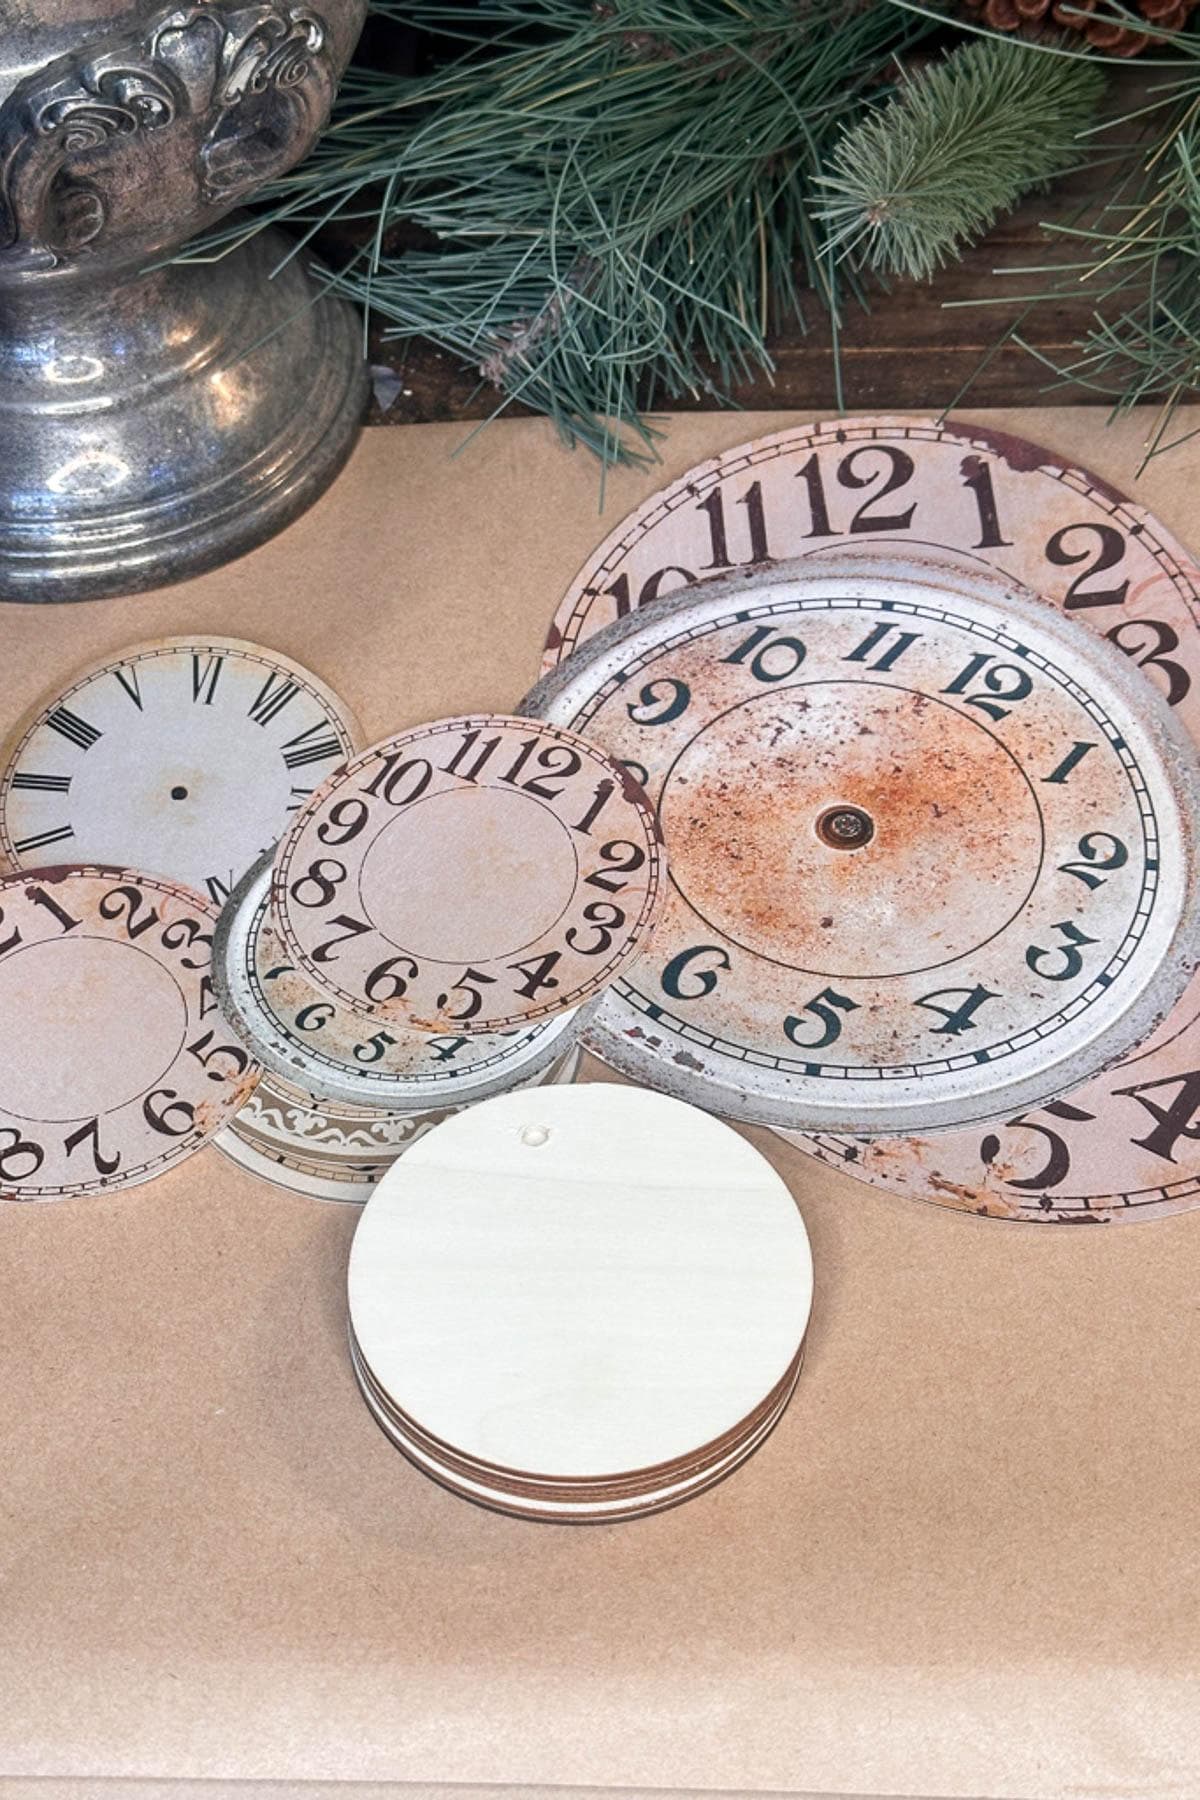
Step 1: Print the clock faces
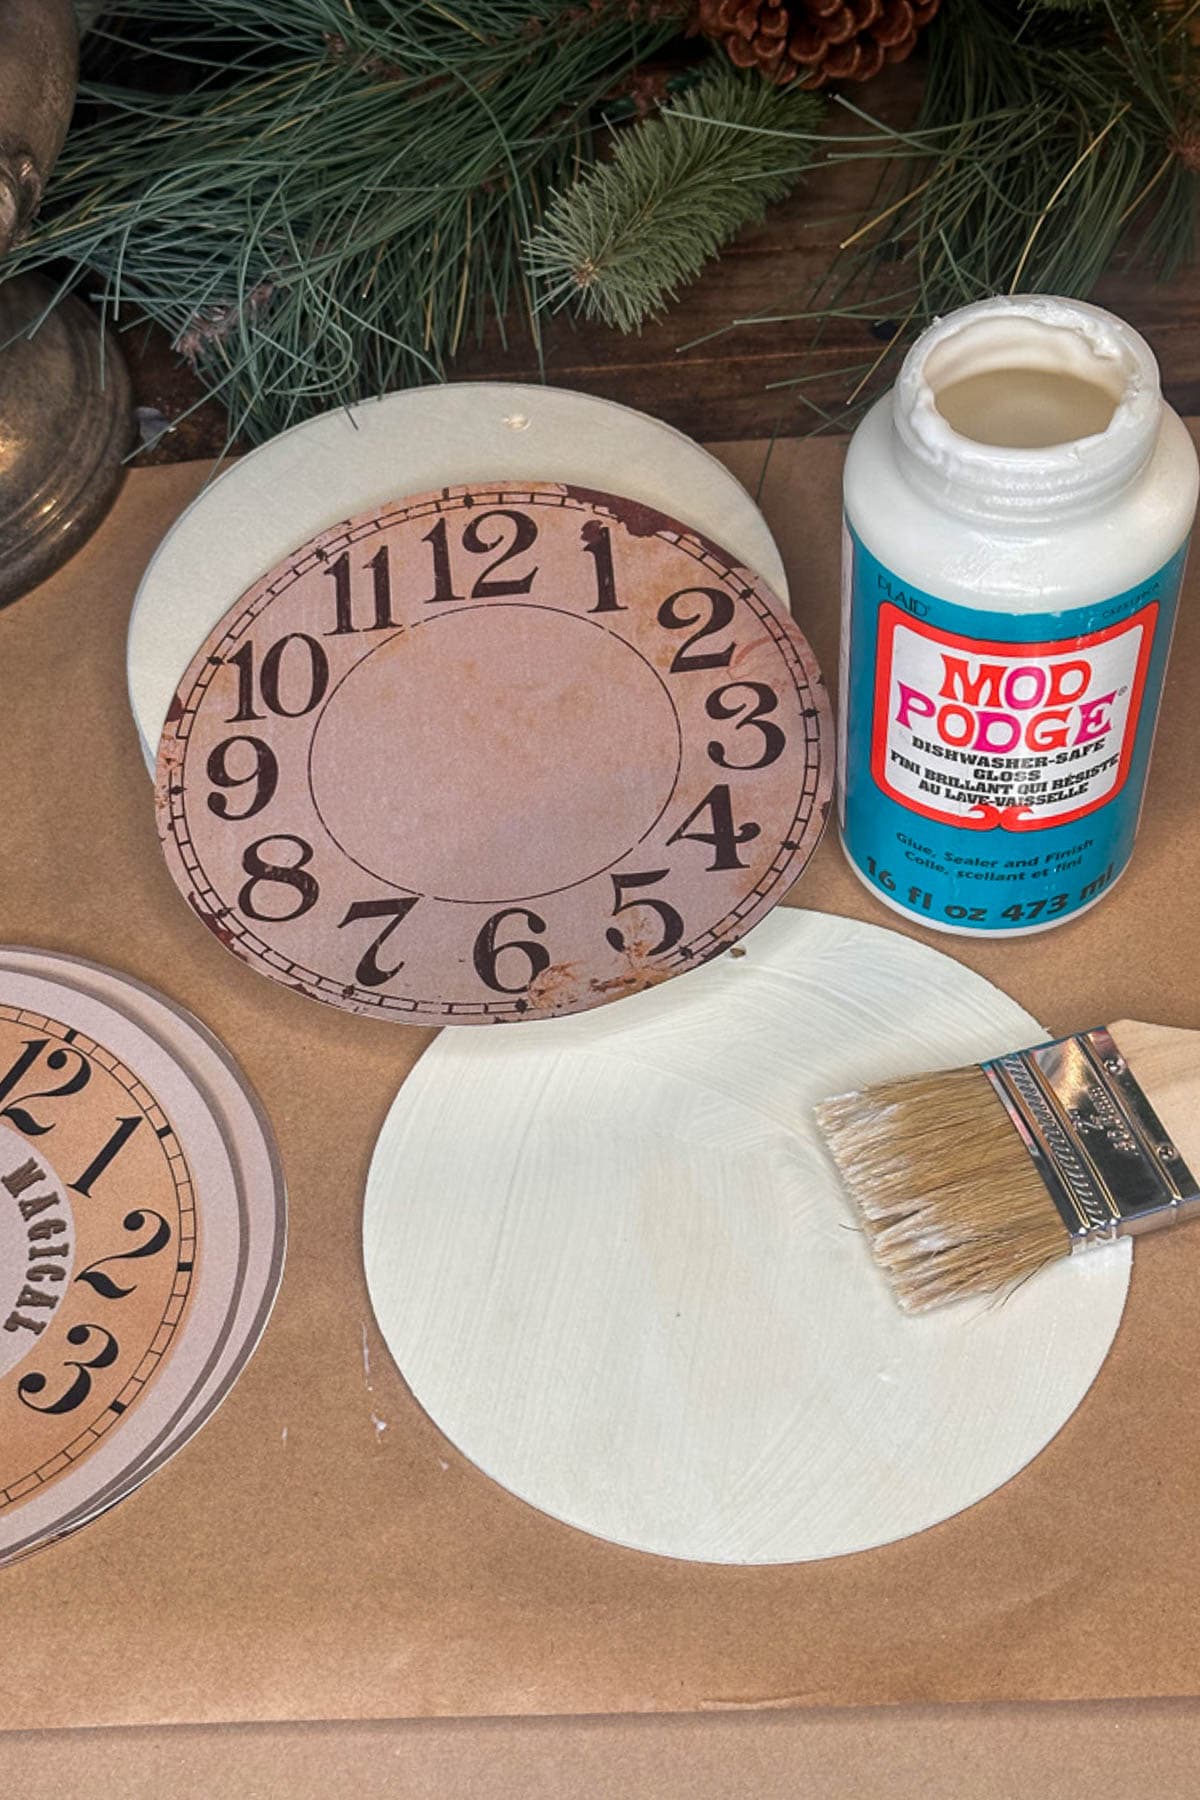
- Print out my FREE printable clock faces and cut them out using sharp scissors.
- Print as many as you need for your tree.
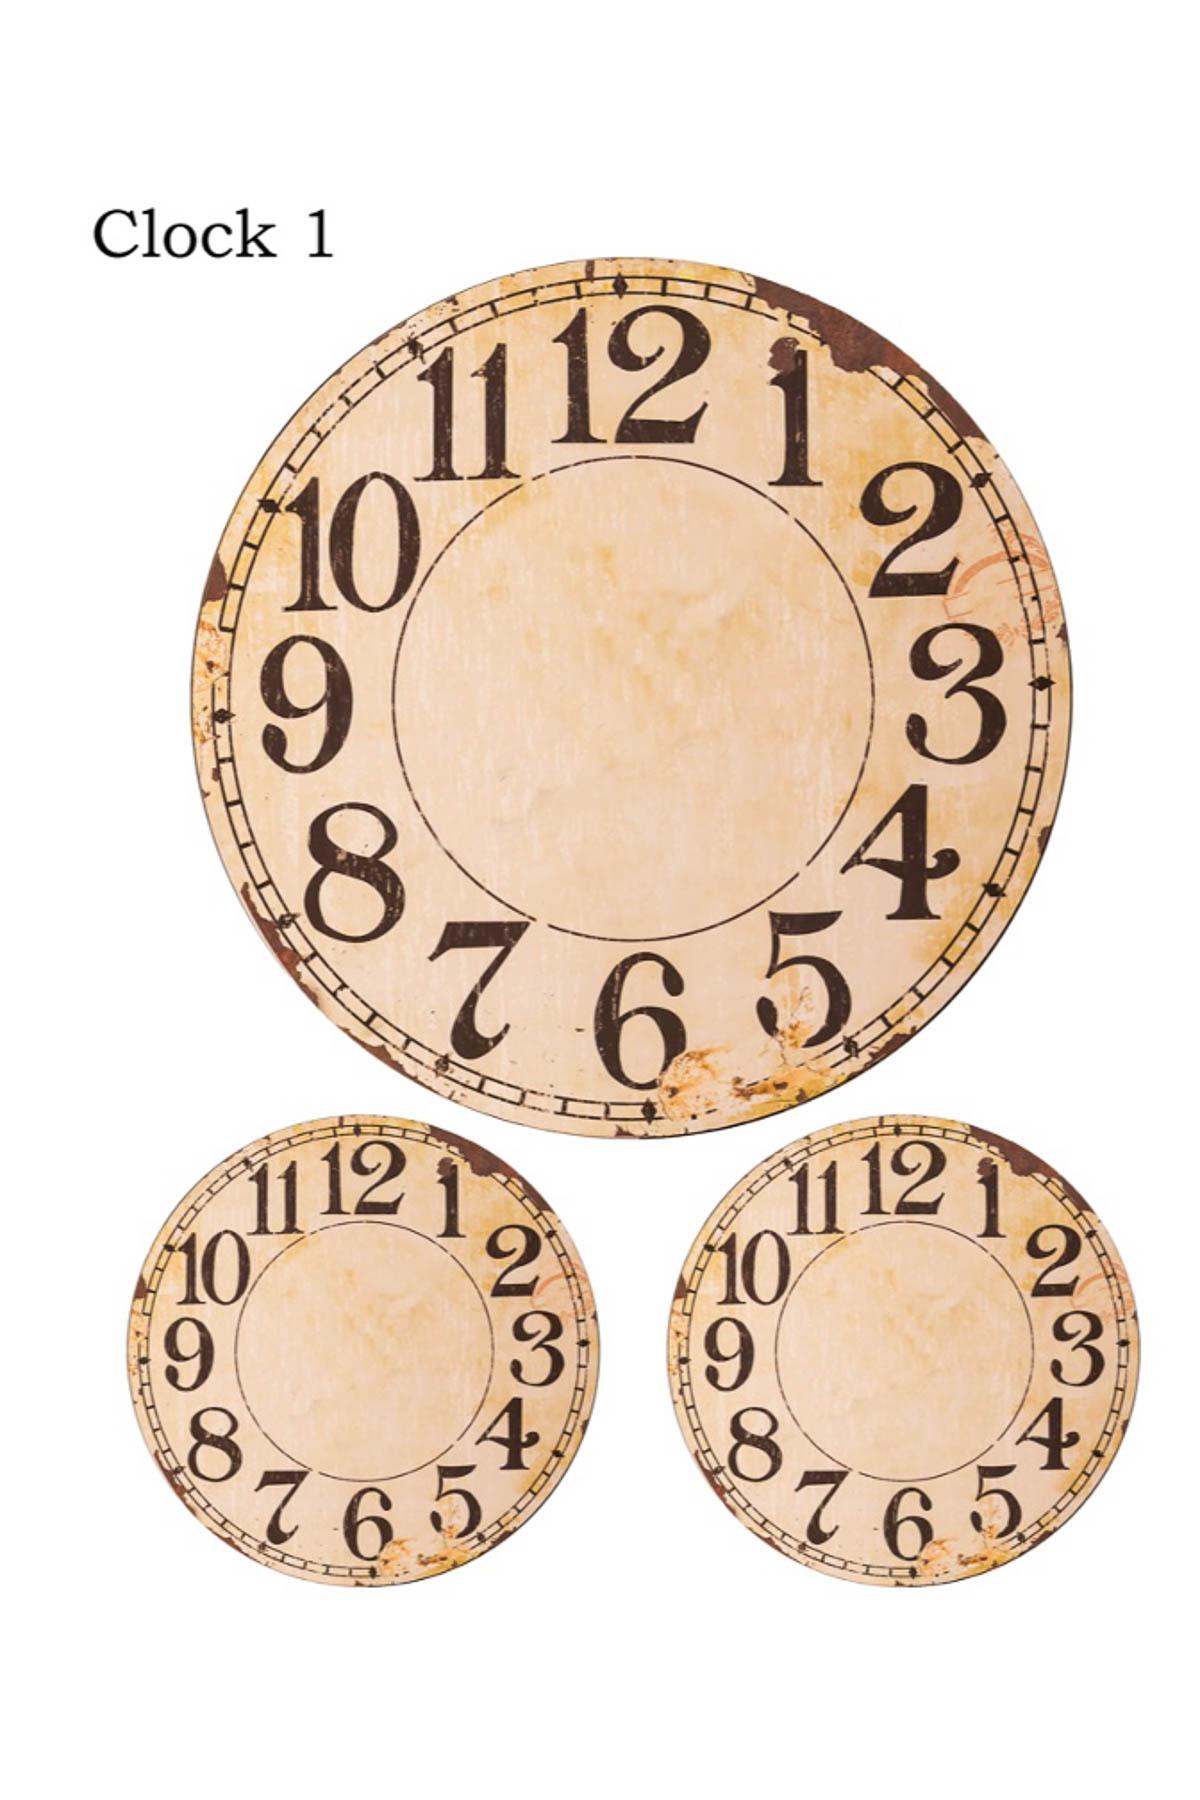
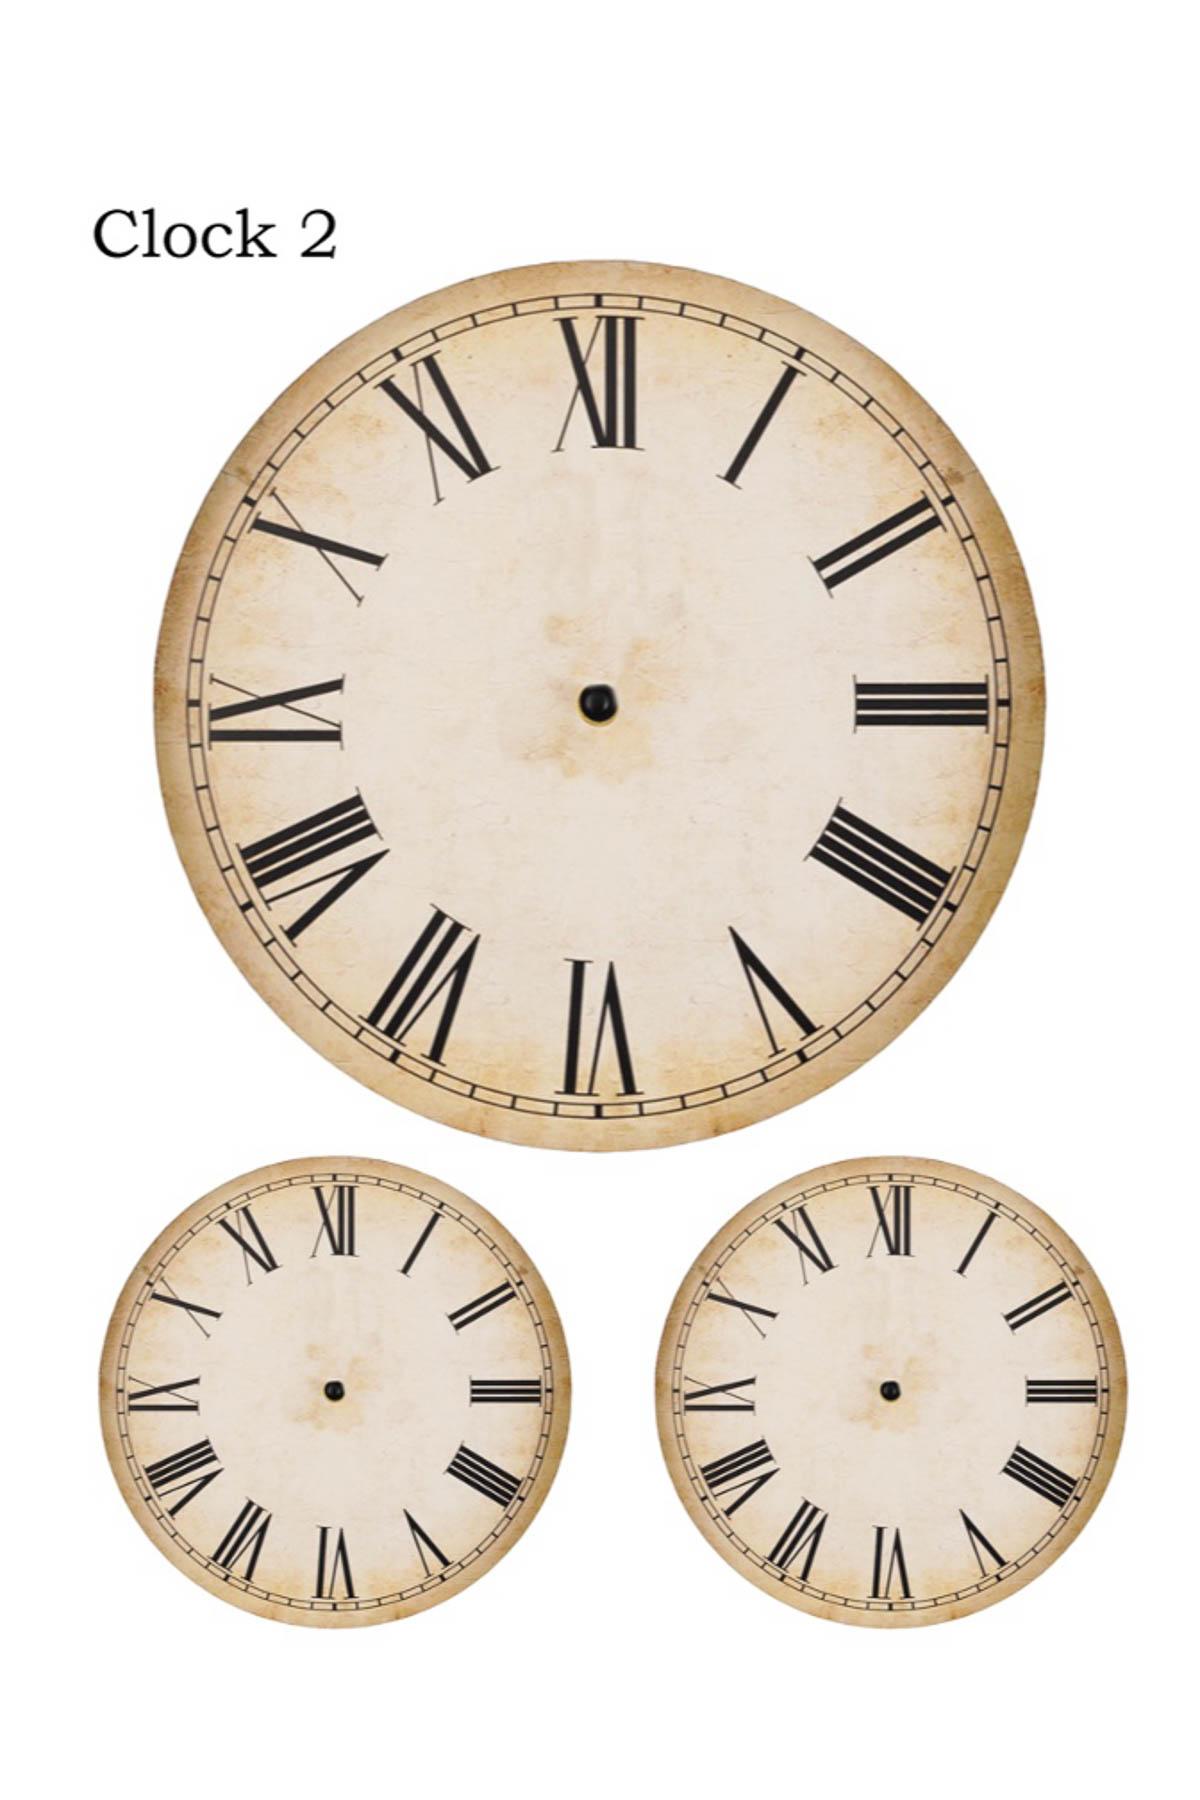
You can also purchase this darling clock face graphic from my friend Bobbie @thefrenchdoorstudio.
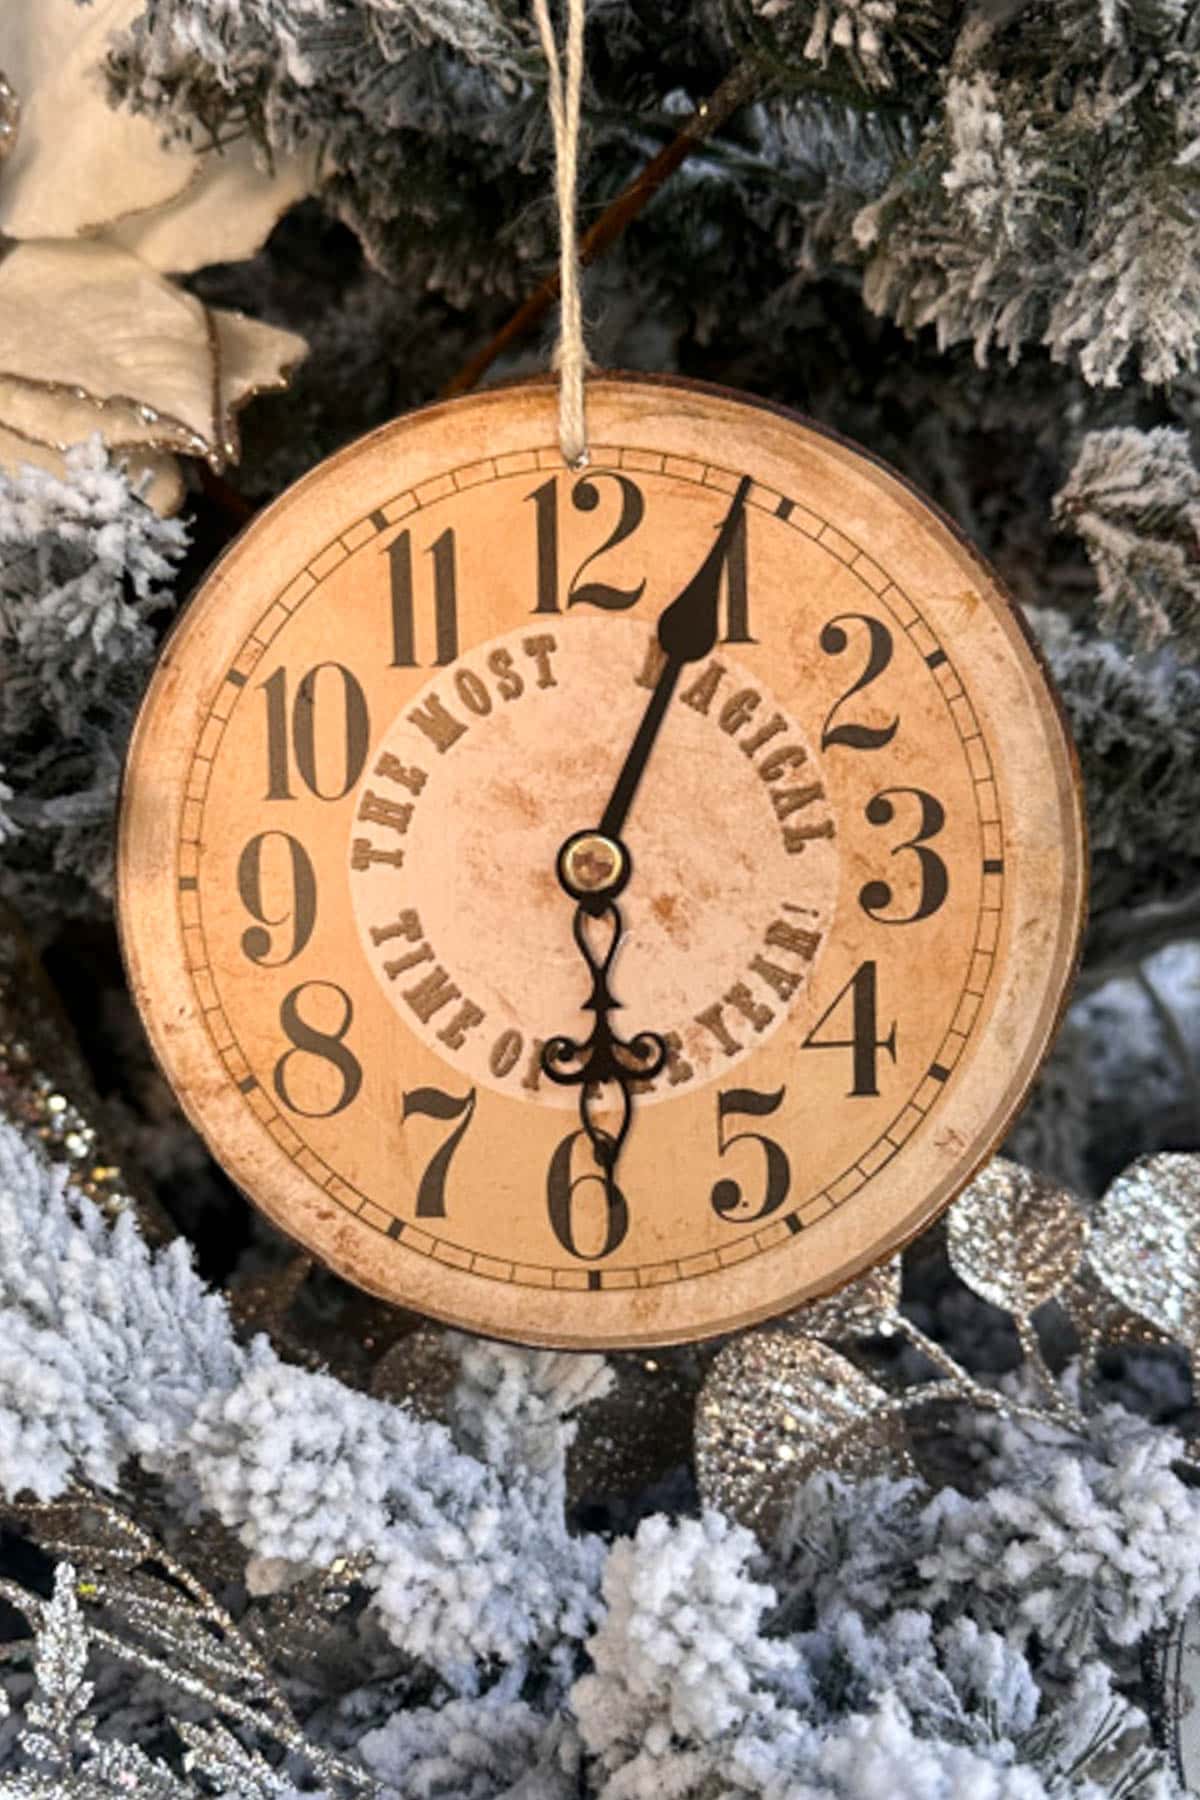
Tip from wendy’s craft room:
Use sharp scissors that are meant for paper. This will give you nice, smooth edges on your clock faces.
Step 2: Choose your ornament base
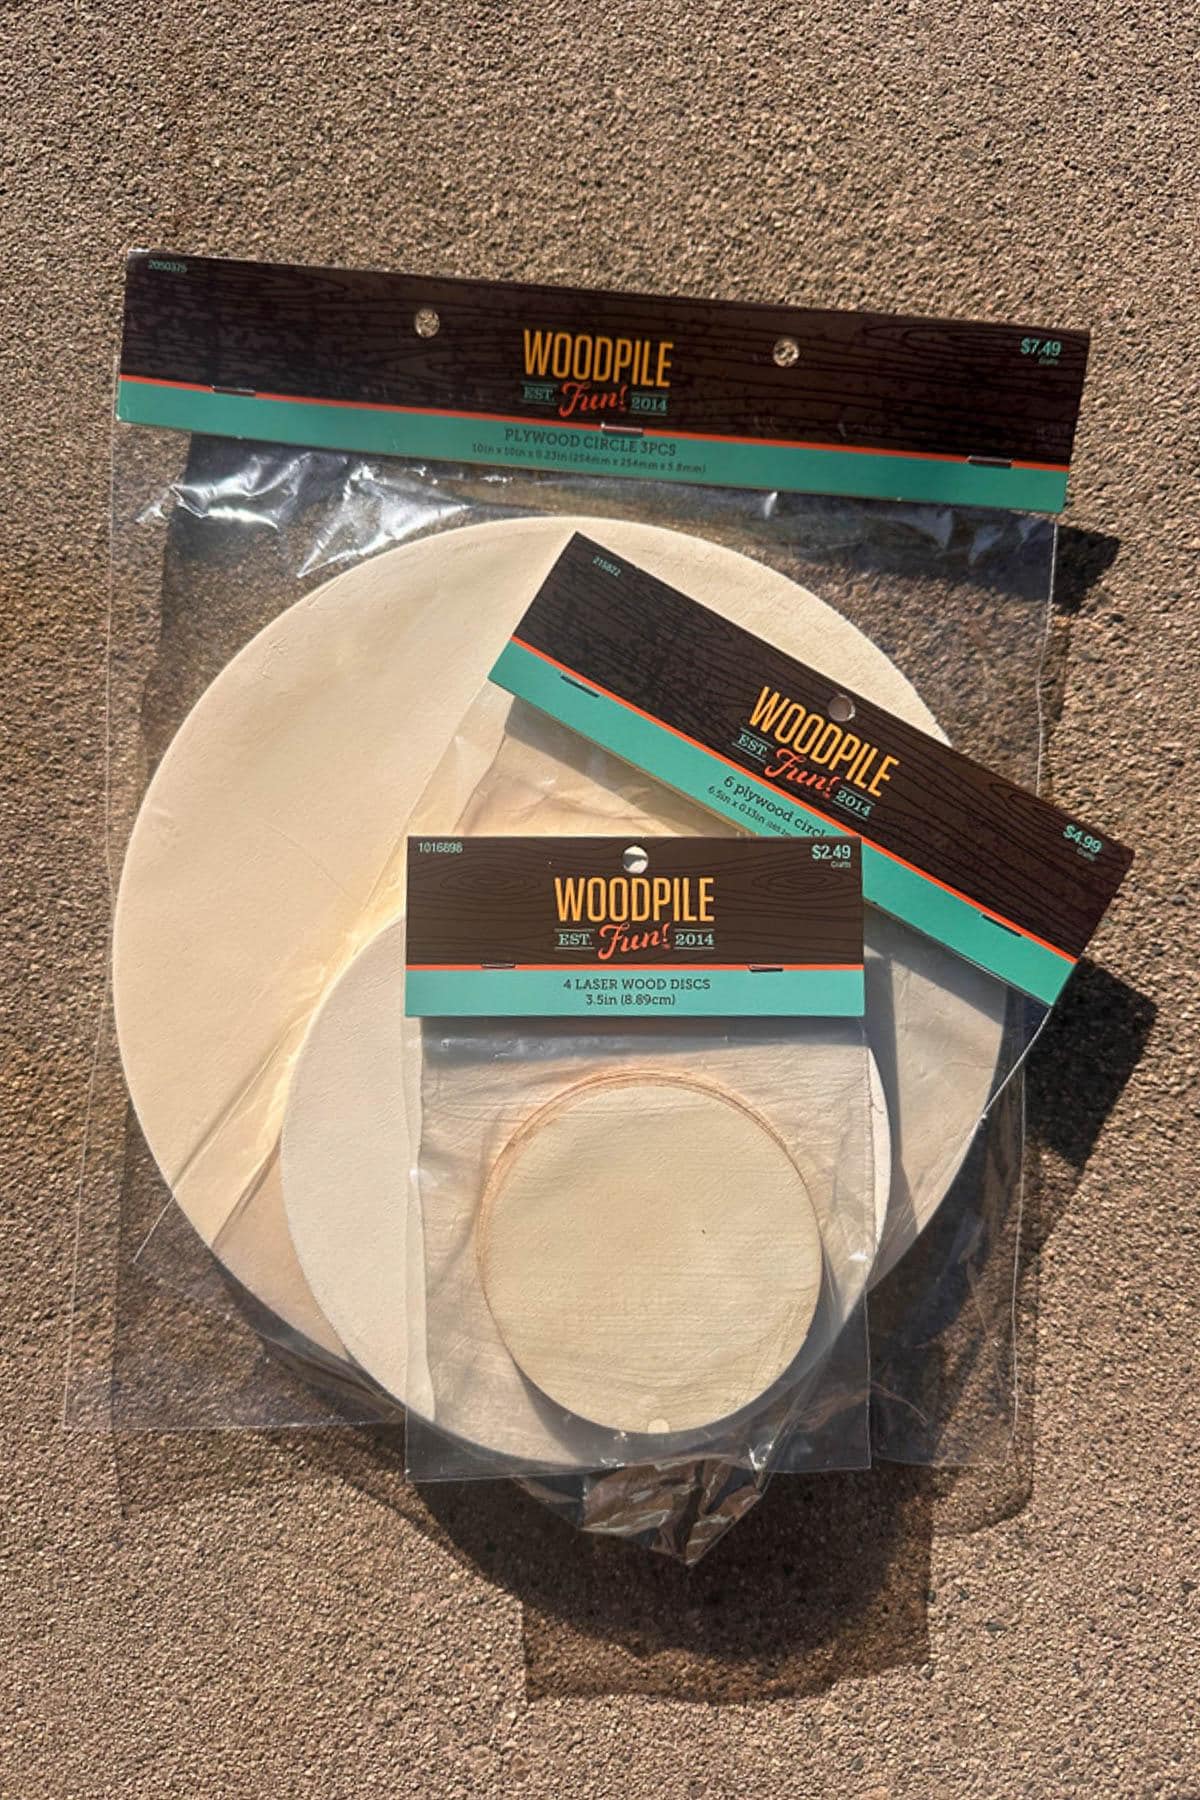
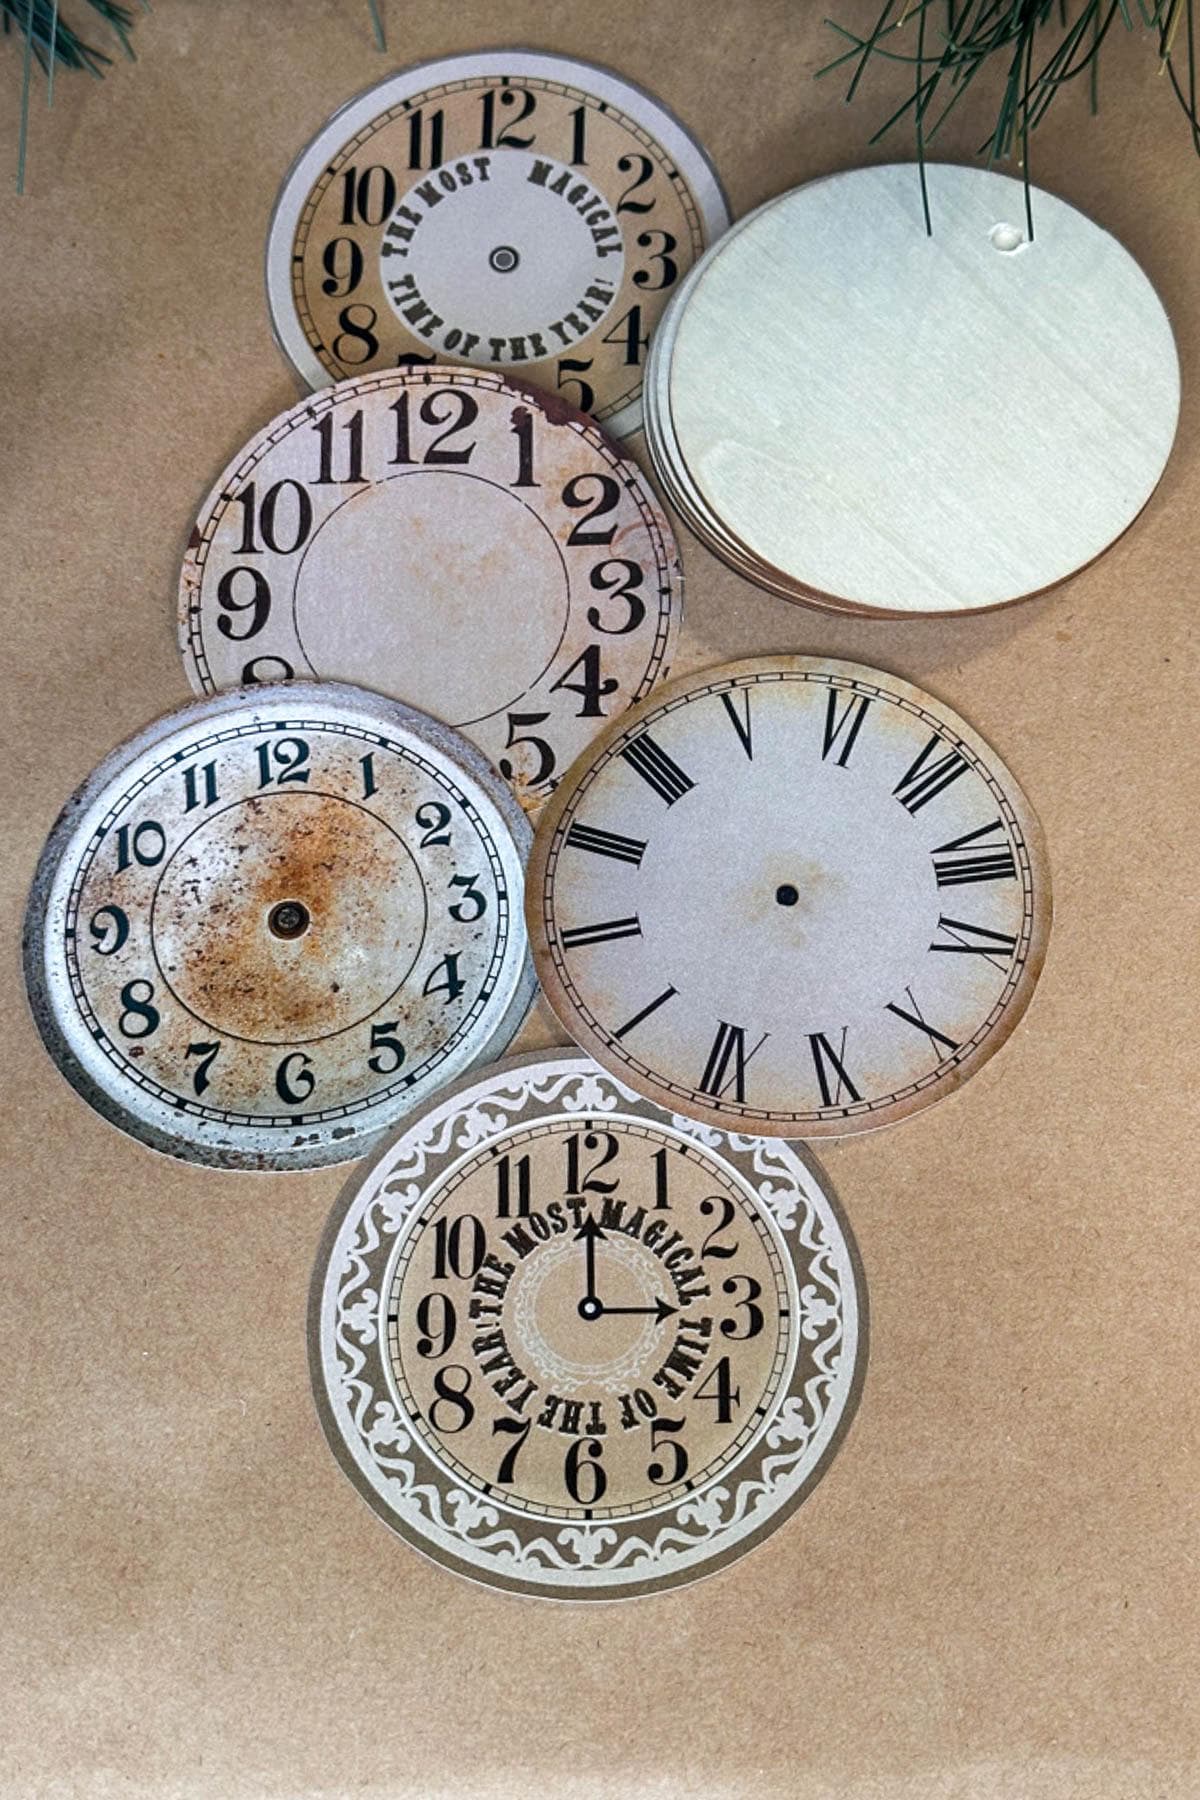
- Decide what kind of base you want to use to make your new ornaments. I purchased wooden discs at the craft store that were 6″ around and 3″ – 3.75″ around. These fit the artwork perfectly. If you use your ornaments inside, you could also use a chipboard as a base.
- In addition, I also purchased a few round paint canvases and a few wood DIY ornaments in a package of 4 that were in the shape of an ornament. Be creative and try different sizes and shapes.
Tip from wendy’s craft room:
If you are using your ornaments outdoors like I did, be sure to use wood bases so the ornaments do not warp.
Step 3: Drill holes in the discs
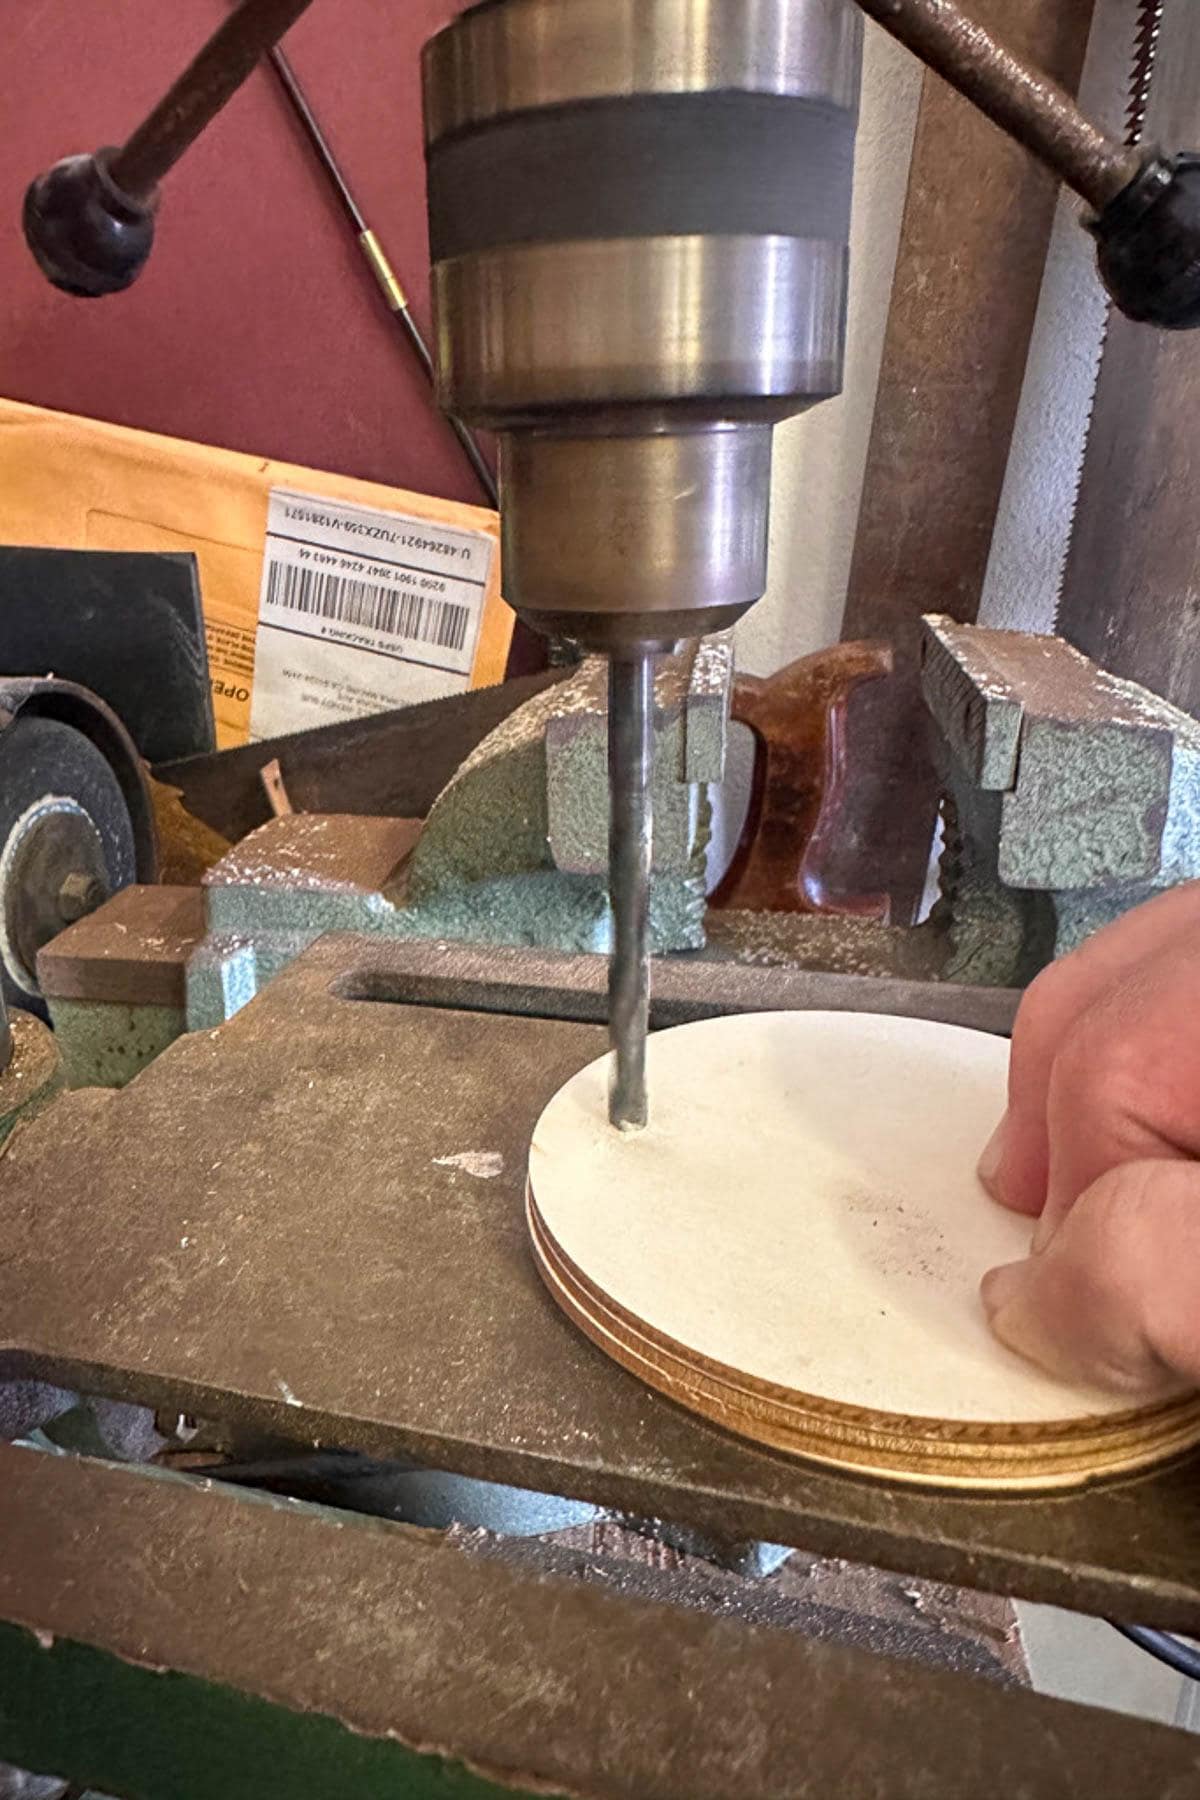
- Using a hand drill or a drill press, drill a small hole at the top of the ornament to run a string through to hang them.
Tip from wendy’s craft room:
Drill multiple holes at one time using a drill press.
Step 4: Prepare the surface
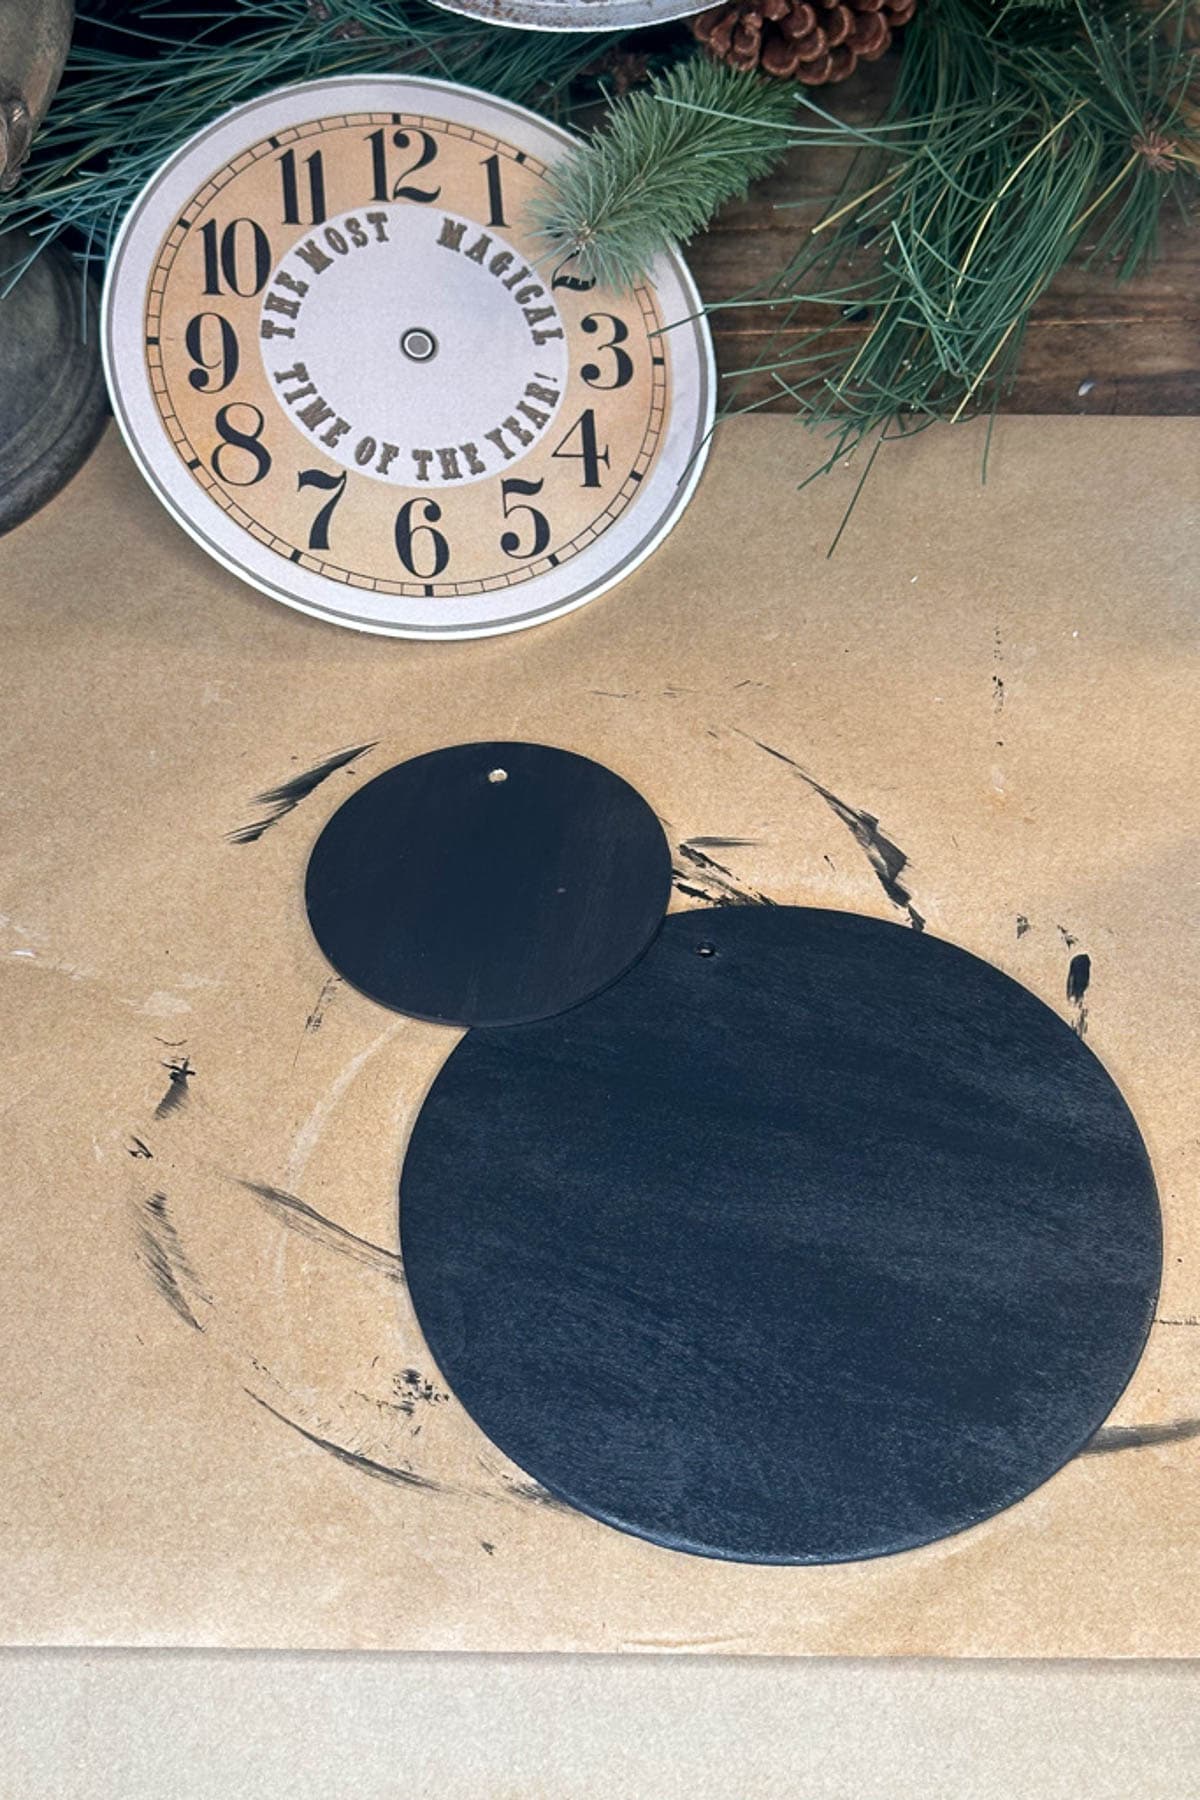
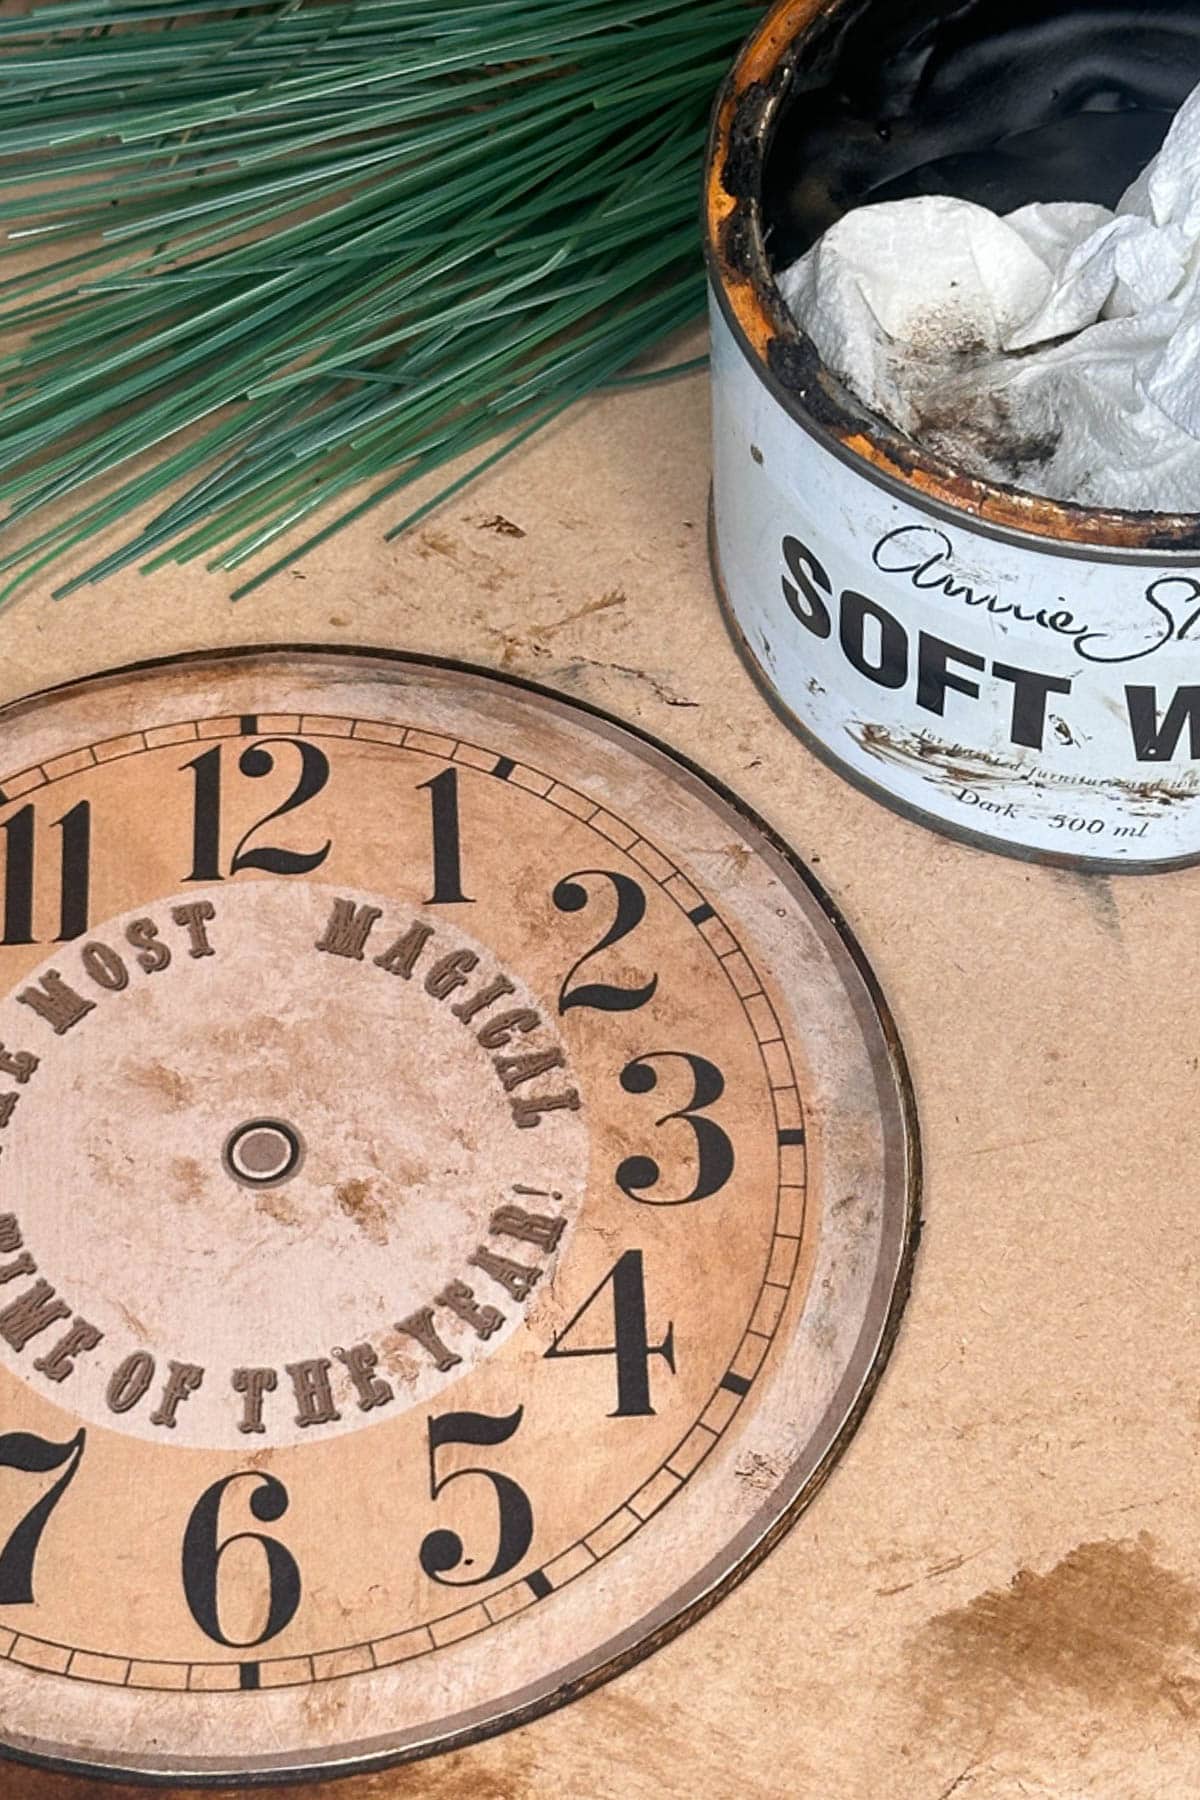
- Choose your paint colors. I used Annie Sloan dark wax and black acrylic craft paint.
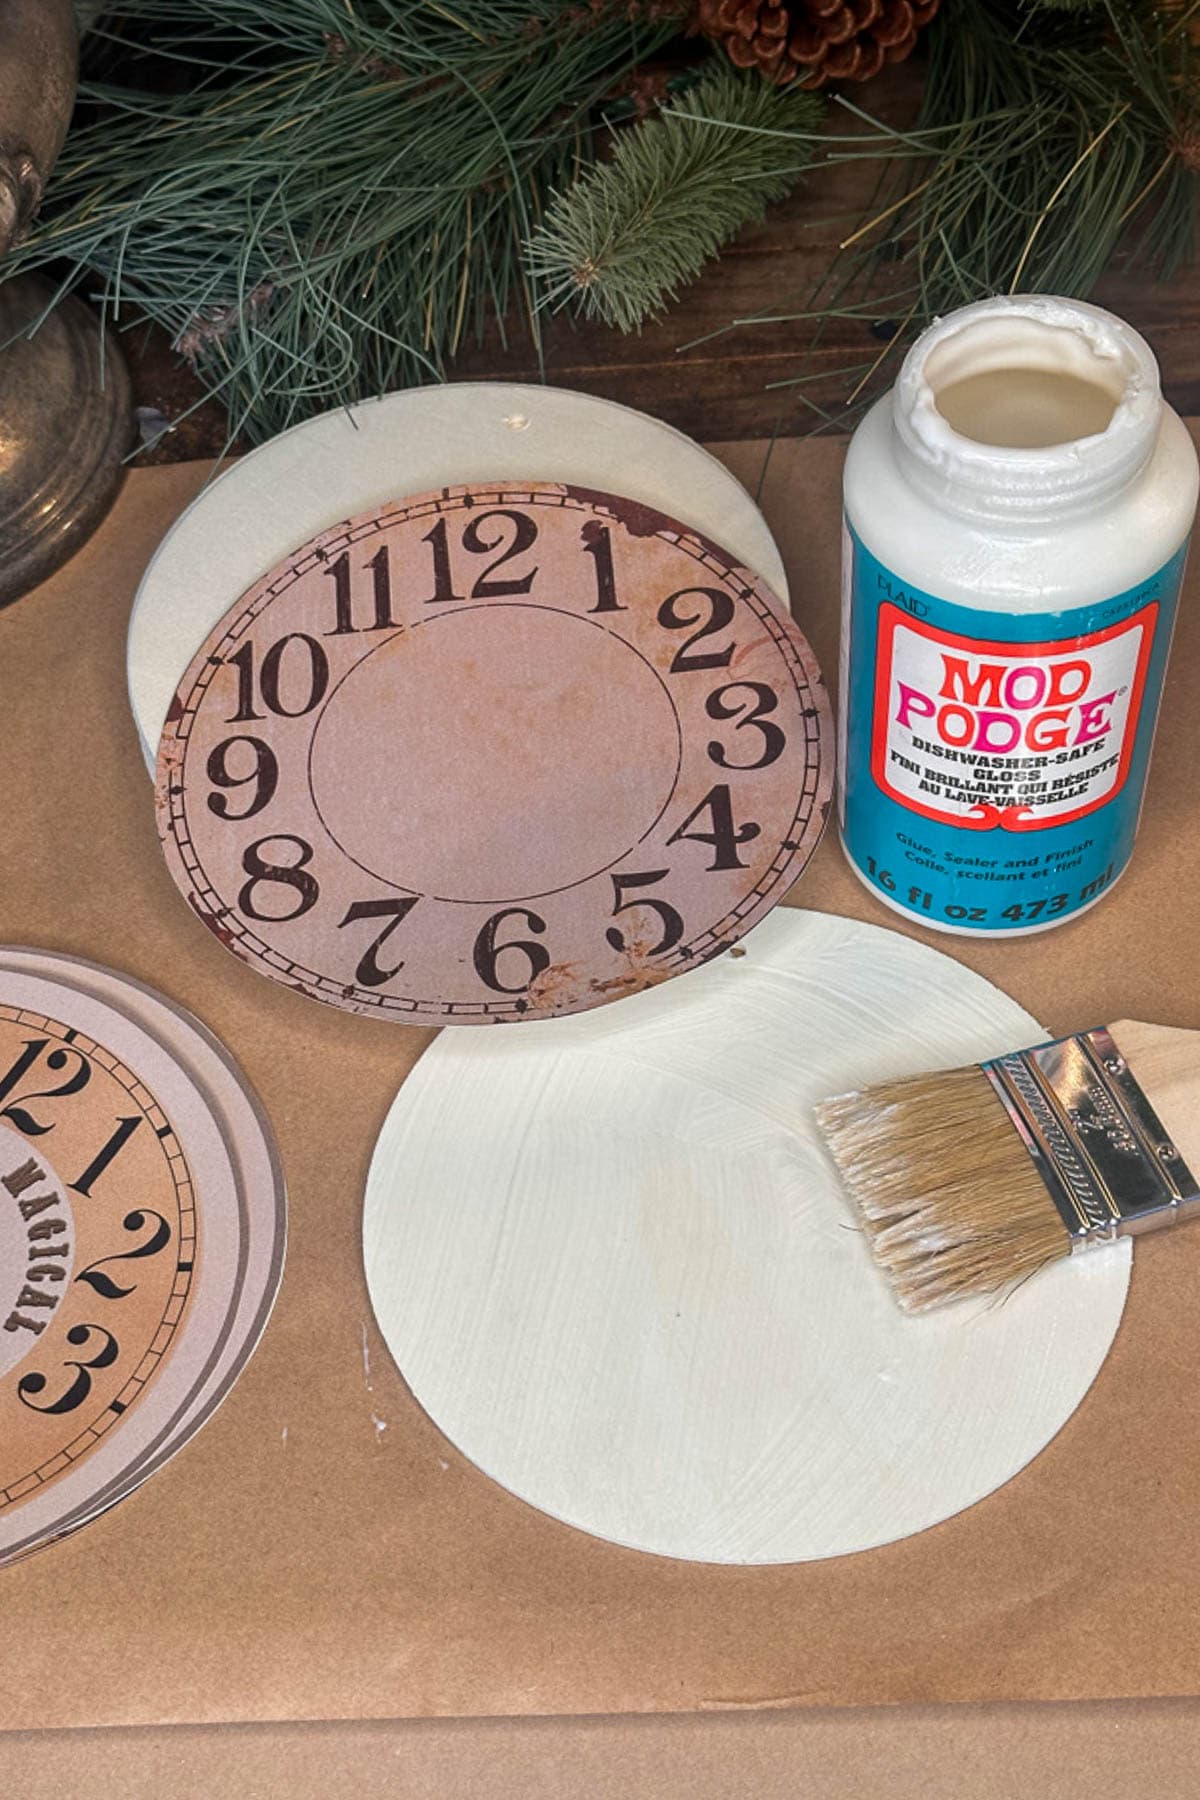
- For the clock faces, I stained them using dark wax, but first, I used Mod Podge to attach the clock faces.
- For the black bases, I painted the entire surface of the disc black on the front and back before adding the clock faces.
- Another idea would be to decoupage the disc before adding the clock face. Use book pages, old sheet music, or a paper napkin.
Tip from wendy’s craft room:
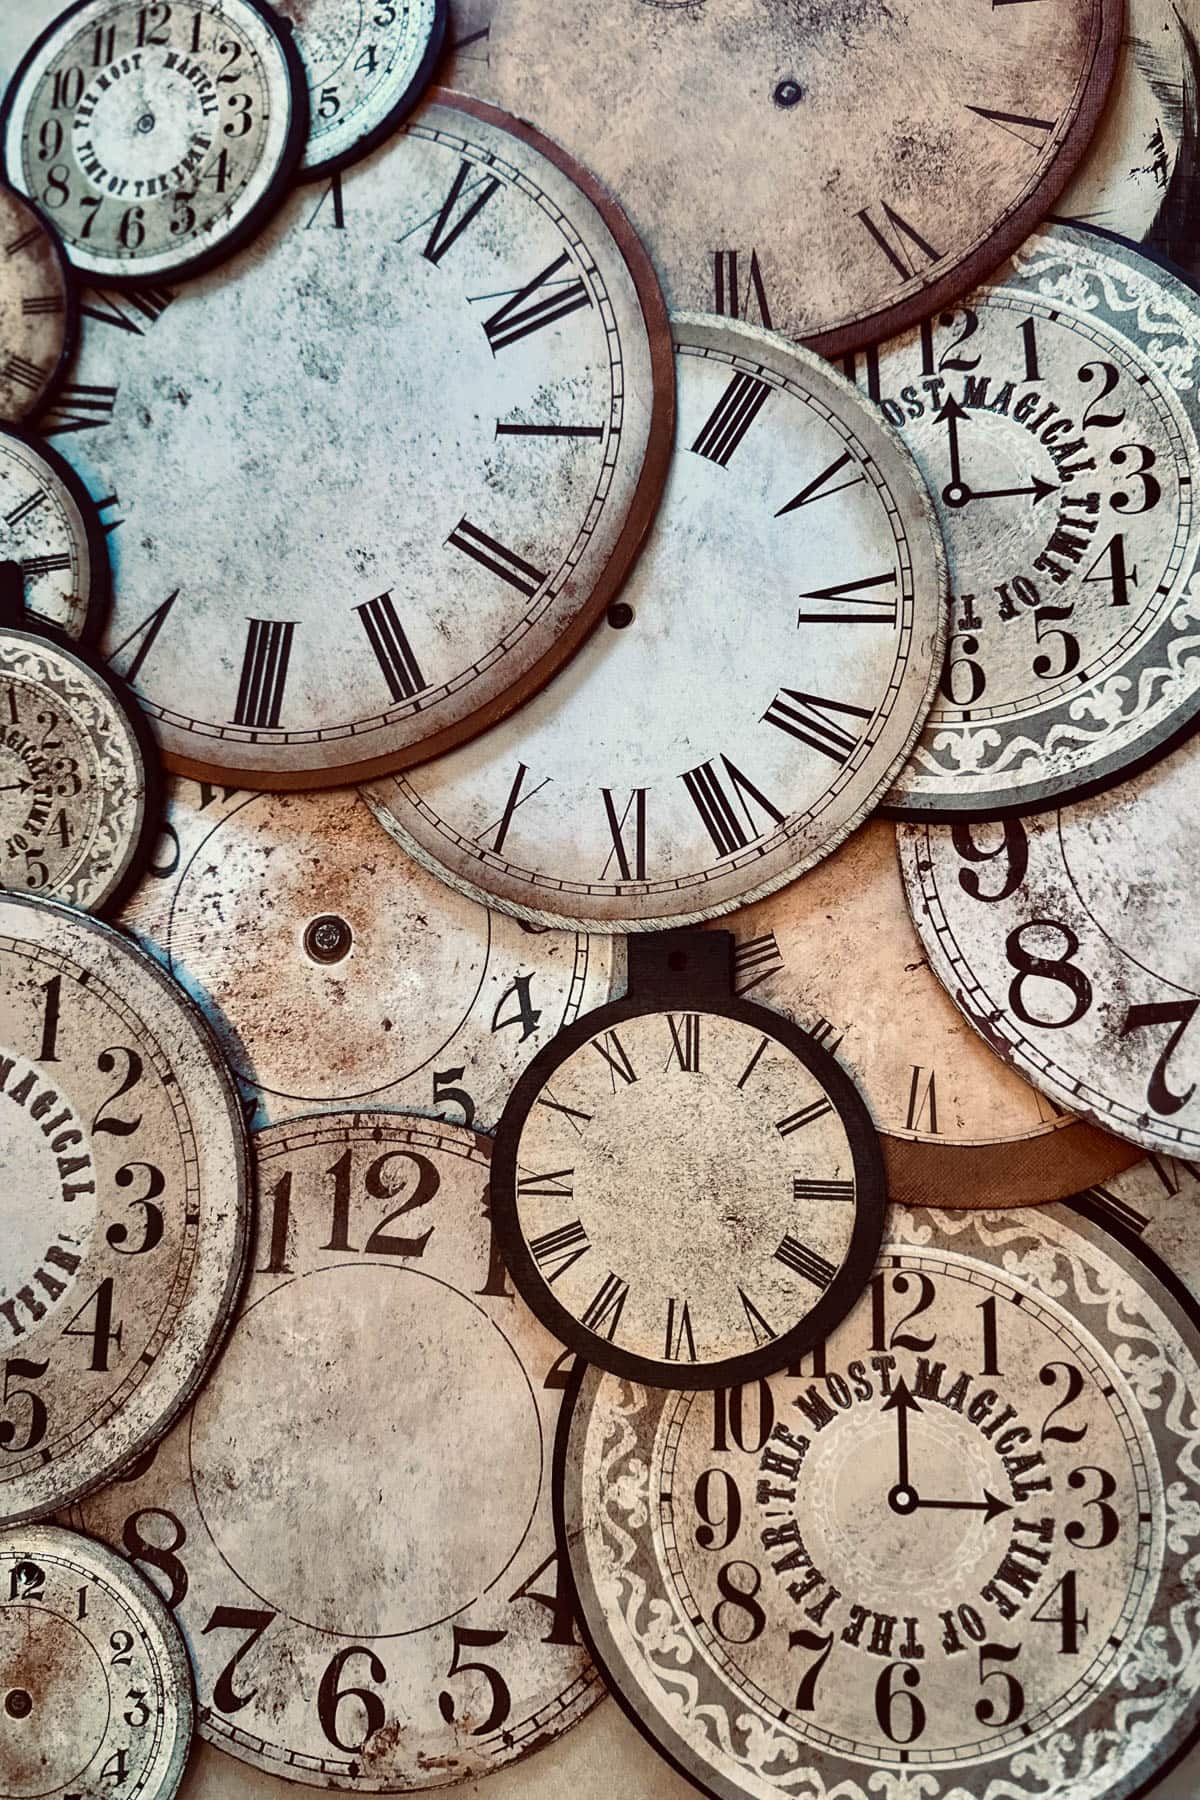
Choose colors that go with your home or your Christmas theme. I wanted a neutral palette, so I went with black, white and gold.
Step 5: Adding a vintage look
Antiquing with wax:
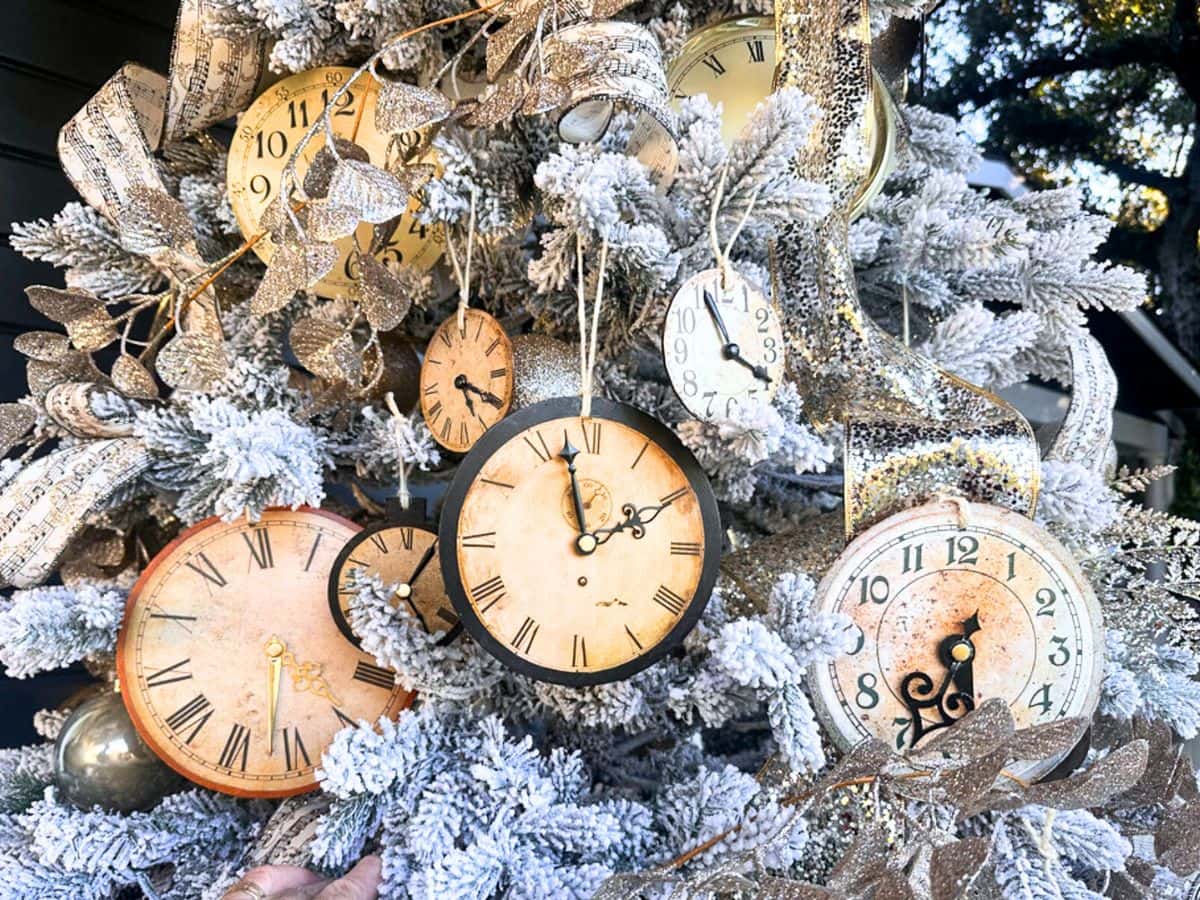
- Using the dark wax, add a bit to a cloth and dab it onto the clock face to distress the ornament. (to get a darker color, add a second layer after the first layer dries)
- In addition, using various colors of archival ink pads is a great way to add additional distressing and dimension.
Add Clock Hands:
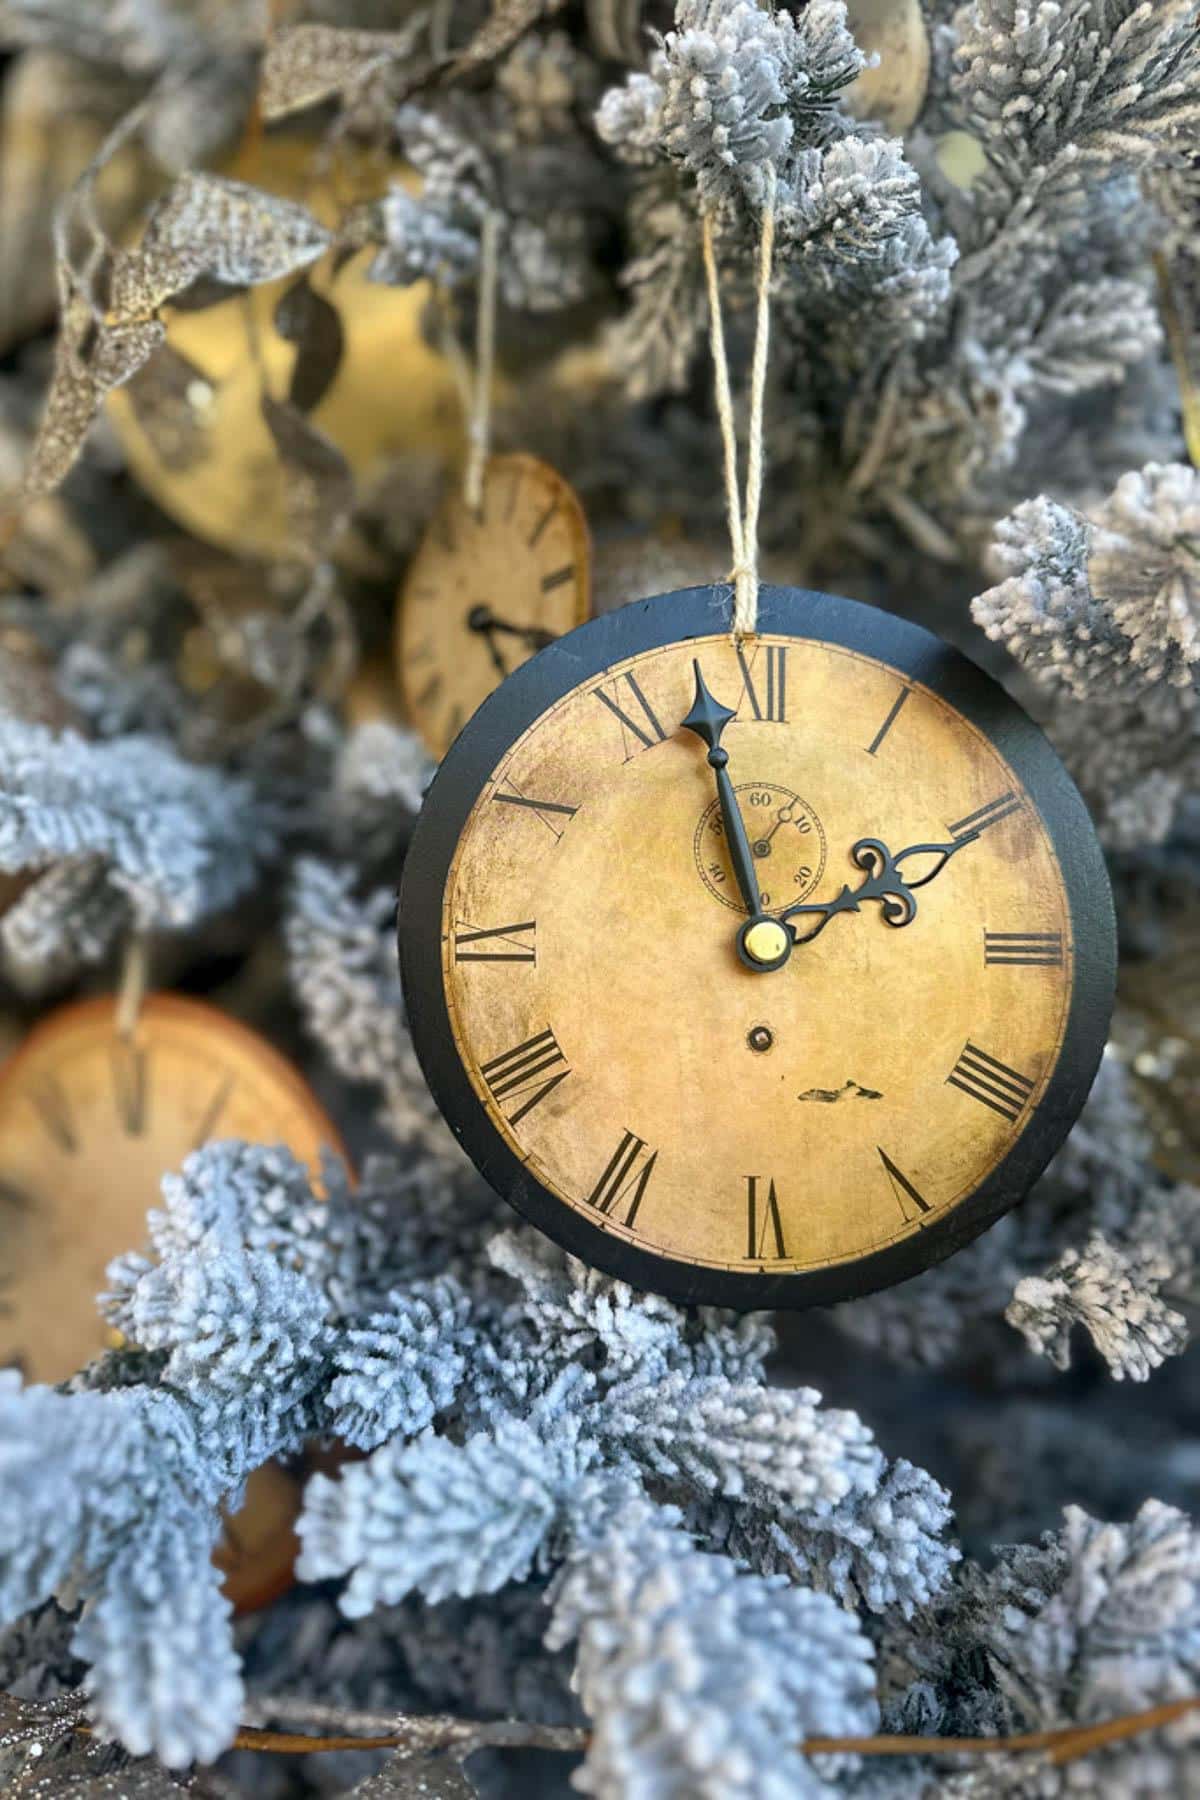
- Use vintage clock hands if you can. If not, you can always use new ones or print them and cut them out.
- I drilled a hole in the middle of the disc, placed my clock hands over the hole, and put a brad through the hole.
- Add a few hot glue dots to the back to secure the brad.
Step 6: Finishing touches
- Once your clock faces are complete, spray them with a clear sealer to protect them for years.

DIY Vintage Ornaments with Old Clock Faces
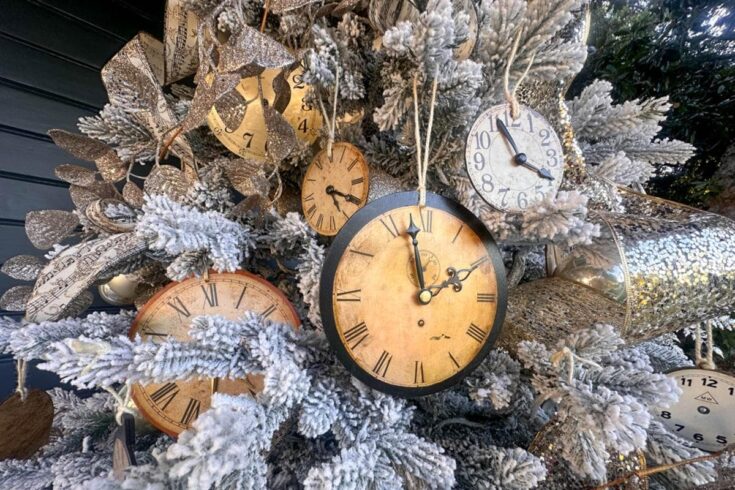
A fun tutorial on how to make DIY Vintage Christmas ornaments with clock faces.
Materials
- Print out my FREE CLOCK FACE PRINTABLES
- Round wood discs or canvas discs
- Wood ornament shapes
- Mod podge
- Archival ink
- Twine or ribbon
- Clock hands
- Gold brads
- Black craft paint
- Clear spray sealer
- Foam brush
- Paper towel
- Dark wax
Tools
- Drill
- Hot glue gun
- Scissors
Instructions
- Step 1: Print the Clock Faces: Make as many copies as needed of my FREE CLOCK FACE PRINTABLES.
- Step 2: Choose Your Ornament Base
- Decide what kind of base you want to use to make your new ornaments. I purchased wooden discs at the craft store that were 6.5" around and 3.5" around. These fit the artwork perfectly.
- In addition, I also purchased a few round paint canvases and a few wood DIY ornaments in a package of 4 that were in the shape of an ornament. Be creative and try different sizes and shapes.
- . Step 3: Drill holes in the discs:
- Using a hand drill or a drill press, drill a small hole at the top of the ornament to run a string through to hang them.
- Step 4: Prepare the Surface
- Choose your paint colors. I used Annie Sloan dark wax and black acrylic craft paint.
- For the clock faces, I stained them using dark wax, but first, I used Mod Podge to attach the clock faces.
- For the black bases, I painted the entire surface of the disc black on the front and back before adding the clock faces.
- Another idea would be to decoupage the disc before adding the clock face. Use book pages, old sheet music, or a paper napkin.
- Step 5: Adding a Vintage look:
- Antiquing with wax:
- Using the dark wax, add a bit to a cloth and dab it onto the clock face to distress the ornament. (to get a darker color, add a second layer after the first layer dries)
- Using various colors of the archival ink pads is a great way to add additional distressing and dimension.
- Add Clock Hands:
- Use vintage clock hands if you can. If not, you can always use new ones or print them and cut them out.
- I drilled a hole in the middle of the disc, placed my clock hands over the hole, and put a brad through the hole.
- Add a few hot glue dots to the back to secure the brad.
- Step 6: Embellishing:
- The perfect way to add a little glitz is with glitter! So fun and easy.
- You can also add some other vintage pieces you may have collected from old jewelry or trimmings from your craft closet.
- Step 6: Finishing touches:
- Once your clock faces are complete, spray them with a clear sealer to protect them for years.
Additional Tips and Ideas
- Personalization: Add a name to the front or back of your vintage-inspired ornaments.
- Write a heartfelt message expressing your love, appreciation, or well wishes on the back of the ornament.
- Be sure to add a date to your tree ornament.
- Gift-Giving:
- Choose a small, decorative gift bag that complements the vintage style of the ornament. Look for bags with vintage patterns, colors, or textures.
- Place the ornament inside the bag using tissue paper, protecting it from damage.
- Tie a ribbon around the top of the bag, securing it with a bow. Choose a ribbon that matches the color scheme of the bag or the ornament.
How to Style Your Own Vintage Christmas Ornaments
- Incorporate them into your Christmas tree decorations:
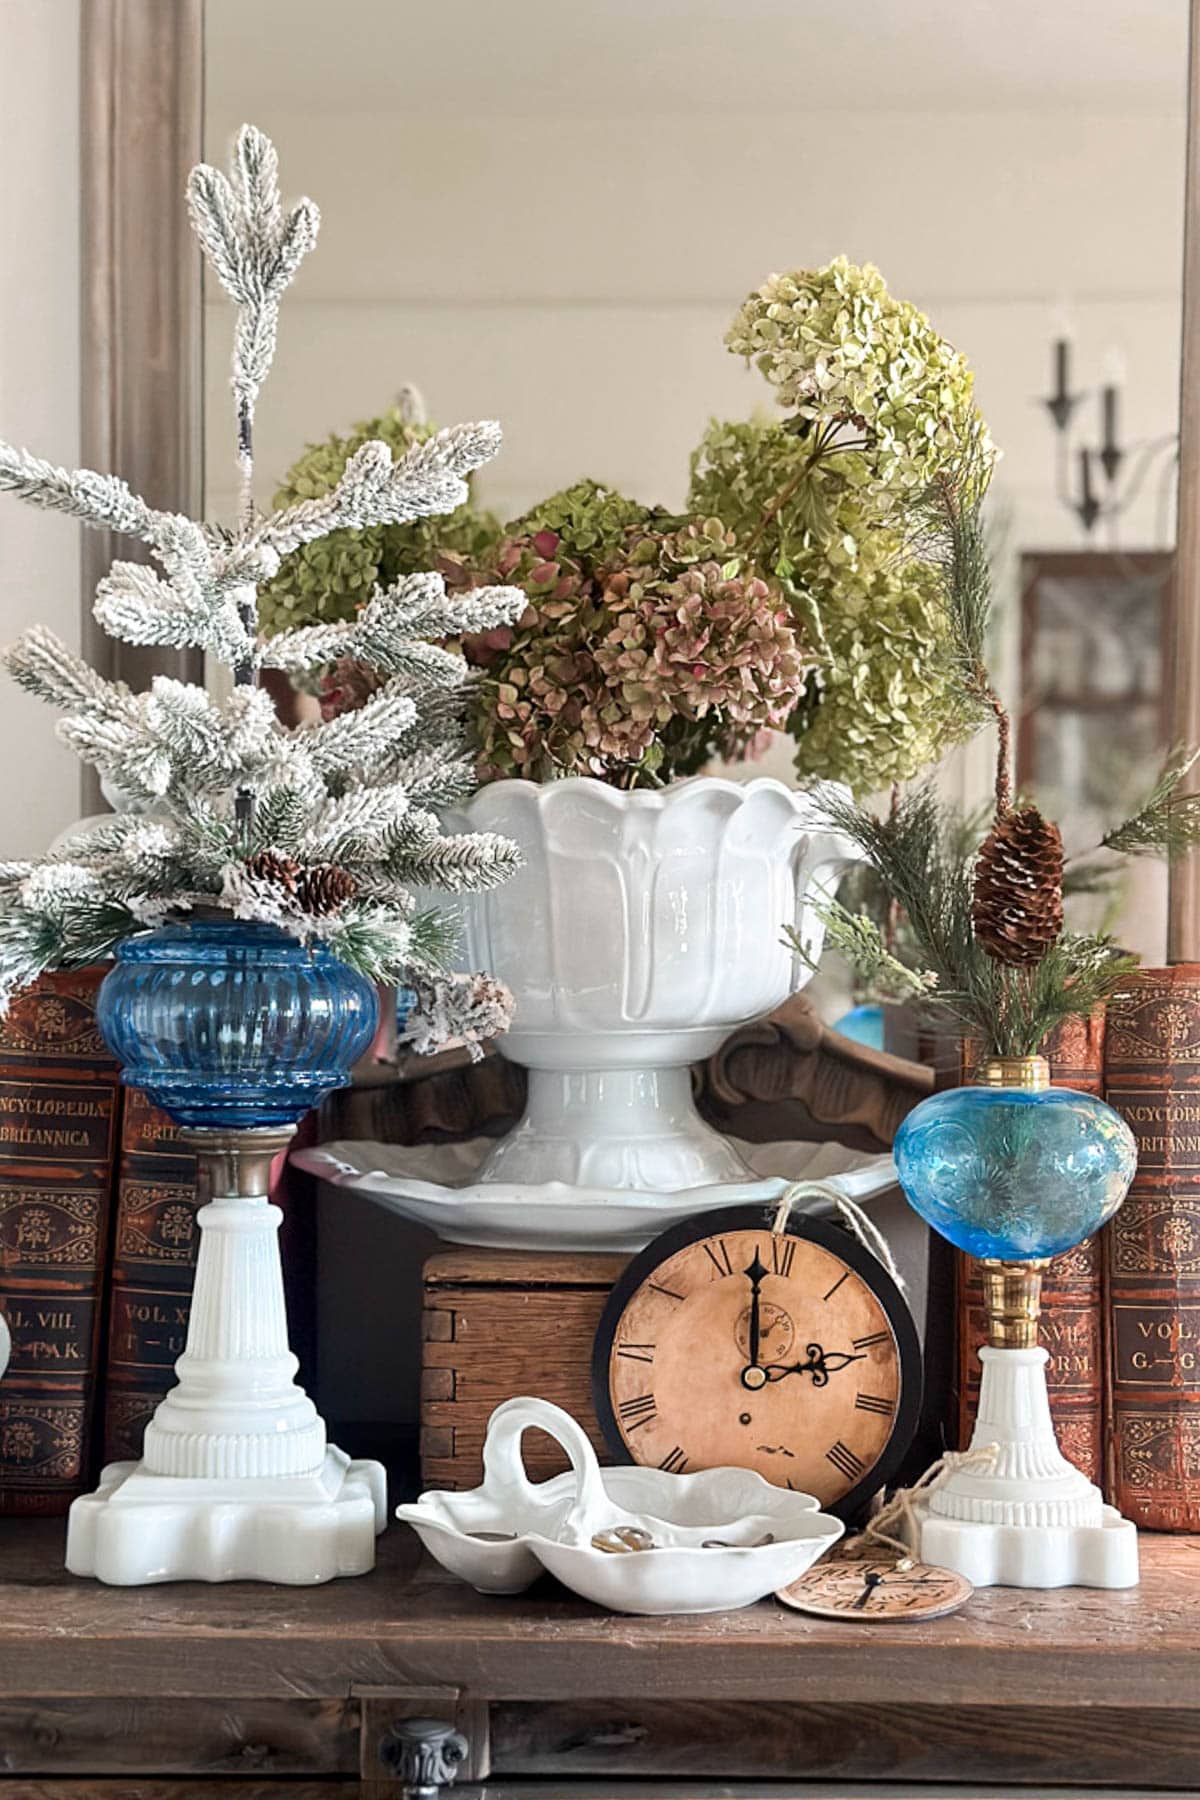
- Create a vintage-themed vignette:
- Arrange a collection of vintage clock face ornaments on a mantelpiece, side table, or bookshelf.
- Add other vintage-inspired decorations, such as antique clocks, old books, or vintage toys.
- Use them as gift tags or place card holders:
- Attach a vintage clock face ornament to a gift as a unique and personalized tag.
- Use them as place card holders at your Christmas dinner table.
- Make a Christmas Wreath:

Other Vintage-Inspired DIY Ornament Ideas
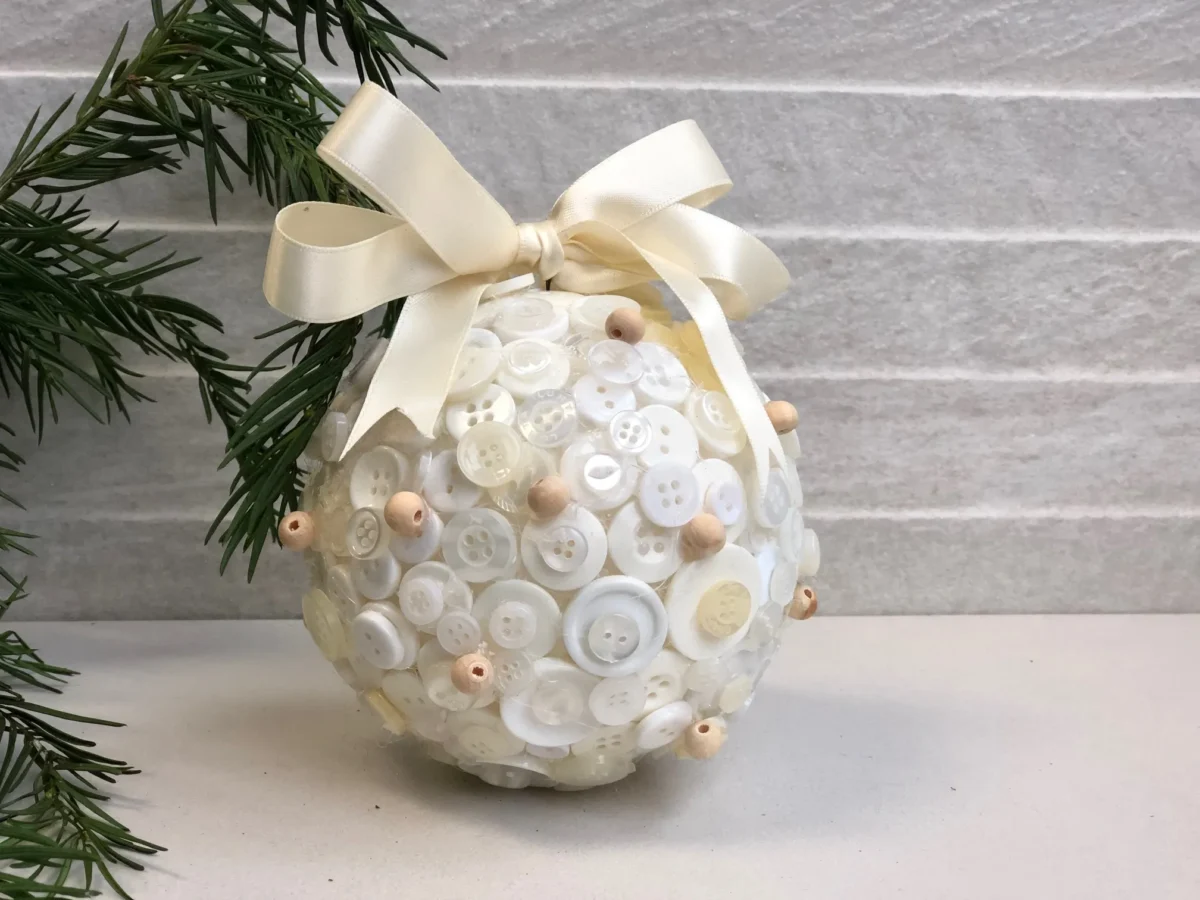

- Christmas Cards Ornaments: Use your old Christmas cards and create charming ornaments like my friend Kim at Cottage in the Mitten.
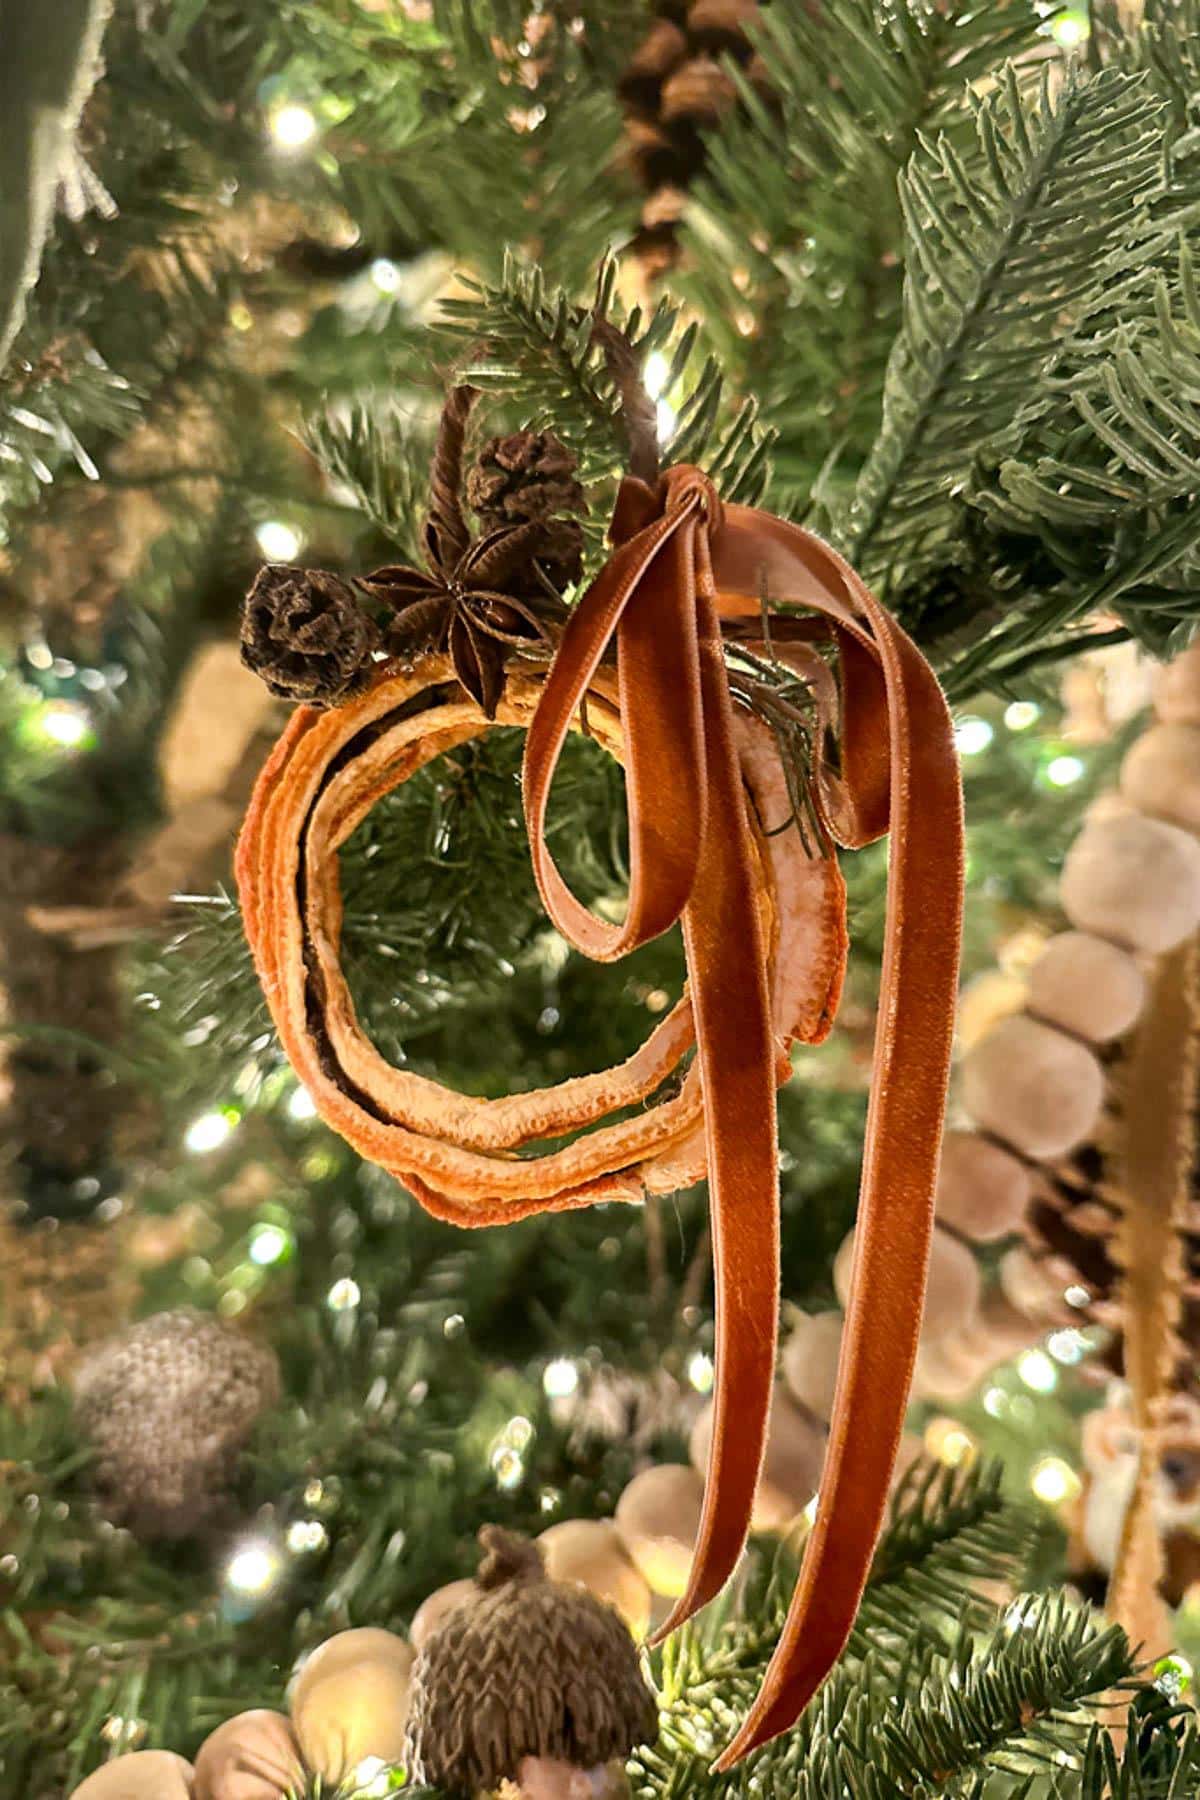
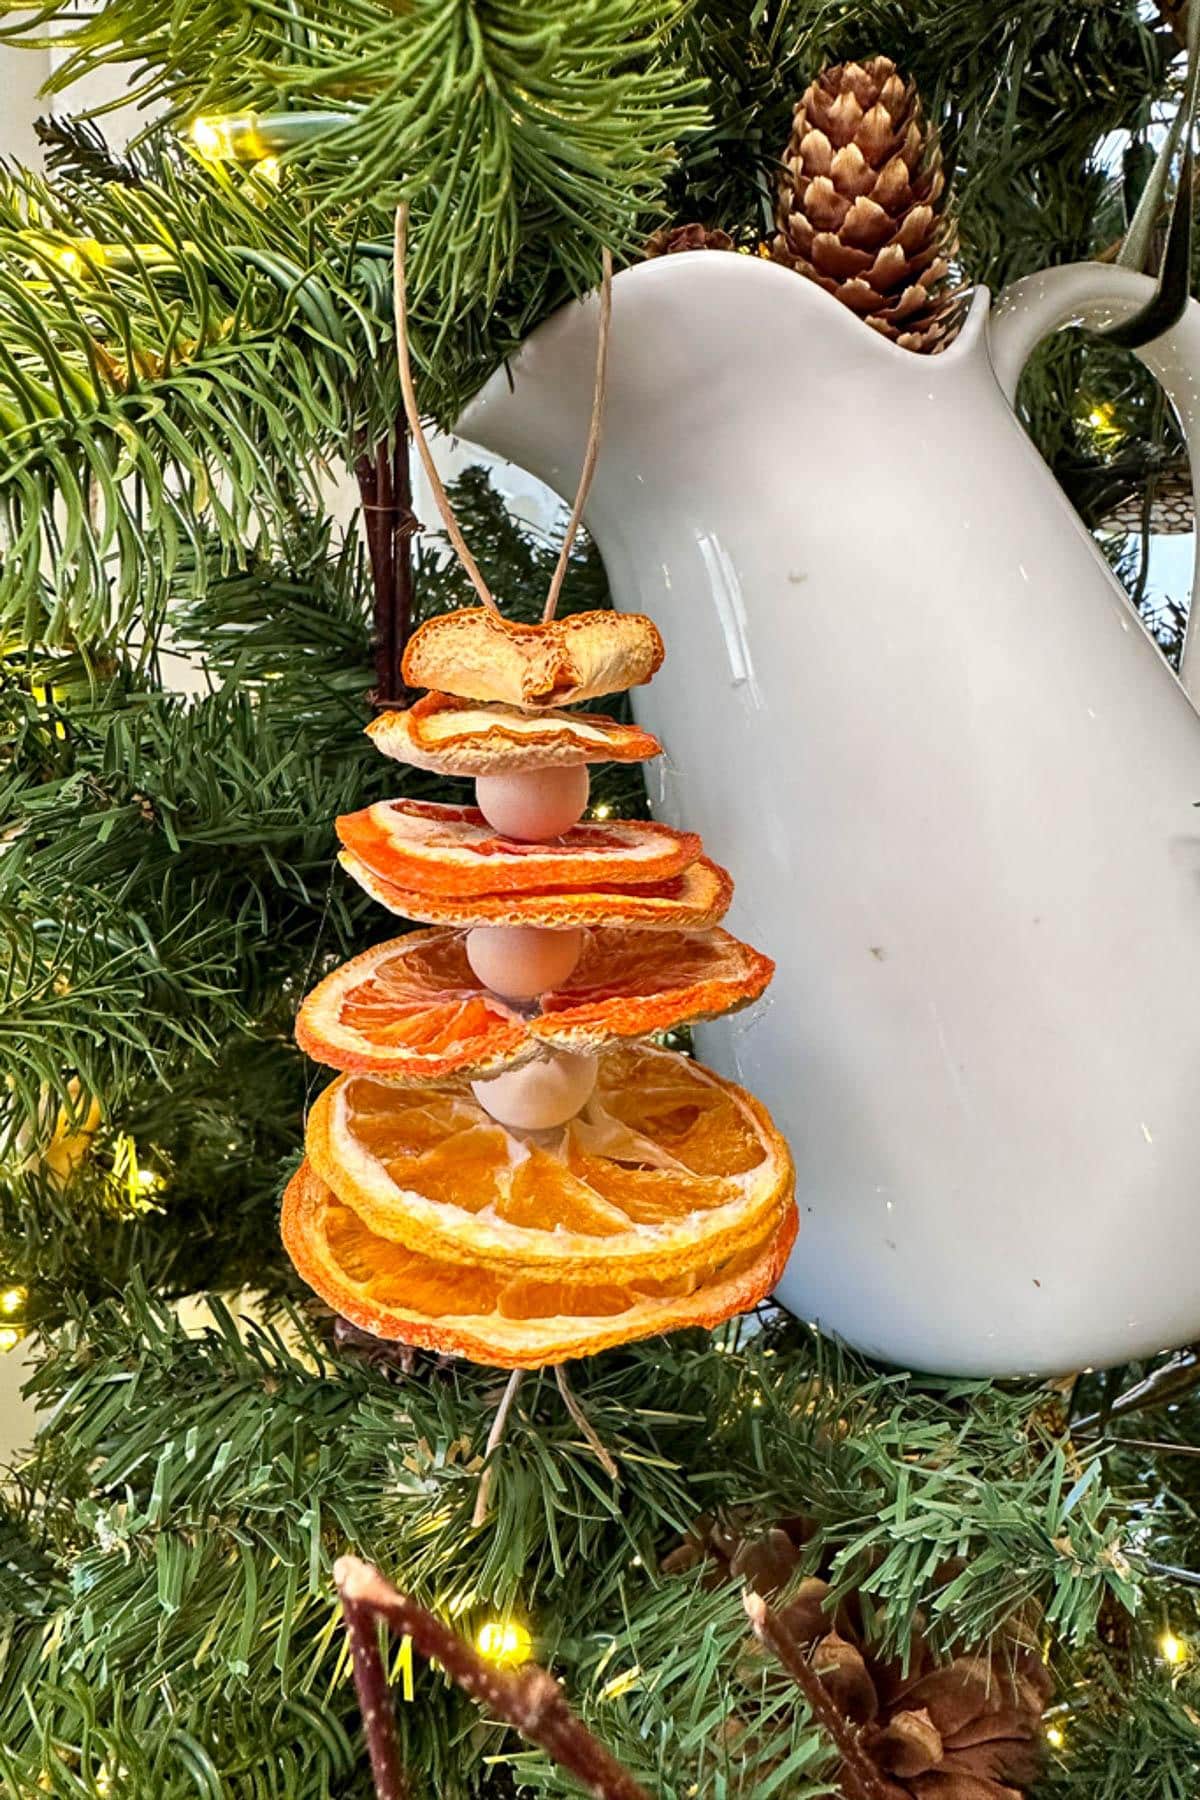
- DIY Rustic Christmas ornaments- Dried Orange Ornaments: While dried orange ornaments aren’t necessarily “vintage” in the sense of being antique or decades old, they can evoke a vintage or nostalgic feeling. Historically, dried fruits and citrus, including oranges, have been used for centuries as decorative elements during the holiday season. This practice, often associated with simpler times and traditional decor, contributes to their vintage appeal.
Other Christmas Ornament Tutorials from WM Design House
If you love this DIY Vintage Christmas Ornament Tutorial, you might also enjoy some of my other favorite ornaments:
DIY Gold Leaf Ornaments
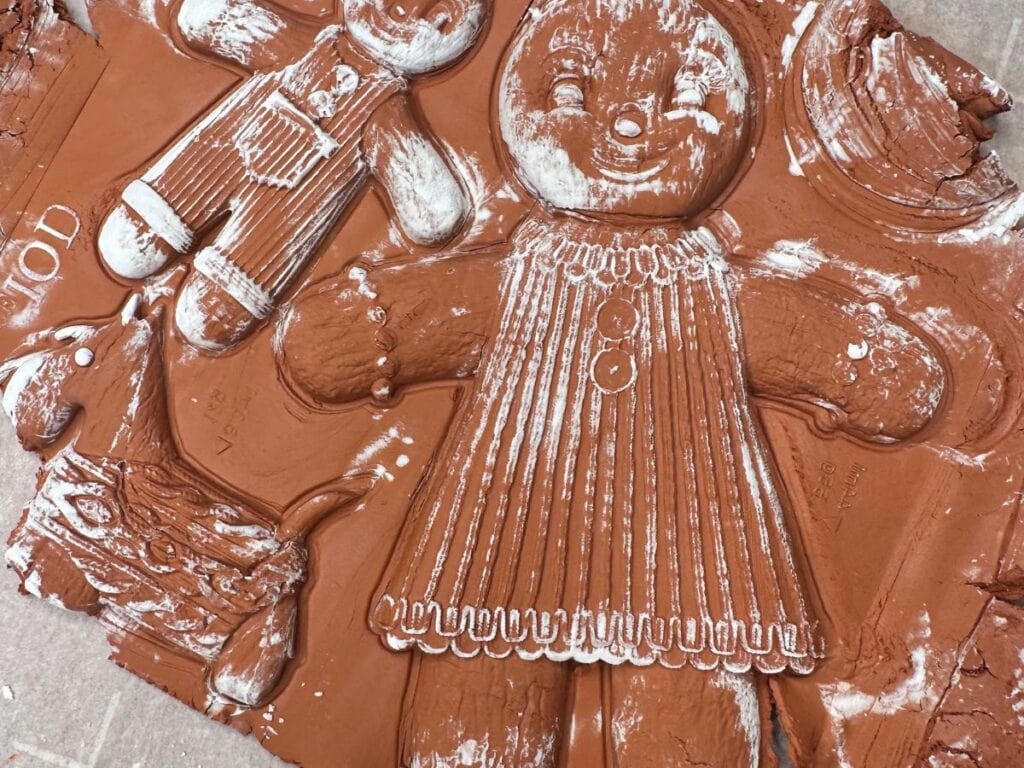
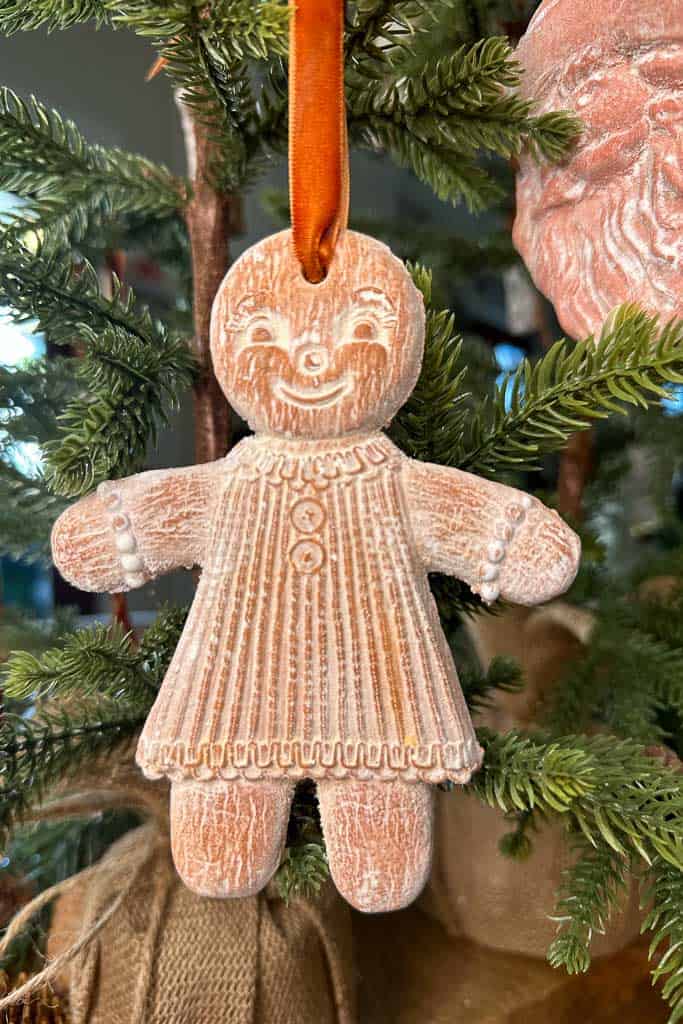
DIY Air Dry Clay Ornaments – Christmas Gingerbread Men
13 Different Ornaments You Can Make with Dried Oranges
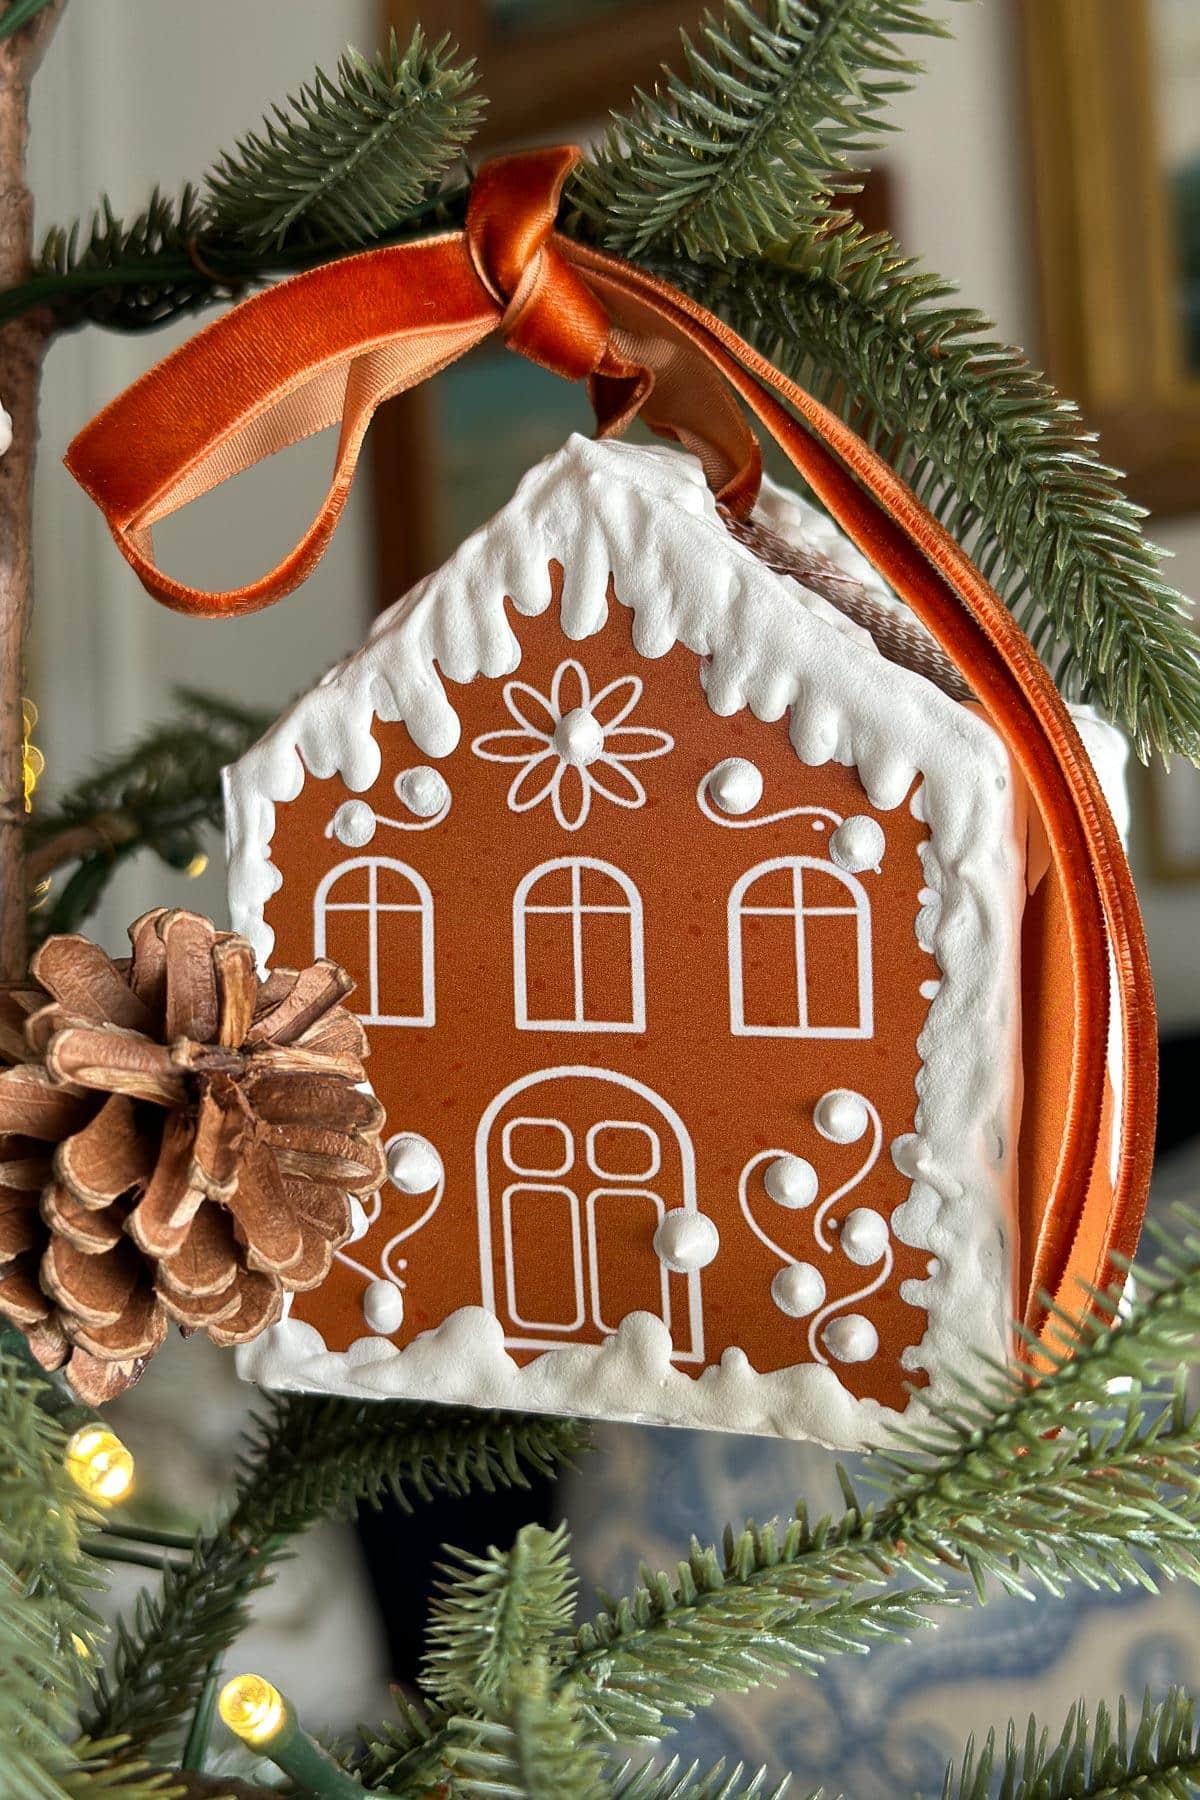
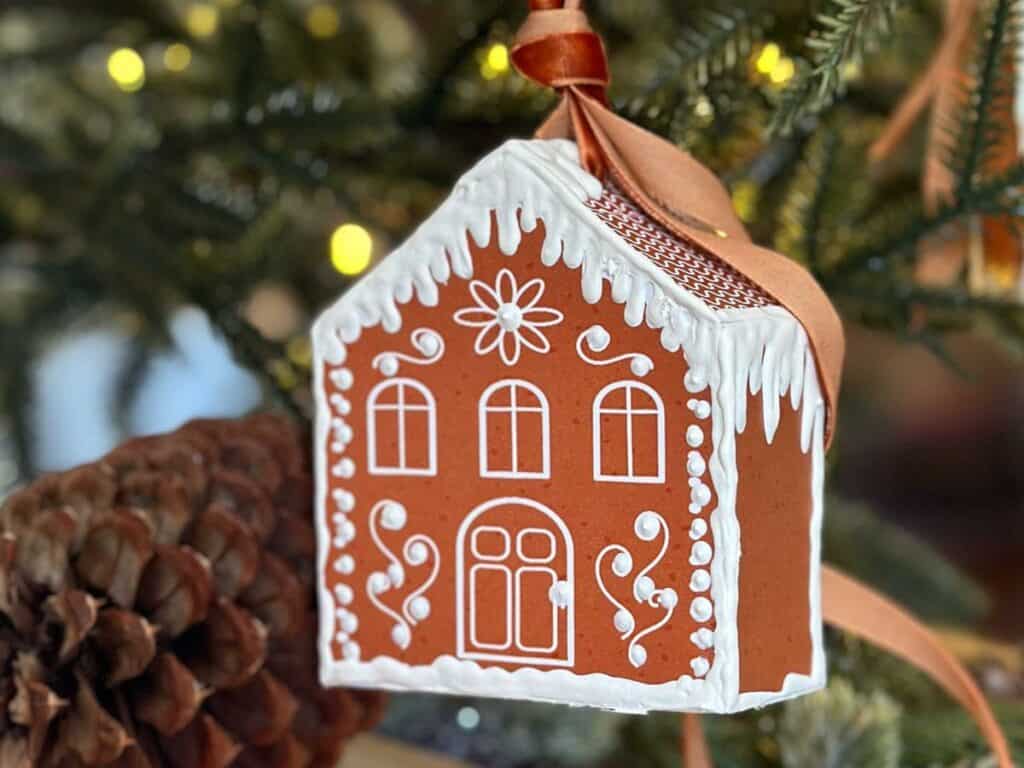
EASY DIY Gingerbread House Ornaments: 3D Free Printable
Wrapping Up
Creating your own vintage clock face ornaments is a fun and easy DIY Christmas craft. It’s a great way to spend quality time with loved ones while adding a touch of vintage charm to your holiday decor. With these simple steps, your new Christmas ornaments will look old, adding a nostalgic touch to your festive celebrations. I hope you enjoyed this post.


Did you make this craft?
We would love to see what you have created, so mention us @wmdesignhouse or tag us using #wmdesignhouse so we can see your creations!
More about me!

Hello, I’m Wendy – a dedicated homemaker with a deep passion for decorating, gardening, cooking, and crafting. I find joy in harmonizing beautiful elements to fashion a space that is both comfortable and inspiring. I will help you create a beautiful home, one project at a time.

