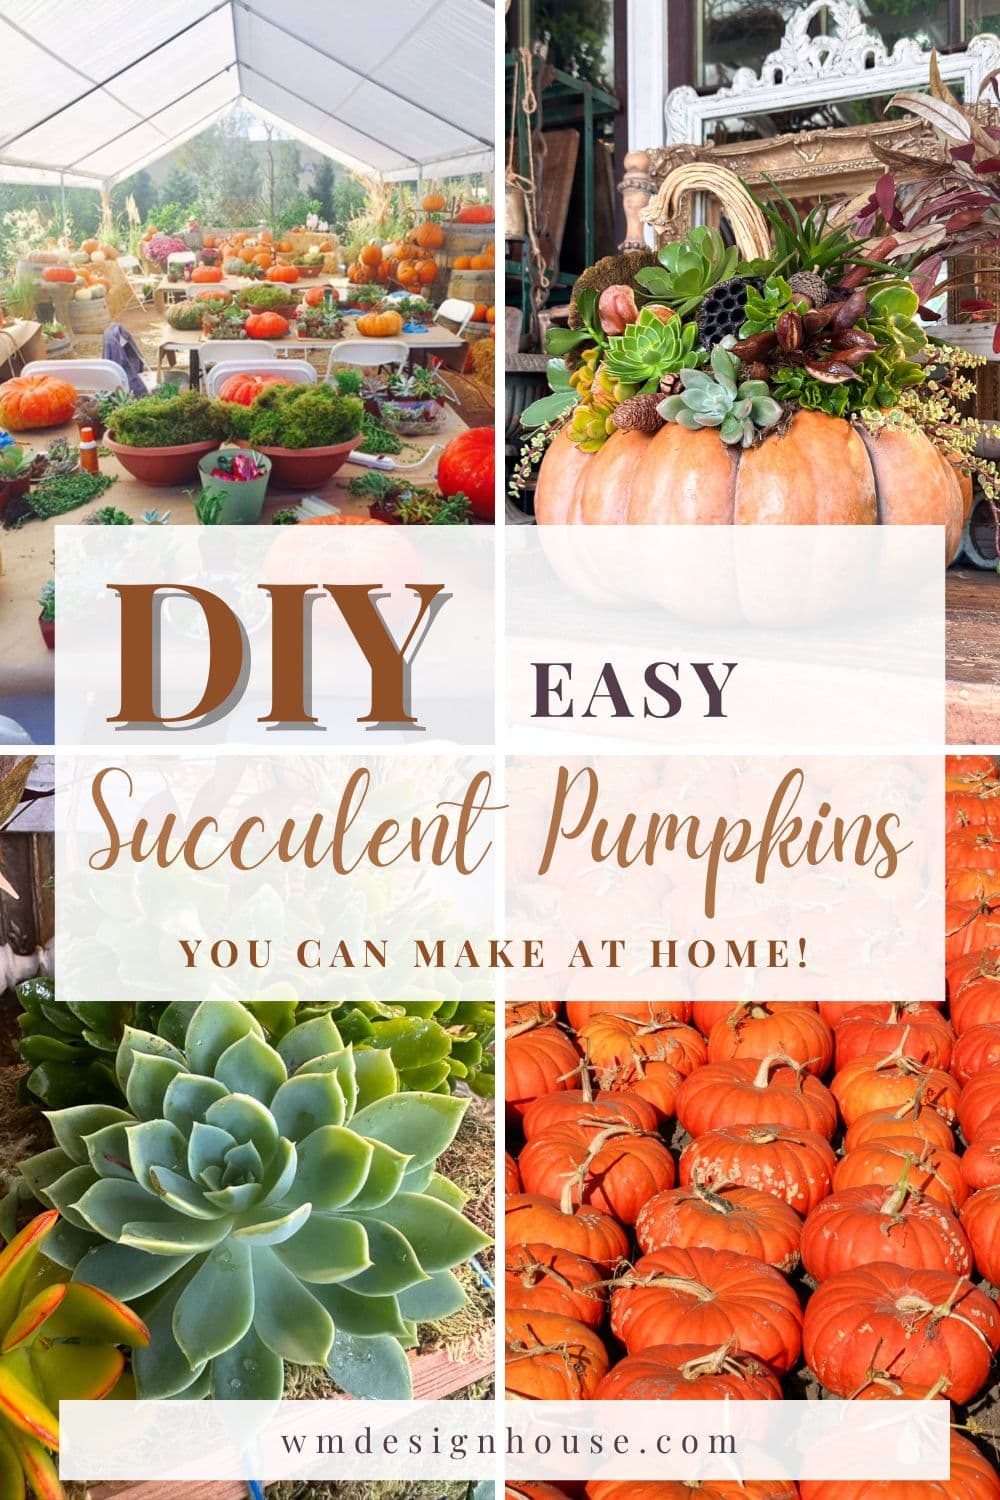
Easy Succulent Pumpkin Centerpiece: A Step-by-Step Guide
Have you ever spotted a stunning succulent-topped pumpkin and thought, “How do they make that?” Well, wonder no more! Today, I will show you just how simple it is to create your succulent pumpkin centerpiece in less than an hour! And the best part? I gathered all the succulents from my garden, so I only had to buy the pumpkin.

On my blog WM Design House, I may sometimes use affiliate links, which means a small commission is earned if you purchase via the link. The price will be the same whether you use the affiliate link or go directly to the vendor’s website using a non-affiliate link. Read my full disclosure policy here.
What is a Succulent Pumpkin?
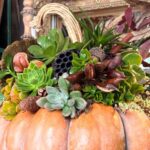
A succulent pumpkin is a natural or faux pumpkin that serves as a base for an arrangement of succulents. Unlike typical pumpkin decor, these creations aren’t carved, meaning the pumpkin stays intact, lasting much longer throughout the season. Succulents are arranged on top of the pumpkin, using moss as a base to hold the plants in place. The result is a striking combination of textures and colors, with the lush greens and vibrant tones of succulents complementing the earthy, warm tones of pumpkins.
Let’s dive in and craft some gorgeous fall decor!
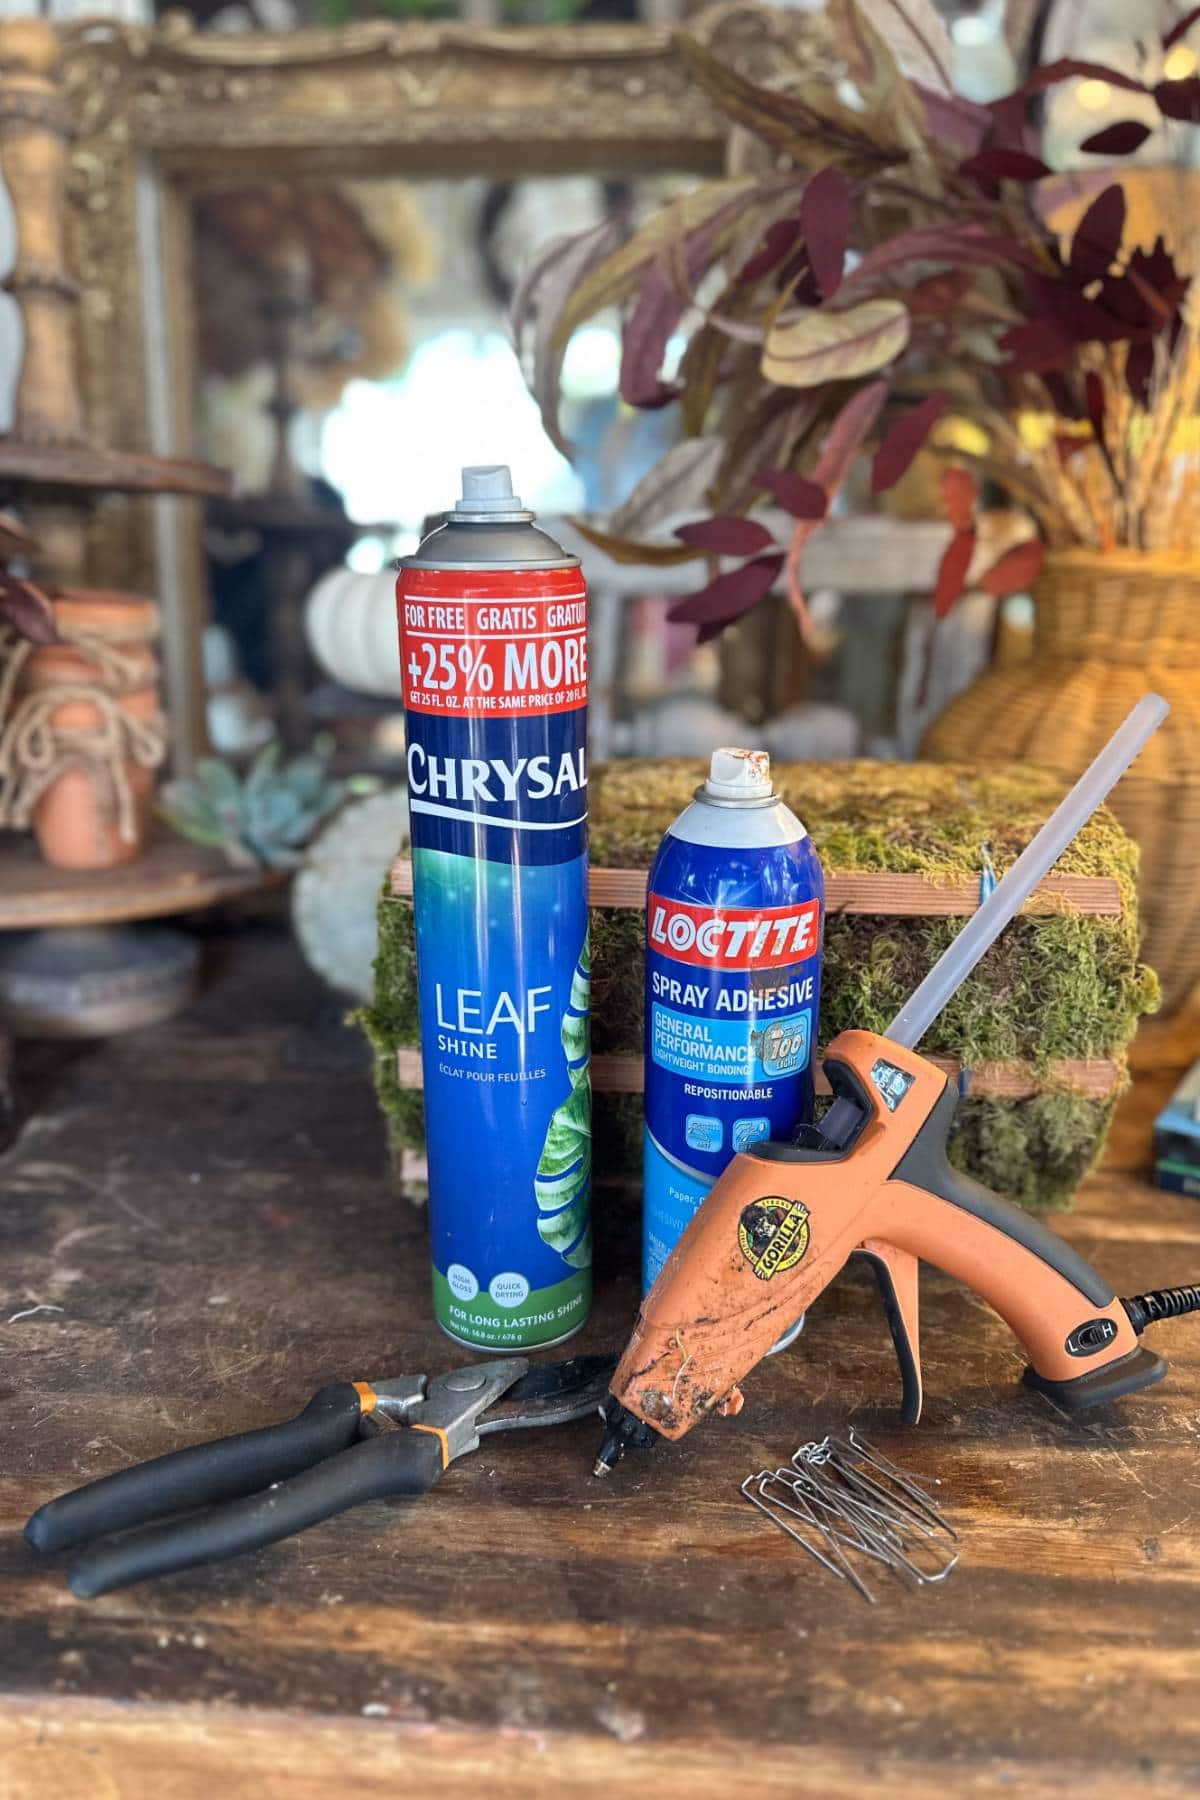
List of Supplies to Make a Succulent Pumpkin
You can typically shop for your supplies at a local craft store or pick up a pumpkin at your local grocery store.
Step 1: Prepare the Pumpkin
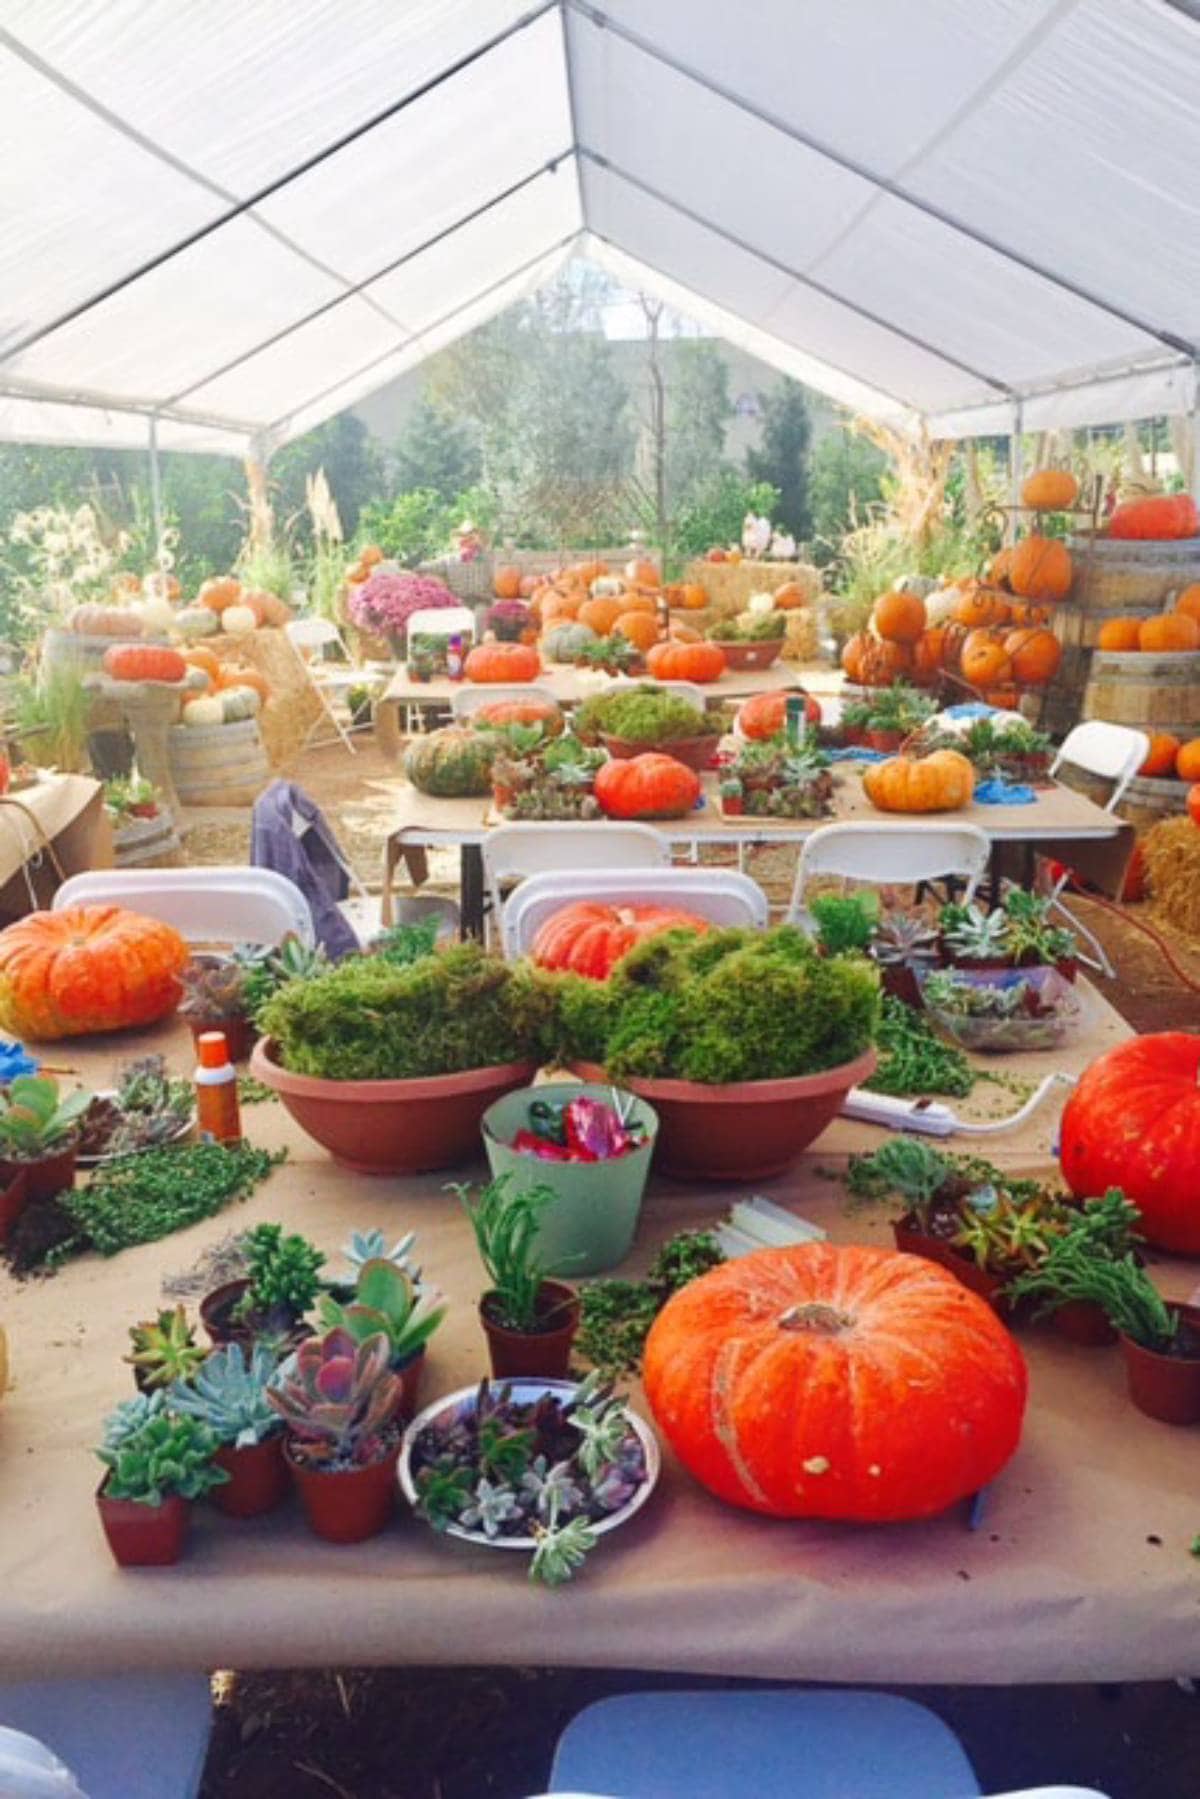

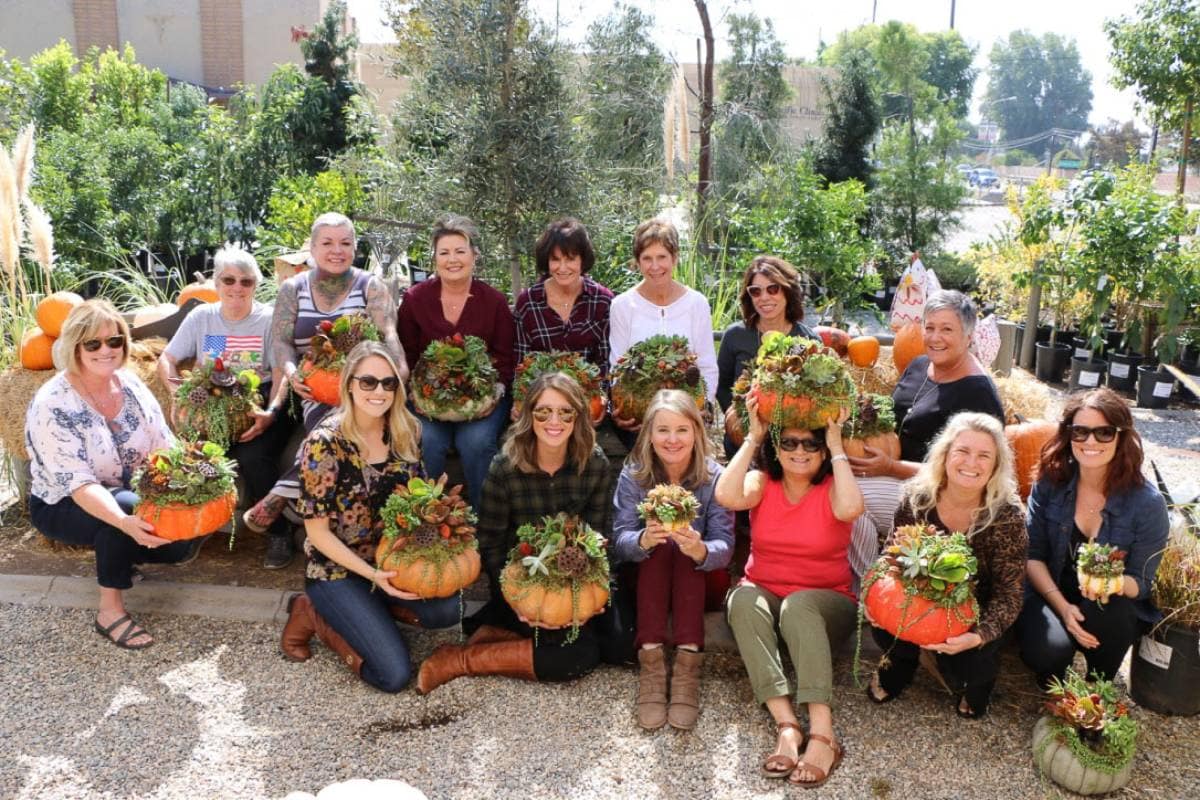
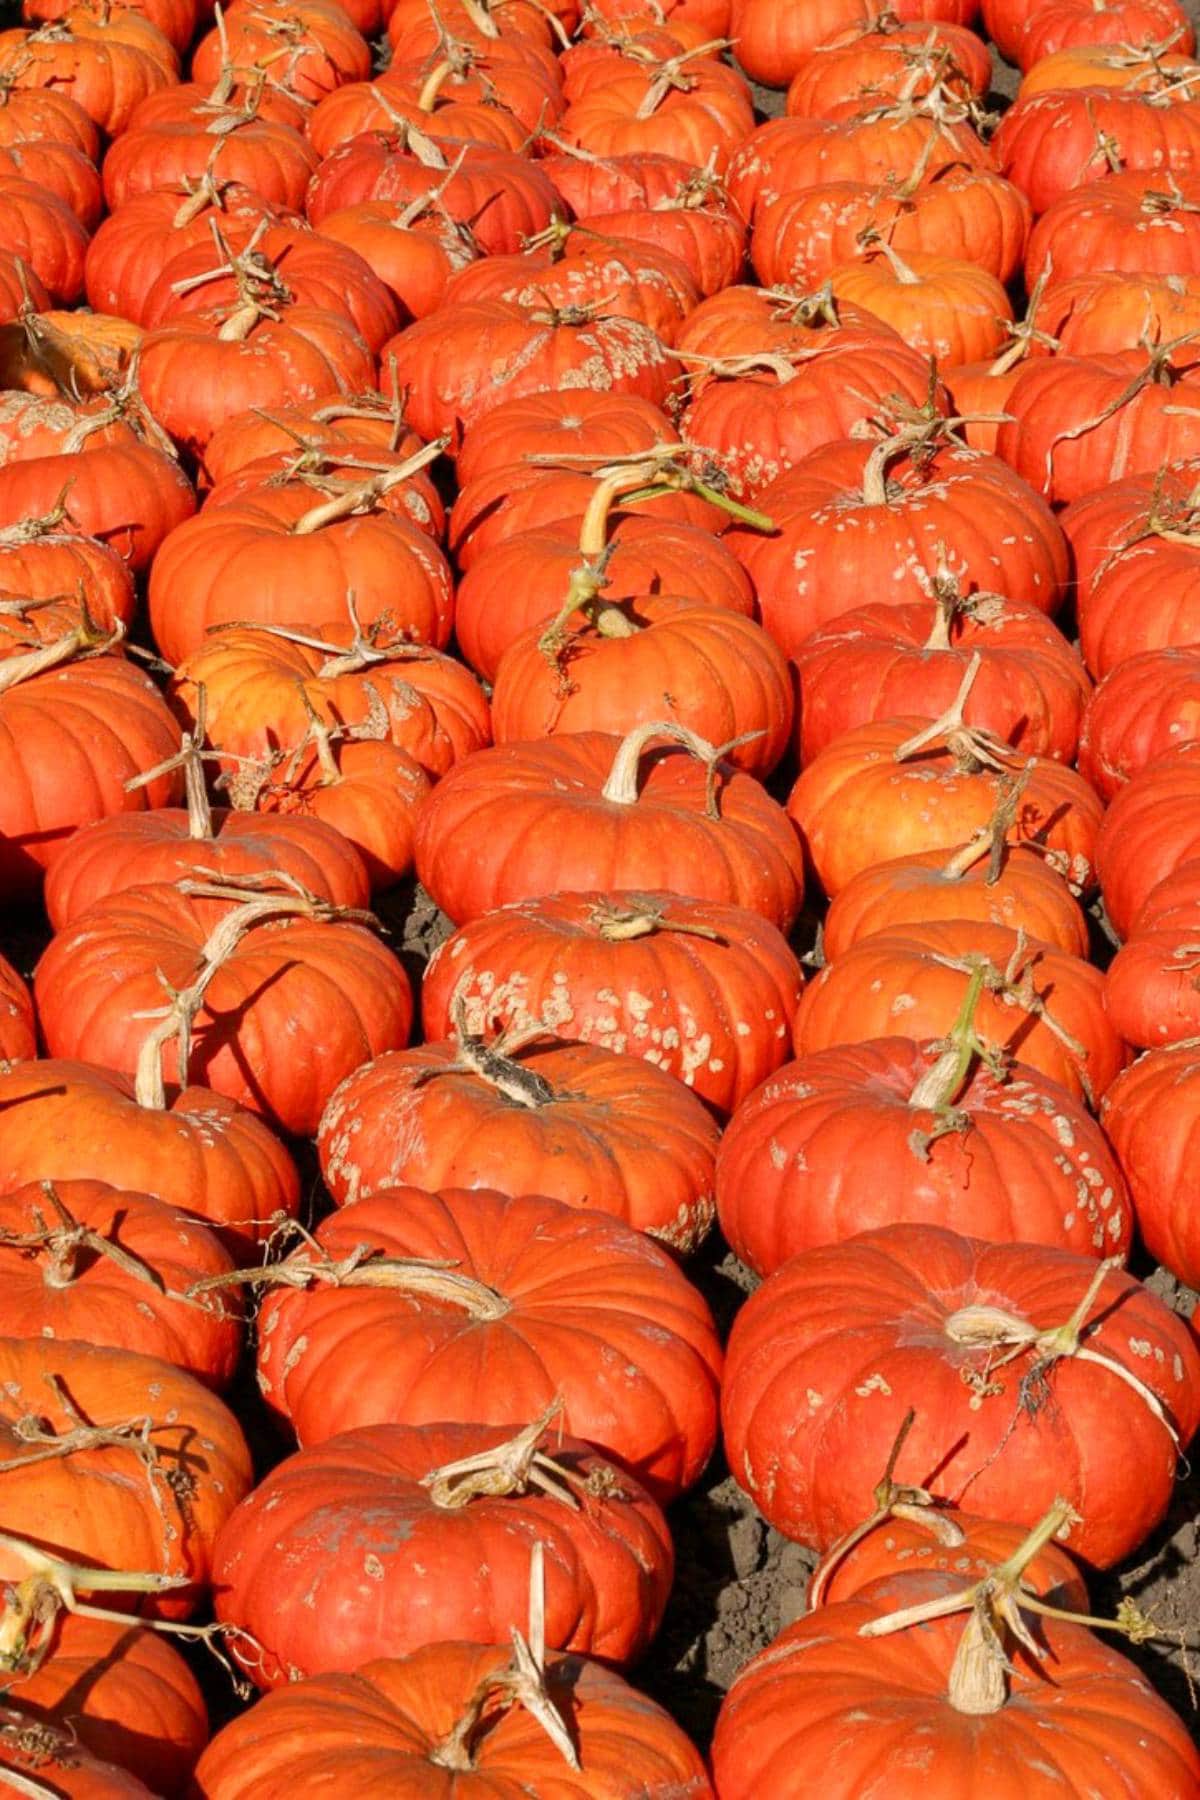
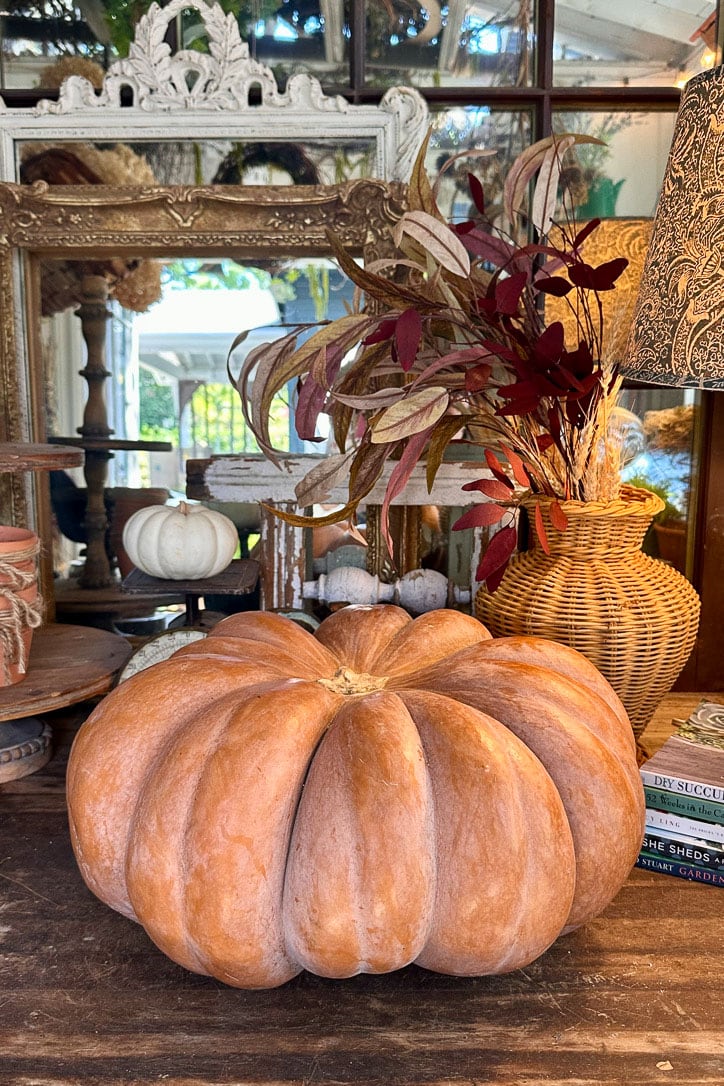
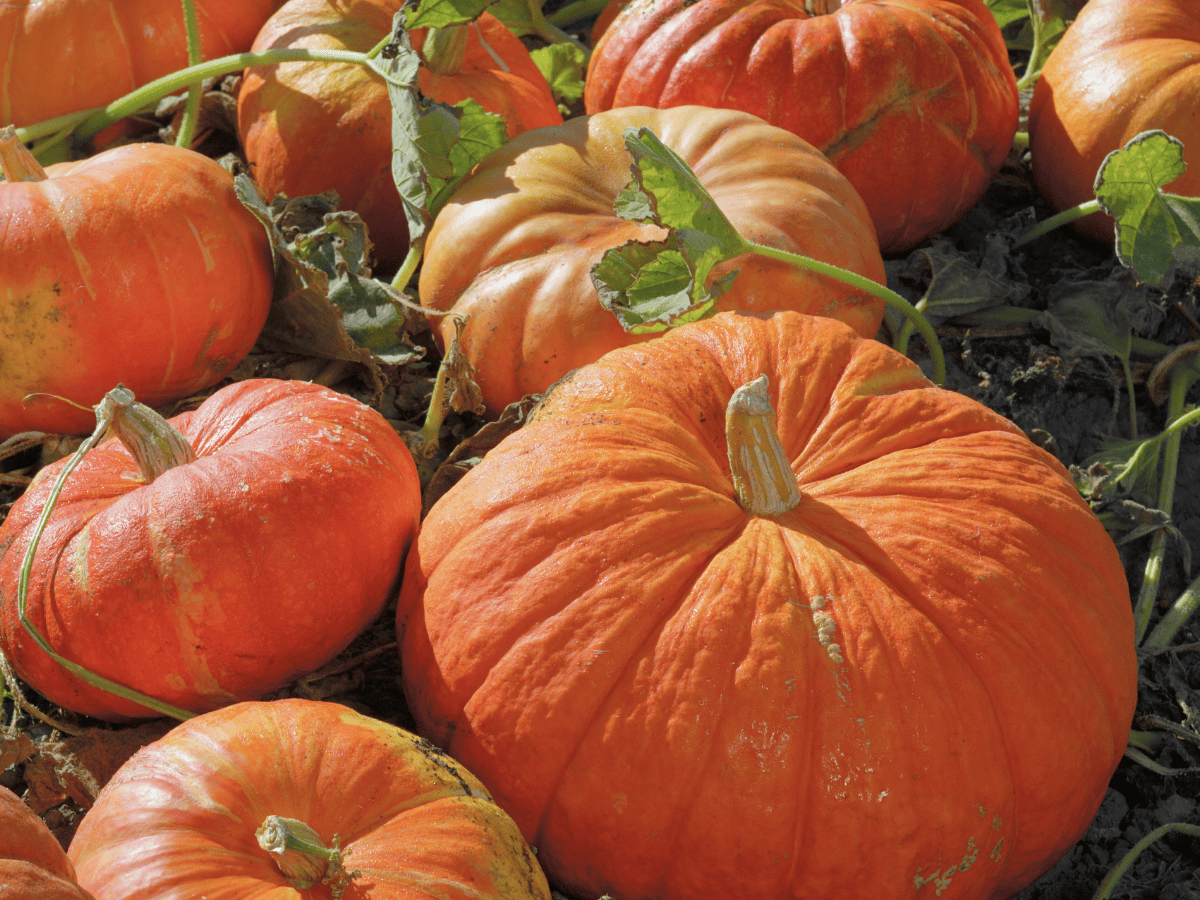
I’ve been teaching this class for several years, and I absolutely love making succulent pumpkins during pumpkin season. You can use any type of pumpkin you like—whether it’s large, small, mini, orange, white, or something unique like a green or tiger-striped pumpkin.
- Clean your pumpkin thoroughly with soap and water and allow it to dry completely.
- If you are going to use your succulent arrangement outside, spray the pumpkin with hairspray to ward off any critters in the garden.
- You don’t need to carve the pumpkin! This makes the process quicker and the pumpkin longer-lasting.
Tip from wendy’s craft room:
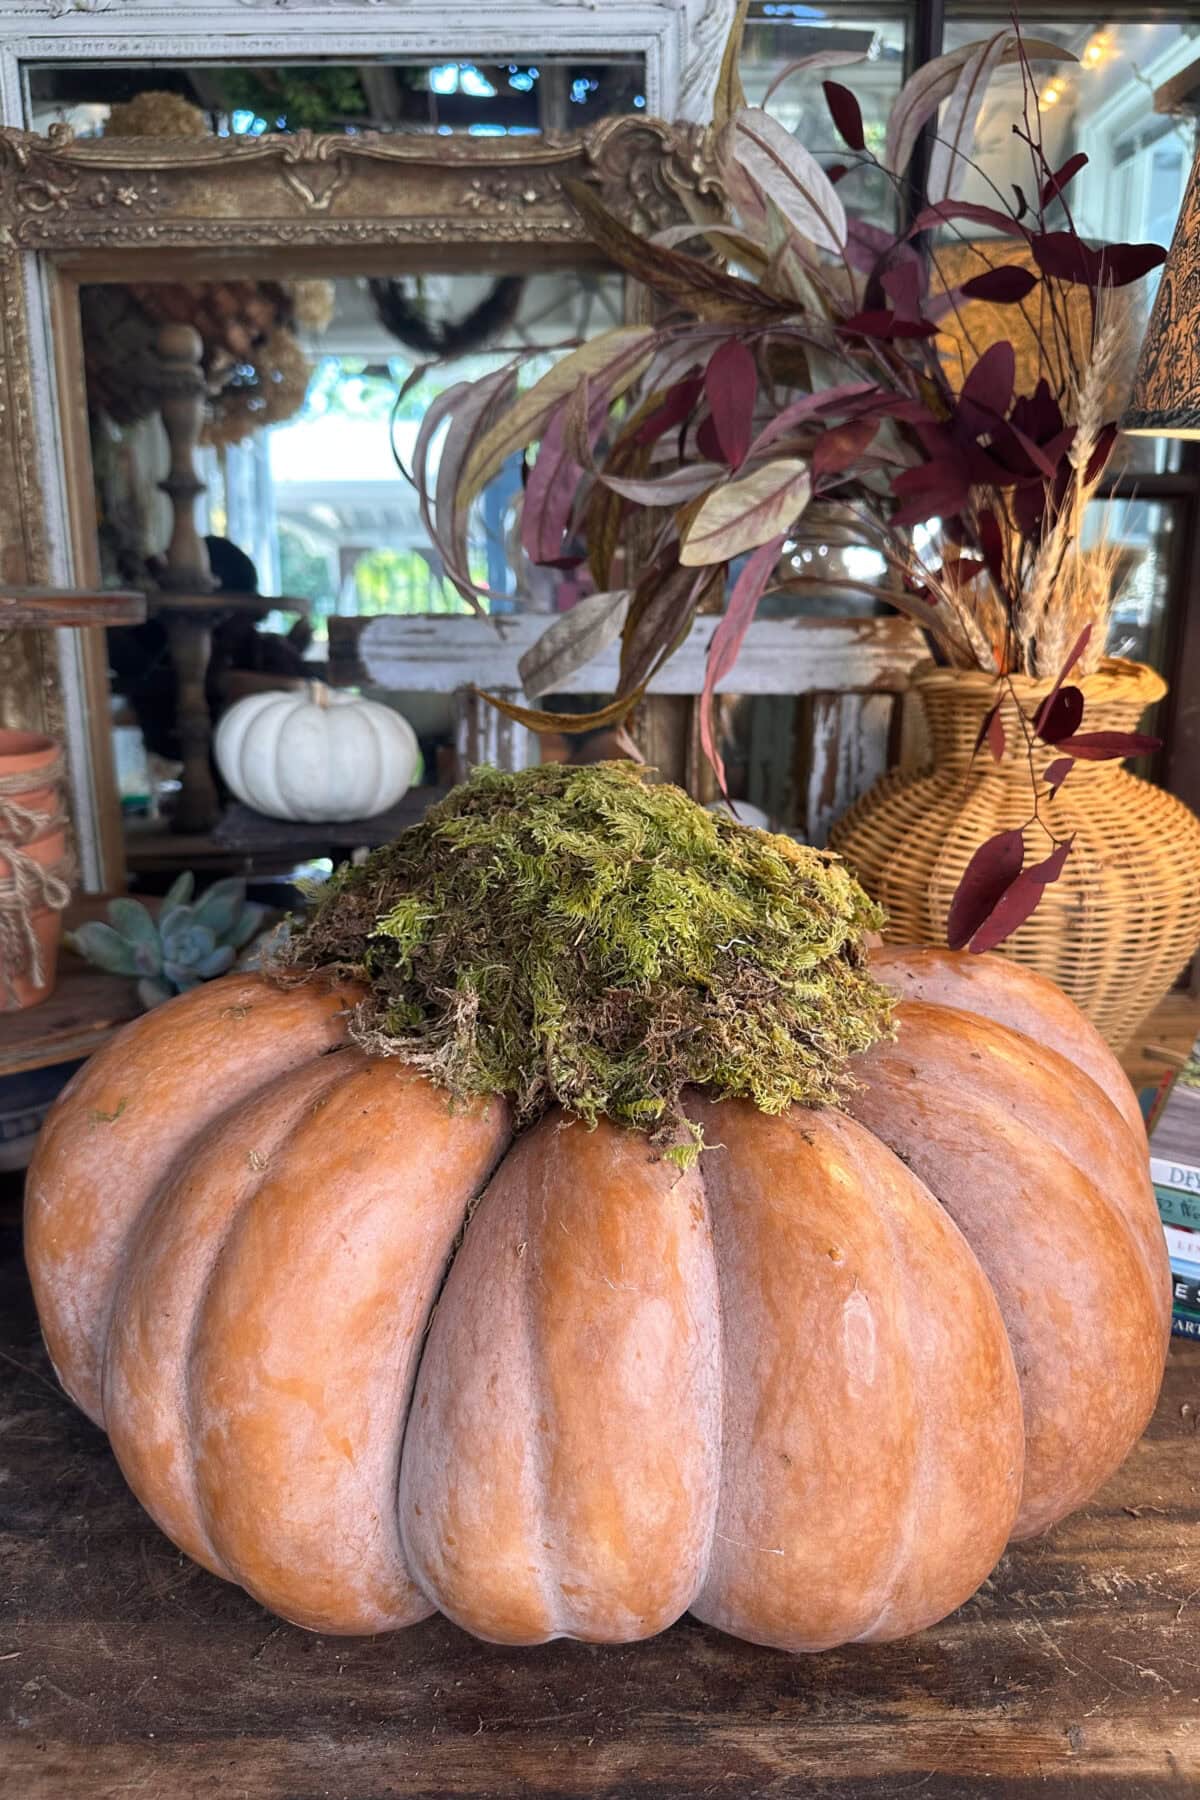
Choose a Cinderella pumpkin, as it allows you a larger space on top to create your arrangement.
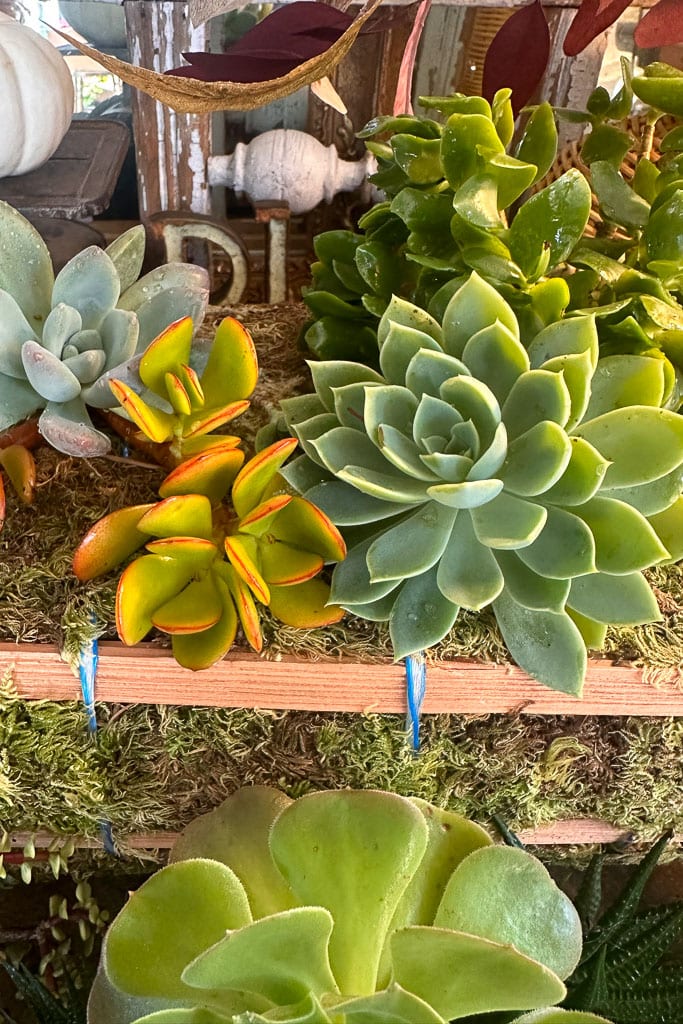
Step 2: Prepare the Succulent Cuttings
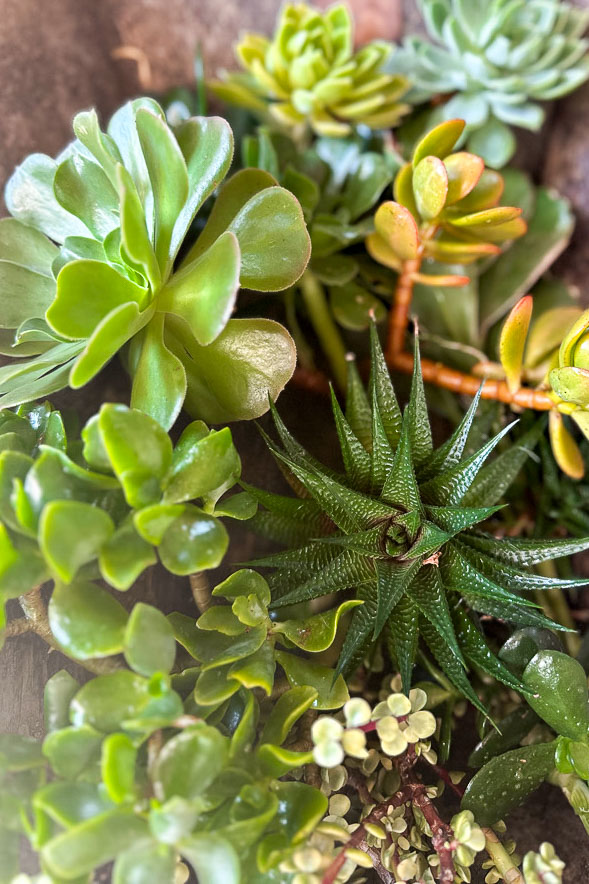
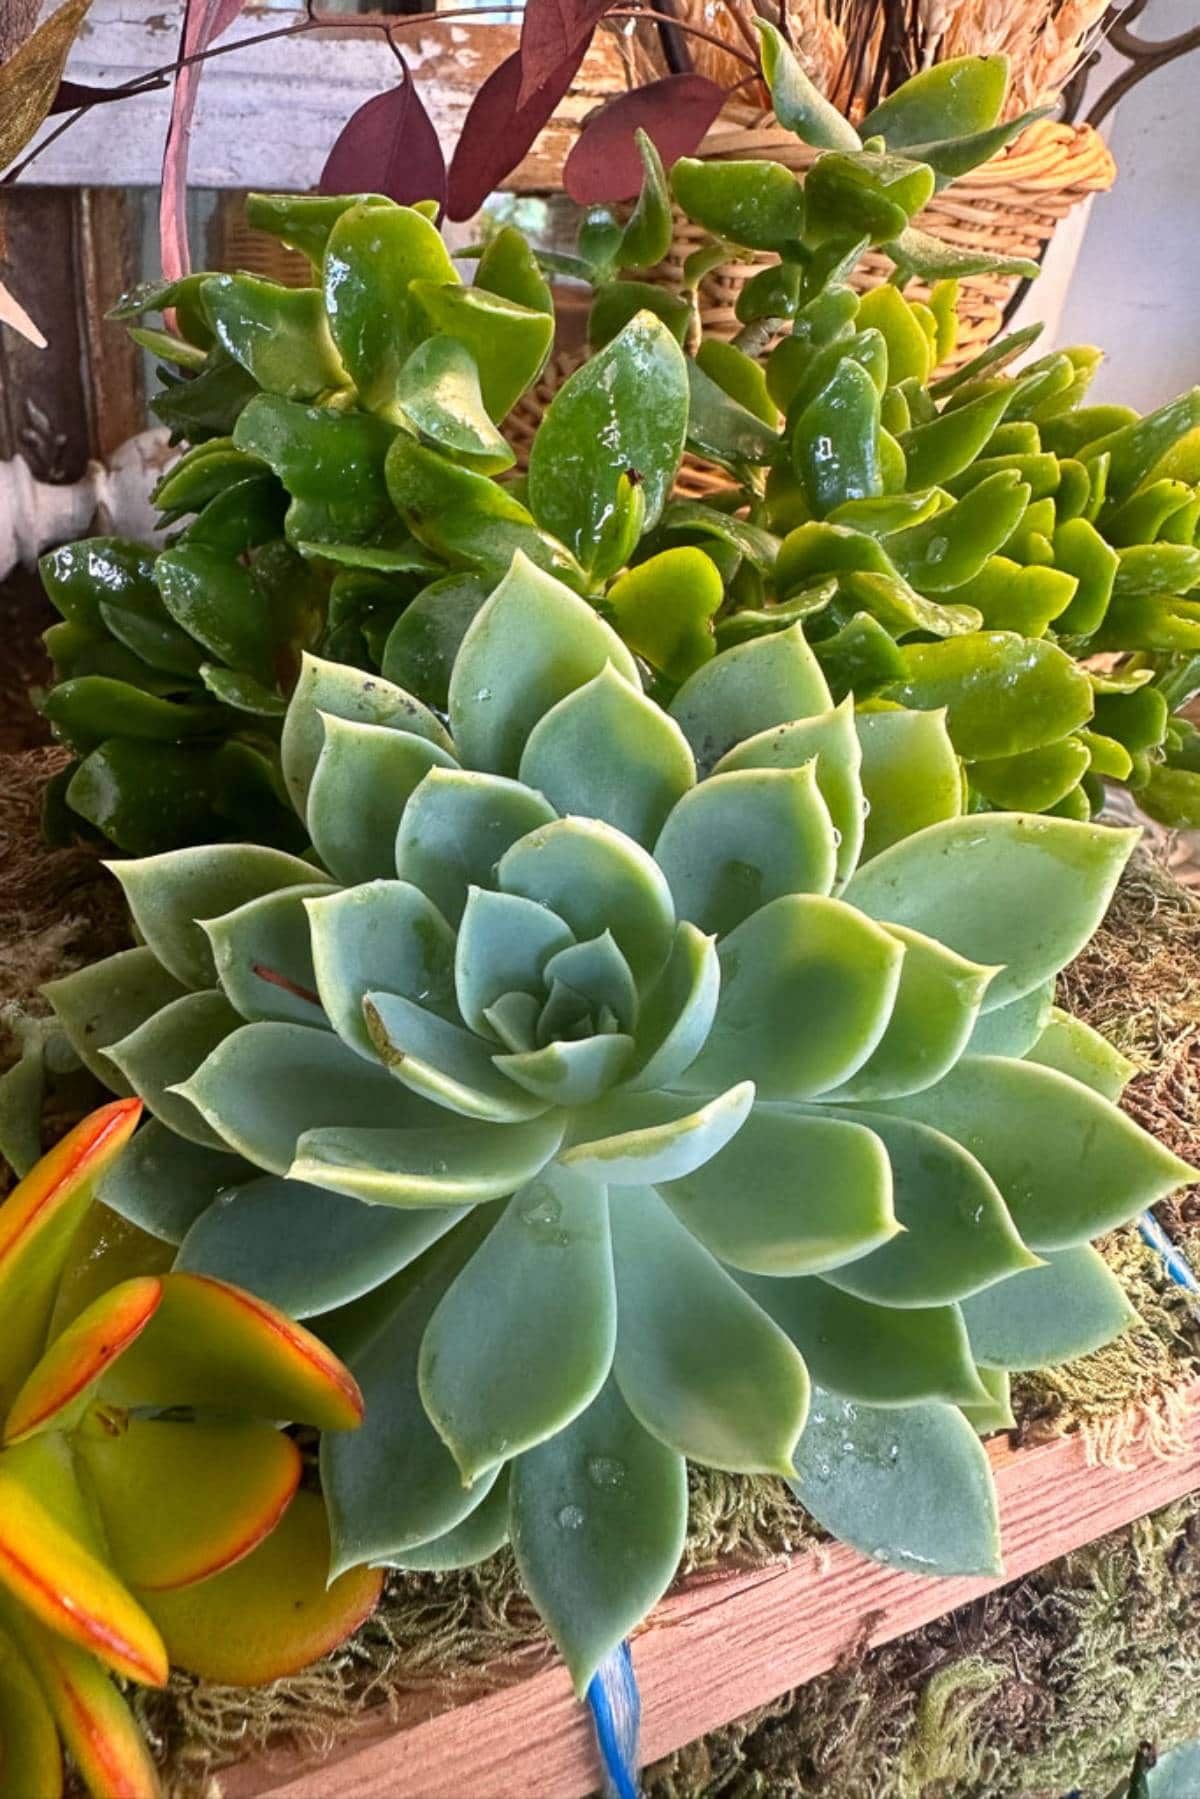
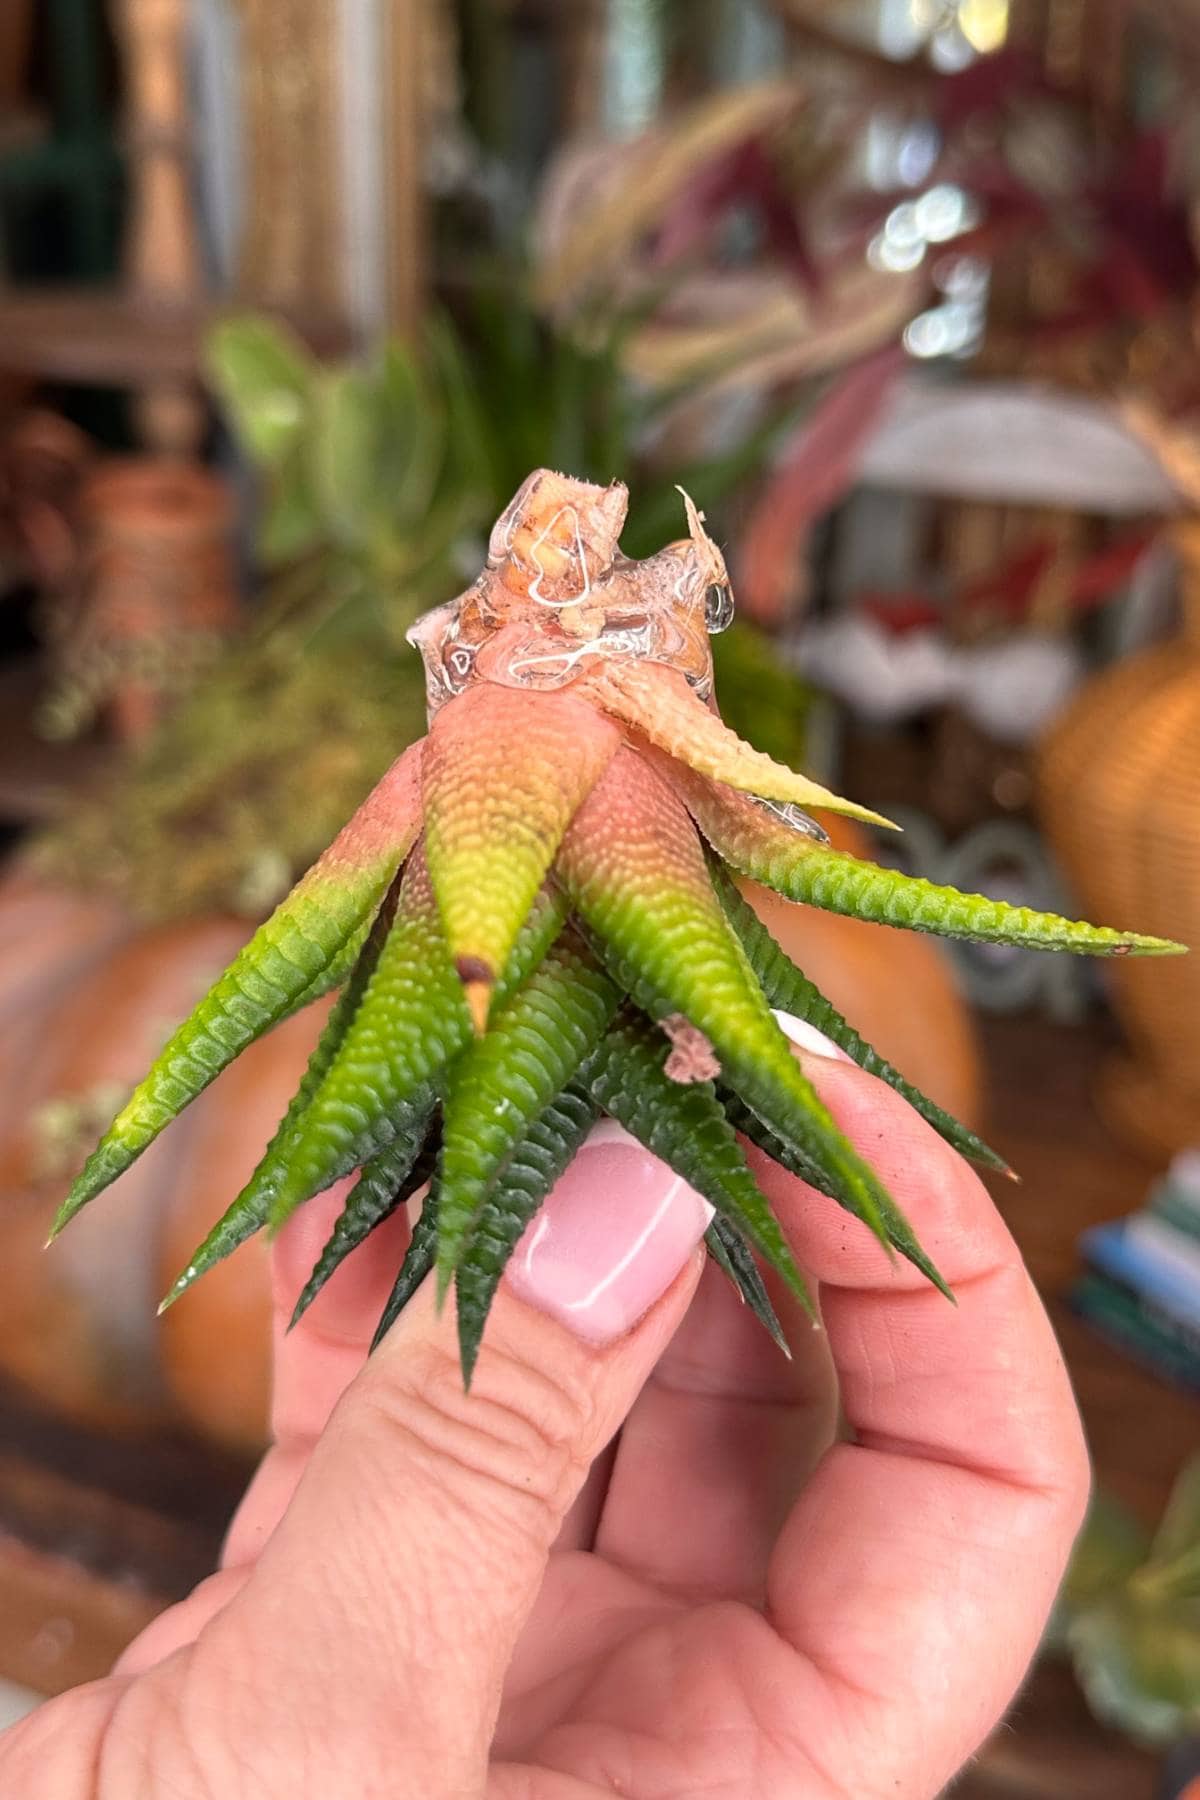
- You can clip a variety of succulent plants from your garden or purchase some from your local garden center.
- Wash your cuttings and get rid of any dirt.
- Allow cuttings to dry for a couple of days to avoid rot on the succulent stems.
Tip from wendy’s craft room:
Choose a variety of shapes, colors, and sizes of succulents to create interest in your arrangement.
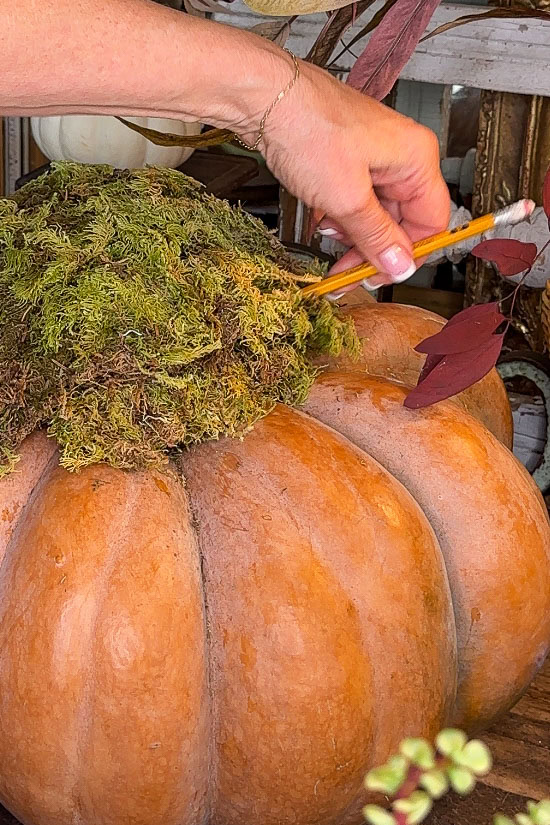
Step 3: Attach Moss to the Pumpkin
- Apply a layer of moss to the top of the pumpkin using a hot glue gun.
- Spray this layer of moss with spray adhesive.
- Add another layer of moss.
- Continue this process until your moss mound is about 4″ tall.
Tip from wendy’s craft room:
Spray your cuttings with Leaf shine to give them a fresh look.
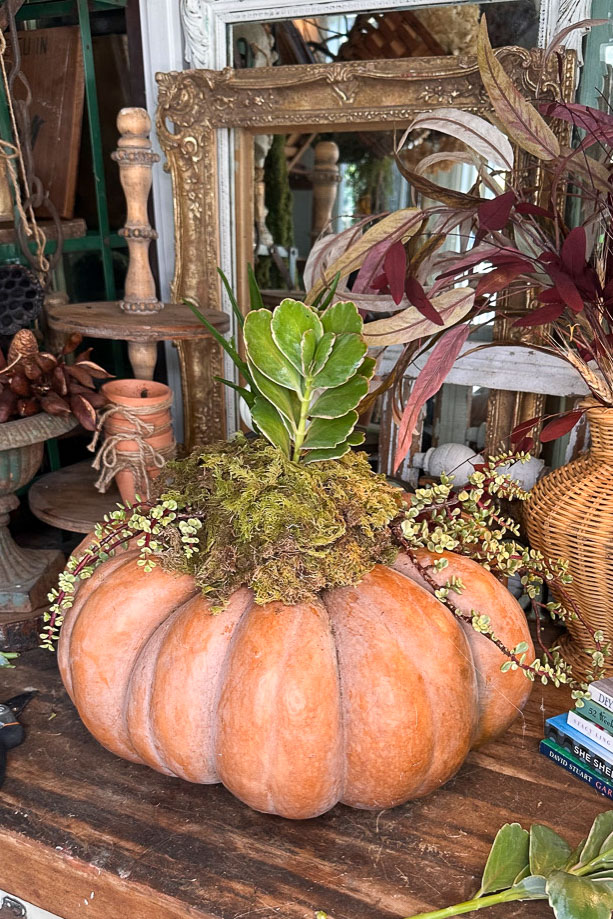
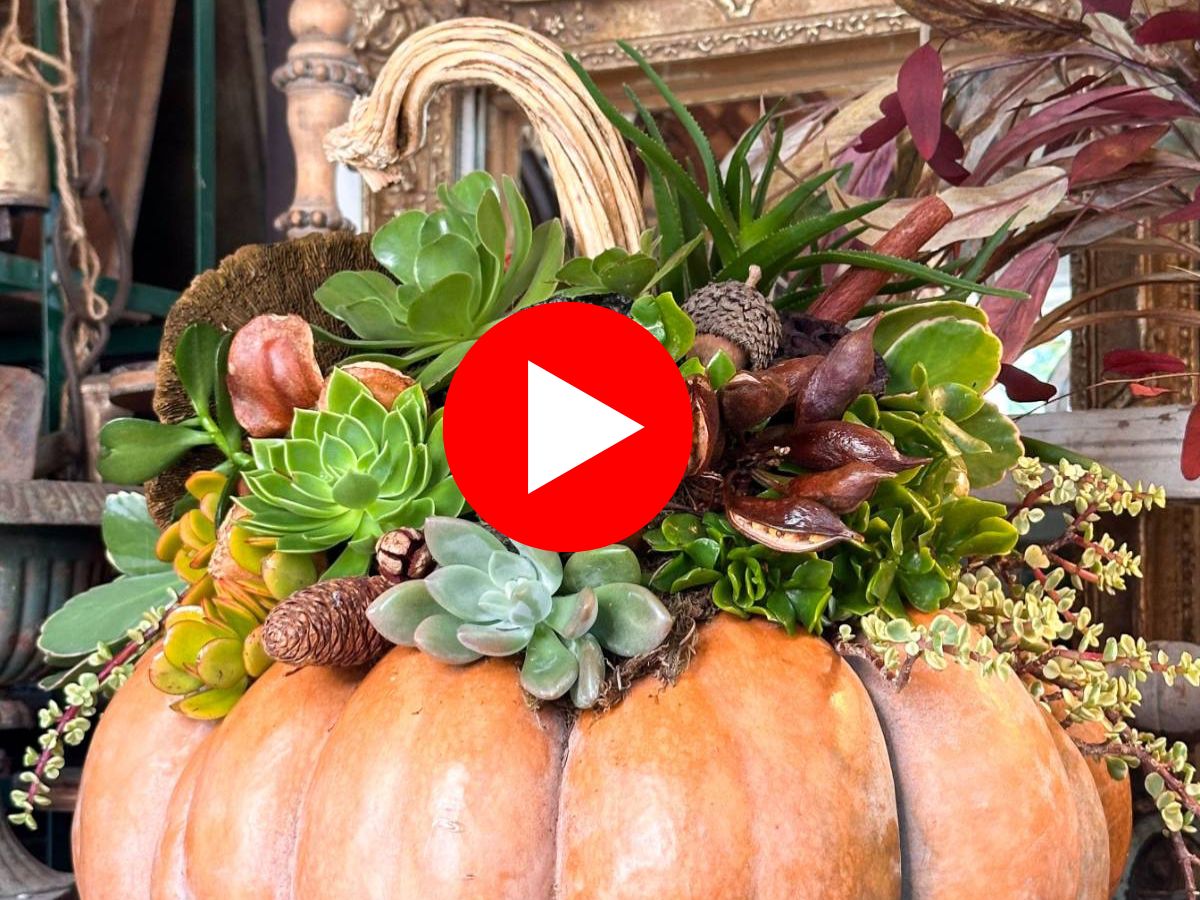
Step 4: How to Arrange Your Succulents
Here are a few points to think about when arranging your succulent centerpiece.
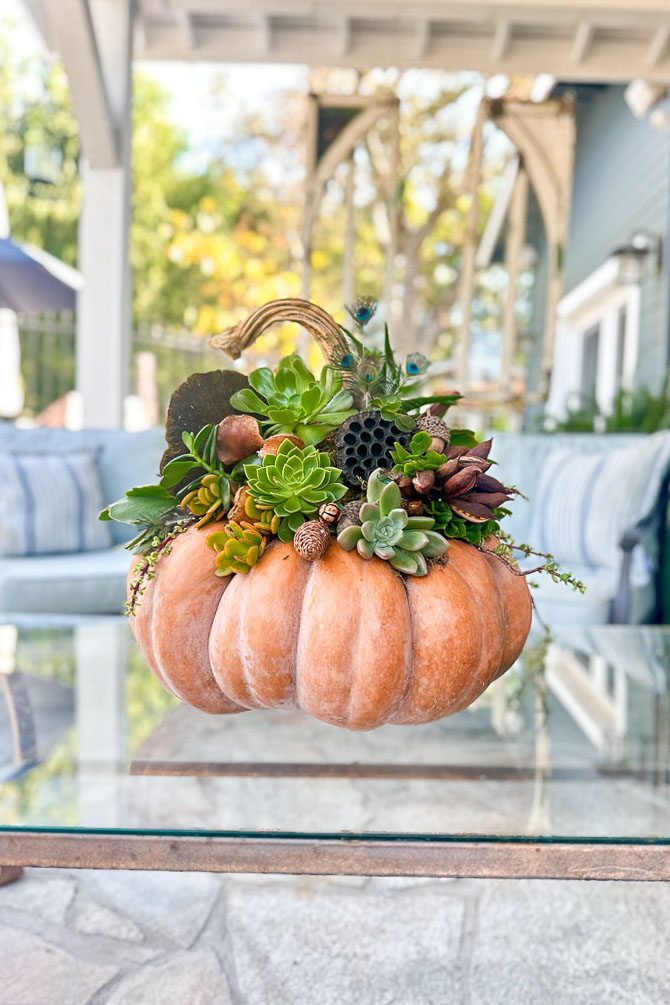
- Focal Point: Place your largest succulent in the center or off-center as the primary focus.
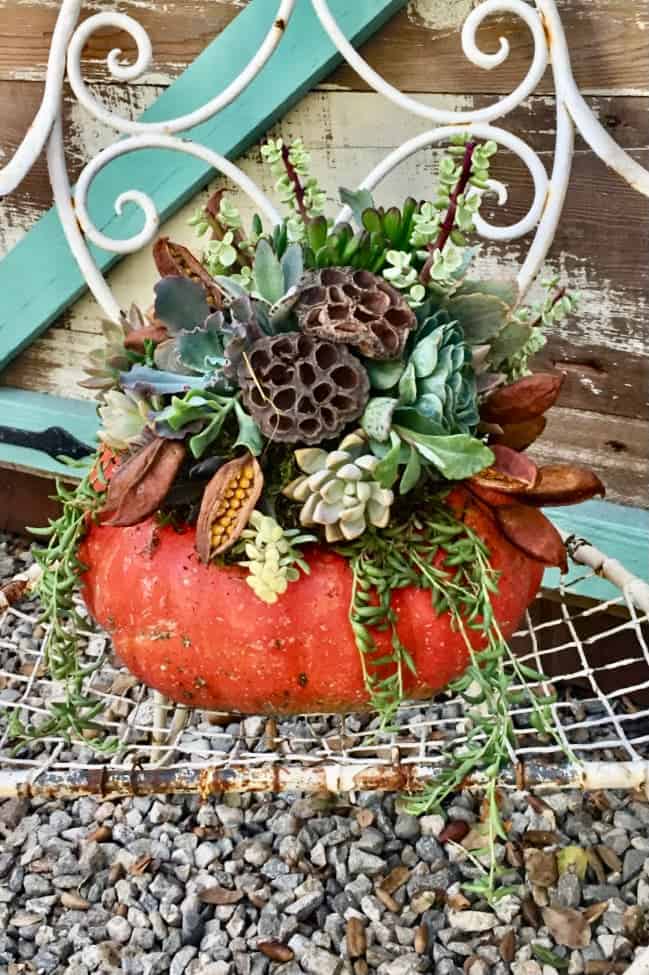
- Vary Heights: Place taller succulents in the center and shorter ones around the edges to create depth and dimension. For extra flair, add trailing plants cascading down the sides of your pumpkin to enhance the overall look.
- Mix Colors & Textures: Combine different colors and textures to add visual interest. Play with greens, yellows, reds, and smooth or spiky leaves.
- Balance the Arrangement: Spread succulents evenly or go for an asymmetrical, organic look by clustering smaller plants around larger ones.
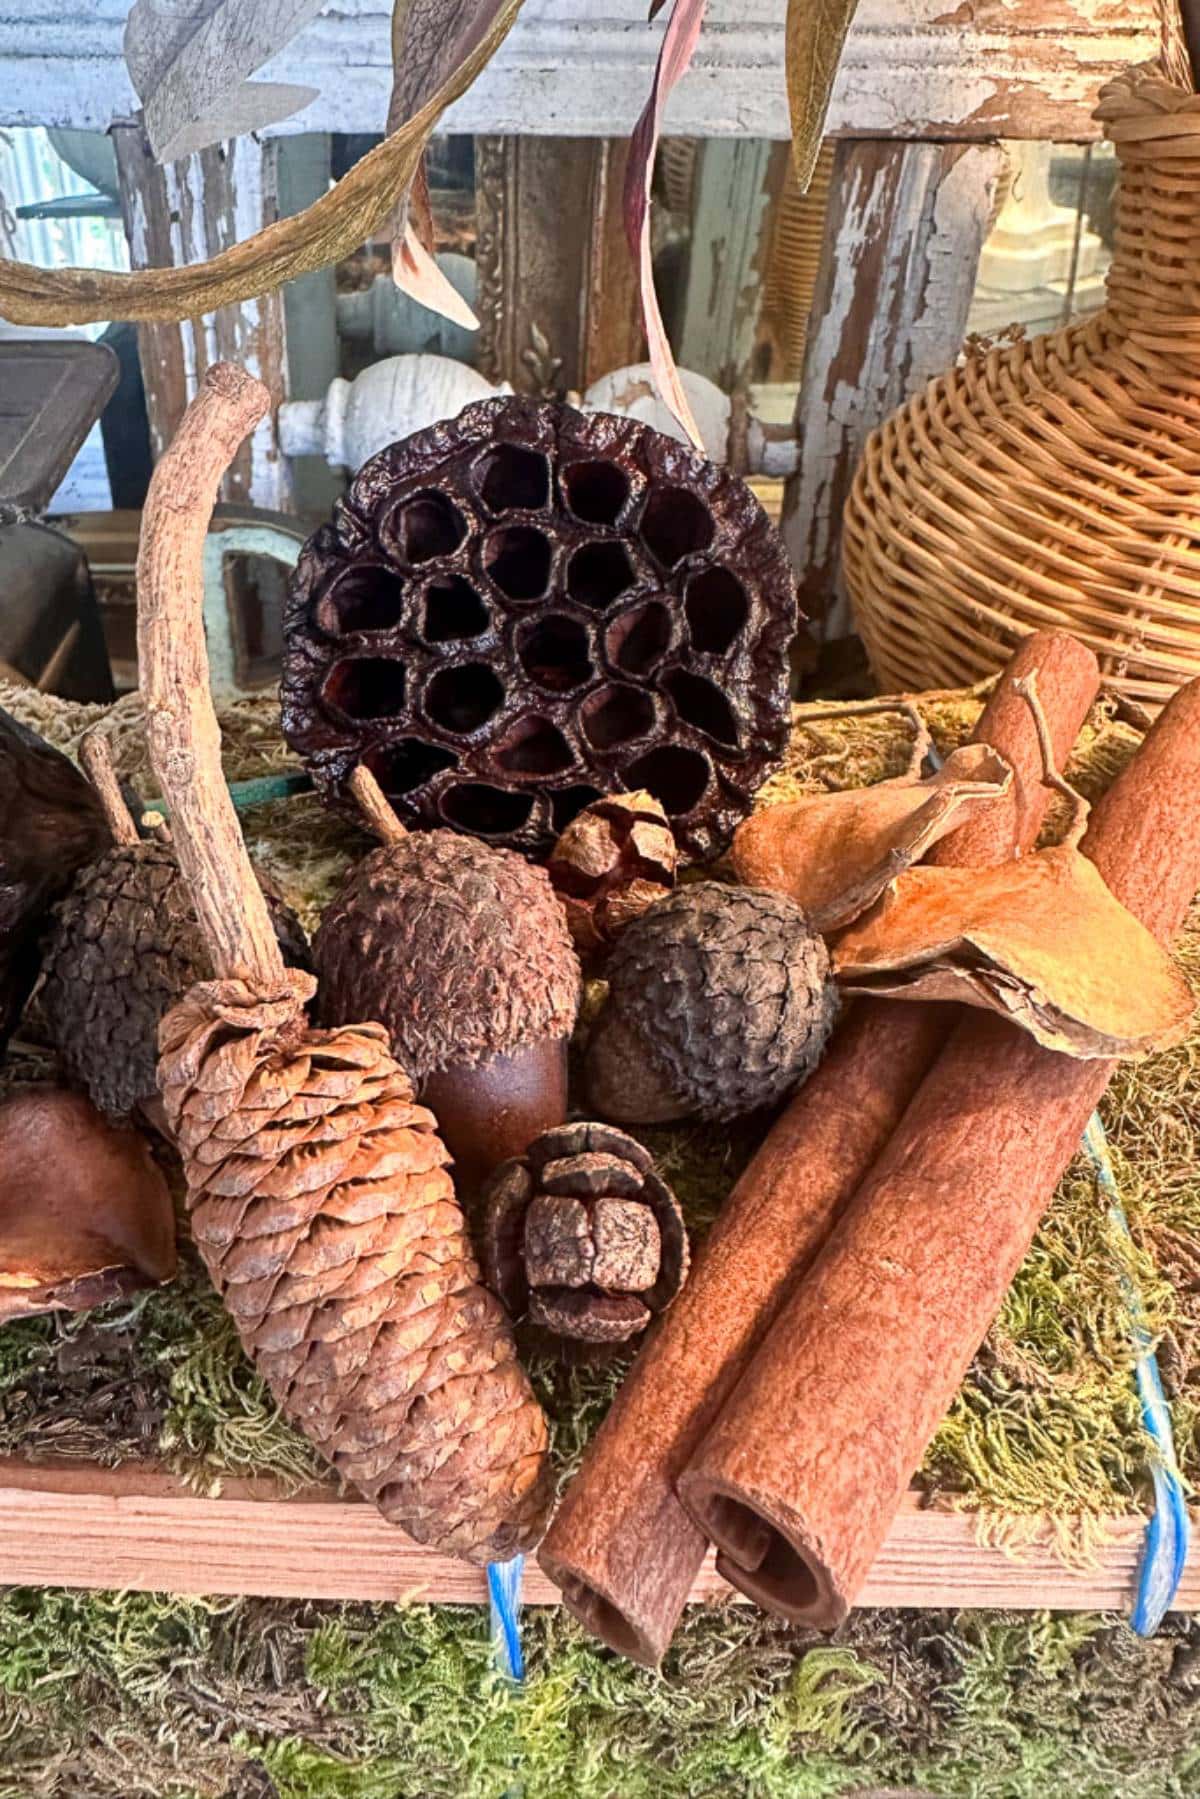
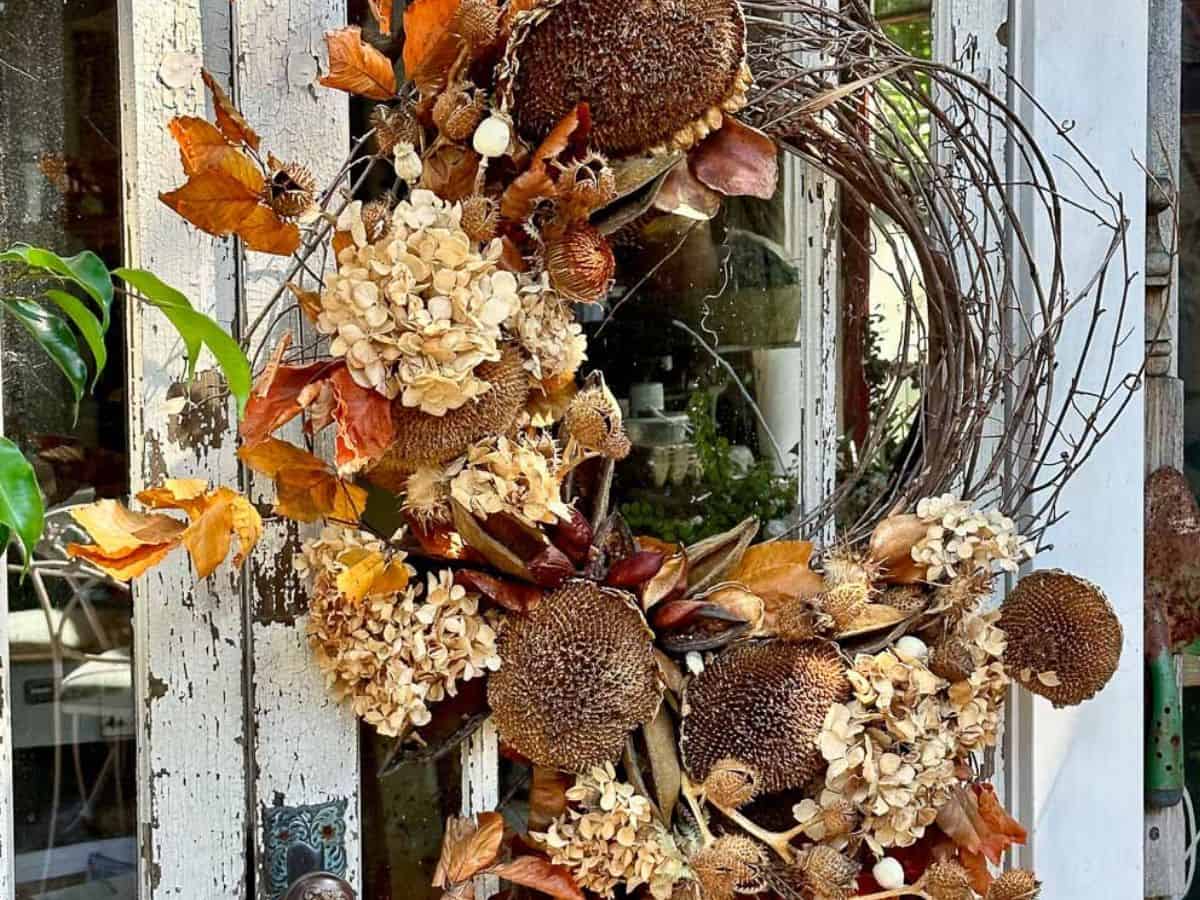
- Use Fillers and Dried Flower Pods: Add extra moss, smaller succulent cuttings, or dried elements like Lotus pods, pinecones, or mushrooms for added texture and interest.

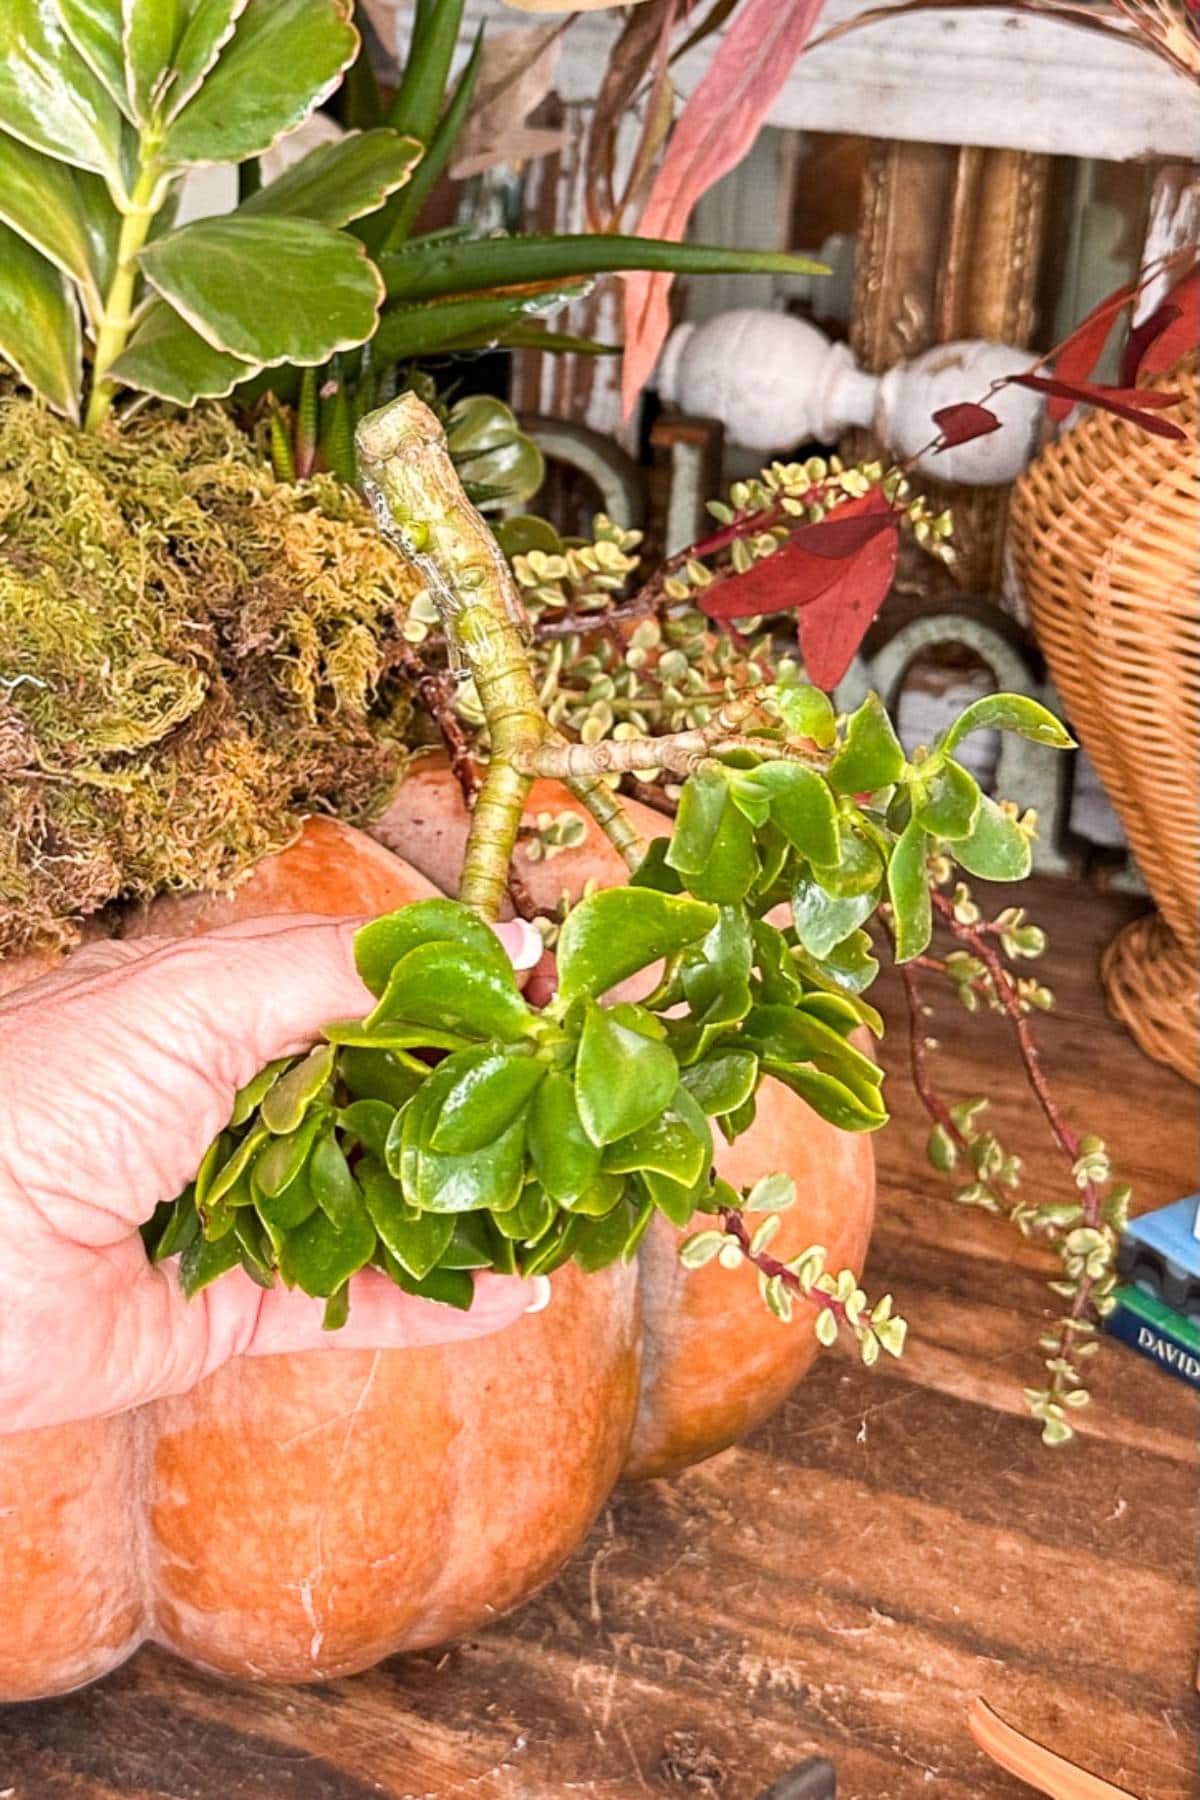
Step 5: How Do You Plant (glue) Succulents on Top of Your Pumpkin?
- Create a hole using a pencil in the moss.
- Add a small amount of hot glue to the succulent stem using a low-temperature glue gun. (The hot glue will not hurt the new plant).
- Place the stem of the succulent into the hole in the moss. You can also use floral pins to help hold the succulents in place if needed; be sure not to pierce the pumpkin.
- Repeat this process, arranging the succulents and dried flower pods with my tips in step four. (Watch the attached video to see how I did this.)
Watch it Here!
Tip from wendy’s craft room:
use a low-temperature glue gun to avoid damaging the plants. Apply a small glue dot to the succulent’s base, then gently press it into the moss. The low heat prevents the succulent from getting scorched while still securing it in place.
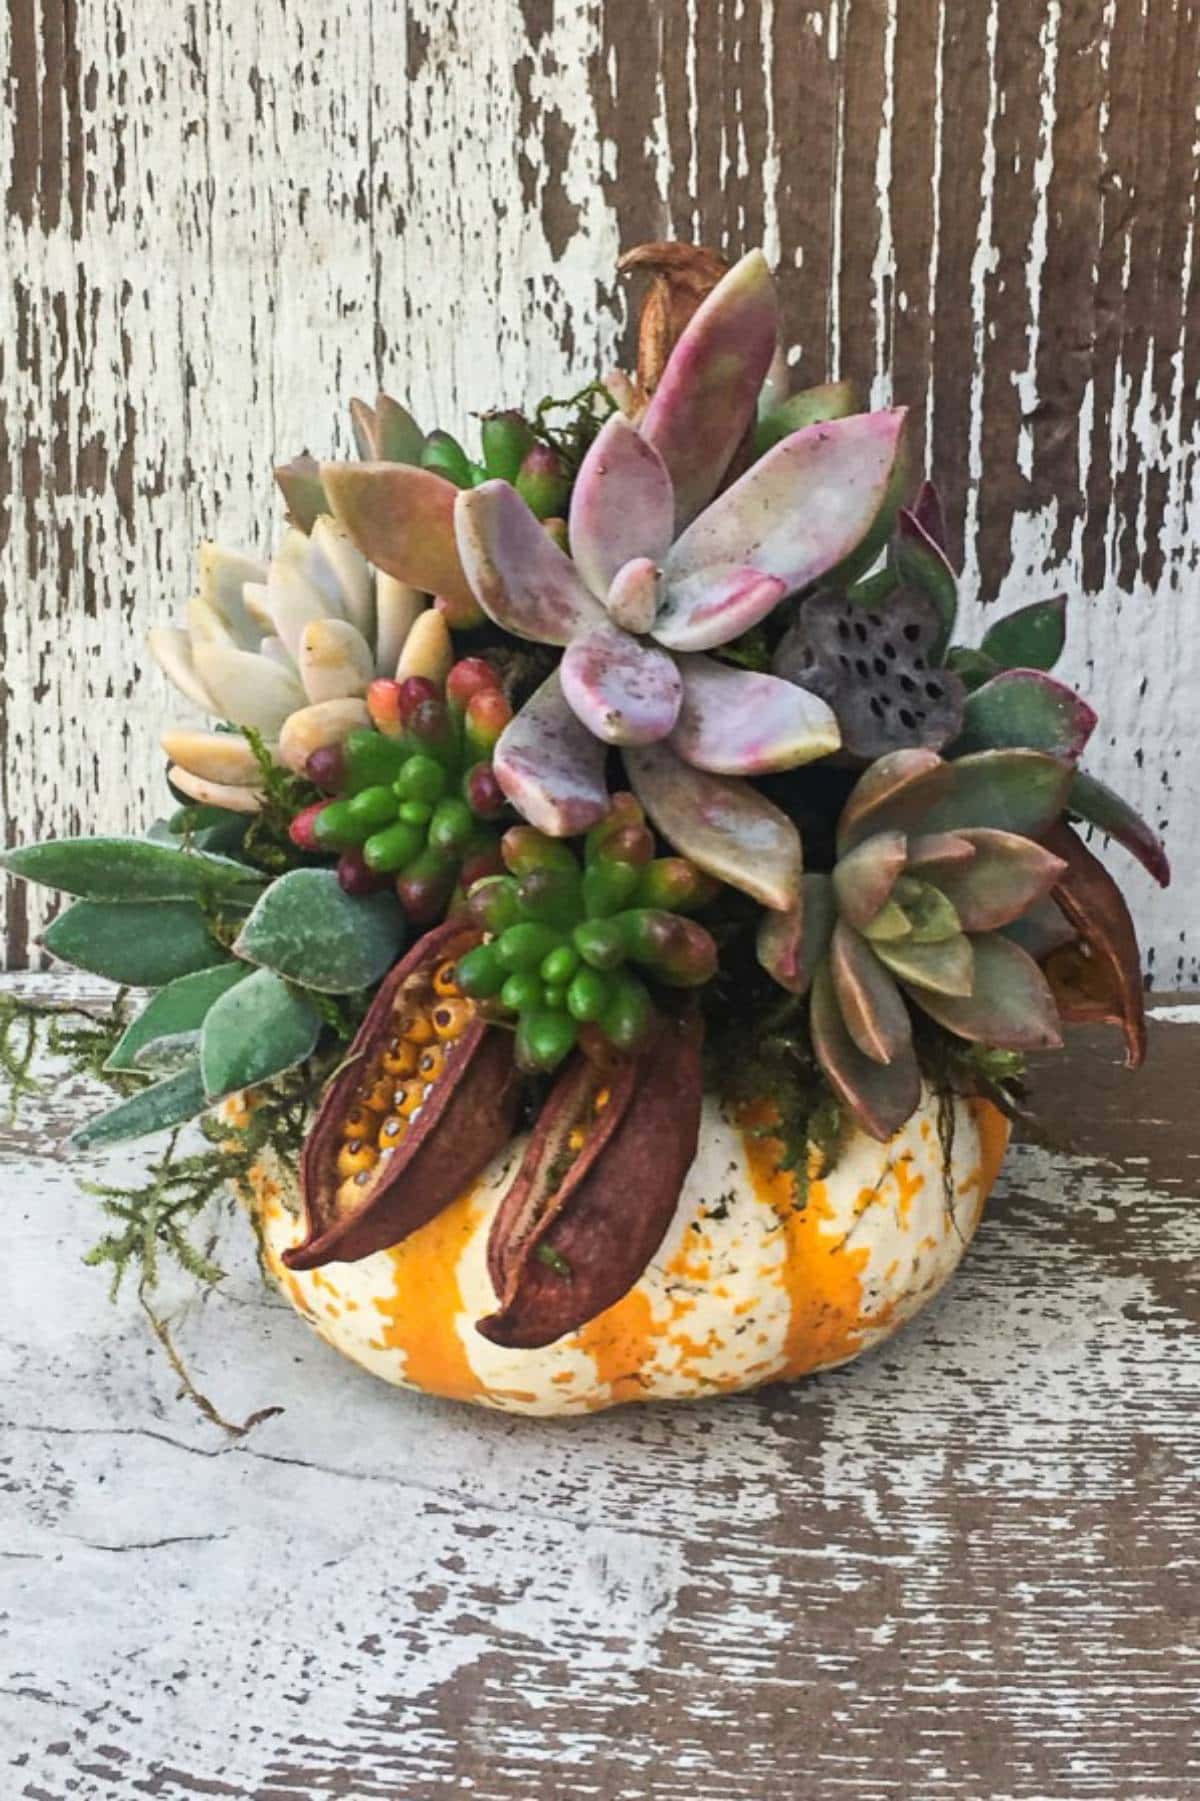
Other Creative Finishing Touches
- Try using faux succulents for a more permanent decoration.
- Add some fresh curly willow to your pumpkin. This will dry and last months in your succulent planter.
- Add other elements like small gourds, ribbons, or dried leaves to personalize your arrangement.
- Add some fresh flowers in vials for a special occasion.
- Use mini pumpkins to create small succulent arrangements that your guests can take home as a thoughtful gift.
- Add a small cornucopia first and small succulents for a Thanksgiving table centerpiece.

How to Make a Succulent Pumpkin Centerpiece
Equipment
- Hot glue gun
- Garden Clippers
Materials
- One Cinderella pumpkin You can use real pumpkins or faux pumpkins
- Green sphagnum moss Spanish moss, or sheet moss
- Succulent cuttings
- An assortment of dried seed pods
- Spray adhesive
- A pencil
- Glue sticks
- Spray bottle of water
- One natural pumpkin stem
Instructions
- Step 1: Prepare the Pumpkin
- Clean your pumpkin thoroughly with soap and water and allow it to dry completely.
- If you are going to use your succulent arrangement outside, spray the pumpkin with hairspray to ward off any critters in the garden.
- Tip: You don’t need to carve the pumpkin! This makes the process quicker and the pumpkin longer-lasting.
- Step 2: Prepare the Succulent Cuttings
- You can clip a variety of succulent plants from your garden or purchase some from your local garden center.
- Wash your cuttings and get rid of any dirt.
- Allow cuttings to dry for a couple of days to avoid rot on the succulent stems.
- Step 3: Attach Moss to the Pumpkin
- Apply a layer of moss to the top of the pumpkin using a hot glue gun.
- Spray this layer of moss with spray adhesive.
- Add another layer of moss.
- Continue this process until your moss mound is about 4" tall.
- Step 4: How to Arrange Your Succulents
- Here are a few points to think about when arranging your succulent centerpiece.
- Focal Point: Place your largest succulent in the center or off-center as the primary focus.
- Vary Heights: Place taller succulents in the center and shorter ones around the edges to create depth and dimension. For extra flair, add trailing plants cascading down the sides of your pumpkin to enhance the overall look.
- Mix Colors & Textures: Combine different colors and textures to add visual interest. Play with greens, yellows, reds, and smooth or spiky leaves.
- Balance the Arrangement: Spread succulents evenly or go for an asymmetrical, organic look by clustering smaller plants around larger ones.
- Use Fillers and Dried Flower Pods: Add extra moss, smaller succulent cuttings, or dried elements like Lotus pods, pinecones, or mushrooms for added texture and interest.
- Step 5: How Do You Plant (glue) Succulents on Top of Your Pumpkin?
- Create a hole using a pencil in the moss.
- Add hot glue to the stem of the succulent. (The hot glue will not hurt the new plant).
- Place the stem of the succulent into the hole in the moss. You can also use floral pins to help hold the succulents in place; just be sure not to pierce the pumpkin.
- Repeat this process, arranging them with my tips in step four. (Watch the attached video to see how I did this.)
- Other Creative Finishing Touches
- Try using faux succulents for a more permanent decoration.
- Add some fresh curly willow to your pumpkin. This will dry and last months in your succulent planter.
- Add other elements like small gourds, ribbons, or dried leaves to personalize your arrangement.
- Add some fresh flowers in vials for a special occasion.
- Use mini pumpkins to create small succulent arrangements that your guests can take home as a thoughtful gift.
- Add a small cornucopia first, then add small succulents for a Thanksgiving table centerpiece.
Why Are Succulent Pumpkin Centerpieces So Popular?
- Pairing pumpkins with succulents brings together a look that fits any decor style, whether you love a rustic farmhouse vibe or lean toward something more modern and minimalist. The best part? You can play around with different colors and textures to make it your own, giving you endless ways to customize your design and match your style.
- How long will succulent pumpkins last? Since succulent pumpkins don’t require carving, they don’t rot as quickly as traditional carved pumpkins. The succulents can often last throughout the fall season, and once the pumpkin starts to deteriorate, the succulents can be replanted.
- Are Succulent Pumpkins Sustainable? Many people love that succulent pumpkins are eco-friendly. Succulents are hardy, drought-tolerant plants, and by clipping them from your own garden, you’re using materials you already have on hand. Additionally, the plants can be replanted after the season, so there’s little waste.
- How do you care for a Succulent Pumpkin? Succulent care is simple, and when arranged on a pumpkin, they require minimal upkeep. A light misting of water occasionally is usually all that’s needed to keep them fresh. Just be sure to place your beautiful pumpkin centerpiece in indirect sunlight for the best results.
How to Style Your Succulent Pumpkin
Here are a few different ways to display your beautiful succulent pumpkin centerpiece.
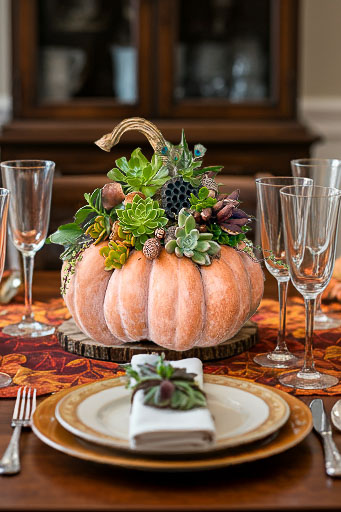
- A succulent pumpkin makes a beautiful fall centerpiece for your dining table, adding natural autumn charm. Whether for family dinners or gatherings, it creates an inviting atmosphere. Surround it with small gourds, dried leaves, or candles for a warm, seasonal touch that lasts all season long!
- Display your succulent pumpkin on your front or back porch to welcome guests with a touch of fall charm and natural beauty.
Other Pumpkin Tutorials from WM Design House
If you love this pumpkin project, you might also enjoy some of my other favorites.
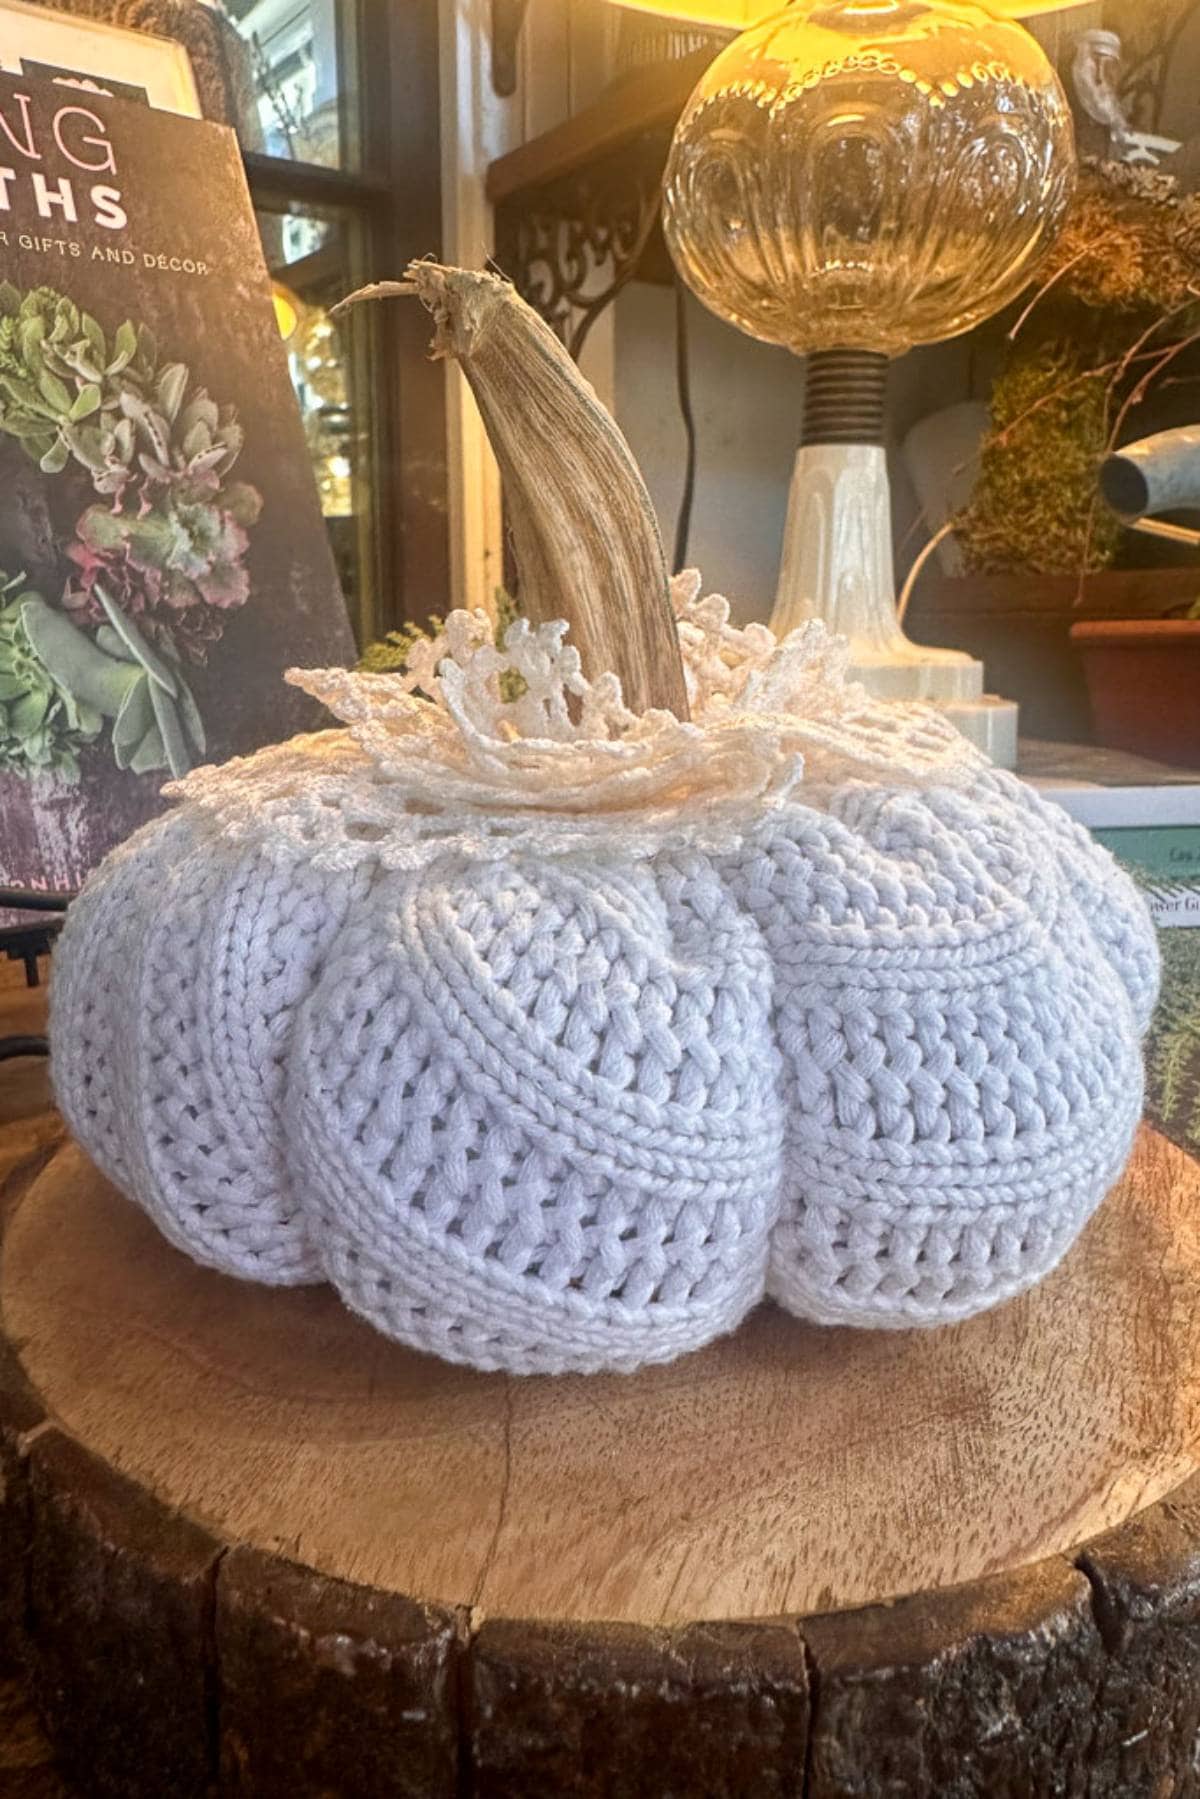
Easy DIY Sweater Pumpkins
4 Creative Ways to Transform Dollar Tree Pumpkins
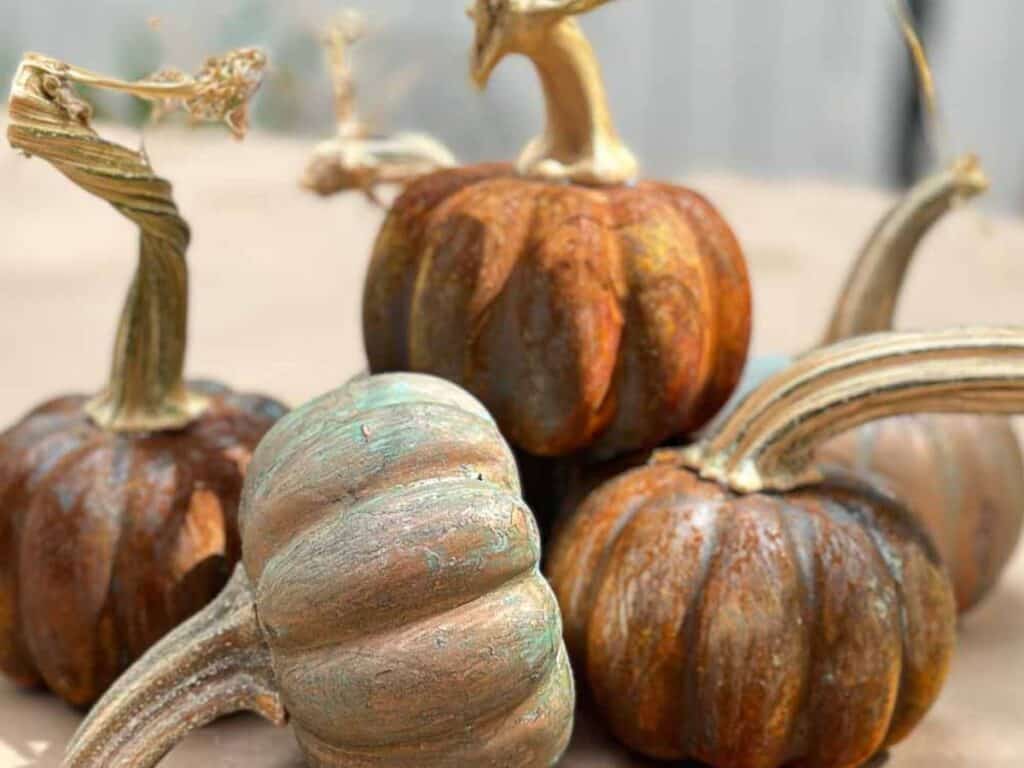
Beautiful Patina Pumpkins for Fall Using Metal Paint
Write an closing paragraph here with a summary or your project.


Did you make this craft?
We would love to see what you have created, so mention us @wmdesignhouse or tag us using #wmdesignhouse so we can see your creations!
More about me!

Hello, I’m Wendy – a dedicated homemaker with a deep passion for decorating, gardening, cooking, and crafting. I find joy in harmonizing beautiful elements to fashion a space that is both comfortable and inspiring. I will help you create a beautiful home, one project at a time.
Well, I’m impressed! I was thinking you carved it out but no. Pinned to make later for my Thanksgiving table. from Farmhouse Friday #109, 110. 111.
It’s so cute Wendy. I love that you were able to use things from your own garden!!
Thank you, Anita!
I love when folks take a pumpkin and make it a centerpiece like this Wendy. I have been wanting to do this with a faux pumpkin, but haven’t gotten around to it. Succulents seem to be the only thing we can grow around here, and I have to admit, I am not the one who is able to keep them alive, my husband does! Great centerpiece!
thanks so much, Cara. It was such a fun and easy project to do. I’m sure combined you and your husband could create a beautiful centerpiece.
What a gorgeous centerpiece Wendy! The pumpkin you used as the base is amazing and I adore how you layered the succulents on top of it! Perfect display for the fall season!
Thank you so much, Donna.
Just stunning, Wendy!! Such a pretty centerpiece or decor piece for the season. The green is really striking against the orange!
That is so sweet of you. Thank you, Rachel!