How to Make a DIY Map Covered Picture Frame
We love to travel — exploring new places, wandering hidden streets, and collecting memories along the way. And while photos on our phone are wonderful, I enjoy creating something tangible to remind us of those special trips. That’s why I made this map-covered picture frame using a map from one of our favorite destinations. It’s an easy, budget-friendly project that turns an old frame into a meaningful travel keepsake.

On my blog WM Design House, I may sometimes use affiliate links, which means a small commission is earned if you purchase via the link. The price will be the same whether you use the affiliate link or go directly to the vendor’s website using a non-affiliate link. Read my full disclosure policy here.
Do you have an old picture frame tucked away in a closet, just waiting for a little love? I sure did.
On a recent clean-out, I found a frame that had definitely seen better days, but instead of tossing it, I decided to give it a makeover — with a map.
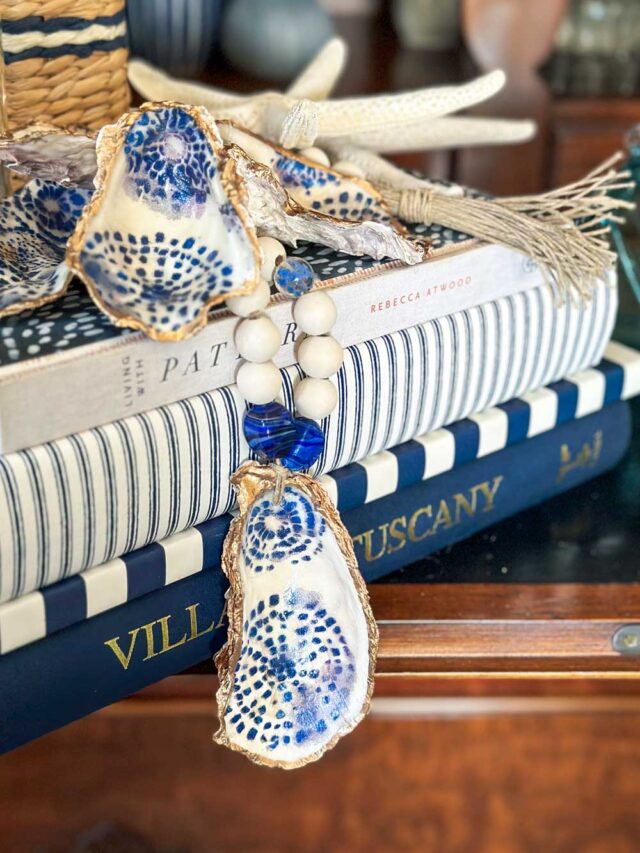
Not just any map, but one from a trip that holds a special place in my heart. This simple DIY map picture frame project turned into the perfect travel keepsake craft, and now it’s part of my growing series of map craft ideas (like these decoupaged shells covered in vintage maps).
Whether you’re a traveler looking for a way to preserve memories or a crafter who loves giving old pieces a fresh look, this map-covered picture frame is an easy, budget-friendly project anyone can make.
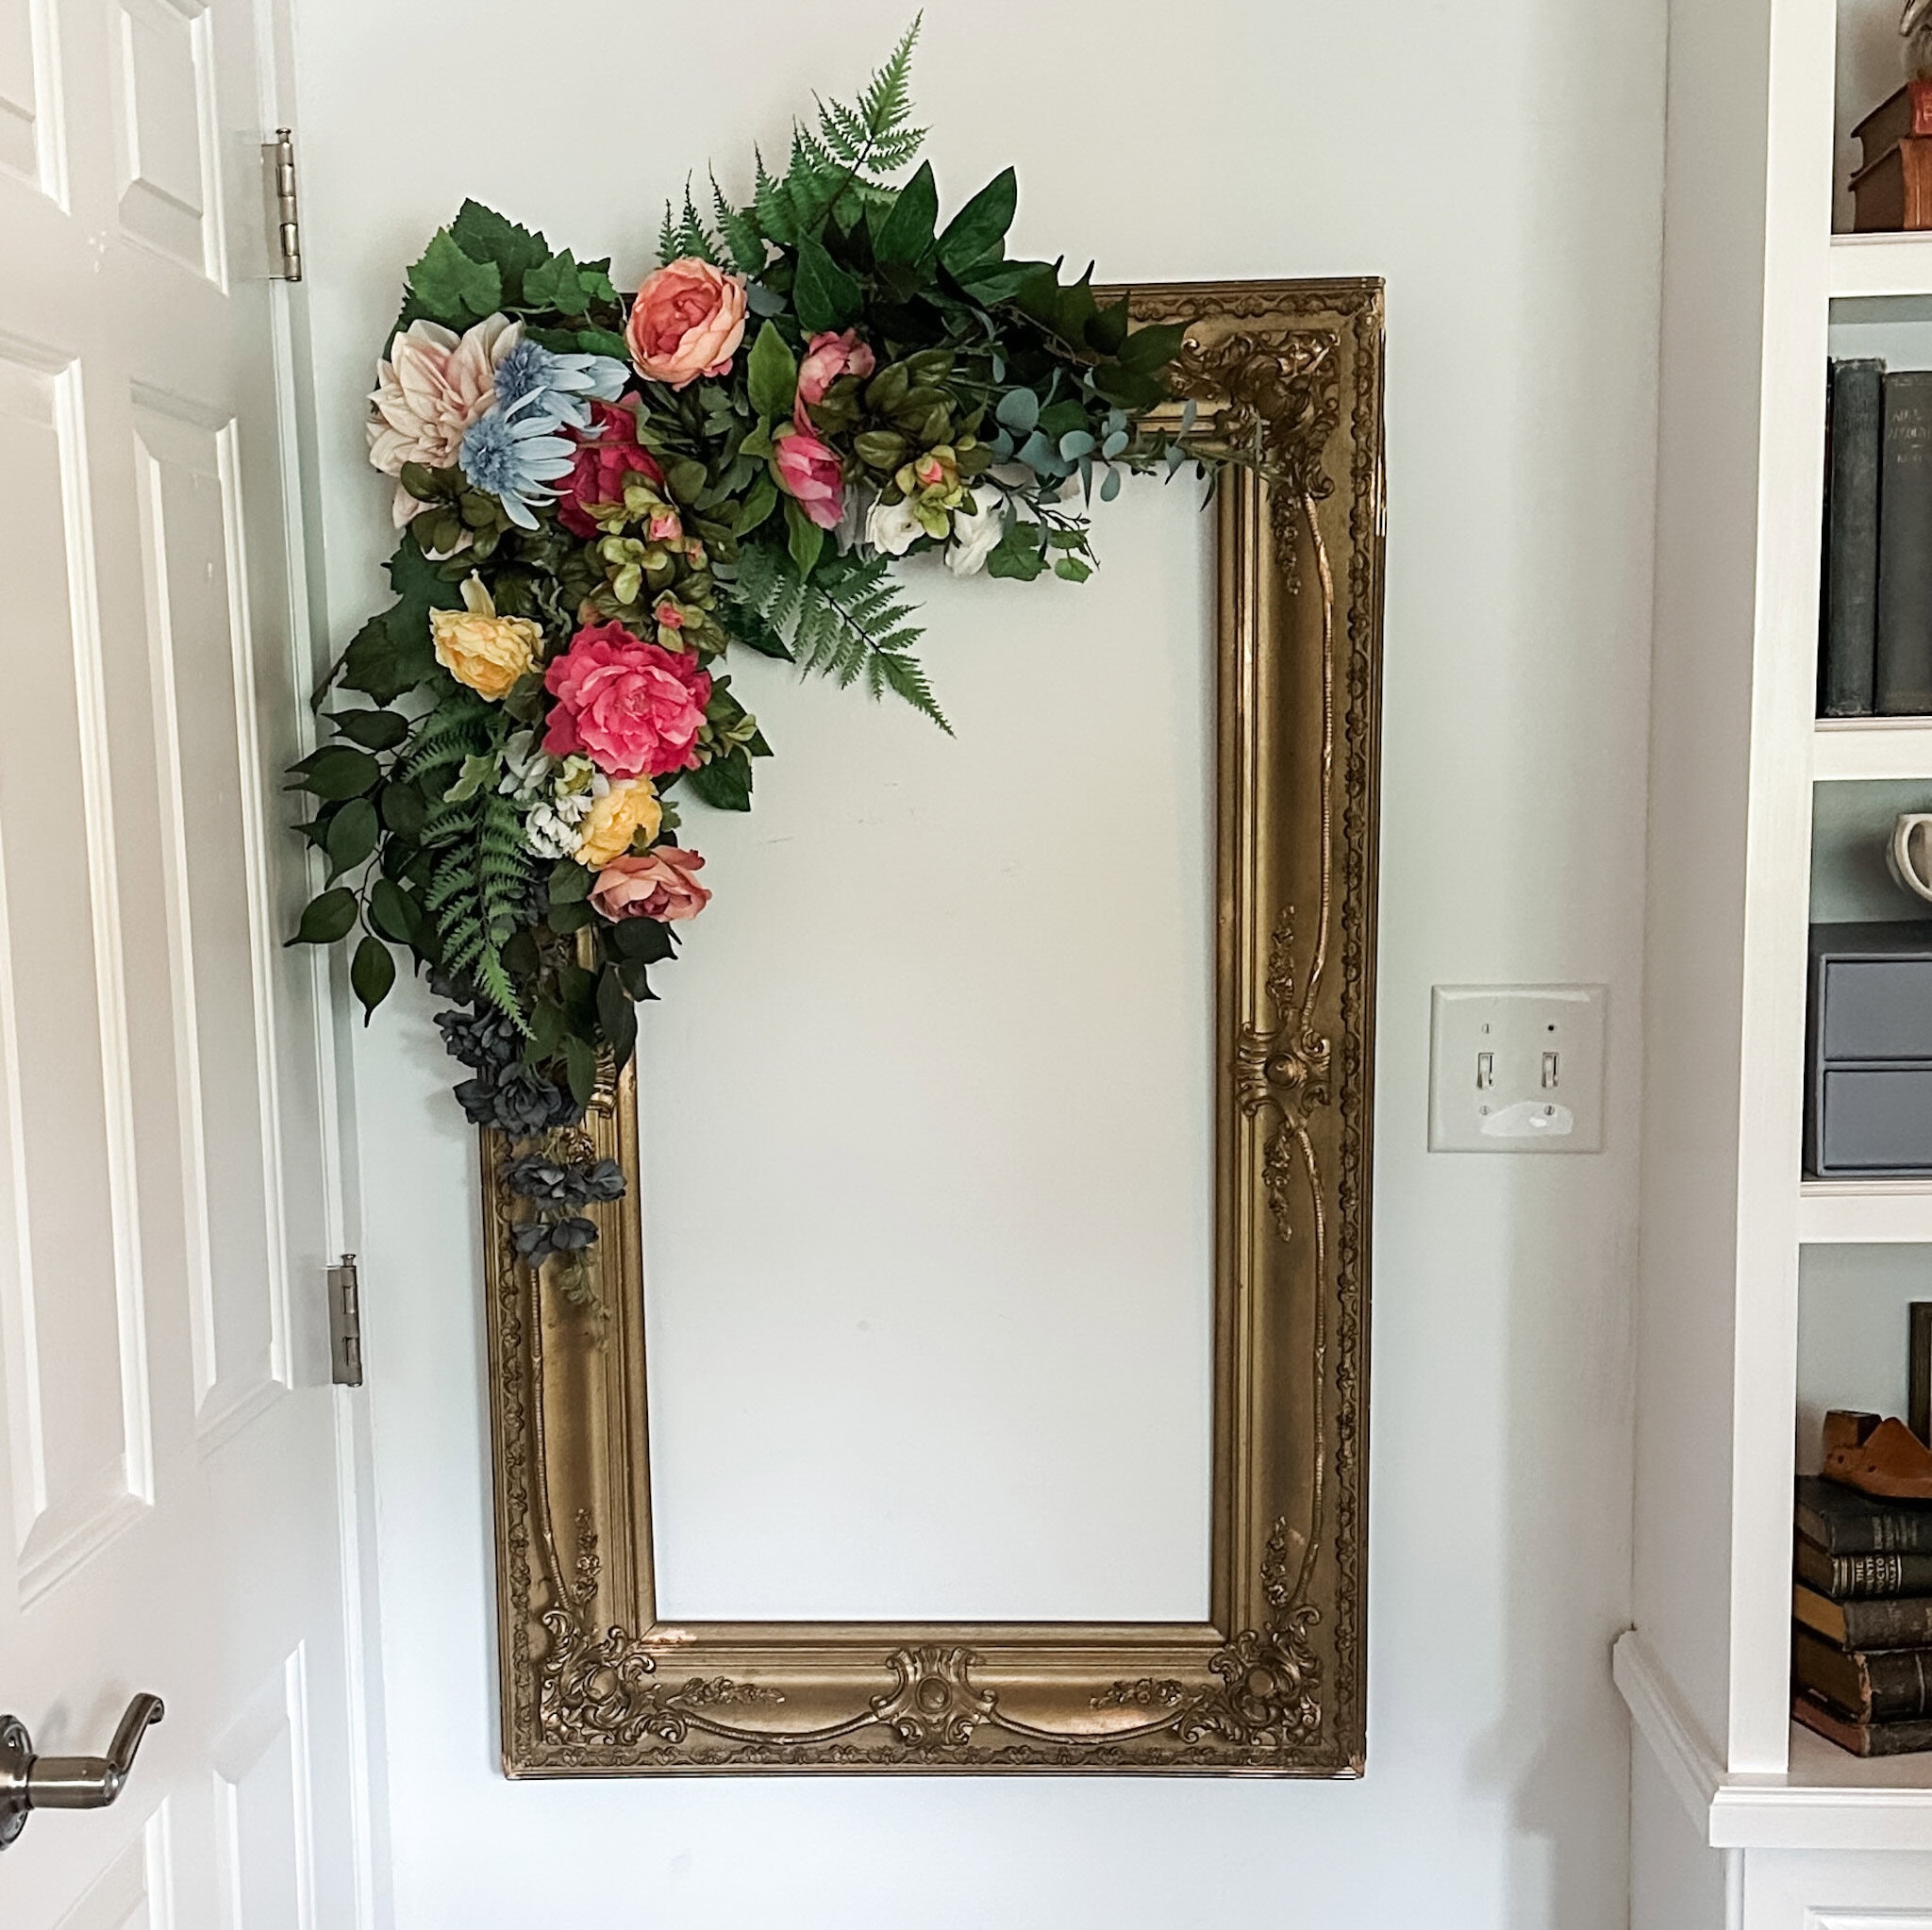
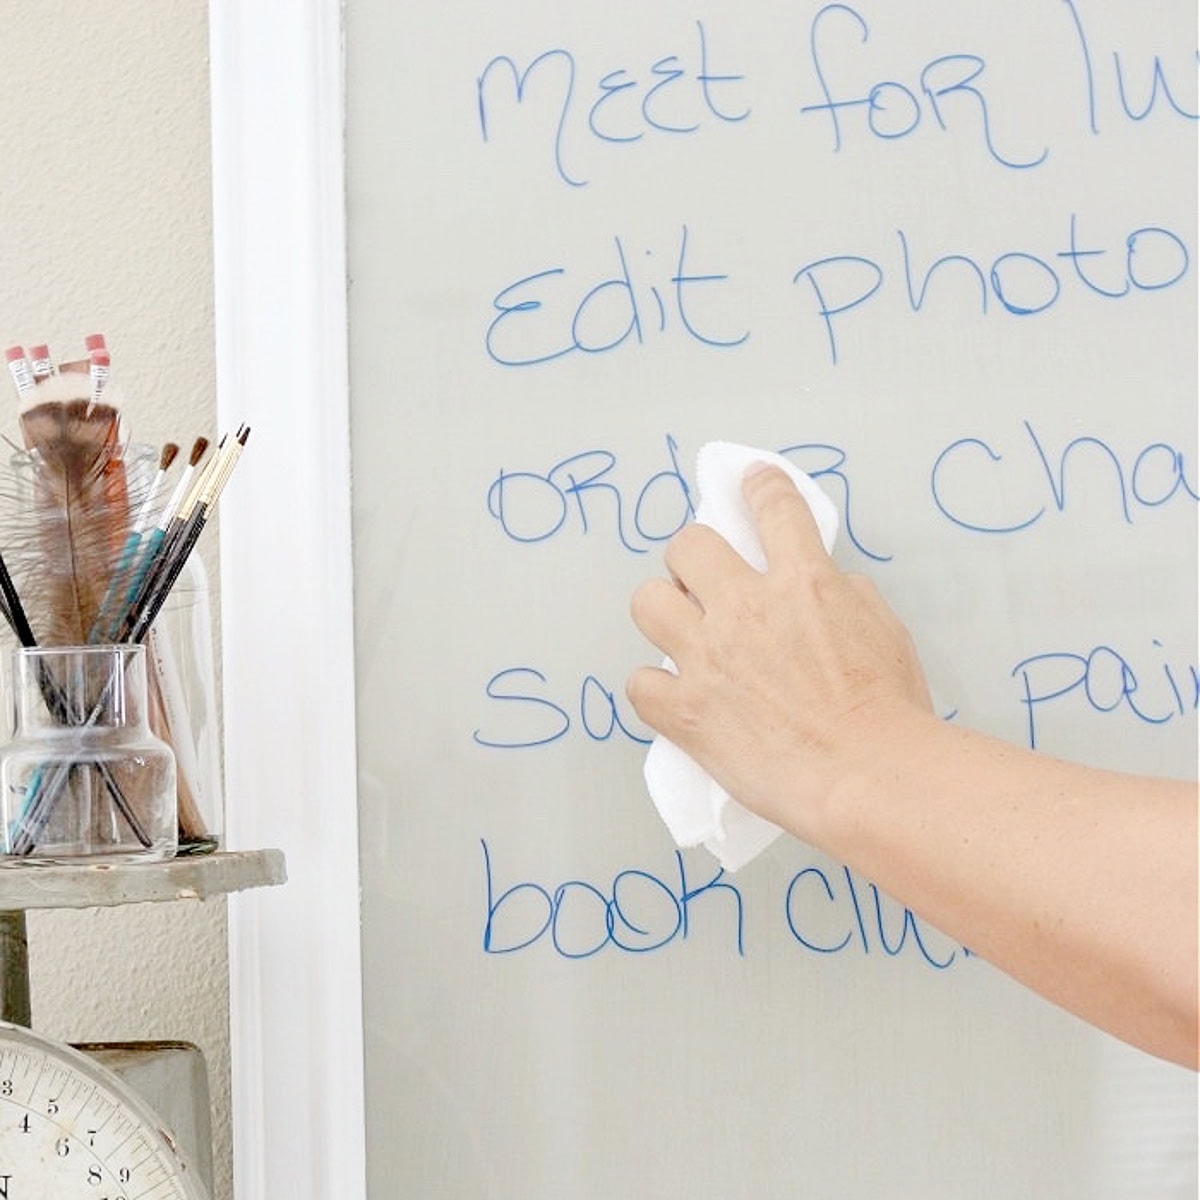
Handcrafted Society
Today marks another exciting installment of our Handcrafted Society series, where a group of creative bloggers comes together to craft projects centered around a common theme, and this month, we’re all about upcycled frames.

So, grab something cool to drink and join us as we showcase our latest DIY creations. You’re sure to find inspiration for your next crafting adventure!
Don’t forget to check out the links to all the bloggers’ projects at the end of this post.
Why You’ll Love This Project
I’ve always been drawn to projects that feel personal. Making a map frame lets you:
- Showcase a special location – Using a map that highlights a meaningful place, whether it’s where you grew up, tied the knot, or took the trip of a lifetime, turns your frame into a piece of art you’ll treasure.
- Add instant vintage charm – The look and texture of a map instantly bring character and a nostalgic feel to your decor, making your frame a beautiful conversation starter.
- Upcycle instead of buying new – Giving an old picture frame a fresh purpose reduces waste, saves money, and creating something entirely unique in the process.

It’s also the perfect travel keepsake picture frame idea for gifting. Just imagine giving someone a frame covered in the map of where they honeymooned or studied abroad. How thoughtful is that?
Tools & Materials You’ll Need for a DIY Map Picture Frame
- An old picture frame (wood works best)
- Map (vintage or printed)
- Mod Podge or collage glue
- Chip brush or Foam brush
- Scissors
- Sandpaper (optional, for smoothing edges)
- Ruler
- Pen
Shop Supplies Here

How to Make a DIY Picture Frame Wrapped in a Map
Step 1: Choose and Prep Your Frame
When choosing a frame for this project, wood is your best bet. It’s sturdy, easy to sand, and gives the map a smooth surface to adhere to. Pick a frame with clean, simple lines so it won’t compete with the map’s pattern, and steer clear of ornate designs or deep grooves that can make the decoupage process more challenging.

Once you’ve chosen your frame, remove the glass and backing so you’re working with just the base.
Tip from wendy’s craft room:
If the surface of your picture frame is glossy or rough, lightly sand it to help the Mod Podge adhere better. Then use a tack cloth to wipe away any dust to create a clean, smooth surface.
Step 2: Choose Your Map
When it comes to picking a map for your frame, choose one that has personal meaning. I found several vintage road maps from AAA, and for my DIY frame, I chose maps of California that highlight the coastal areas and beaches we love to visit.
The maps are similar to the ones I used for my DIY decoupage seashell project and remind me of our annual summer vacations and beach trips that hold so many special memories for our family

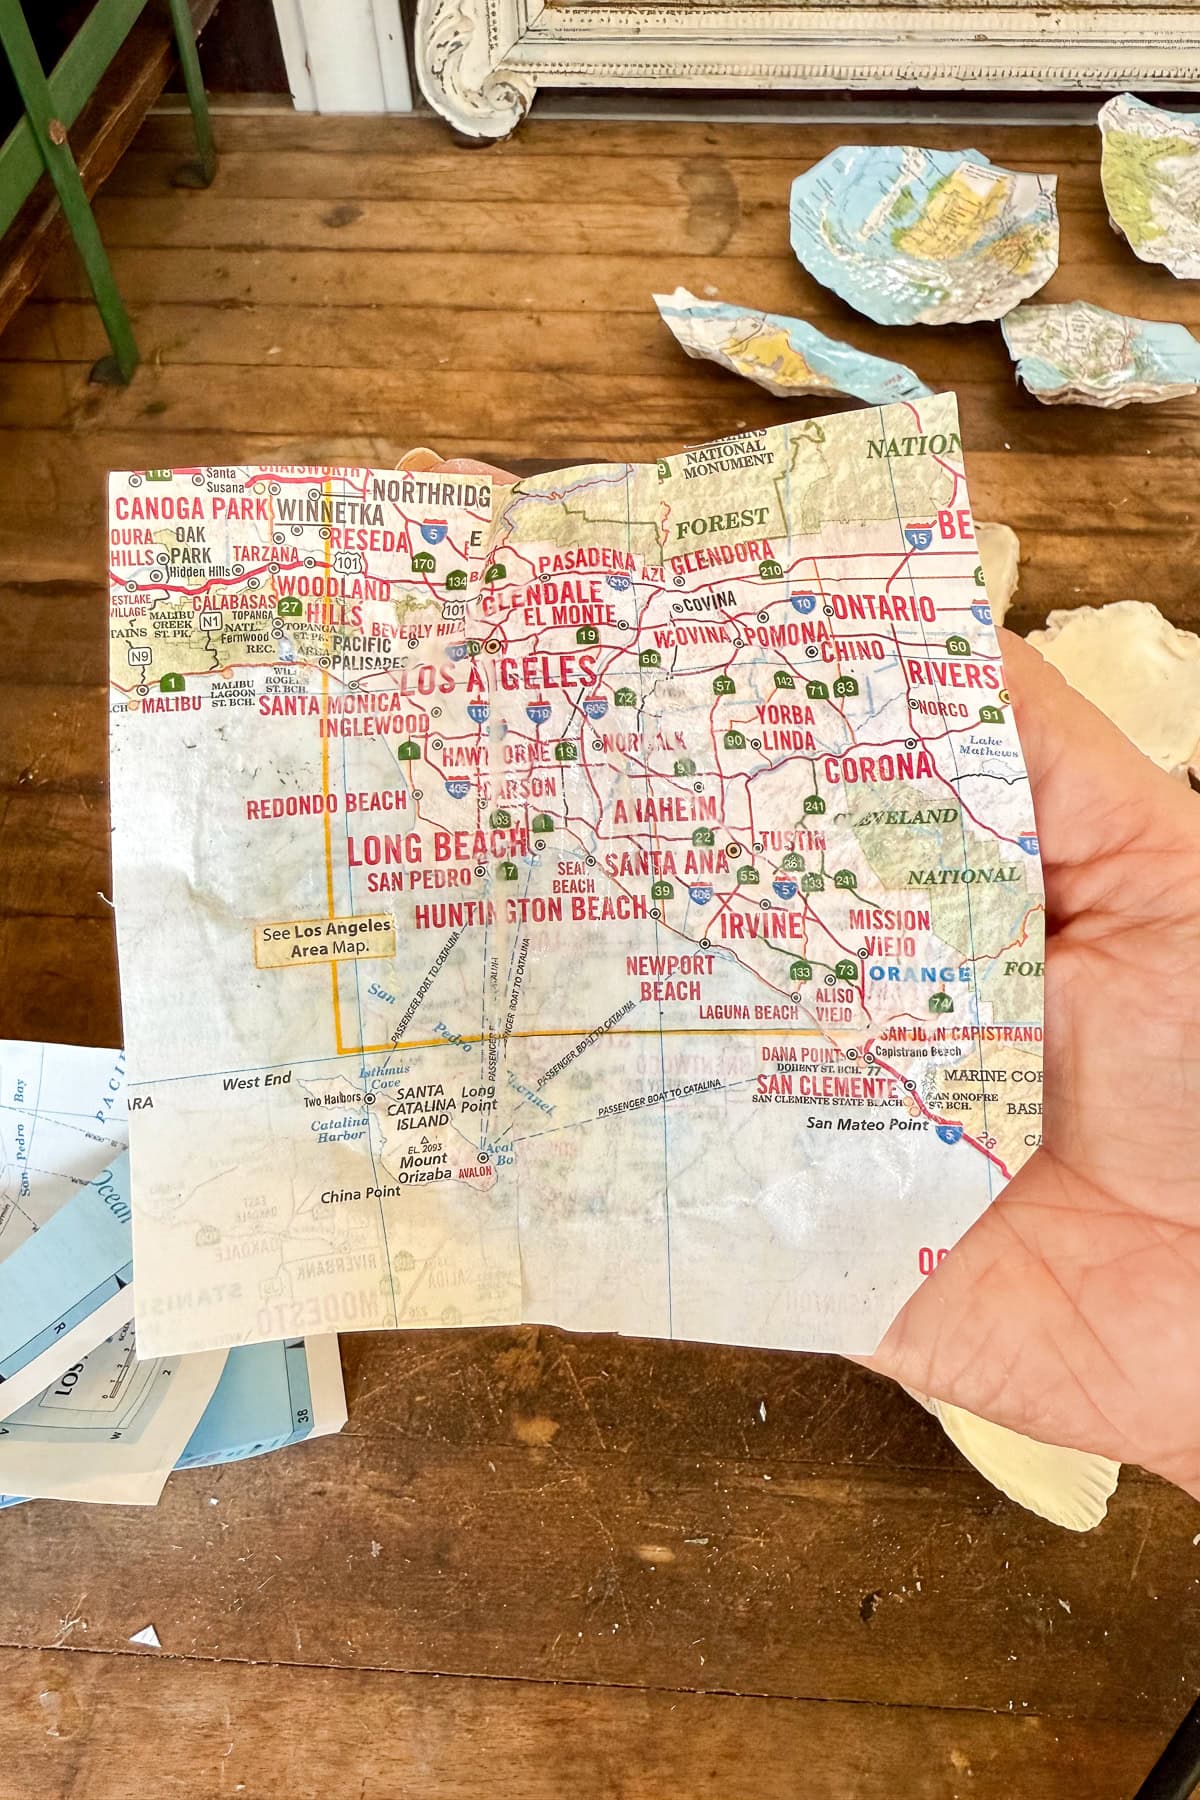
You might choose a map of a favorite vacation spot, the city where you grew up, or a place you have always dreamed of visiting. Vintage maps add a beautiful, nostalgic touch, while modern maps offer bold colors and crisp details.
Tip from wendy’s craft room:
You can use an old atlas page, a reproduction map, or even a printed map from online. Just make sure the paper is thin enough to bend easily around the edges of your frame for a smooth finish.
Step 3: Cut Your Map to Fit
First, lay your map face down and place the frame on top. If you’re featuring a specific location, center it where you want it on the frame.
Next, trace around the exterior of the frame and cut the map slightly larger than needed so you have enough extra paper to wrap around the edges. (Once it is glued in place, you can trim away any excess for a neat finish.)


Then draw a line around the interior of your frame on the back side of the map.
Remove the frame and draw a large “X” inside the box you just outlined for the frame’s interior. Using scissors or an X-Acto knife, carefully cut along the lines of the “X” but stop before reaching the corners.
This will leave you with four triangle-shaped flaps, two along the top and bottom and two along the sides, that you can fold and wrap neatly around the inside edges of the frame.
Make a diagonal cut at the outside of each corner, then a short vertical cut to remove a small triangular piece of the map from both the top and bottom edges.
Step 3: Apply the Map
Using your foam brush, spread a thin, even layer of Mod Podge onto one section of the frame.


Press the map gently onto the glued surface, smoothing it with your fingers to avoid bubbles. Work in small sections until the whole frame is covered.
I started with the exterior pieces first and then folded over the interior triangles ti finish it off.


Step 4: Smooth and Seal
Once the map is in place, smooth it one last time and trim any excess paper from the edges.

Let it dry completely, then apply a top coat of Mod Podge to seal and protect it.

Tips for a Perfect DIY Map Picture Frame
- Vintage style – Hunt for old atlas pages or nautical charts for extra charm.
- Color coordination – Choose maps in colors that match your decor.
- Collage effect – Use pieces from different maps for a more whimsical design.
- Gift giving – Slip in a photo from a trip for a personal touch.

If you love incorporating personal touches into home projects, you might also enjoy my coastal cottage table decor ideas, where I styled a table using treasures from our beach trips.
FAQs
Can I use laser or inkjet-printed maps?
Yes! Inkjet prints work great. Just let the ink dry completely to avoid smudging when applying Mod Podge.
Can I use napkins or tissue paper instead of maps?
Absolutely! The process is the same, and napkins with map prints or coastal designs work beautifully.
Other DIY Projects You’ll Love
If you love this DIY map picture frame project, you might also enjoy some of my other favorite decoupage crafts.
How to Make a Beautiful Wood Beaded Garland with Oyster Shells
How to Make Easy DIY Fabric Wall Art for Your Home

Decoupage Shells with Maps: A Creative Project
Don’t miss the amazing map-inspired creations from the rest of the Handcrafted Society! Click through to see the beautiful and creative projects these talented bloggers have dreamed up—you’re sure to be inspired.


Final Thoughts on How to Make a DIY Picture Frame Using a Map
This upcycled picture frame with a map is such a simple and fun way to turn something old into something meaningful. Every time I look at mine, I think about our coastal vacations and the special memories we made there. It is such a great feeling to have a piece of decor that tells a story and brings back those moments every time you see it.
If you decide to make your own, I would love to see what you create. Share it on Instagram and tag me so I can see the places your maps take you and the memories that inspired them.
Happy crafting!

Printable Instruction Card for DIY Map Picture Frame
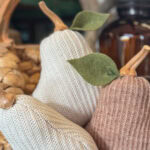
How to Make DIY Sweater Pears
Materials
- Thrifted sweaters knits work best in cozy fall colors
- Fabric scissors
- Needle and embroidery thread
- Polyester fiberfill or pillow stuffing
- Twigs pumpkin stems or cinnamon sticks (for stems)
- Felt fabric scraps, or dried leaves (for leaves)
- Jute twine or ribbon optional, for embellishments
Instructions
- Cut sweater fabric into a pear-shaped piece (any size you like).
- Stitch or hot glue the edges, leaving the top open.
- Turn fabric right side out and fill with stuffing.
- Gather and secure the top with thread or twine.
- Add a twig, natural stem or cinnamon stick for the stem.
- Glue on a felt or dried leaf for detail.
- Embellish with ribbon, twine, or buttons if desired.
- Style pears in clusters for a natural, cozy look.


Did you make this craft?
We would love to see what you have created, so mention us @wmdesignhouse or tag us using #wmdesignhouse so we can see your creations!
More about me!

Hello, I’m Wendy – a dedicated homemaker with a deep passion for decorating, gardening, cooking, and crafting. I find joy in harmonizing beautiful elements to fashion a space that is both comfortable and inspiring. I will help you create a beautiful home, one project at a time.


Wendy – I love upcycling old frames. This is the perfect idea for framing those photos taken during a vacation. Thanks for the clear instructions and tips. How cute would it be to make a set of frames using decoupage from napkins? Always fun participating in HCS with you!
Wendy, your map covered frame is just adorable! I would love to make one for displaying one of vacation photos. What a perfect reminder of happy times and vacation destinations! Pinning!
Hi Wendy! I adore this idea! There’s nothing better than an easy DIY that looks fabulous! It’s such a unique and memorable way to preserve memories!
Such a quick and easy project that looks so boutique-ish. Love that you picked a map to a special place you hold in your heart. I’m always loving your projects!
I love the idea of covering a frame with a map especially if it’s the map of the same place that the picture was taken! Such a cute idea!
Such a great idea for anyone who has ever been anywhere! I also like that it is probably pretty quick to put together…sometimes I need a last minute gift!
This is such a cute idea and would make a great gift for a loved one leaving for college too. I appreciate how quick and easy it came together too because sometimes you need a fun gift idea in a pinch. Can’t wait to try this and thanks so much for all that you do to put these hops together. Hugs, CoCo
All of your map projects are adorable!