How to Harvest Zinnia Seeds From Flowers For Endless Blooms
Learn how easy it is to harvest zinnia seeds.
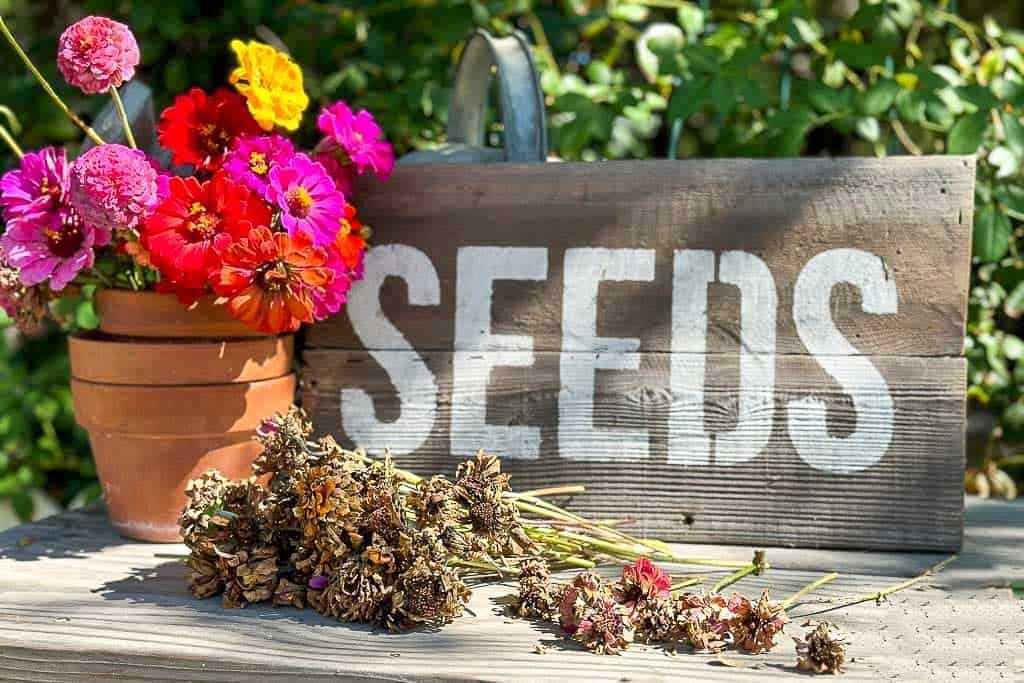
Zinnia flowers are known for their vibrant colors and long-lasting blooms. Many gardeners wonder if saving zinnia seeds for the following year is possible. The answer is yes! Zinnia seeds can be easily saved and used to grow beautiful zinnias year after year. By following a few simple steps, you can collect and store zinnia seeds to ensure a bountiful garden for next year.
If you’re a fan of zinnias and want to grow them year after year, learning how to harvest zinnia seeds is essential. I am not a master gardener, but I am one who loves to learn and grow in the garden, so today I will share what I do know about harvesting viable seeds.
This blog post will walk you through collecting zinnia seeds and provide tips to ensure the success of your seed-saving endeavors.
On my blog WM Design House, I may sometimes use affiliate links, which means a small commission is earned if you purchase via the link. The price will be the same whether you use the affiliate link or go directly to the vendor’s website using a non-affiliate link.
The Importance of Harvesting Zinnia Seeds
Harvesting zinnia seeds is a valuable skill for any gardener.
By preserving and storing your own seeds, you establish a reliable source of zinnia plants that will thrive for years. Furthermore, the act of collecting zinnia seeds grants you the ability to protect the unique characteristics of your favored varieties, including their vibrant colors and distinctive growth habits.

Exploring the World of Zinnias: Hybrid Varieties vs. Open-Pollinated Varieties
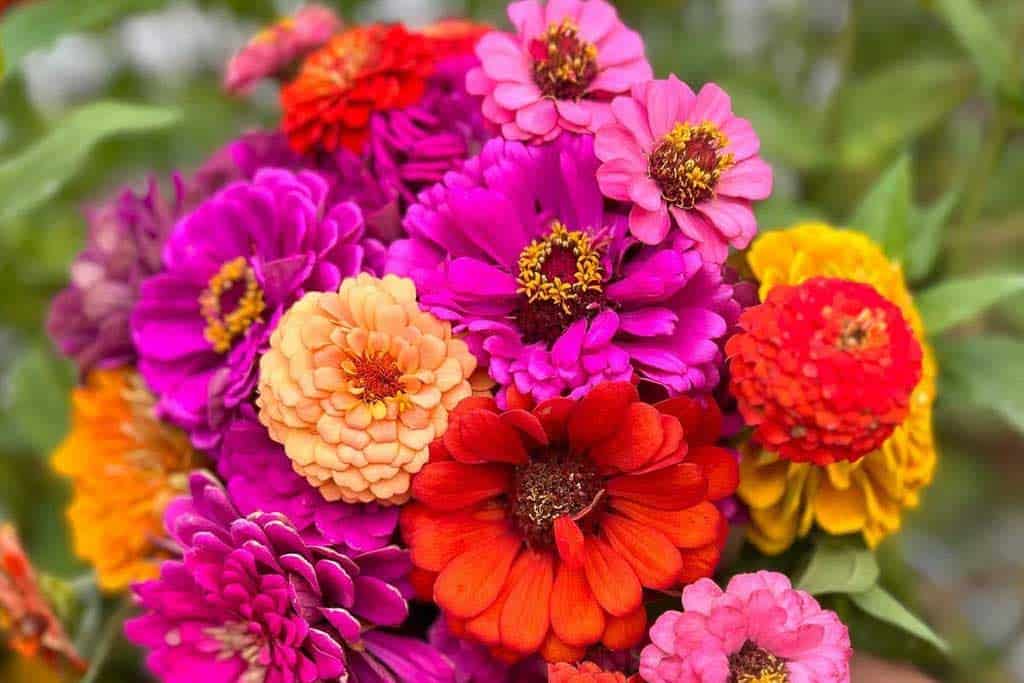
Before we get started on the actual process of “How to harvest zinnia seeds”, let us understand the different varieties of plants.
Knowing the difference between Hybrid and Open-Pollinated zinnia varieties is important in guiding your approach to harvesting seeds, as it affects the consistency of future plant offspring.
Hybrid Zinnias
A hybrid zinnia is a type of zinnia plant resulting from crossbreeding two or more varieties to create a new, genetically unique plant. Hybridization is commonly used to grow plants with desirable characteristics, such as specific colors, shapes, sizes, or disease resistance. By selectively breeding zinnias, horticulturists, and gardeners can develop hybrids that exhibit unique traits or improvements over their parent plants.
Hybrid zinnias can vary in flower color, size, petal shape, and other characteristics. These hybrids may be developed for specific purposes, like cut flowers, landscaping, or attracting pollinators. Gardeners often choose hybrid zinnias because they offer a wider range of options and can exhibit enhanced features compared to non-hybrid or wild zinnia varieties.
Open Pollinated Zinnias
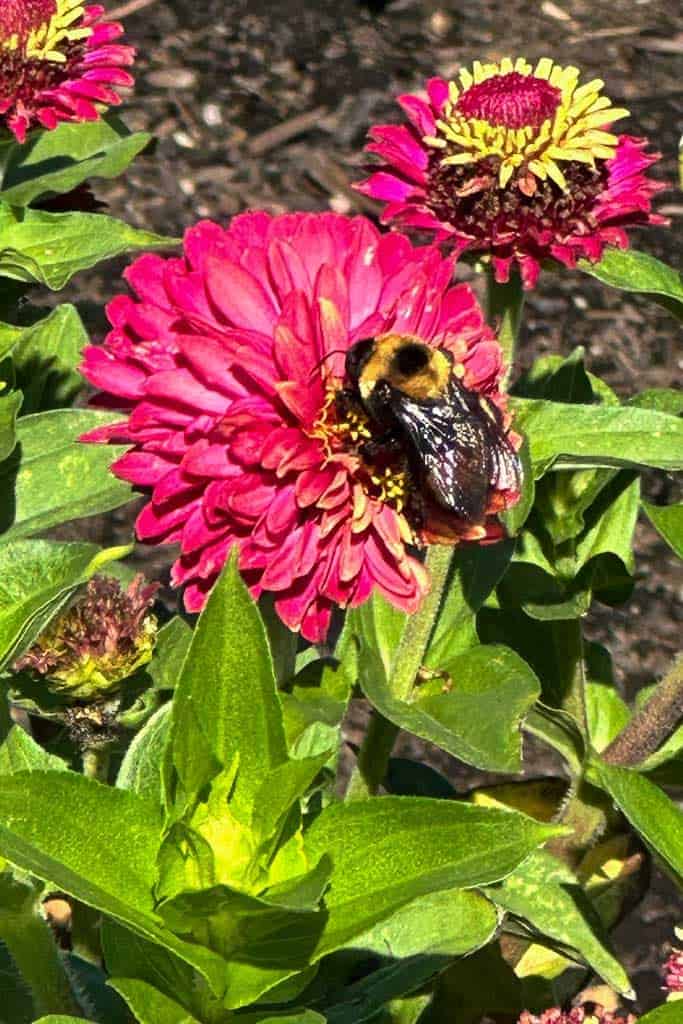
These zinnia plants reproduce through natural pollination, primarily by insects, birds, wind, or other natural means. These plants do not result from controlled crossbreeding or hybridization in a controlled environment like hybrid zinnias. Instead, open-pollinated zinnias rely on the exchange of pollen between individual zinnia plants in a more random and uncontrolled manner.
Saving Seeds from open-pollinated flowers is easy from year to year without worrying about the offspring having significantly different characteristics. This contrasts with hybrid plants, where saved seeds may not produce offspring like the parent plant.
Supply List
When collecting your own zinnia seeds, you’ll only need a few simple items:
- Paper towels
- A glass jar or seed envelope to store your new seeds in. (you will want to store each variety in separate envelopes)
- Garden pruners to cut the seed heads.
- Markers or a pen to label and date your seeds.
- A brown paper bag to collect seeds.
- A pair of garden gloves.
How do you Save Zinnia Seeds for Next Season?
Follow my step-by-step guide for the easiest way: “how to harvest zinnia seeds” to collect a lot of seeds.
Harvesting Zinnia Tips
- Harvest zinnia seeds from healthy plants with vibrant blooms.
- Allow the flower heads to fully mature on the plant and dry before collecting the seeds.
- Use separate tools for hand-pollinating different zinnia varieties to avoid cross-pollination.
- Dry the flower heads and seeds thoroughly to prevent moisture retention and mold growth.
- Store the dried zinnia seeds in a paper envelope in a cool, dark, and dry place.

Step-by-Step Guide to Harvesting Zinnia Seeds
Timing is Critcal:
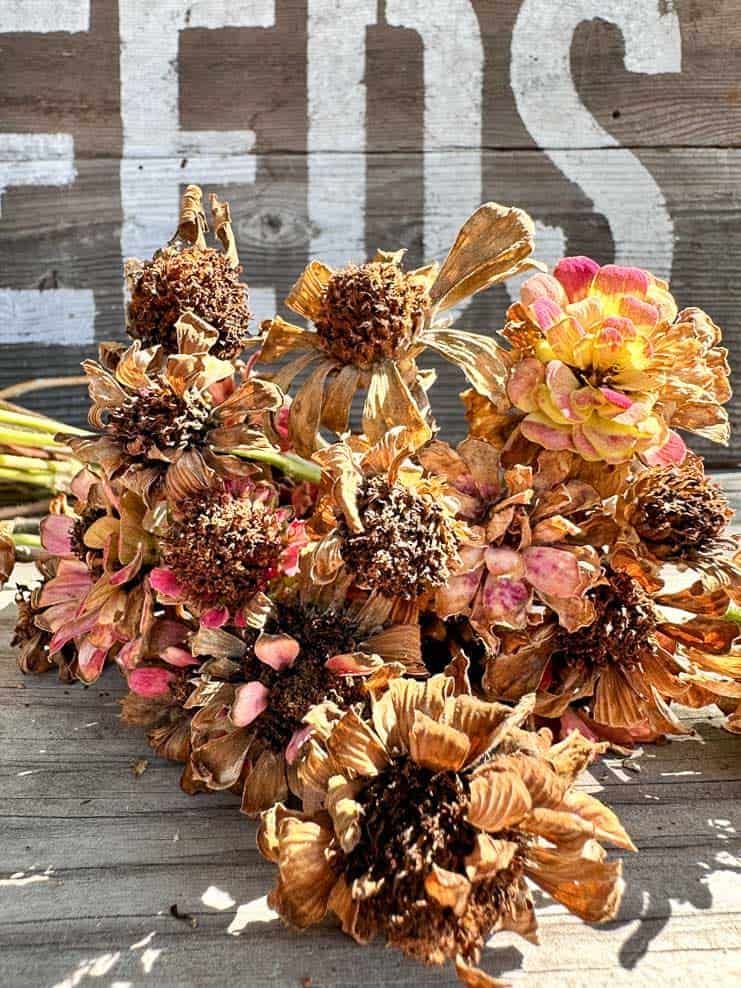
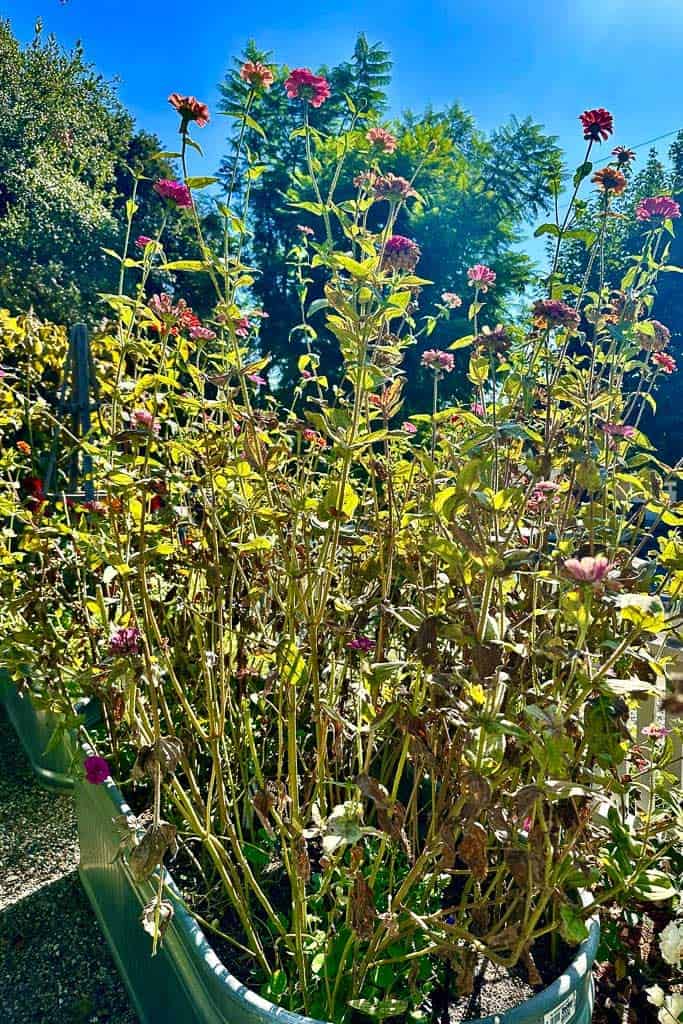
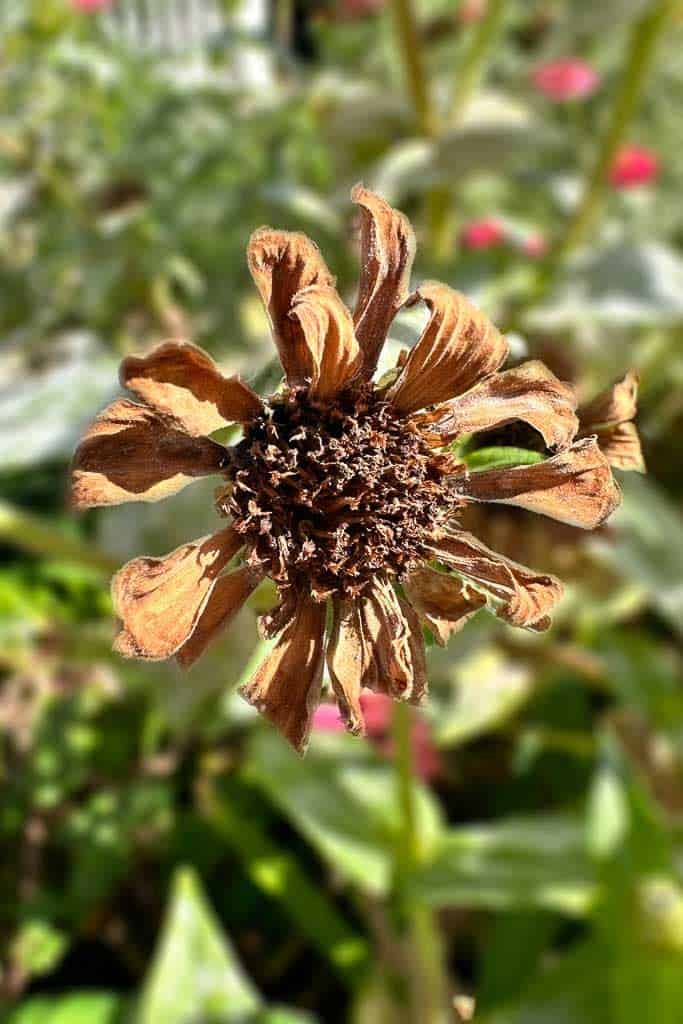
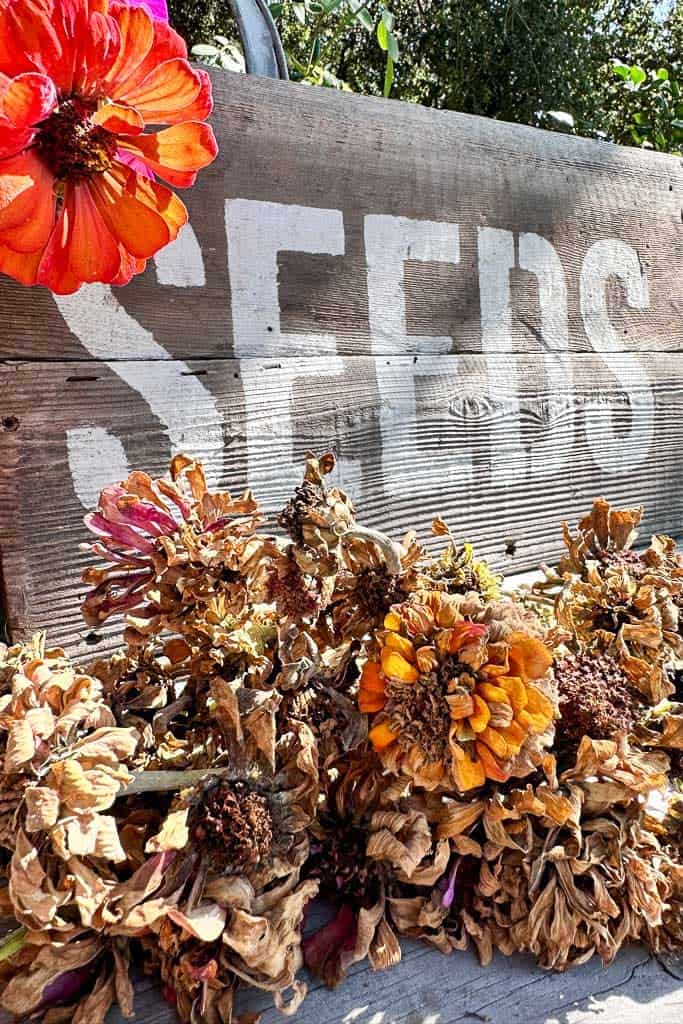
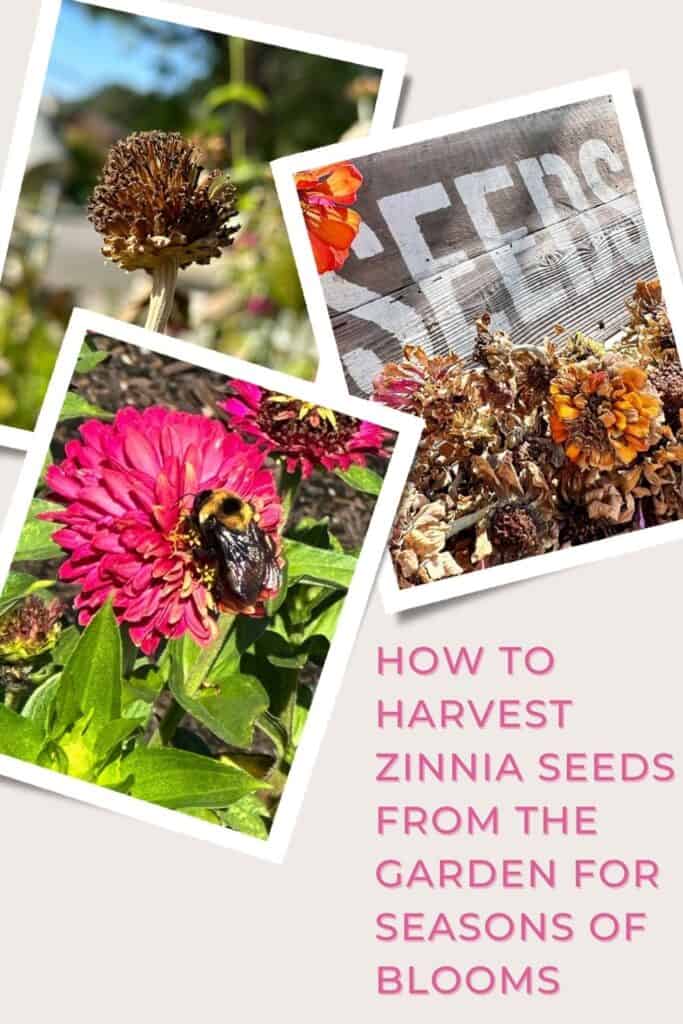
Wait until the zinnia flowers have fully matured before harvesting seeds. This is typically when the end of the petals have dried up, and the seed heads have turned brown. This happens in the late summer to mid fall depending on where you live.
Select Healthy Plants:
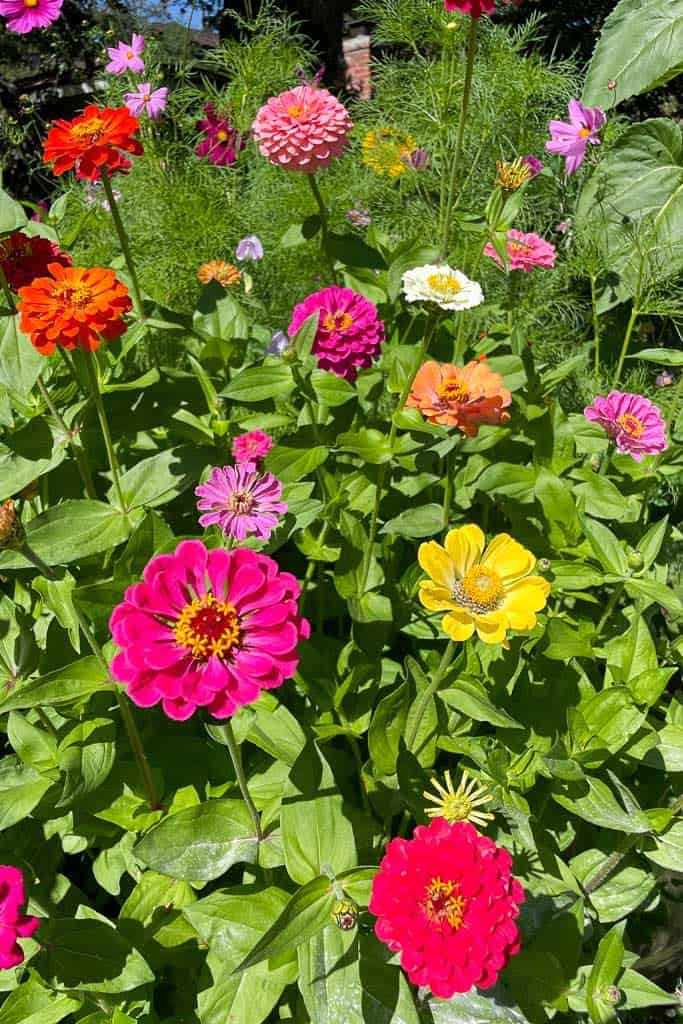
When choosing flowers to harvest seeds, look for healthy plants with sturdy stems and vibrant foliage. Select flowers of the same variety that produce the most blooms.
Use Clean Tools:
When cutting the seed heads, use clean and sharp scissors or pruning shears to prevent damage to the seeds or the plant. You will want to leave a few inches of stem on the flower heads so you can hang them to dry.
Remove Debris:
Shake the zinnia flower heads gently to remove any debris, such as leaves, insects, or dirt. You can also pick out any non-seed material by hand.
Dry The Seed Heads:
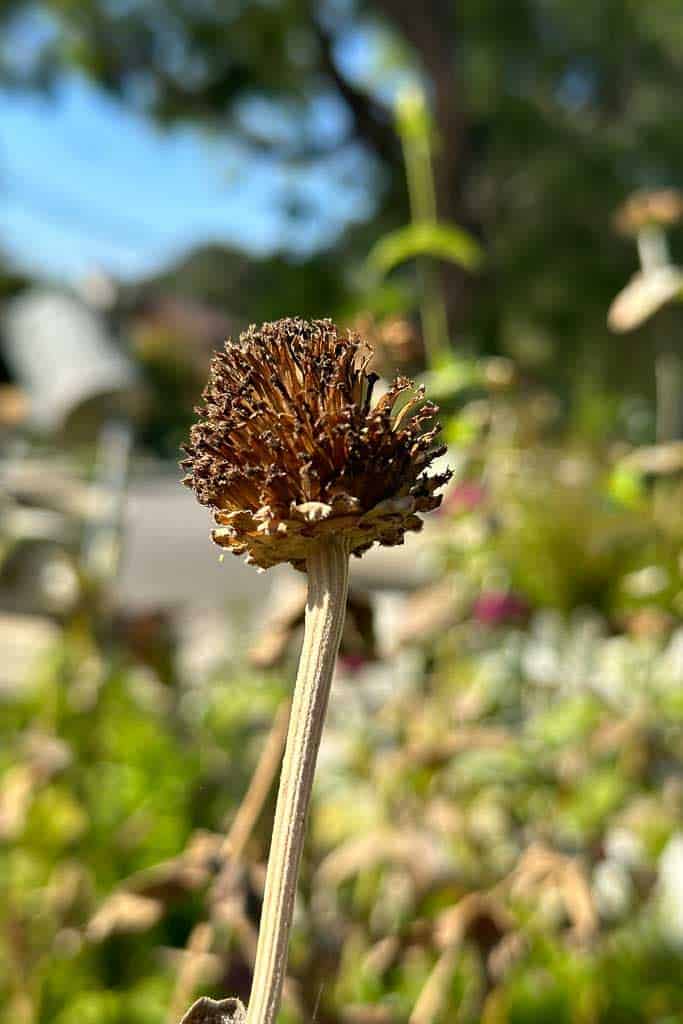
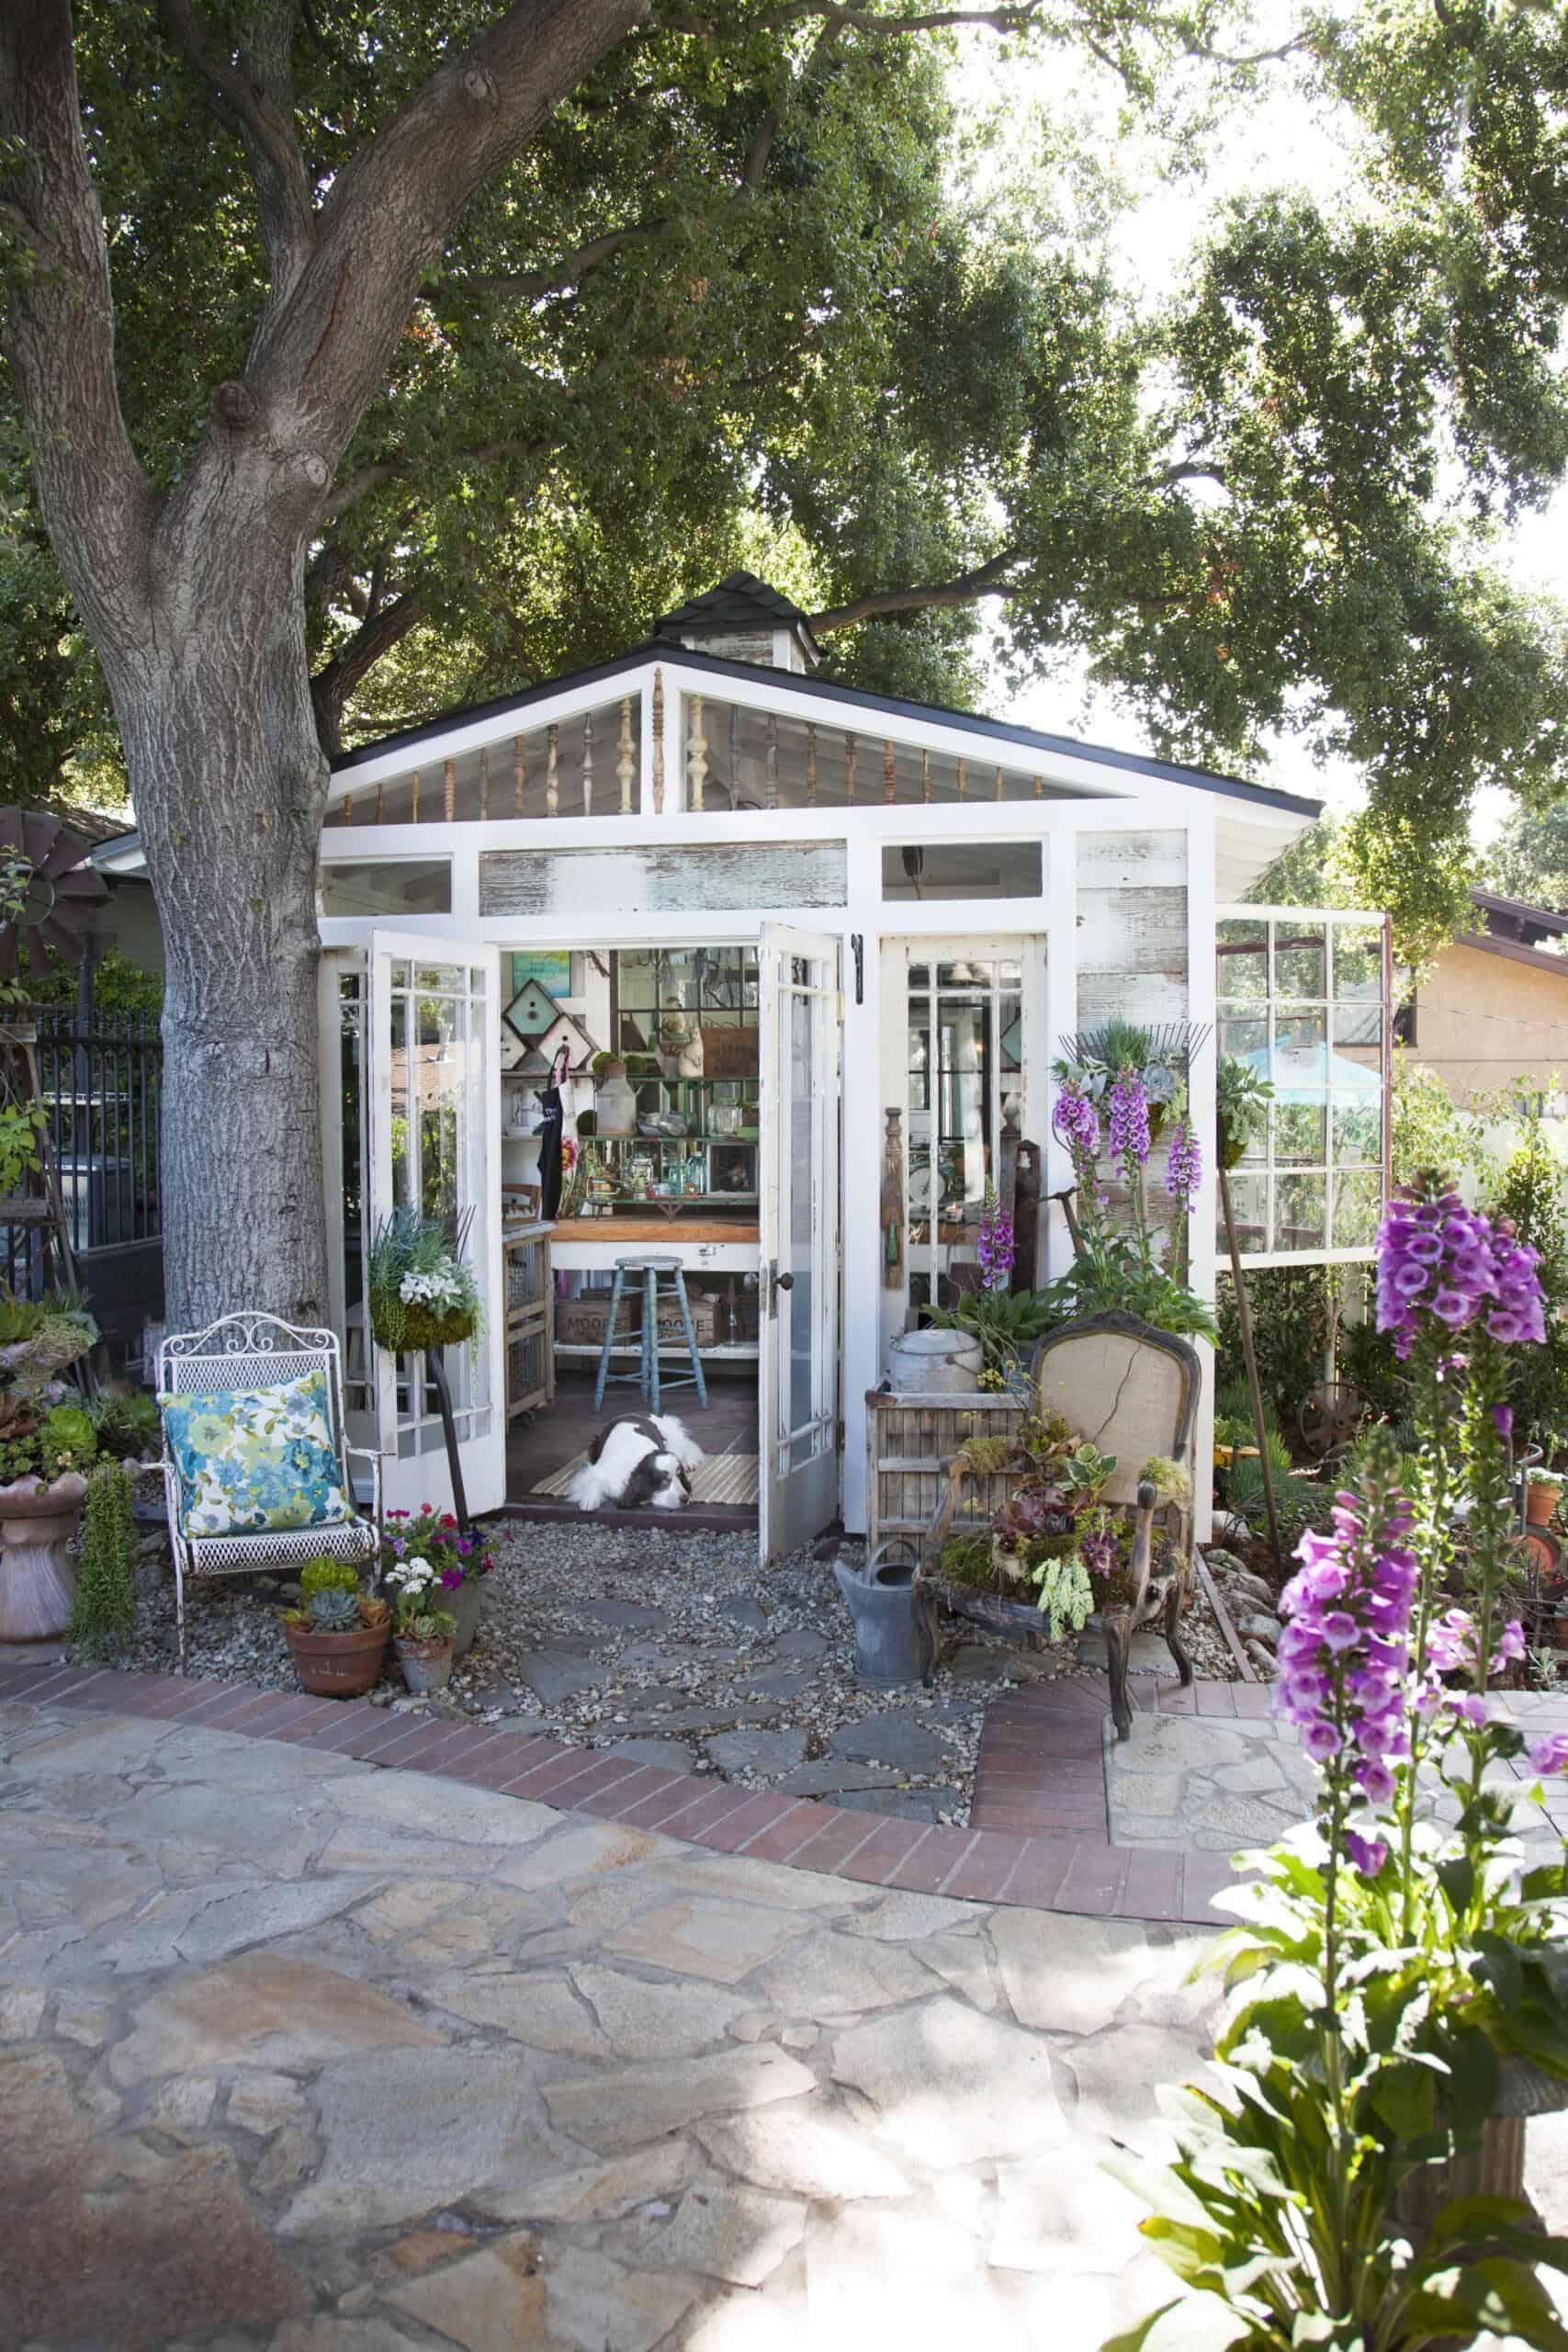
Hang the seed heads in a warm, dry, and well-ventilated area like your she-shed to allow them to air-dry. Make sure the drying location is free from humidity, as moisture can lead to mold and spoil the seeds.
Label the Seed Heads:
It’s a good practice to label the seed heads with the zinnia variety and the date of harvest. This will help you keep track of your seeds.
Patience is Key:
Drying zinnia seeds can take a few weeks, so be patient and allow them to dry naturally. The seeds are ready when they crumble easily when crushed between your fingers.
Thresh Flower Heads:
To get a lot of seeds out of the dried flower heads, you’ll need to do a process called “threshing.” Threshing is like separating the dried plant parts to simplify sorting out the seeds.
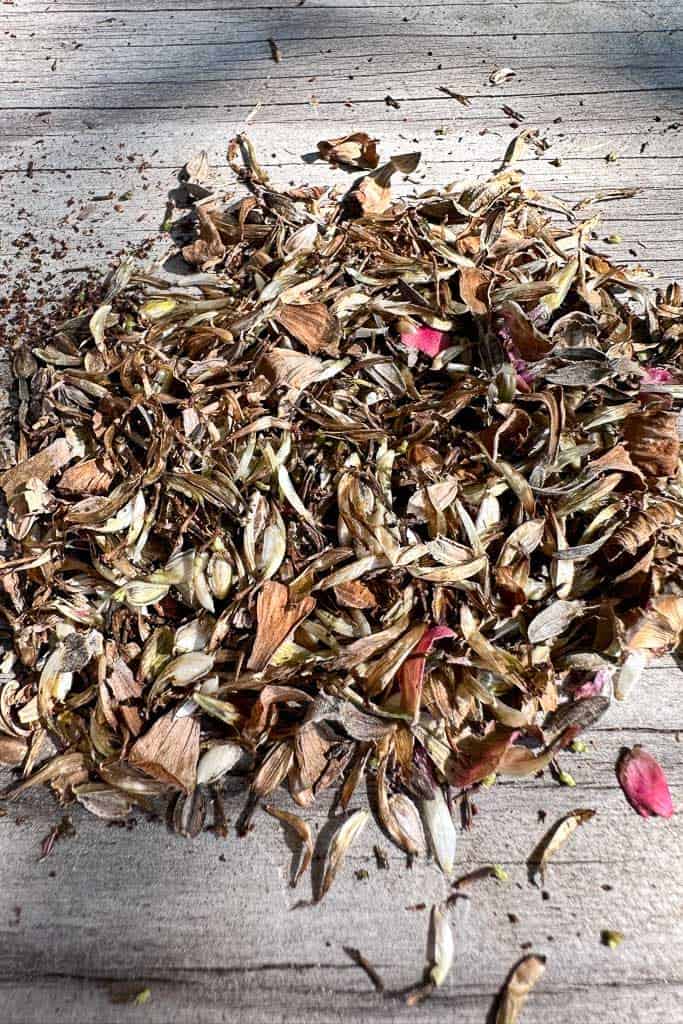
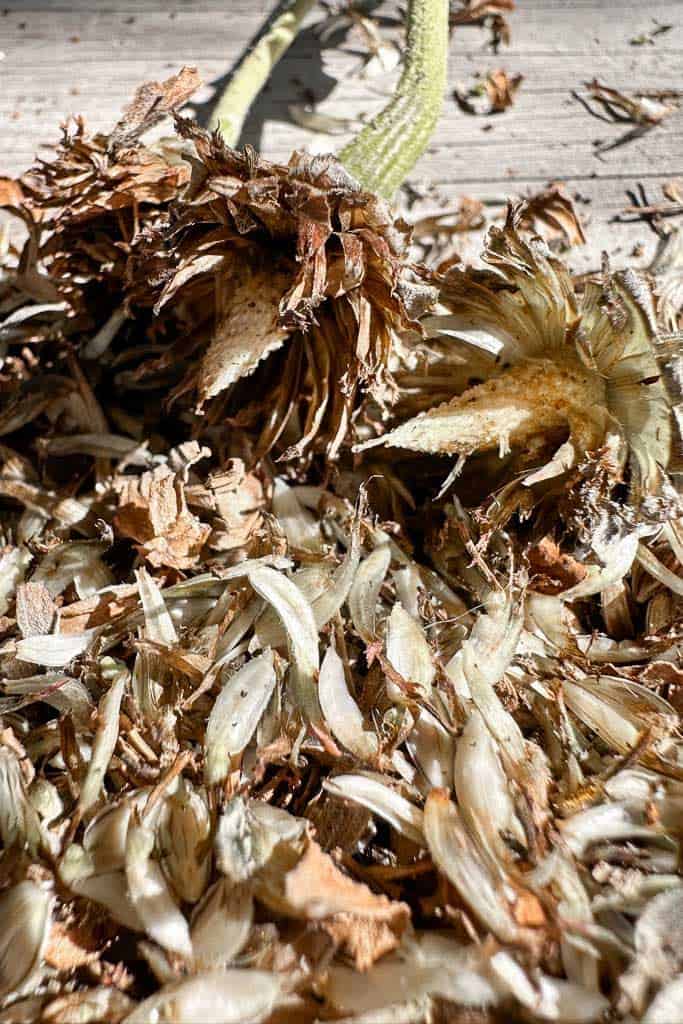
- Wear Gloves: It’s a good idea to wear gloves to protect your hands and to keep the zinnia seeds free from any oils or contaminants on your skin.
- Remove the Seeds: Hold a zinnia flower head over a paper bag or bowl. Gently rub the seed head between your fingers or tap it against the edge of the bag or bowl. The seeds should fall out of the seed head and into your container. Be patient and thorough, extracting as many seeds as possible.
- Separate Debris: After you’ve threshed the seeds from the zinnia flower head, inspect the contents of your container. Some chaff, plant material, or other debris may be mixed in with the seeds. You can gently blow on the contents to separate the lightweight chaff from the heavier seeds. Alternatively, you can use a fine-mesh sieve or a seed-cleaning screen to help with this process.
Store the Seeds:
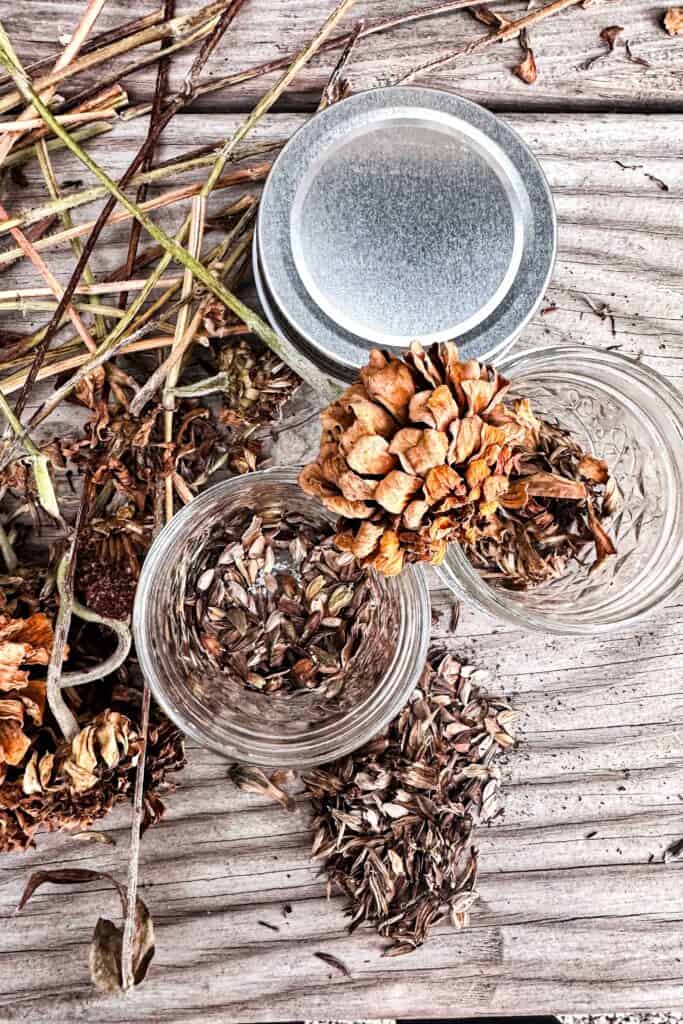
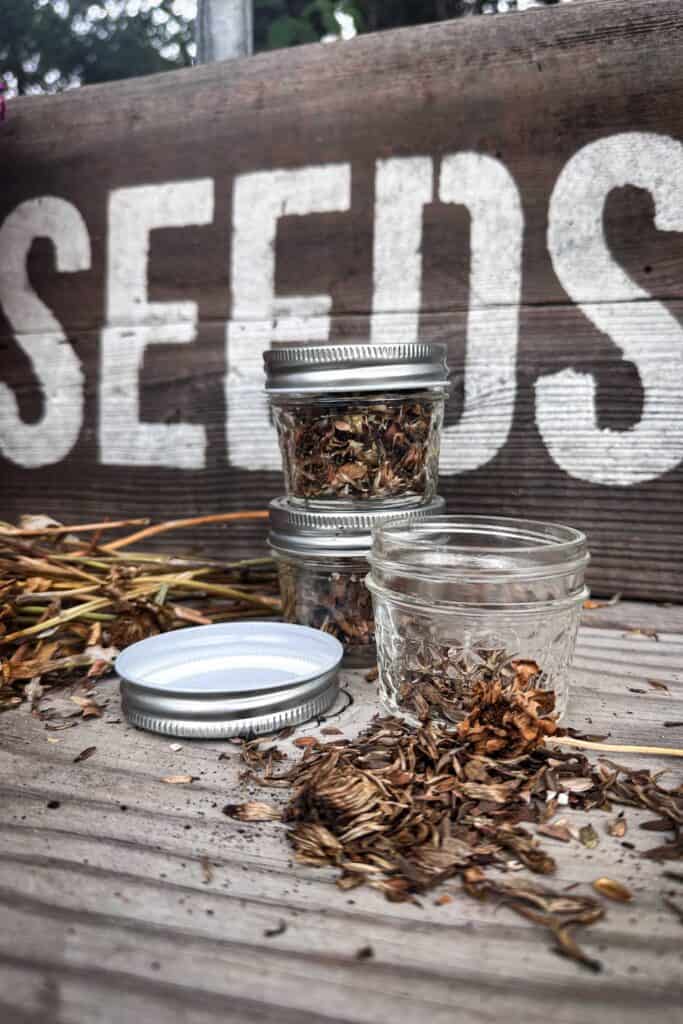
Once separated from the debris, transfer the cleaned zinnia seeds to a clean, dry container, like a brown seed envelope or a glass jar. Label the container with the zinnia variety and the harvesting date. Store the seeds in a cool, dry place away from direct sunlight.

FAQ’s About Zinnia Seeds
Now that you know what it takes to harvest zinnia seeds, let me share some other facts about these easy-to-grow flowers.
Do zinnia seeds need to dry on the plant?
Zinnia seeds do not need to dry on the plant. In fact, it’s best to harvest them before they have a chance to mature fully. If you wait too long, the seeds may become overripe and lose their viability. By harvesting the seeds when the flower heads start to fade and turn brown, you can ensure that you’re collecting mature seeds to grow into healthy plants.
How long do zinnia seeds need to dry before planting?
Zinnia seeds typically need to be fully dry before planting, and this can take several weeks. The exact drying time can vary depending on environmental conditions and the humidity in your drying area. Here are some general guidelines to consider:
- Air Drying: Zinnia seeds should be allowed to air-dry naturally. Hang the seed heads upside down in a warm, dry, and well-ventilated area. Typically, it takes about 2 to 4 weeks for zinnia seeds to fully dry using this method.
- Testing for Dryness: To check if the seeds are ready for planting, you can gently crush a few seeds between your fingers. If they crumble easily, they are sufficiently dry. If they still feel soft or pliable, they need more time to dry.
- Environmental Factors: If your drying location is particularly humid, it may take longer for the seeds to dry.
What month is best to sow zinnia seeds?
The best time to sow zinnia seeds depends on your climate and growing zone. Typically, zinnias are warm-season annuals and should be planted after the risk of frost has subsided. This means sowing zinnia seeds in late spring or early summer for most areas. However, if you live in a region with a longer growing season, you can start zinnia seeds in late winter or early spring.
To determine the best time to sow zinnia seeds in your area, consult a local gardening guide or contact your county extension office. They can provide information about the typical final frost date and suggest when to start indoor seed or direct garden sowing.
How many zinnia seeds do you put in each hole?
When planting zinnia seeds, it’s important to space them properly to allow for healthy growth. The exact number of seeds to plant in each hole will depend on the hole’s size and the seeds’ size. As a general guideline, aim to plant one to three seeds per hole.
If you’re starting zinnia seeds indoors in seed trays or small pots, you can plant multiple seeds in each container and thin them out later. Doing this guarantees that at least one seed sprouts in each container, increasing your chances of success. Once the seedlings have emerged and developed their first set of true leaves, you can carefully remove the weaker seedlings, leaving only the strongest one in each container.
In the garden, space zinnia seeds according to the recommended spacing for the specific variety you’re growing. This information can usually be found in the seed packet or in a gardening guide. Proper spacing enables zinnias to grow and mature without being too close, which can lead to insufficient air circulation and a higher risk of diseases like powdery mildew.
Can I scatter zinnia seeds?
While it’s possible to sprinkle zinnia seeds on the ground, it’s not the most effective way to ensure successful germination. Zinnia seeds are small and lightweight, making it difficult for them to make good soil contact when scattered on the ground. This can result in poor germination rates and spotty growth.
Starting zinnia seeds indoors and then transplanting the seedlings into the garden is recommended for best results. Fill seeds in small pots or trays with a well-draining potting mix and gently press the seeds into the soil. Add a fine layer of soil on top of the seeds and lightly water them. Place the trays or pots in a warm location with plenty of sunlight and keep the soil consistently moist until the seedlings emerge.
Do zinnias come back every year?
Zinnias are typically grown as annual plants, meaning they complete their life cycle within a single growing season. They germinate from seeds, grow, flower, set seed, and then die off when the growing conditions become unfavorable, such as with the arrival of frost or extreme cold temperatures.
However, there is good news! In some regions with mild winters and frost-free conditions, zinnias may self-seed, and their seeds can overwinter to germinate and grow again the following year, effectively creating a “perennial” effect. This can happen when zinnia flower seeds drop to the ground, remain viable, and then sprout when conditions are favorable.
Conclusion
In conclusion, harvesting zinnia seeds from flowers is a simple process that allows you to save and grow your own zinnias year after year. By collecting mature flower heads, separating the seeds, and properly drying and storing them, you can ensure a bountiful garden of vibrant zinnia blooms. Whether you’re just starting out or a seasoned gardener, saving zinnia seeds is a rewarding way to continue enjoying these beautiful zinnia flowers season after season.

Other Posts to Inspire You
The Ultimate Guide To Deadheading Zinnias
How to Grow Dinner Plate Dahlias

Christmas Countdown: How to Make DIY Advent Calendar Boxes
Searching for a festive way to count down the days to Christmas with your family? This simple DIY advent calendar made with boxes is the perfect holiday craft to make your season extra special!
Dried Orange Ornaments: 13 Creative DIY Ideas
“Discover creativity with our guide ’13 DIY Ideas: How to Make Dried Orange Ornaments using dehydrated orange slices and whole fruit.

Creative Christmas Pajama Party Ideas for Your Grandkids
One of my favorite Holiday traditions is our pajama parties with our grandchildren. We all wear matching pajama sets, decorate sugar cookies with mountains of frosting and sprinkles, make Christmas decorations, and then snuggle up to watch movies and read stories. When bedtime comes around, we have a “campout” on the family room floor, lit only by…

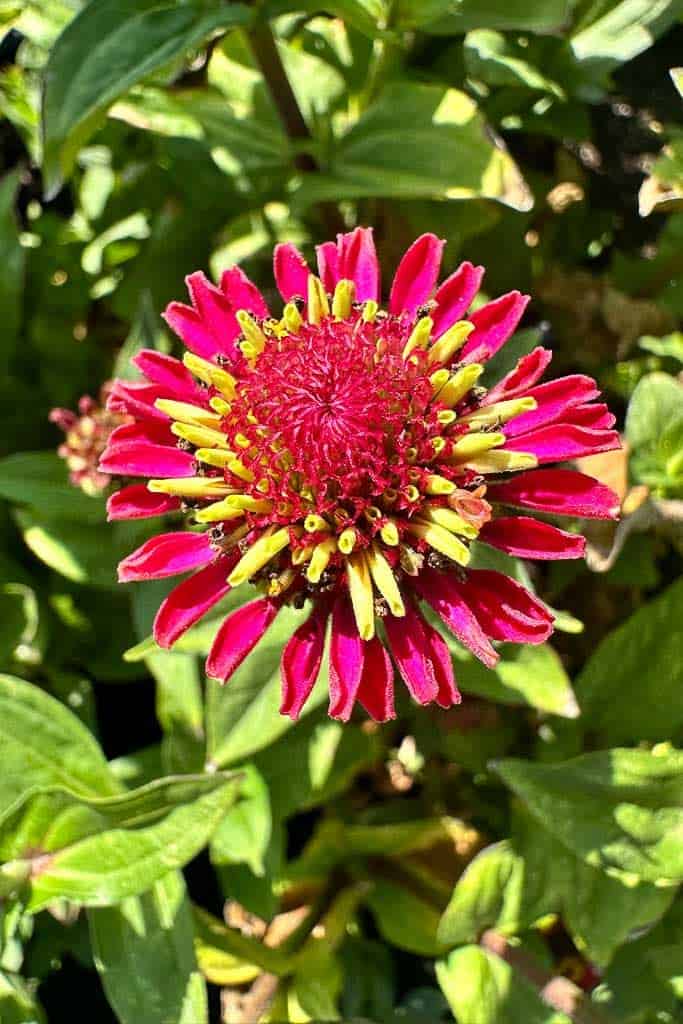




Didn’t know the different types of zinnias. I was gifted mine and they have changed colors through the years. Even though we had subzero temps last winter…they still reseeded which is always a welcome sight!
Lucky you Leslie. I find it so interesting how they cross-pollinate and change colors. I hope you see them again in the spring.
I love zinnias! I’ve got them in my front flowerbeds. I planted some seeds a few years ago, and every year more and more come back. They’ve pretty much taken over the front flower bed… I live in the San Antonio, TX area… so zone 8-9… mild winters. I’ve decided to just let them grow and spread! Who doesn’t love a flowerbed full of cut flowers! Thanks for the info on harvesting seeds! Next year!
Hi Marcella, I love a great gardening story and San Antonio.
Our son lives in Austin, so I understand your weather. I live in California
So many of mine come back as well. It’s so nice that you can enjoy them and just
let them naturally grow. They make the best cut flowers.
Zinnias are one of my favorites! I’ve never saved the seeds though. I’m pinning this for future!
Thanks, Susan, It is so easy to do, and they come back beautiful.