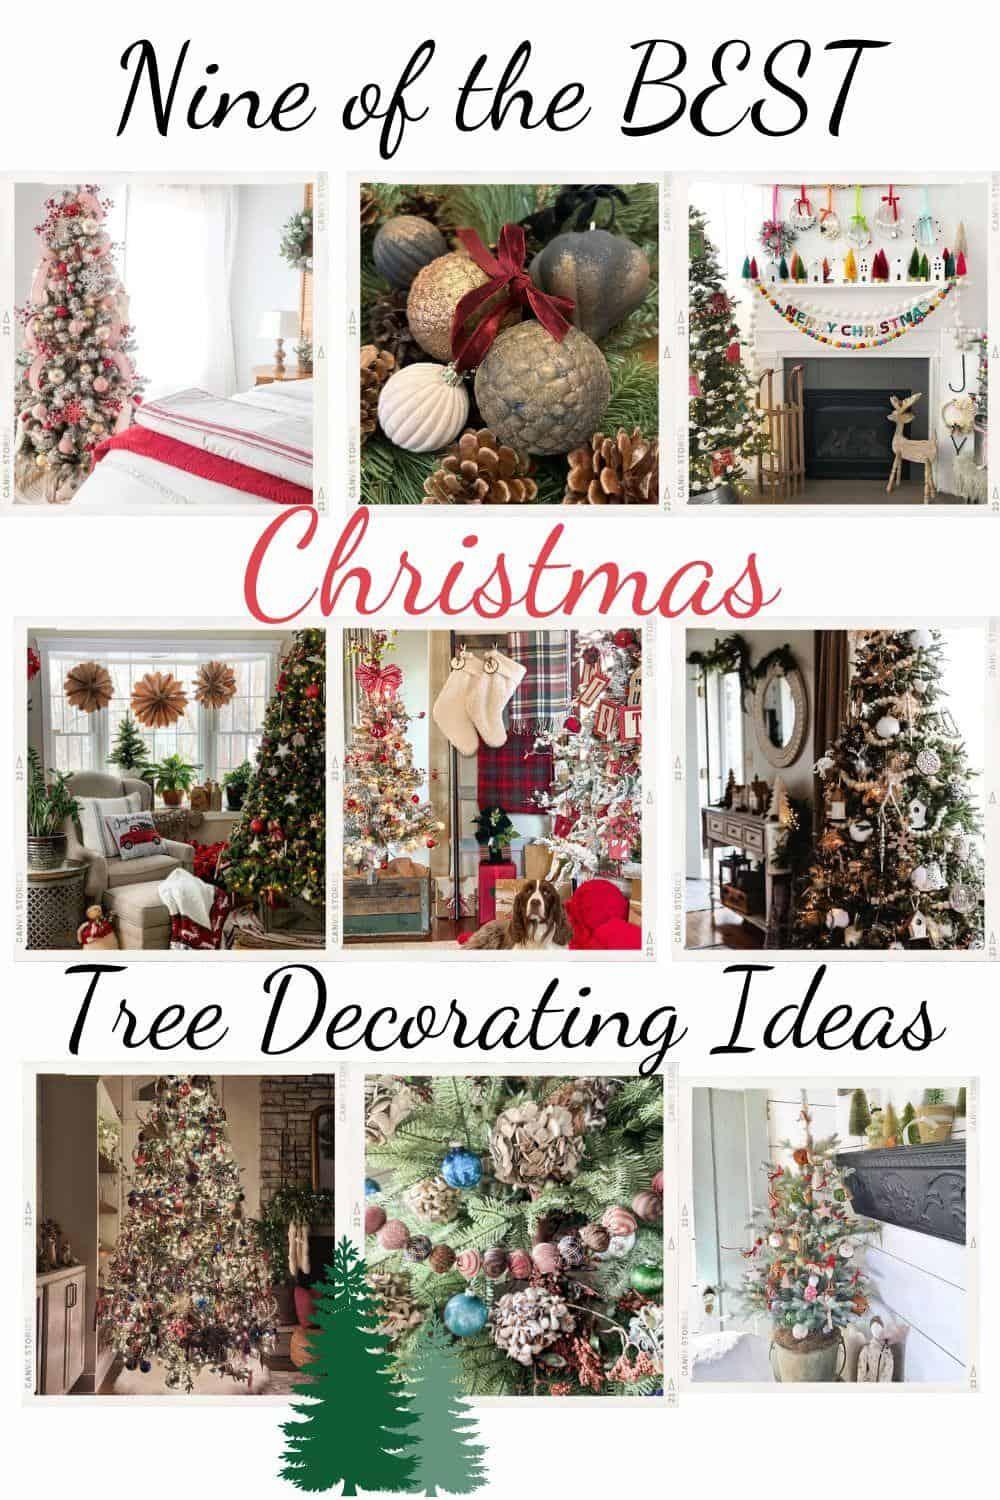
Steps to Decorate a Christmas Tree
Do you ever look at a beautiful Christmas tree and wonder how can I accomplish that look?Since I primarily use faux trees these days, I do not have to deal with adding lights. However, if you are using a real tree, you would want to add your lights.
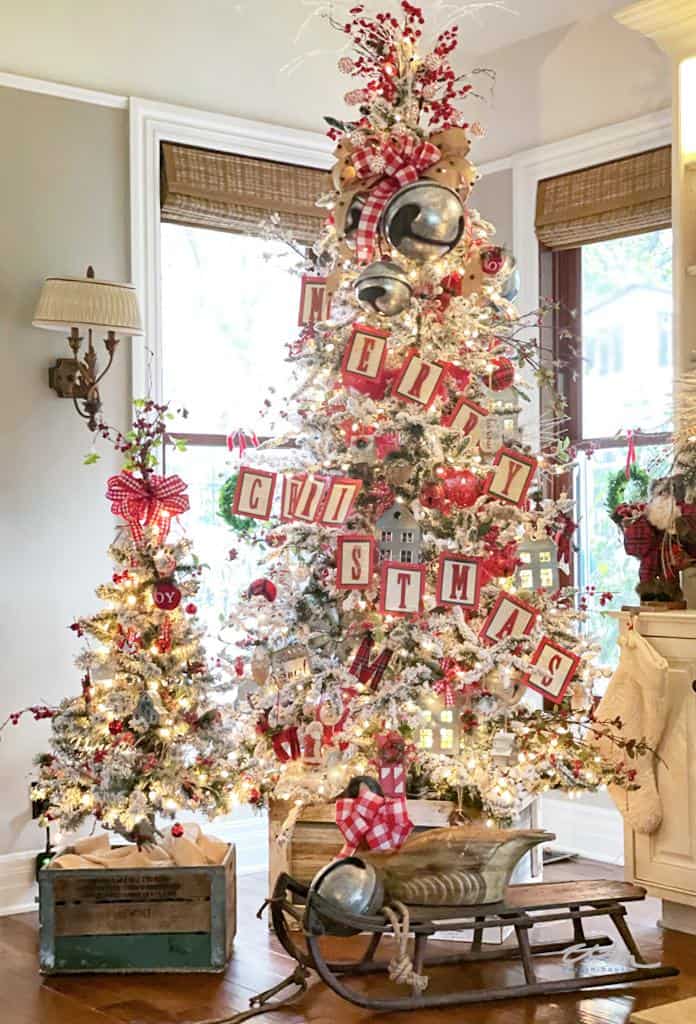
First, we purchased this beautiful flocked tree this year and I love the white bright look it gives in our family room.
[one]

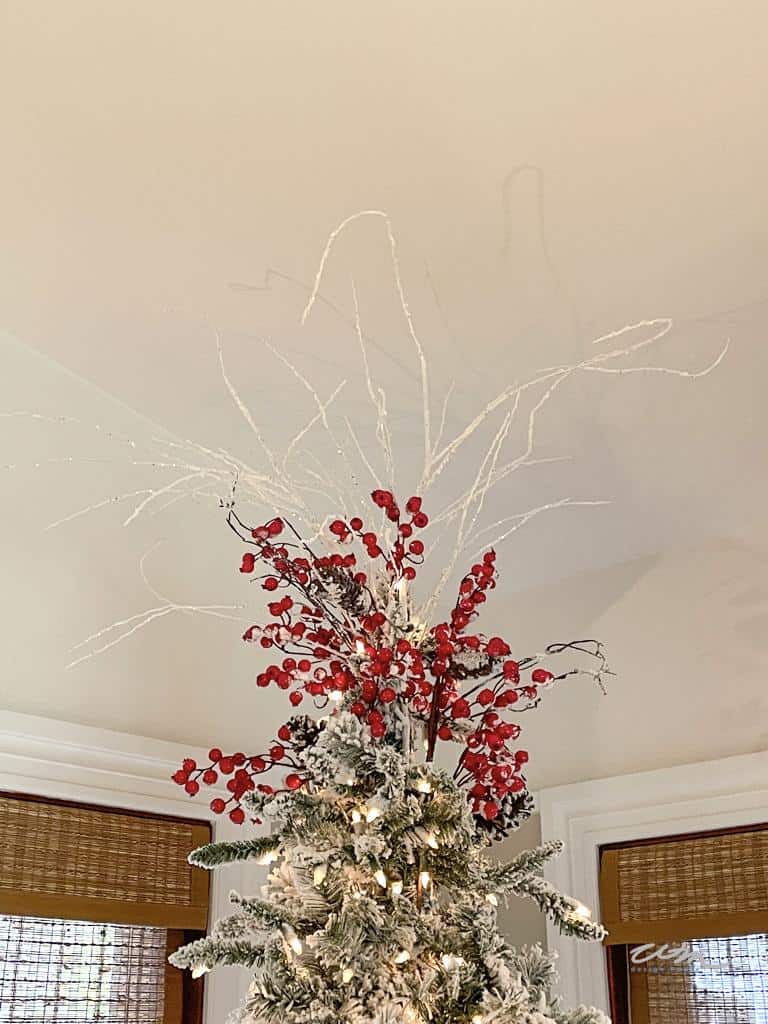
My first step to decorating my Christmas tree always starts with my tree topper.
I create a fun, whimsical topper, and I do not use the traditional tree topper.
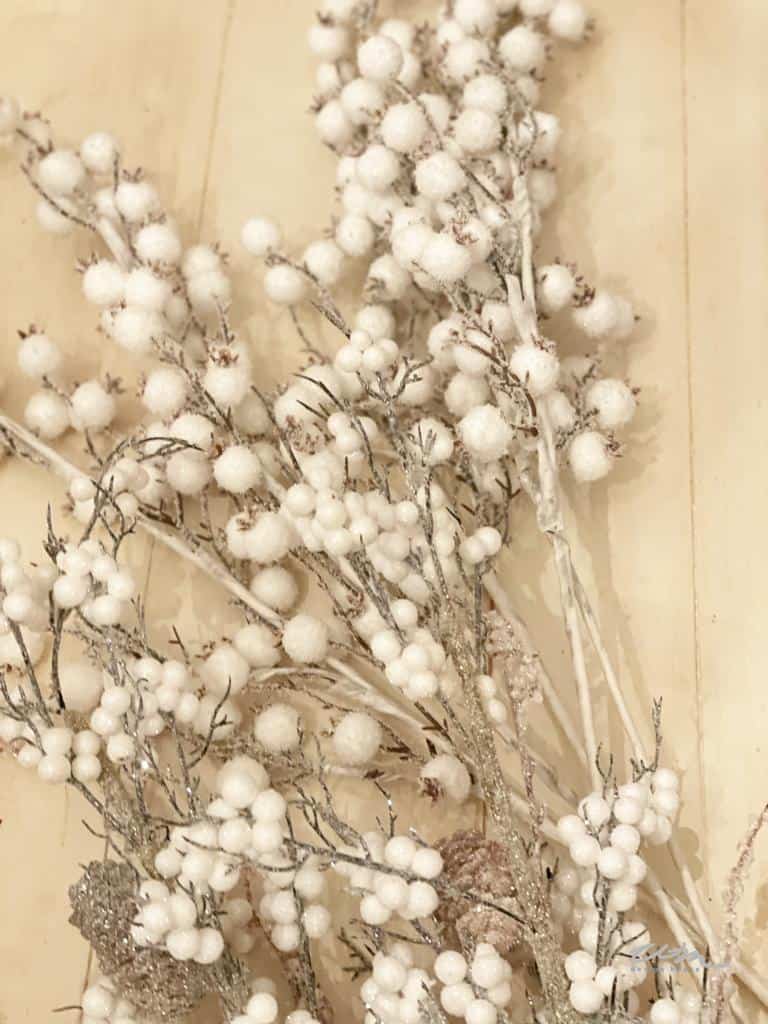
First, collect branches or sprigs that go with the theme of my tree and create a fun sprawling tree topper.
Here are a few of my favorite sprigs
[one]
Secondly, start with three long branches, I like to use fake ones so that you can bend them. I used white frosted branches with berries this year. Put these three branches around the top center branch of the tree and wire them on. Now, add your second layer. In addition, I used three branches of red berries. Wire them on around the white branches.
Typically, I add some large or out-of-the-ordinary décor to the top to decorate my Christmas tree.
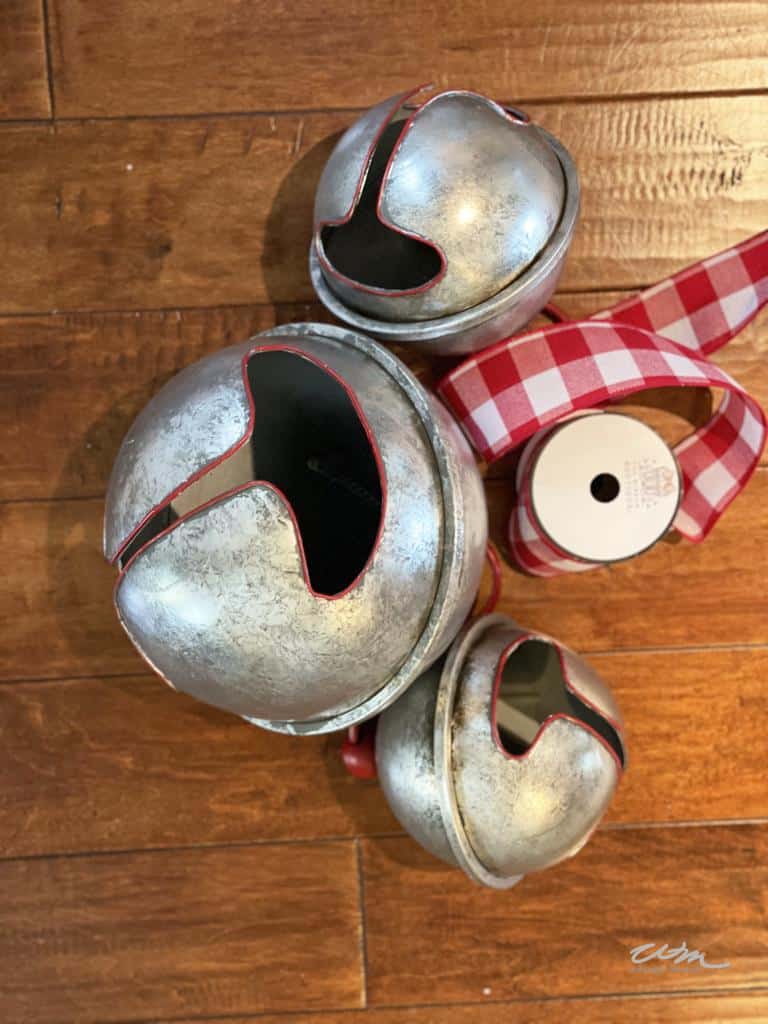
This year I used oversized jingle bells. I placed them where I wanted them and attached them with wire. I find It’s best to put these items in a grouping of one or three. These bells are relatively heavy, so balancing the weight with bells on the tree’s front and back was essential. In the past, I have used woodland animals, oversized ornaments, or giant nutcrackers to decorate my Christmas tree in past years. The ideas are endless.
[one]
In Addition, Ribbons and bows can add a lovely touch to your tree.
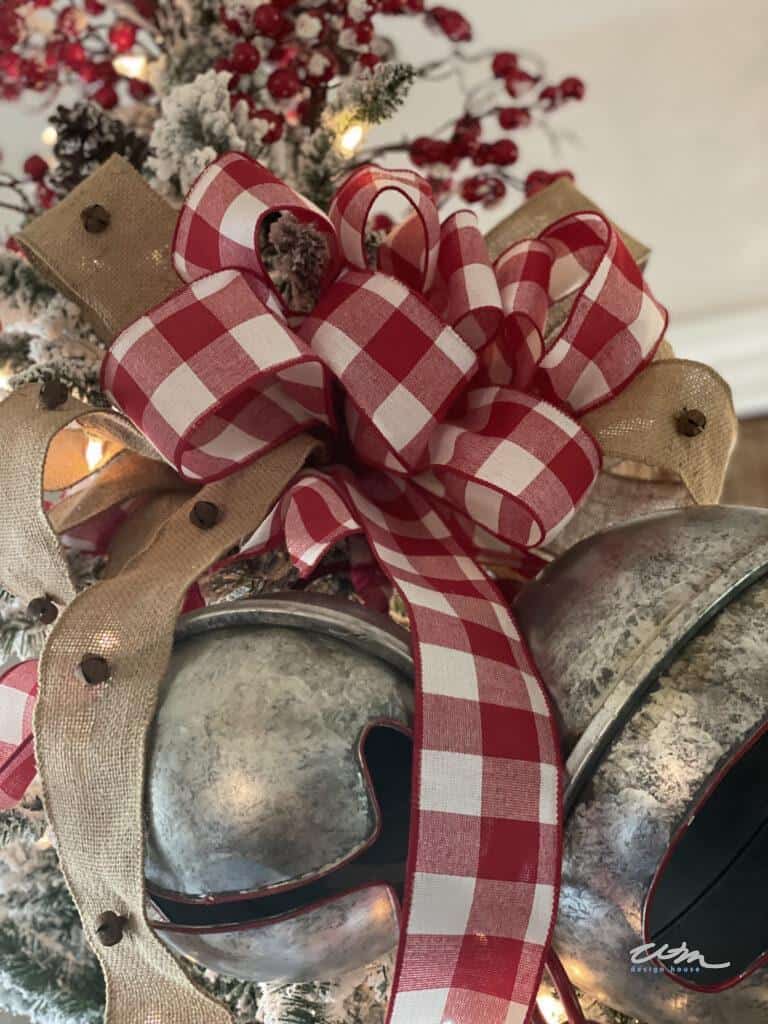
(A bow can also hide where you have attached the sprigs and bells)
I make two bows using the widest ribbon I can find.
First, create a bow using burlap ribbon (or a ribbon of your choice) with small bells sewn onto the burlap.
Secondly, I made a smaller bow out of the red and white buffalo plaid and wired the two bows together. Since most Christmas trees are relatively large, these bows need to be proportionate to your tree size. My tree is 9′ tall, so these bows are about 1′ wide.
I like to have tails hanging on my ribbon, so leave enough ribbon to have two to three tails per bow.
Occasionally, I like ribbons to flow down the entire tree, Therefore, I make very long tails. In addittion, you can also make these streamers individually from the bows. If you use these long tails, attach them at the top under the bow and weave the ribbon down the tree in a lovely flowy pattern.
Repeat the above process. Now wire the back bow on first, and then add the bow onto the front of the tree.
Here are some of my favorite ribbon choices
[one]
The next step to decorating your Christmas tree is to add any tulle on the inside of the tree.

Start with the tulle in a roll and go from the top down.
I like just a hint of this on the inside of the tree. It adds great color and texture to your tree and helps to fill in open spaces.
Now, step back and decide if you want to add anything to the very top.
I added in some fun balls with red and white twine on them. Just stick them in behind the bows, and they will stay put.
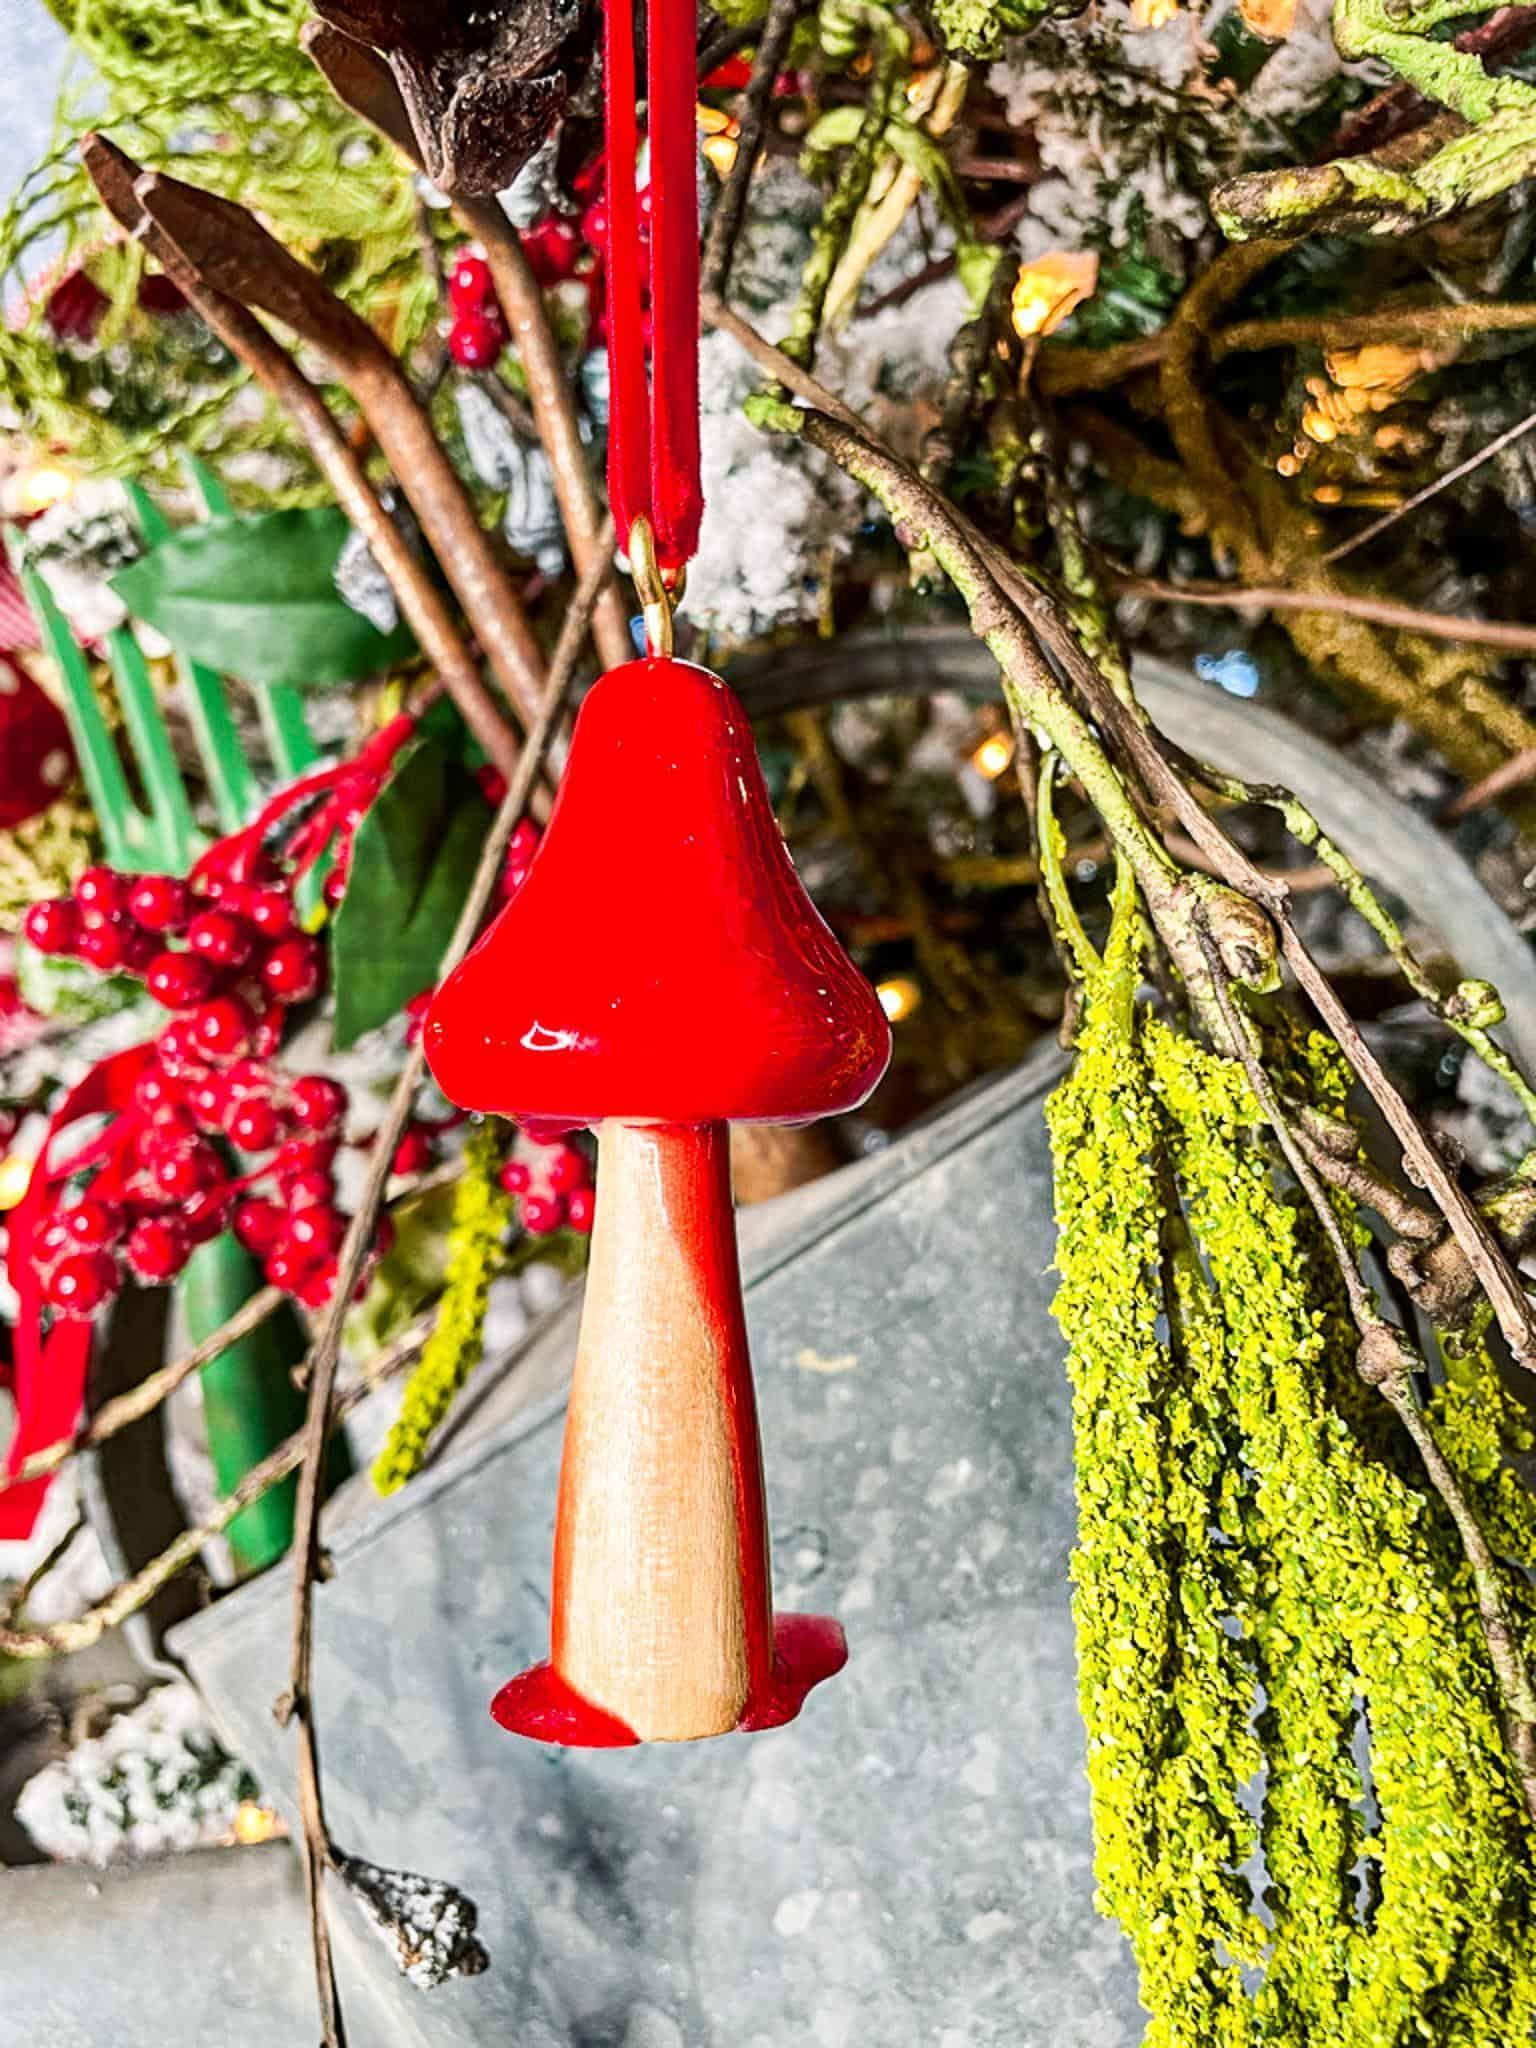
Furthermore, I like my tree to look as natural as possible since I am using a fake tree. Therefore, I add branches to give dimension to the tree. Then, I poke them in where I feel they will look best. This year, I used several fake branches with snow and pinecone on them and some natural branches I had collected from my morning walk. In addition, I added springs of red berries.

Now the next step to decorating your Christmas tree is to put your ornaments on.
Start with the largest ones first, and then move forward with the smaller ones. Using an oversized ornament such as my galvanized houses gives a dramatic look to your tree.
 Add in some twinkle lights to the inside for added shimmer.
I use ornaments that fit my theme and colorway. Use an assortment of embellishments to add interest to the tree. Coupled with different shapes and materials will add great texture and dimension to the tree as well.
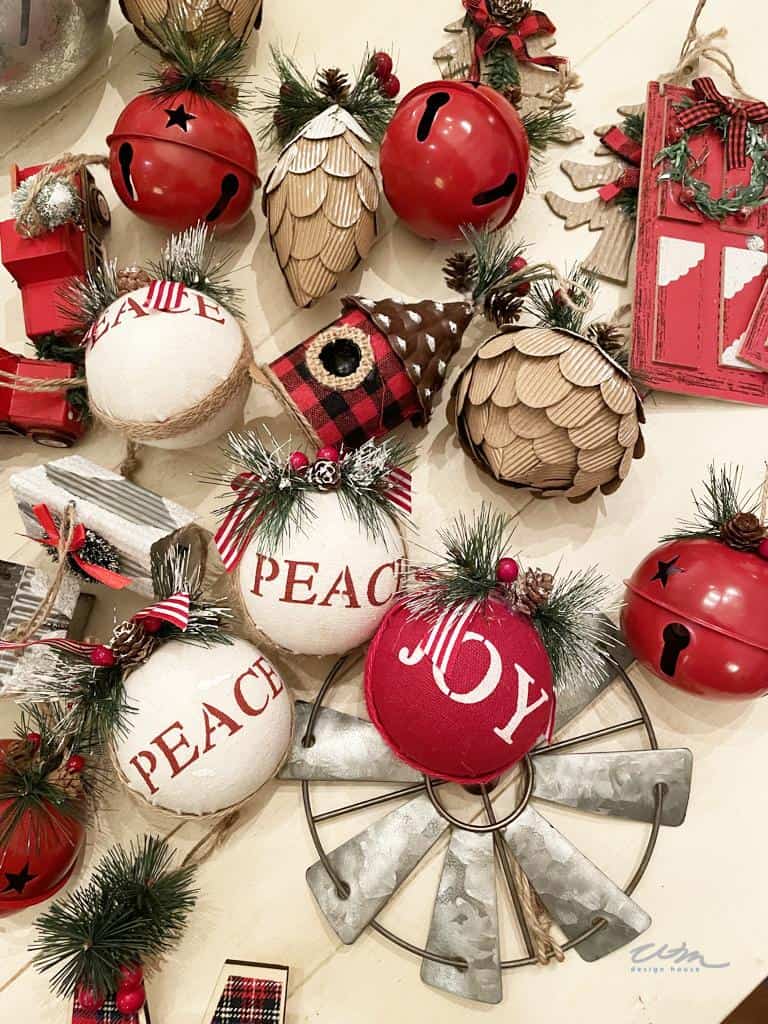
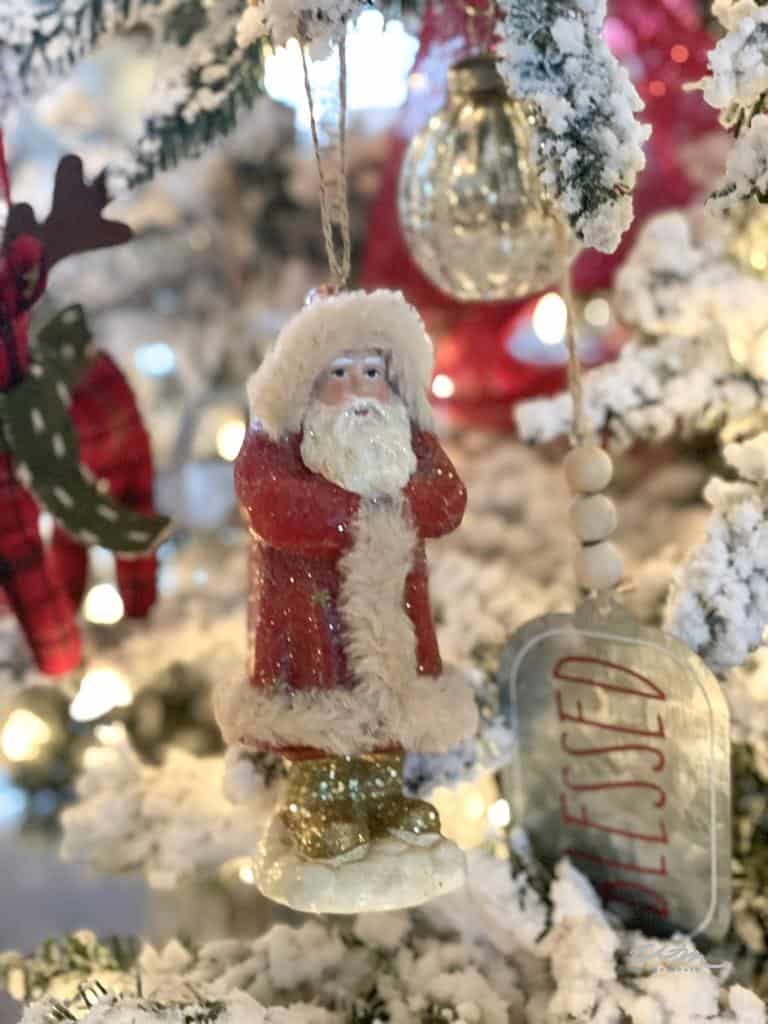
Here are a few of my favorite ornaments
[one]
And a few more galvanized ornaments
[one]
This year I decided to add a banner that said Merry Christmas on the tree. I made the banner using card stock, pages from an old book, and wooden letters I had spray painted red. Don’t you love how this turned out, and it makes a great statement on the tree?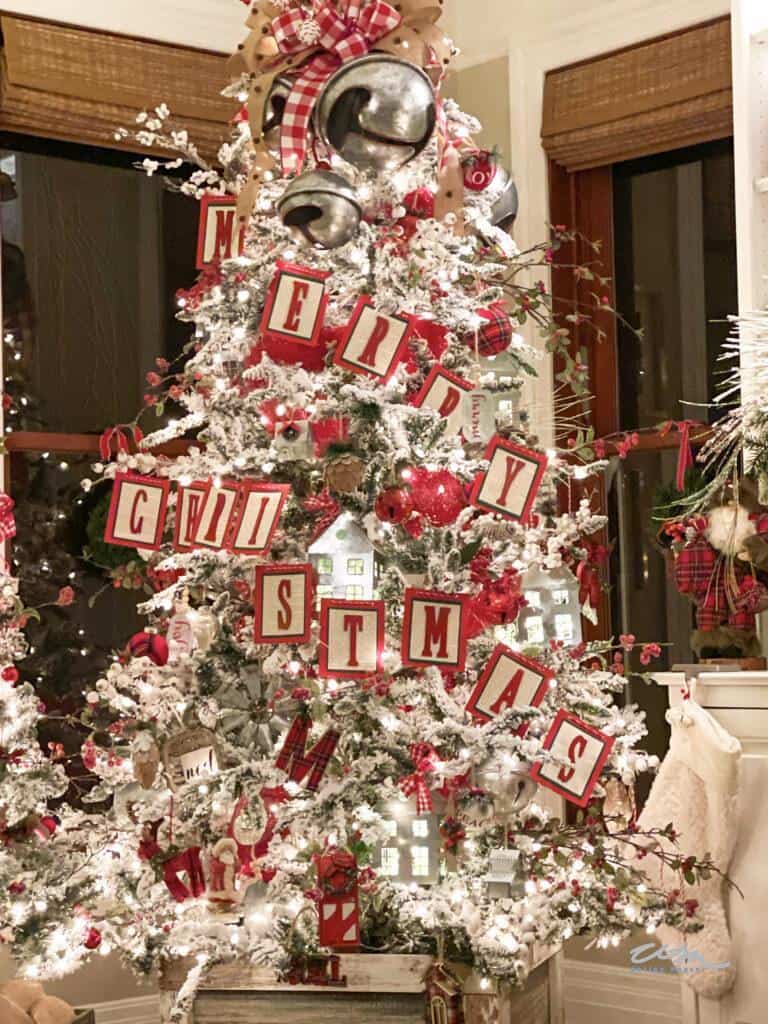
You can use wooden letters and colored card stock to create this banner along with some red and white twine and an old book I had laying around.
[one]
Lastly, you need to choose a tree skirt, collar, or box around the bottom. We built this beautiful box out of vintage barn wood. A wood box gives a more casual feel to the tree, fitting as this tree is in our family room.
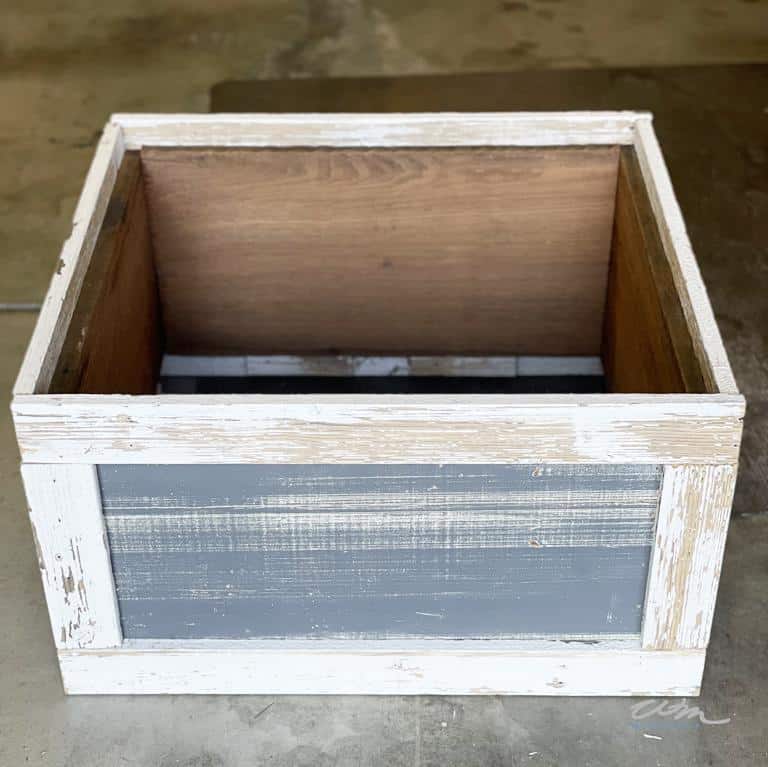
Here are a few of my favoite tree boxes
[one]
And a few of my favoorite tree collars
[one]
Or a few of my favorite tree skirts
[one]
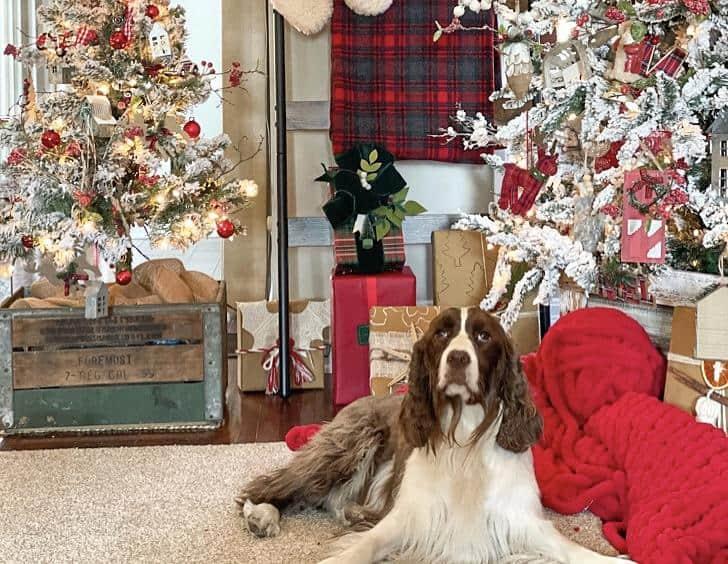
I added a small tree in a wooded crate this year with some burlap around the base next to my large tree. Our family uses this same process to decorate, no matter the size of the tree. However, since the tree is small, we omit the large ornaments and the tulle.
And those are the steps to decorate a Christmas tree.
In addition, I reverse the process to tear the tree down and make sure I box-like items together. This way, it is effortless to pull the boxes out and decorate the tree next year if you are using the same theme.
Its equally important to keep the bows together and roll up paper towels and put that into the loops. Next, roll the tails and use a paper clip to secure the ends. Therfore, they will keep their shape nicely.
Lastly, be sure to label your boxes well, so you know what is inside.
Wishing you all a wonderful holiday season.
XO
Wendy
Gorgeous! Thank you for the tips. Sending Holiday Hugs!
Thank you Katherine, same to you. I am sure you are in the thick of decorating as well.