
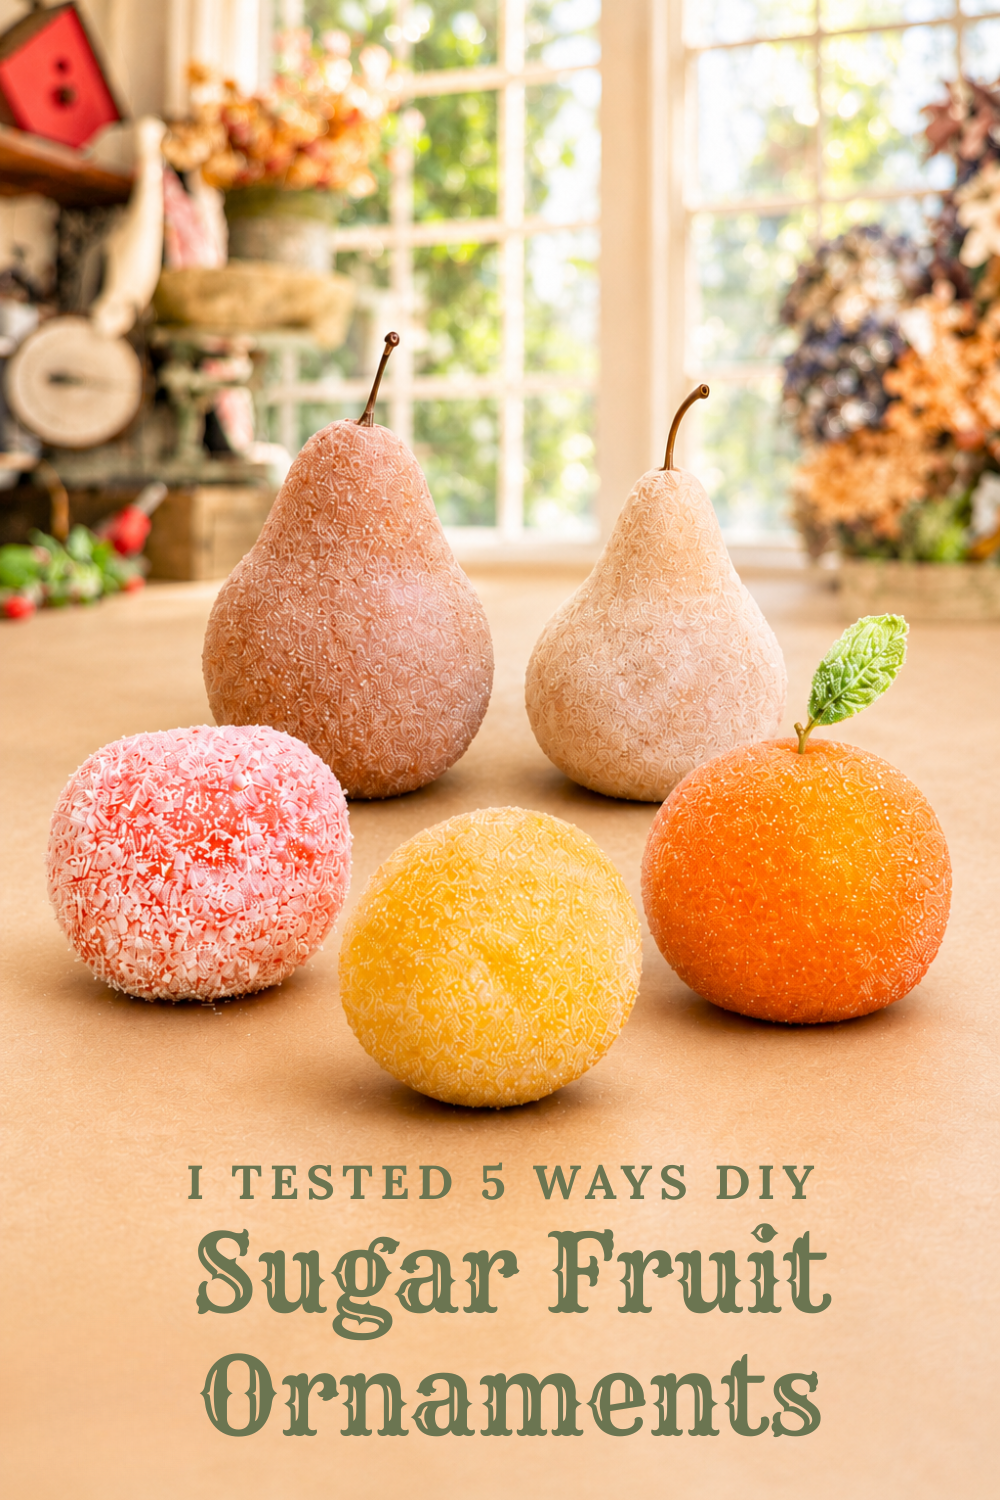
Sugared fruit ornaments are the one Christmas decoration I have wanted for years and refused to pay boutique prices for. So this year I bought a bag of plastic fruit and tested five different “sugars” on faux sugared fruit to find out which one actually gives you that frosted, candied look. Four worked. One did not, and I am going to show you that one too, because it is the method you will see recommended quite often.
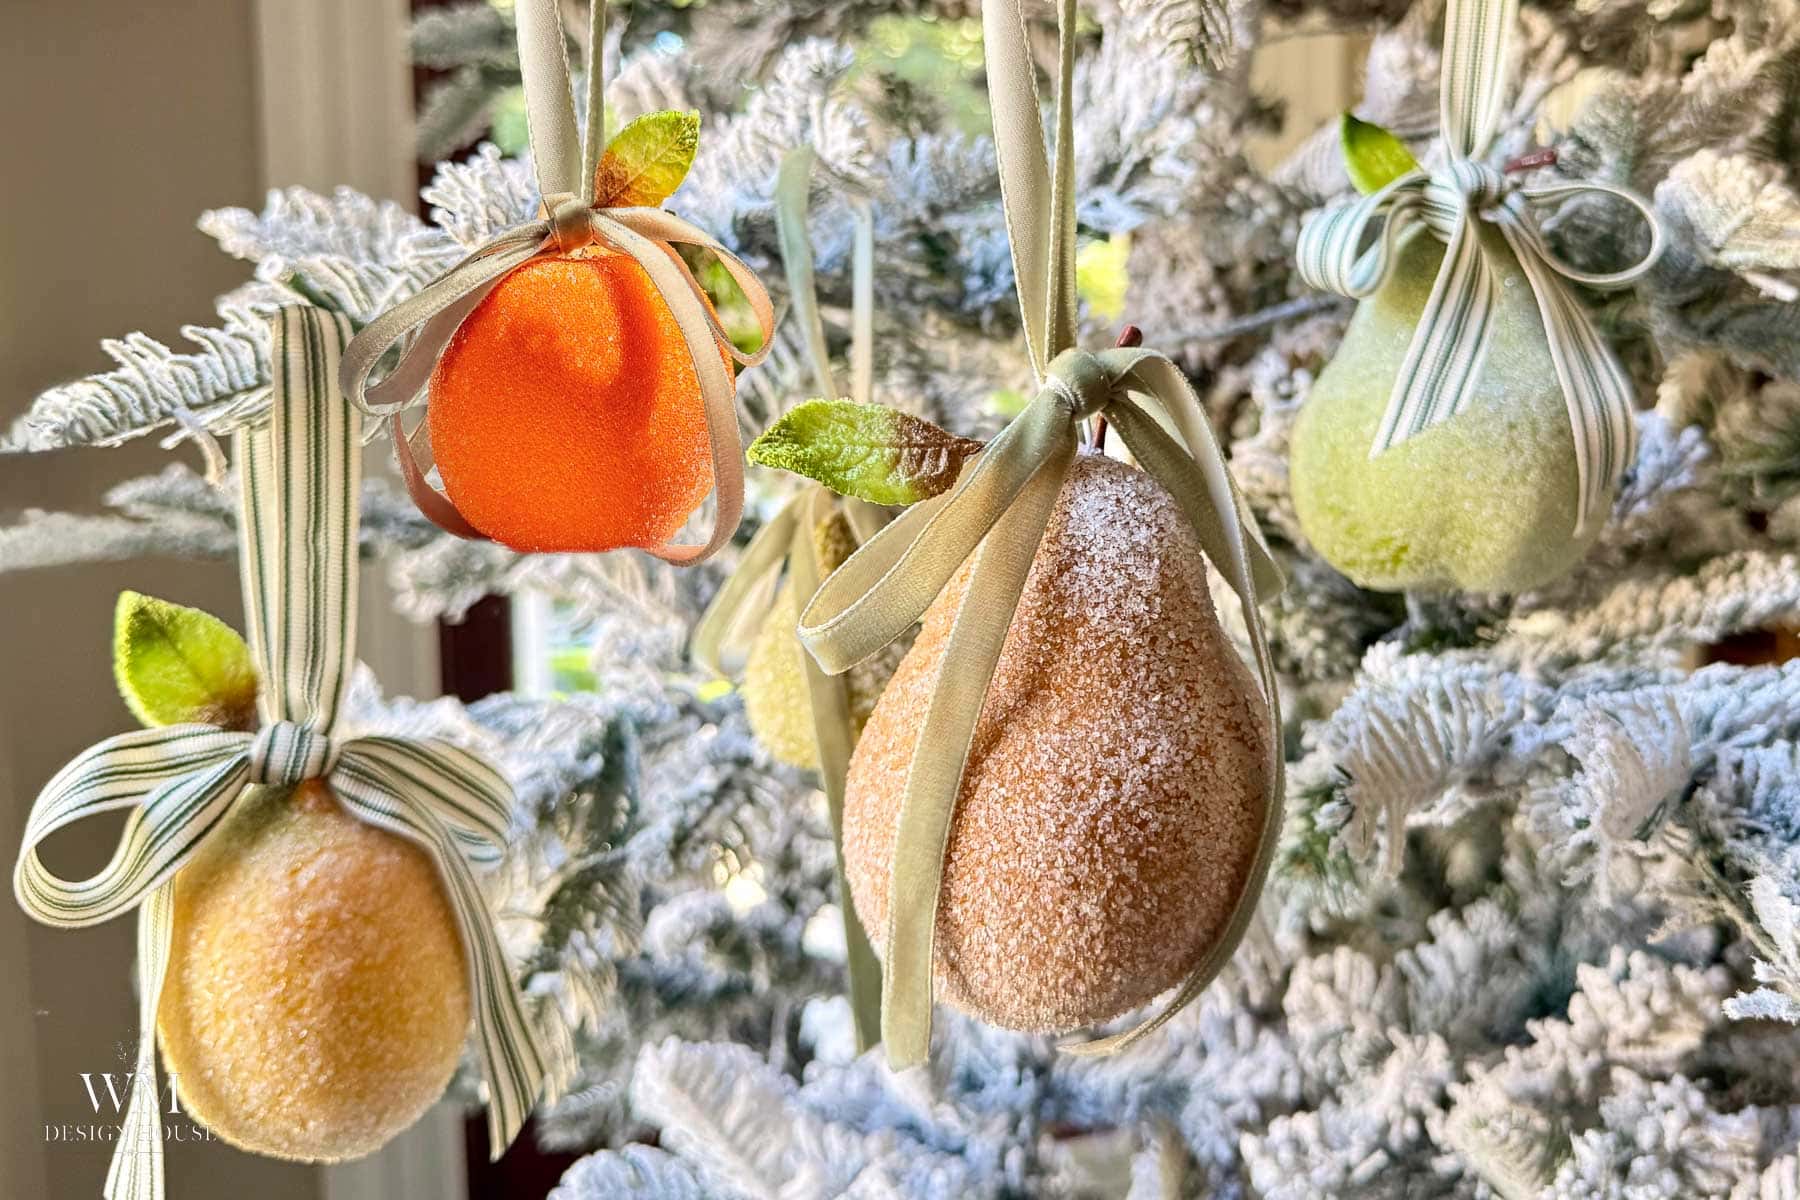
I coated plastic oranges, pears, apples, lemons, and a cluster of grapes with every method, and I tried two different glues under each one, spray adhesive and Mod Podge, so you will know which one to reach for. Here in Southern California our tree goes up early, so I made these in October to have them ready, and I am glad I did, because the drying time adds up when you are testing five batches.
On my blog WM Design House, I may sometimes use affiliate links, which means a small commission is earned if you purchase via the link. The price will be the same whether you use the affiliate link or go directly to the vendor’s website using a non-affiliate link. Read my full disclosure policy here.
Why Make Your Own Sugared Fruit Ornaments
Store-bought sugared fruit is not cheap, and most of it is coated in glitter that sheds the minute you touch it. Making your own means you pick the fruit, you pick the finish, and you can make a dozen for the cost of one. It also means they match: the same orange on your tree, in the garland, and in the bowl on the table.
The process is the same no matter which sugar you choose. Glue, sprinkle, shake off the extra, let it dry. What changes is the look, the cost, and whether it holds up. That is what the five tests below are about.
Supplies You Will Need
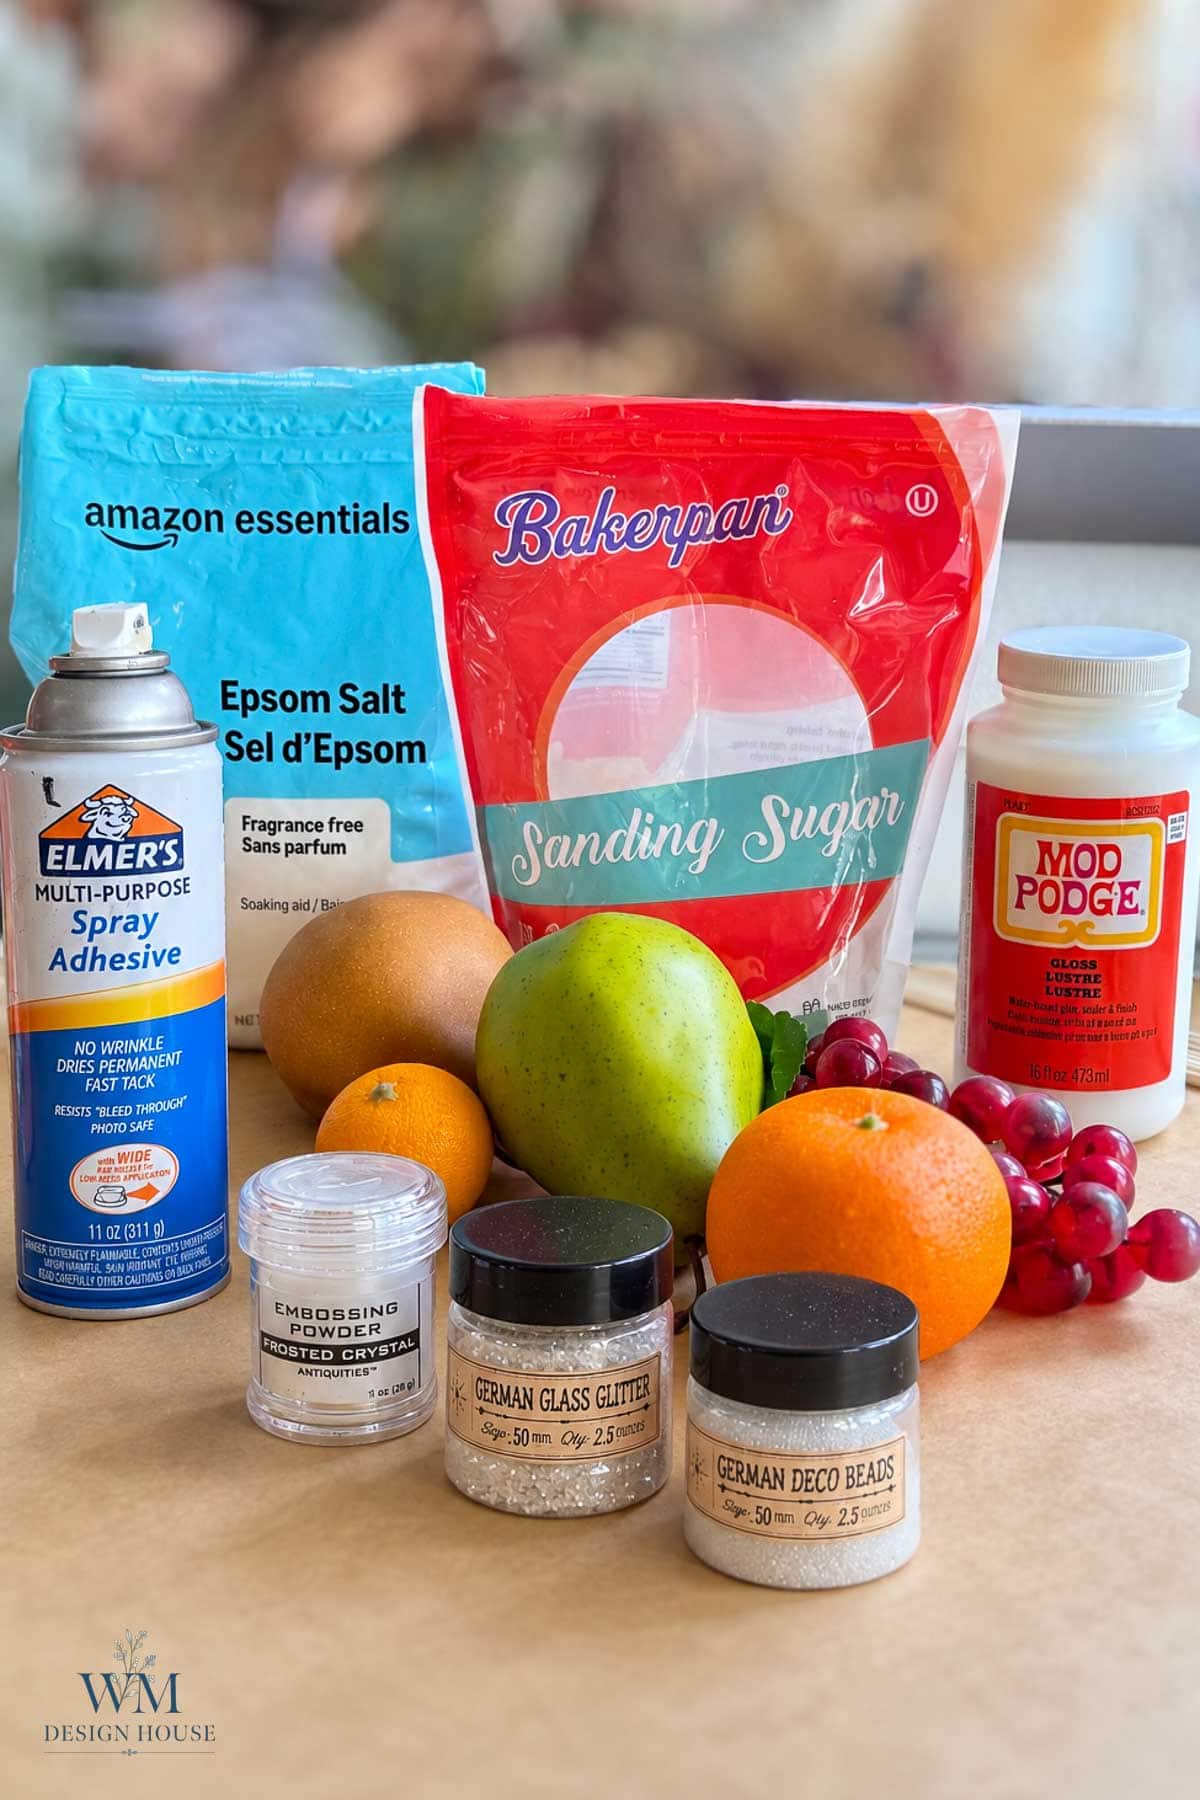
Everything on this list is shared across all five methods.
- Plastic faux fruit: oranges, pears, green apples, lemons and red apples.
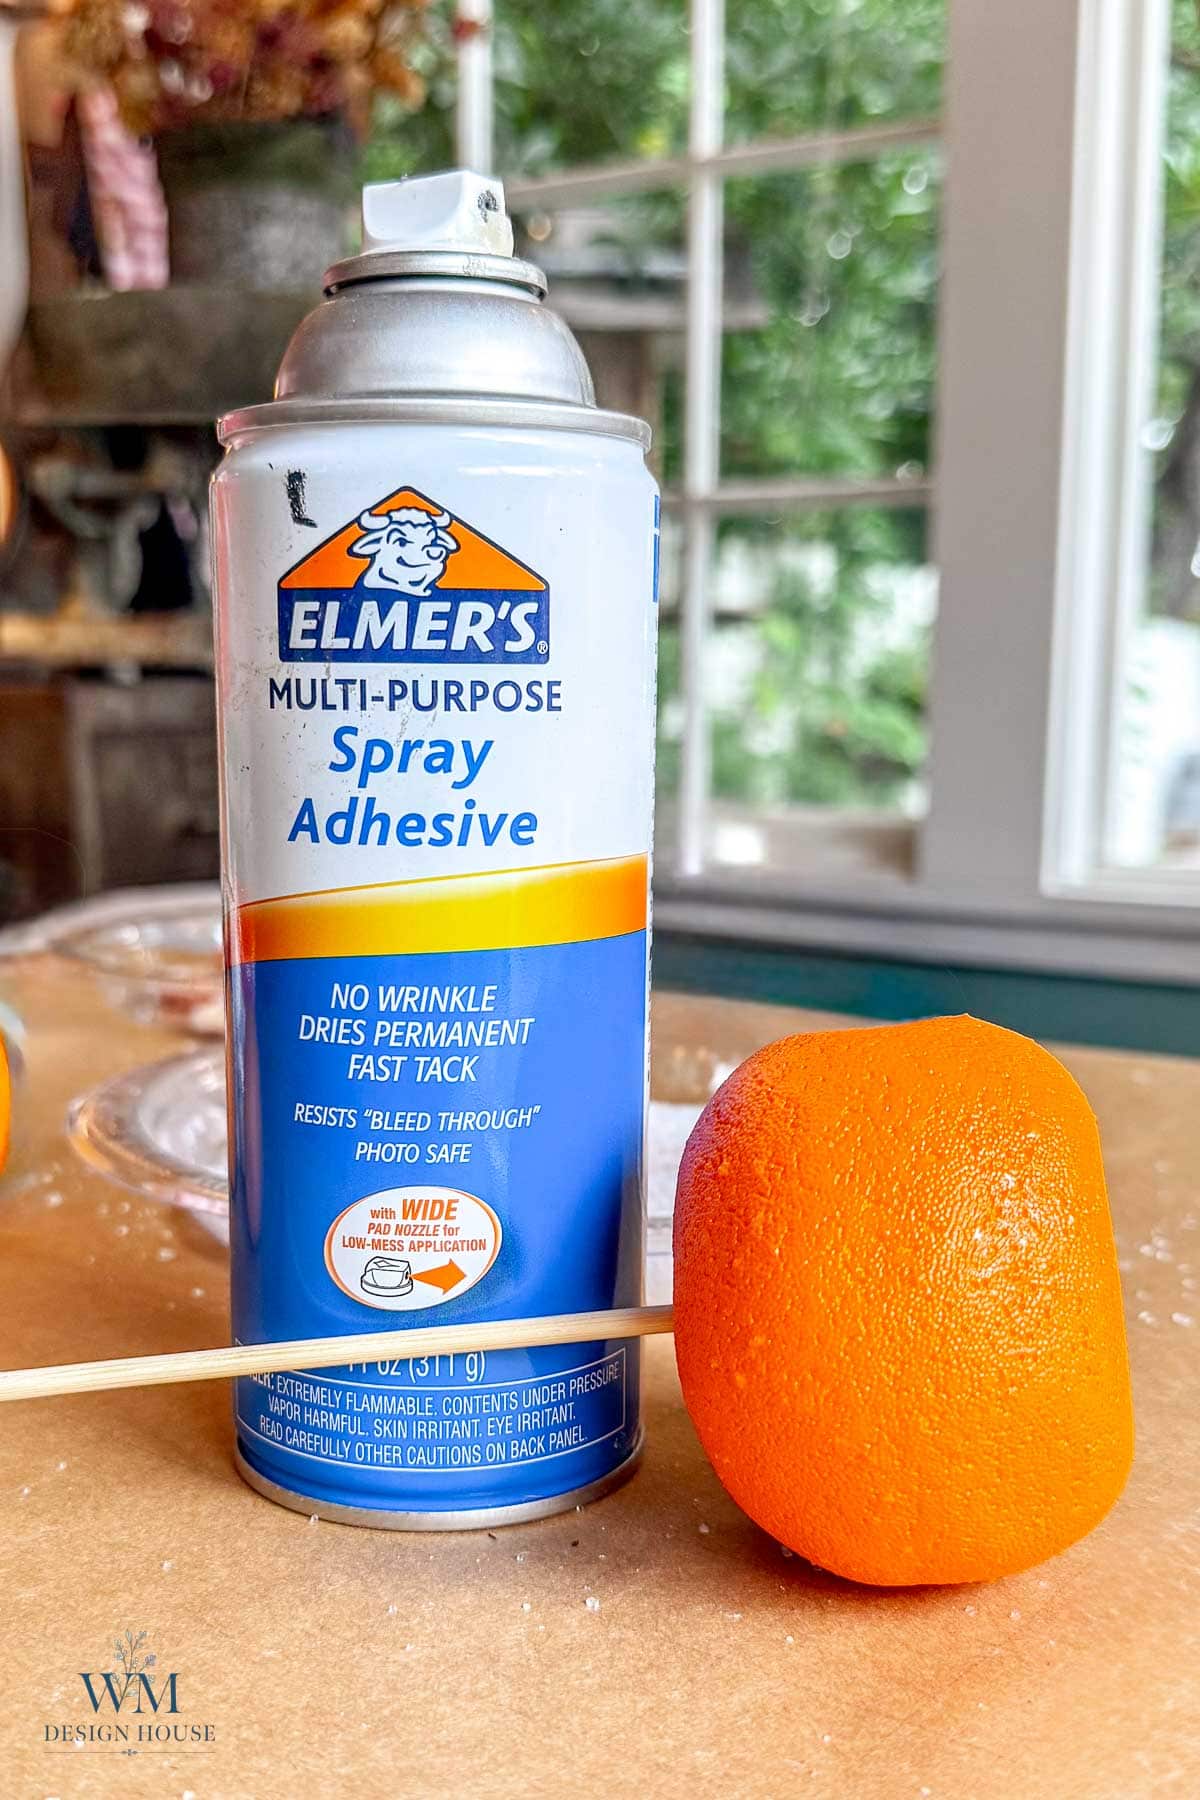
- Mod Podge (I used Gloss) or Elmer’s Multi-Purpose Spray Adhesive. More on which to use below.
- A paintbrush, if you are using Mod Podge
- Wooden skewers, one per piece of fruit
- A styrofoam block to hold the skewers while the fruit dries
- Paper clips and wire cutters, for the hanging loops
- Hot glue gun
- Ribbon, 37 inches per ornament. I used an assortment: velvet, gingham, and striped grosgrain.
- Clear spray sealer
- Small velvet leaves, optional
Choose your sugar
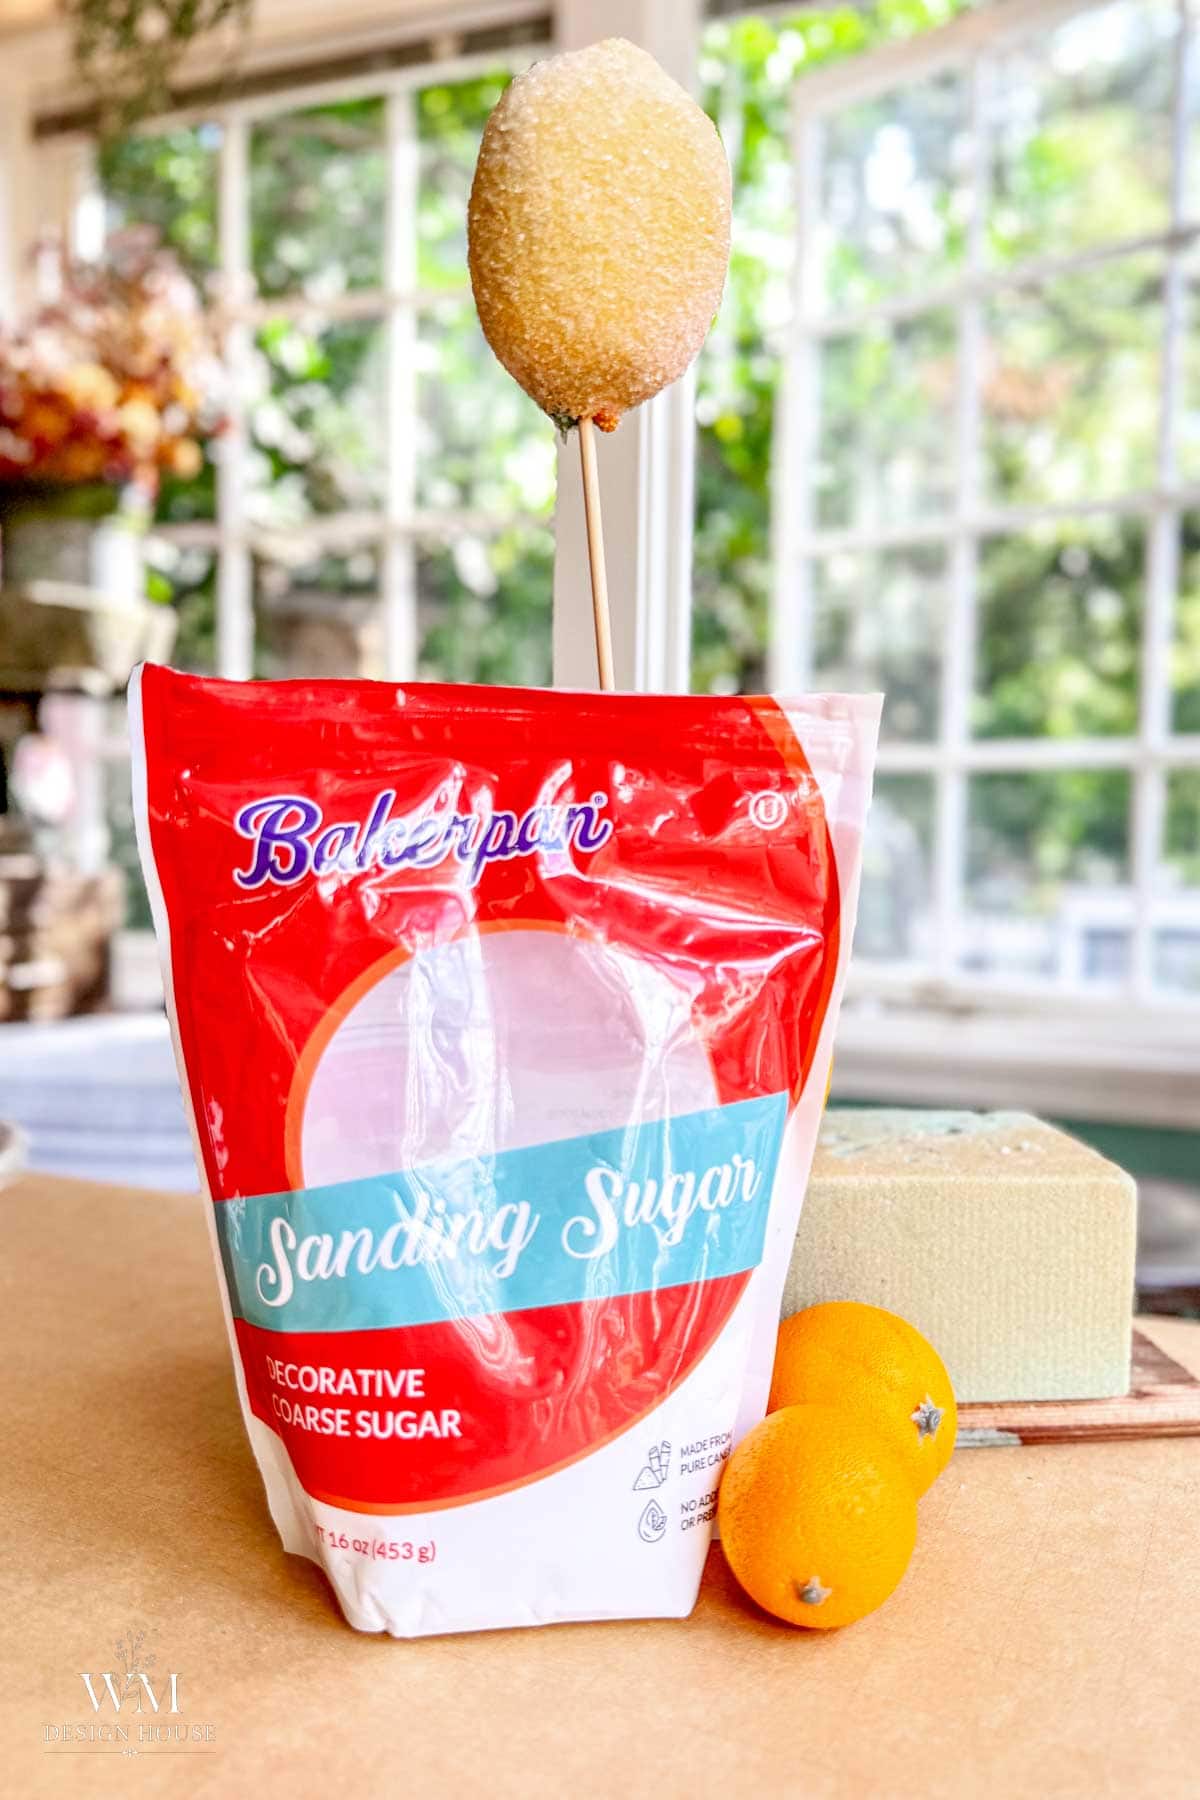
- Sanding sugar, white. My favorite finish of the five. Cost is about $12 a bag for 16 oz.
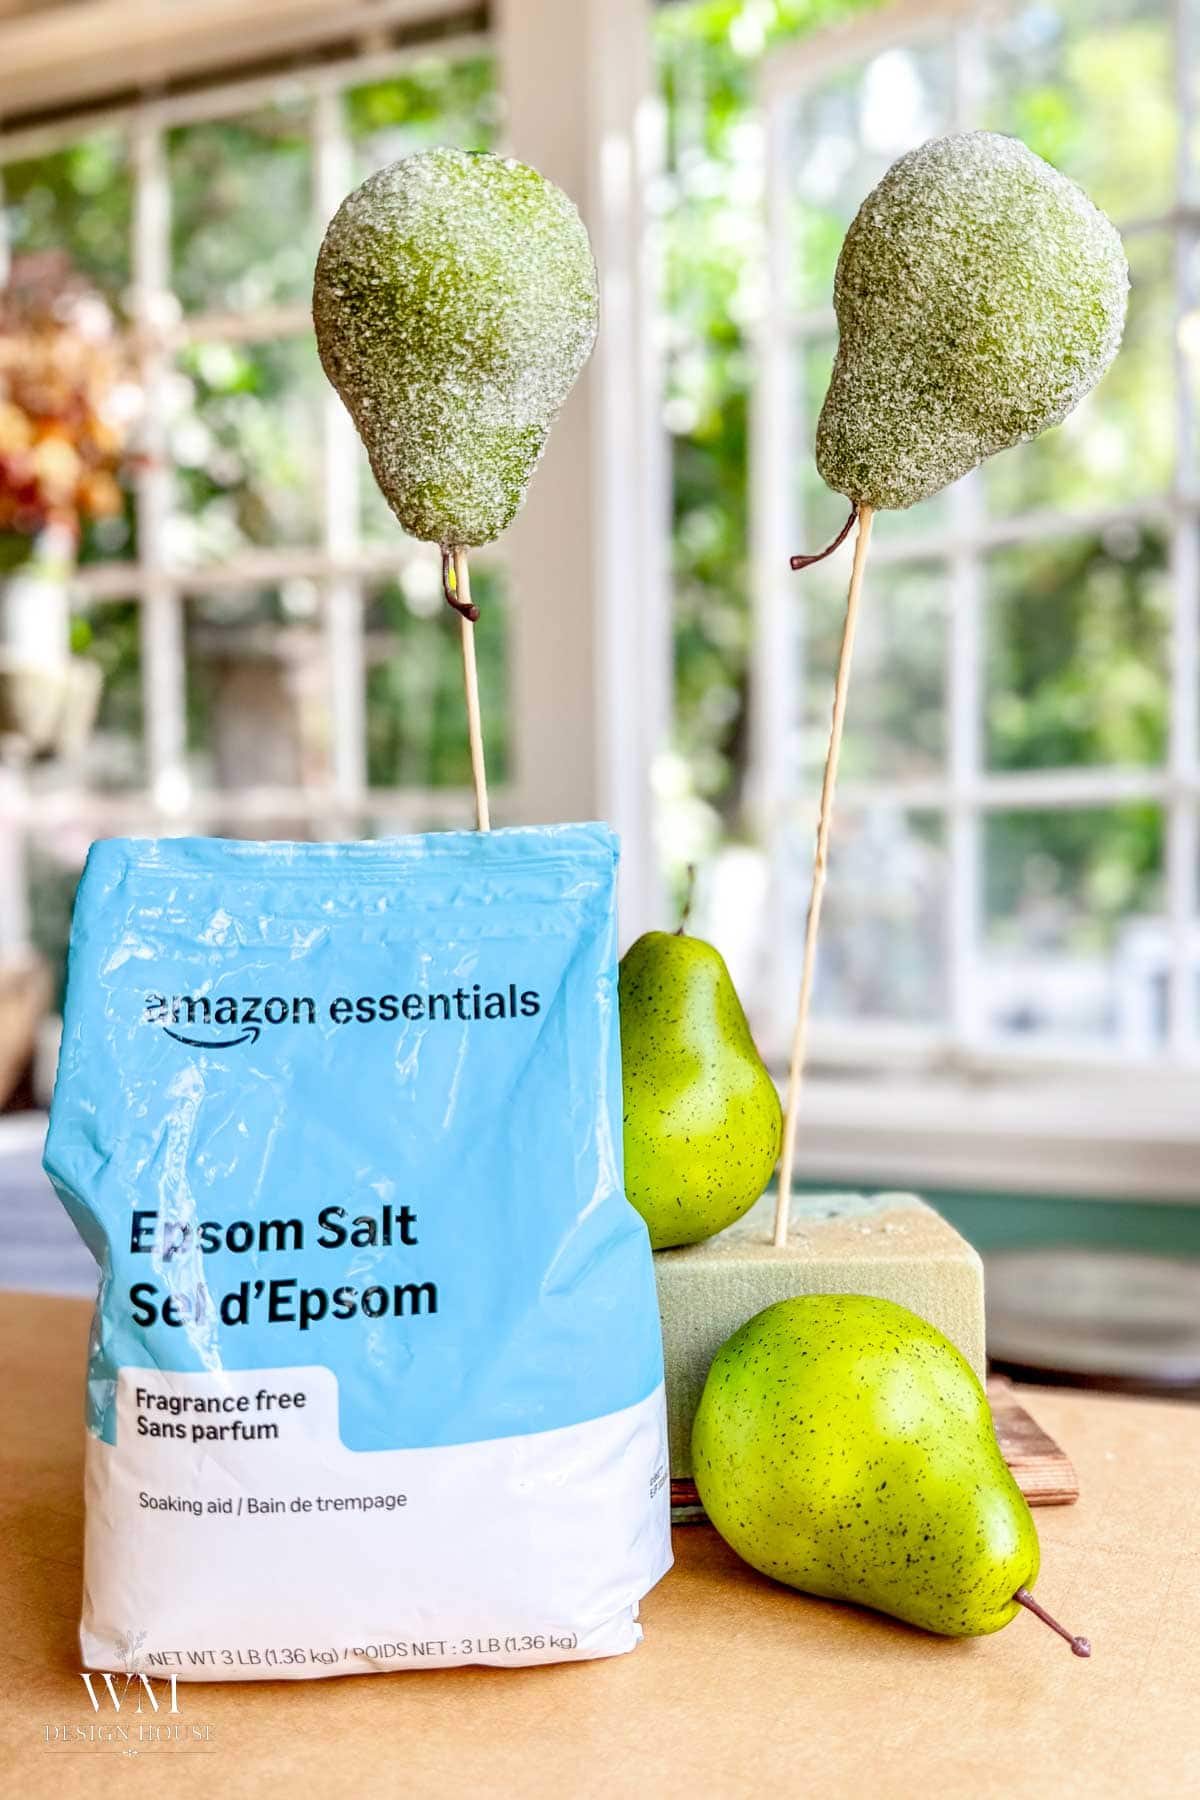
- Epsom salt. Coarse, frosty, and the cheapest by a mile. Cost is about $3.50 for 48 oz.
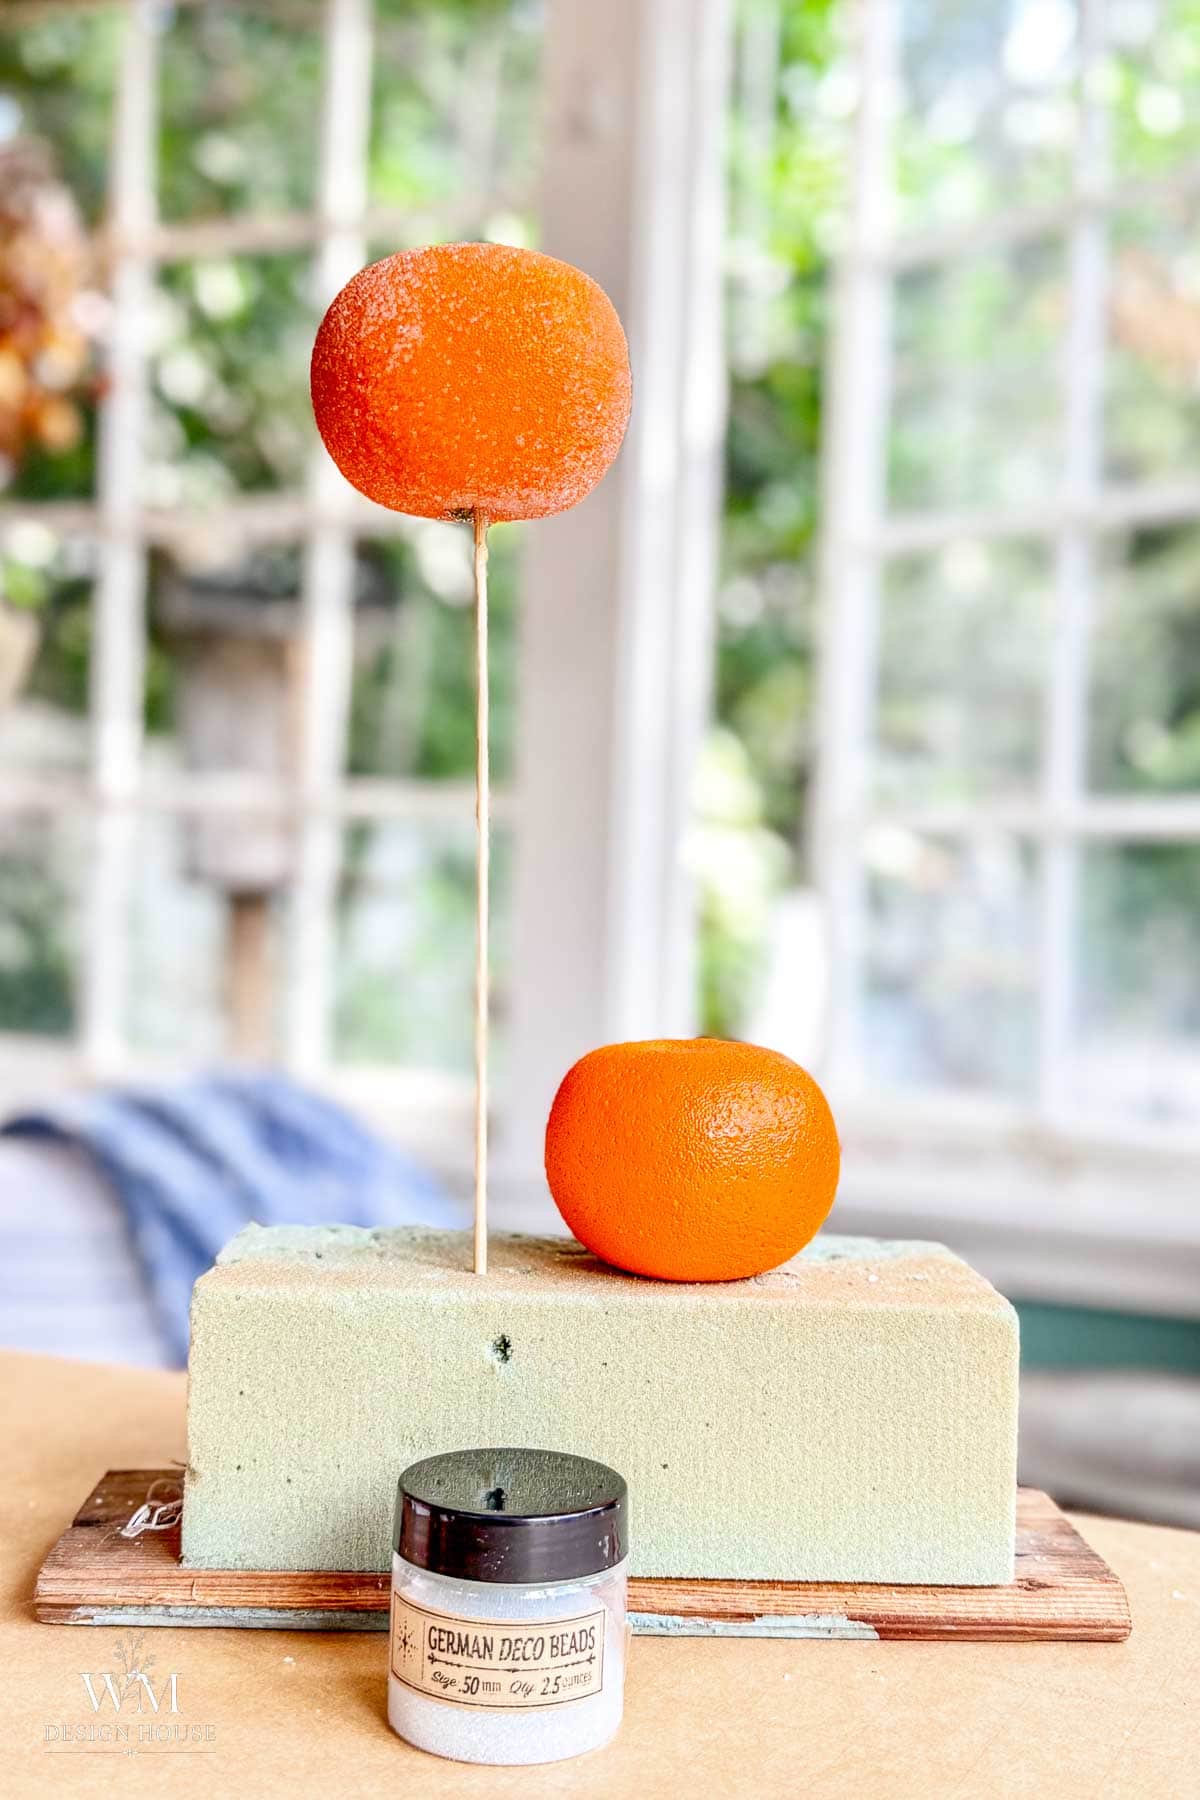
- German deco beads (tiny clear glass beads, sometimes sold as micro beads). Fabulous, but a bit expensive: about $10 for a 2.5 ounce jar that covered roughly four pieces of fruit.
- German glass glitter. Real crushed glass with a vintage sparkle. $10 for 2 oz. This will cover about 10 pieces of fruit.
- Embossing powder. Listed here only so you know what I tested. I do not recommend it; see why below.
Tip from wendy:
Keep a separate paper plate for each sugar and pour the extra back into its own jar after every piece. Once Epsom salt gets mixed into your sanding sugar you cannot get it back out, and the deco beads and glass glitter are too expensive to waste.
How to Make Sugared Fruit Ornaments (Same Steps For Every Method)
Do these steps once and you have the process for all five sugars. I will go method by method afterward to show you how each one turned out.
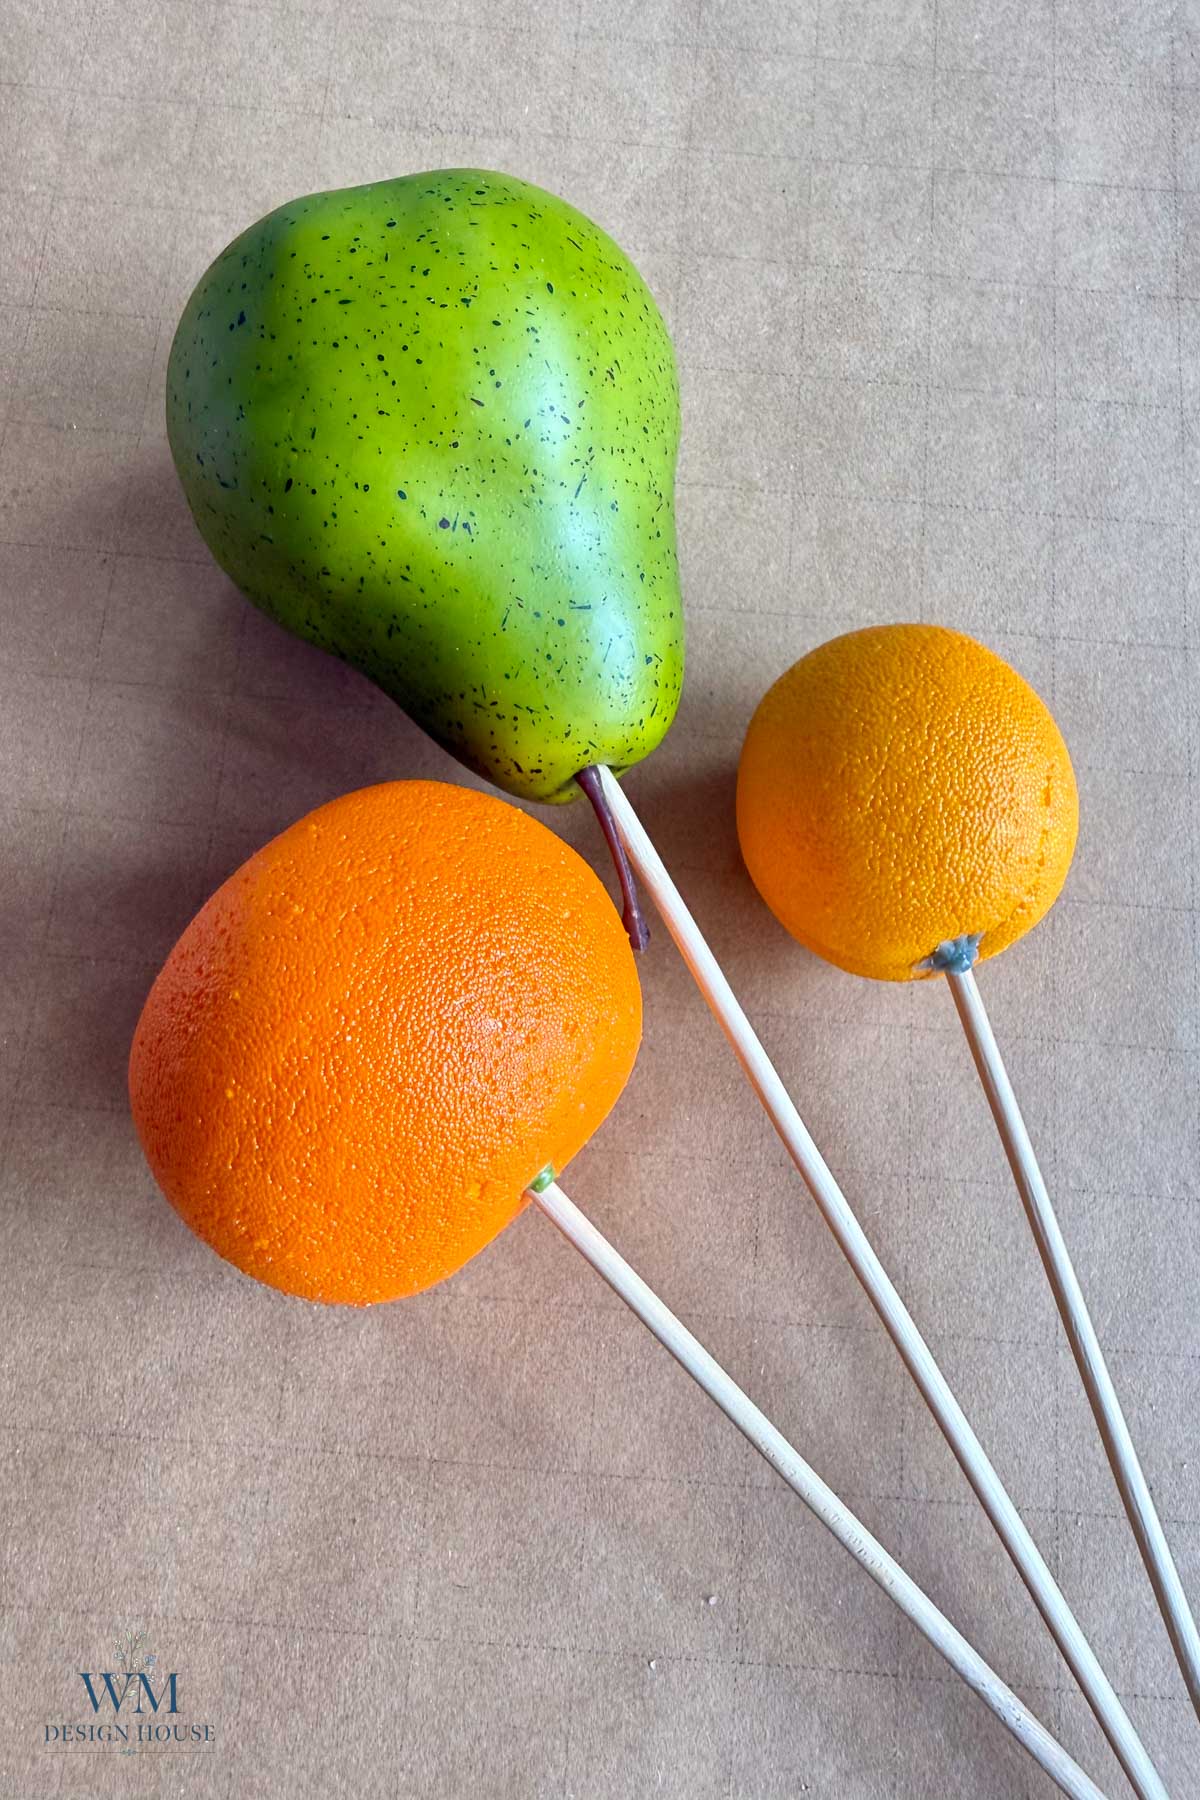
Put it on a skewer
Push a wooden skewer into the bottom or top of the fruit. This is your handle while you coat the fruit and allow it to dry. Set the styrofoam block beside you so each piece has somewhere to go the second it is coated.
Glue it, two ways
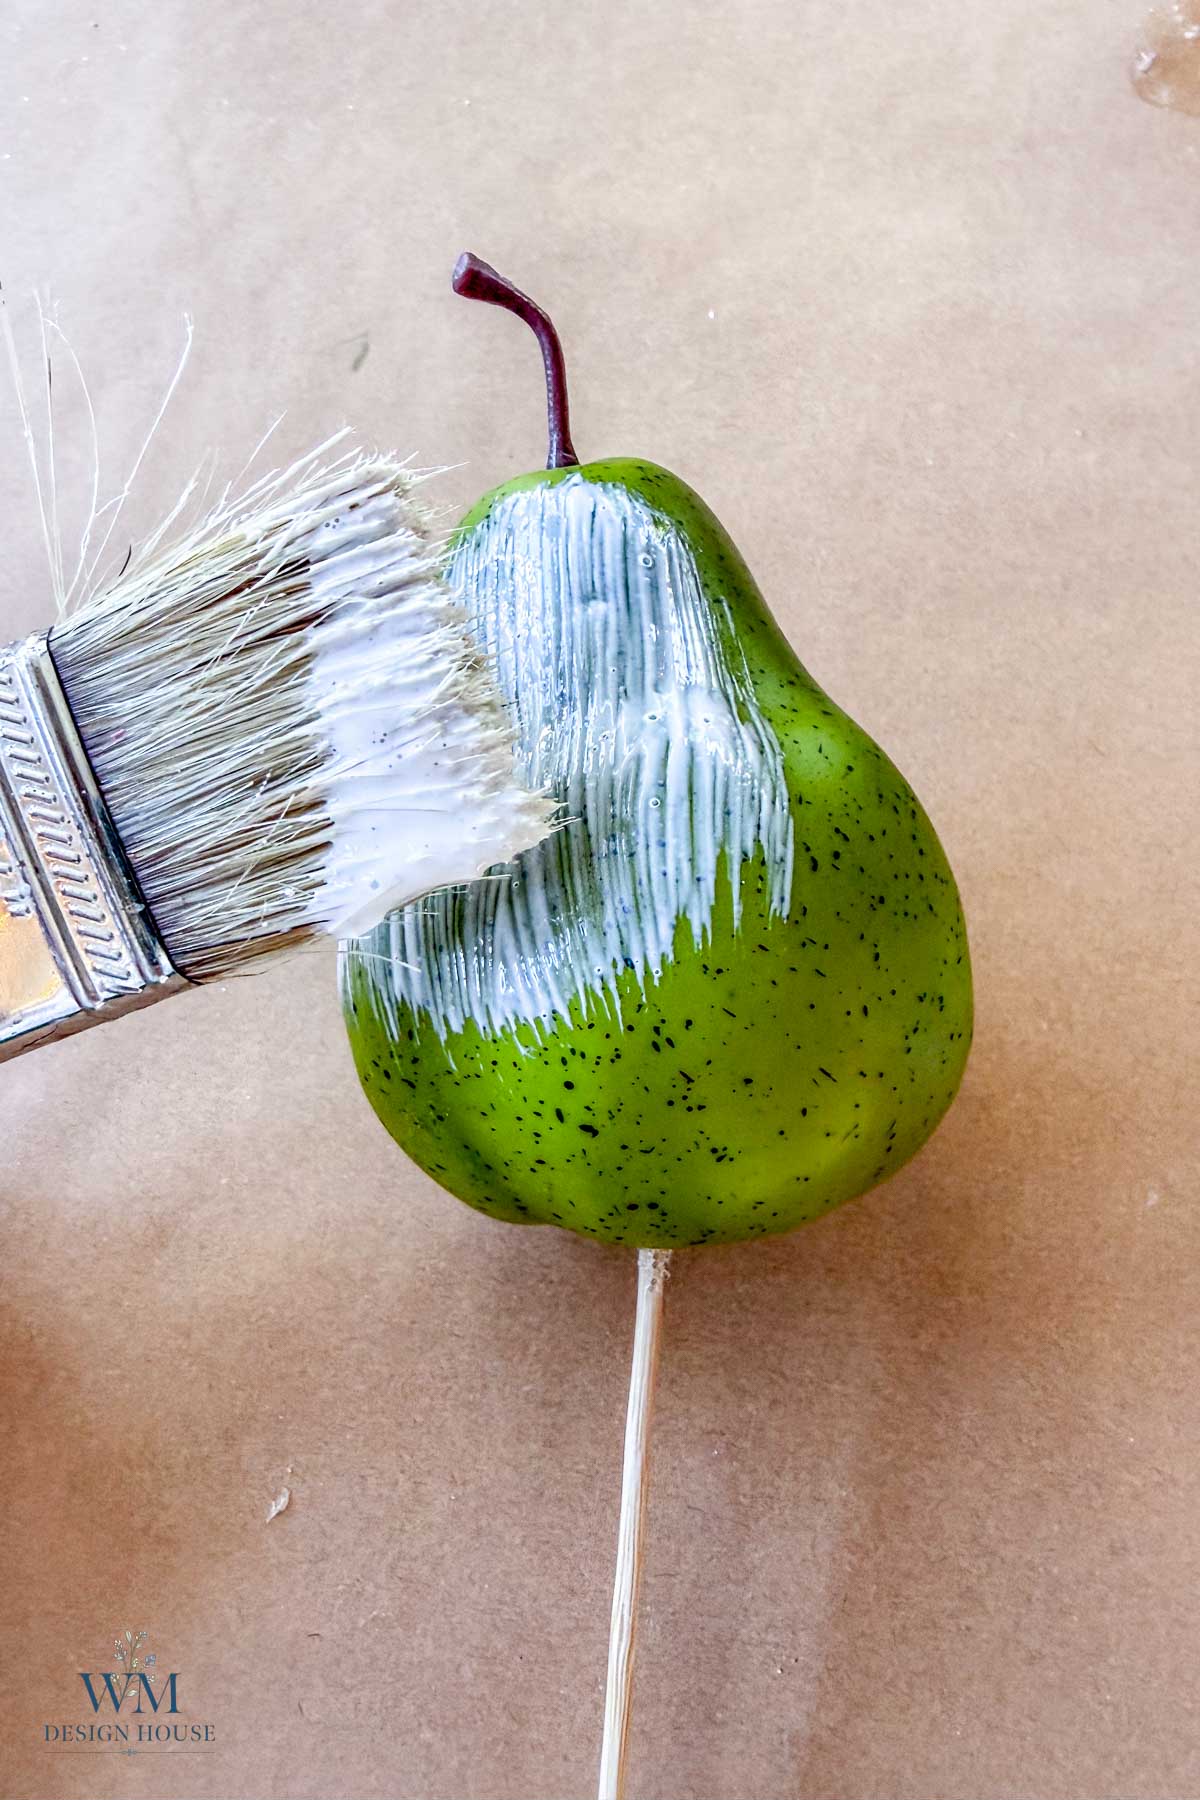
I tested both glues with every sugar. Spray adhesive is faster: hold the fruit by the skewer, spray a light even coat over the whole piece, and sprinkle right away. Mod Podge is tidier: brush a generous, even coat over the fruit and sprinkle right away. Either way, work one piece at a time, because both glues start to set within a couple of minutes and the sugar will not stick to a dry spot.
Sprinkle and shake
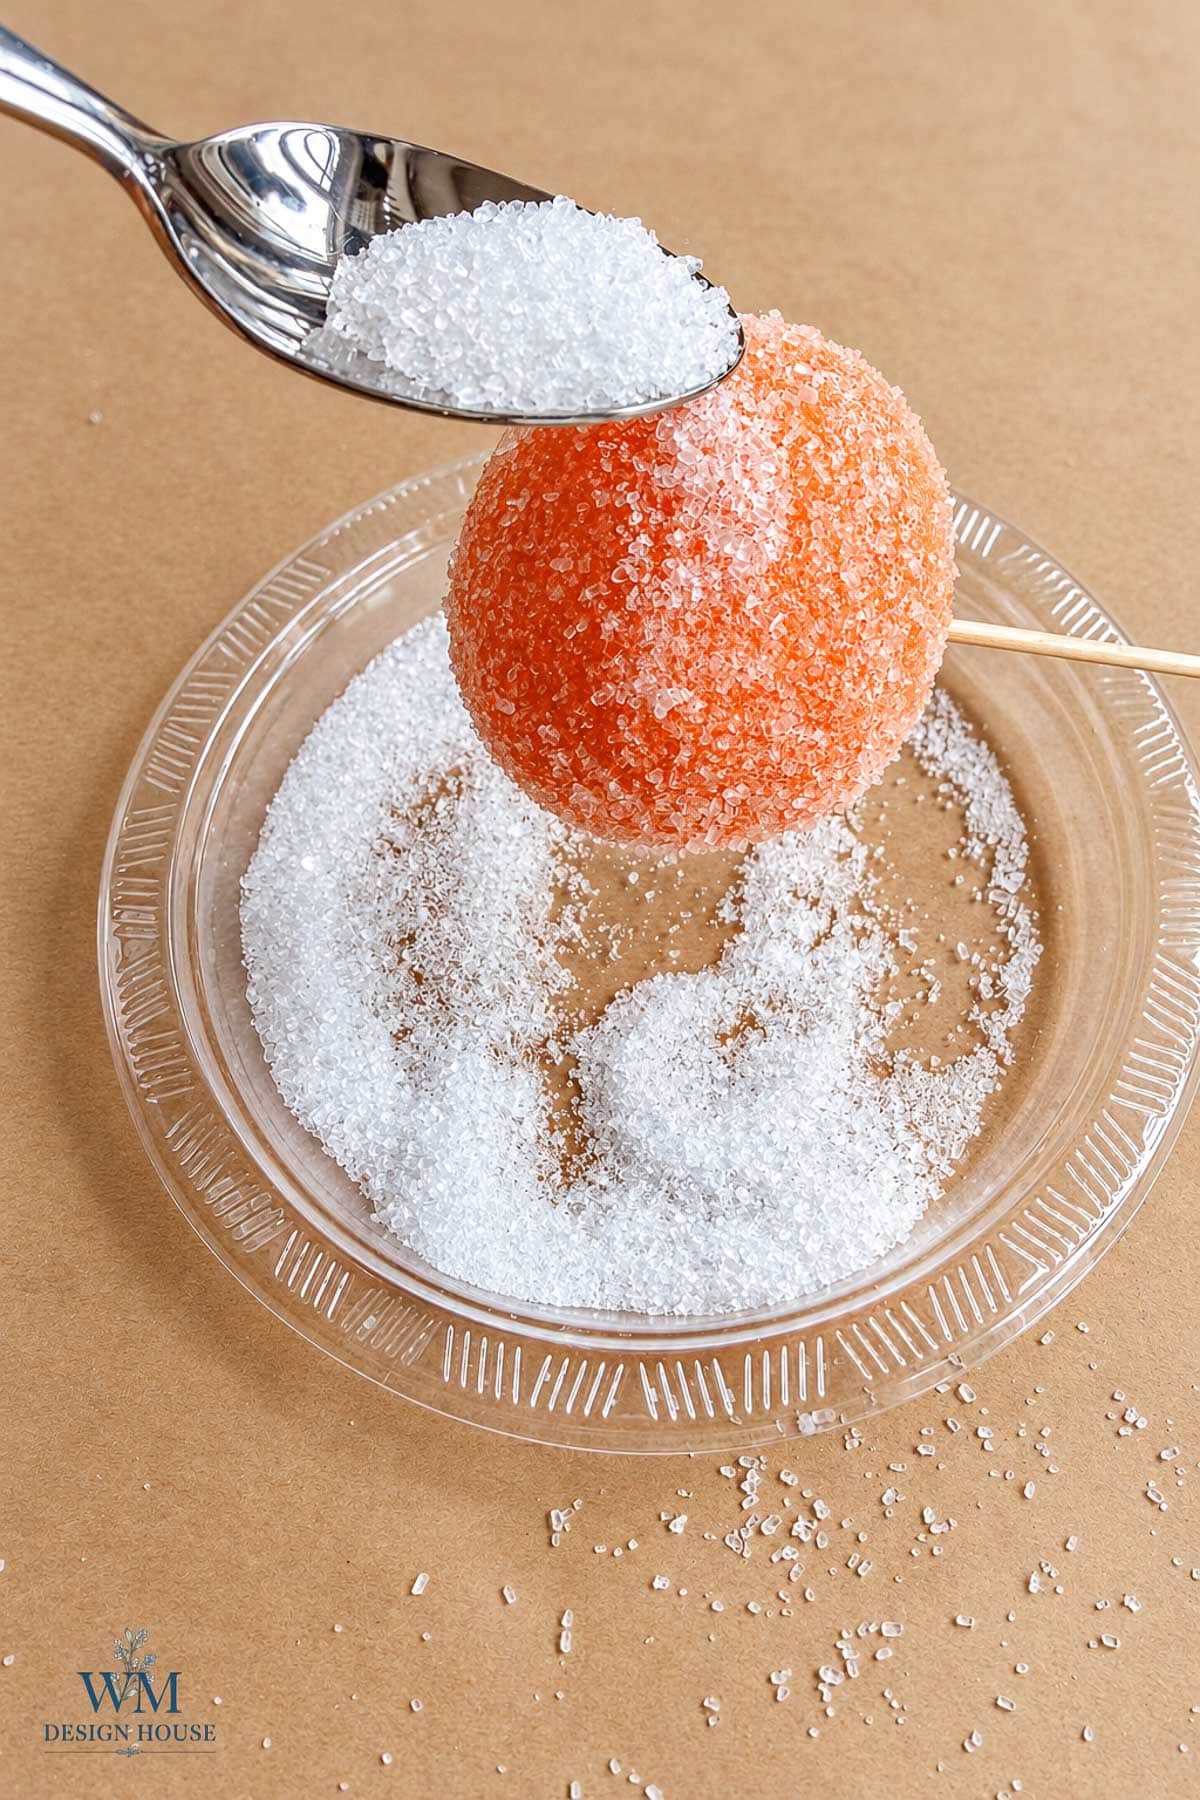
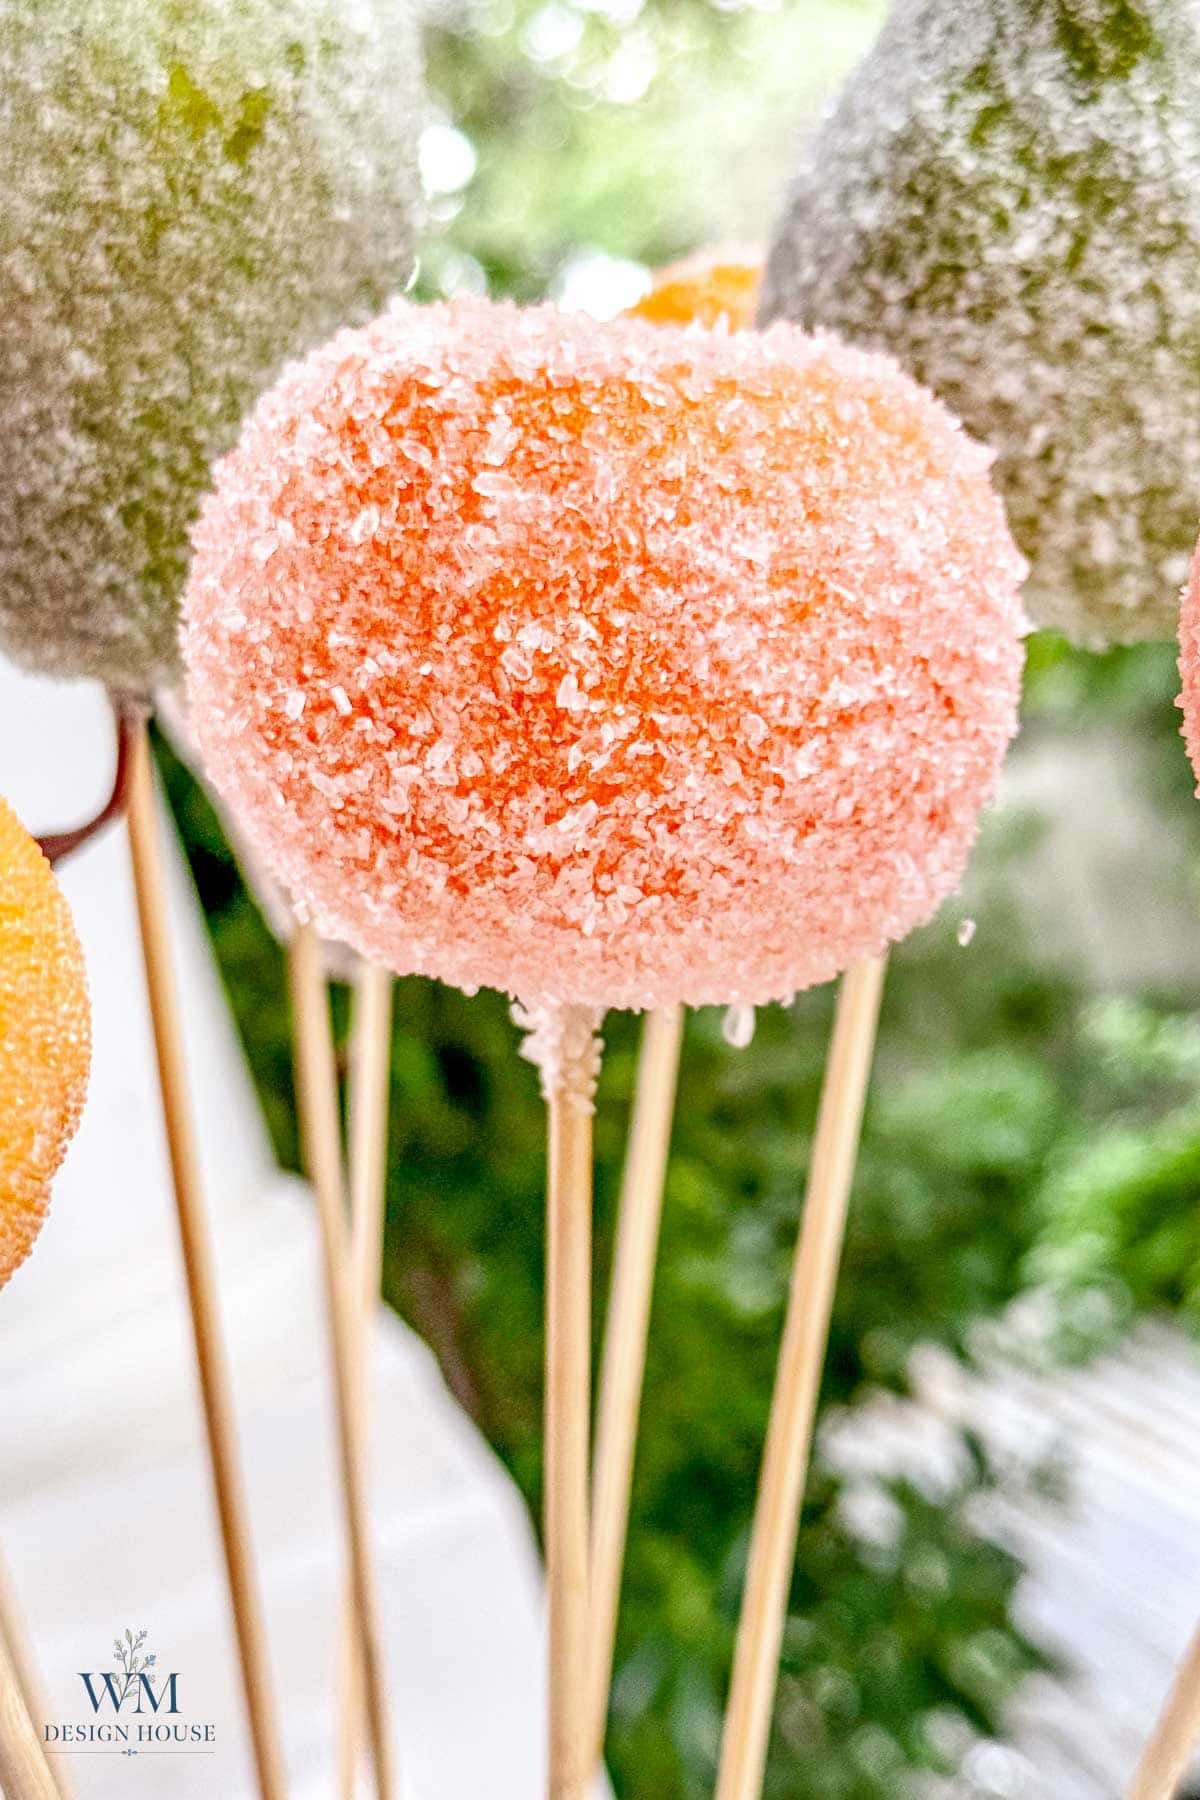
Hold the fruit over a paper plate and sprinkle or spoon your sugar over it, turning as you go, until every surface is covered. Tap the skewer against the plate to shake off the extra, then pour what landed on the plate back into its container.
Let it dry
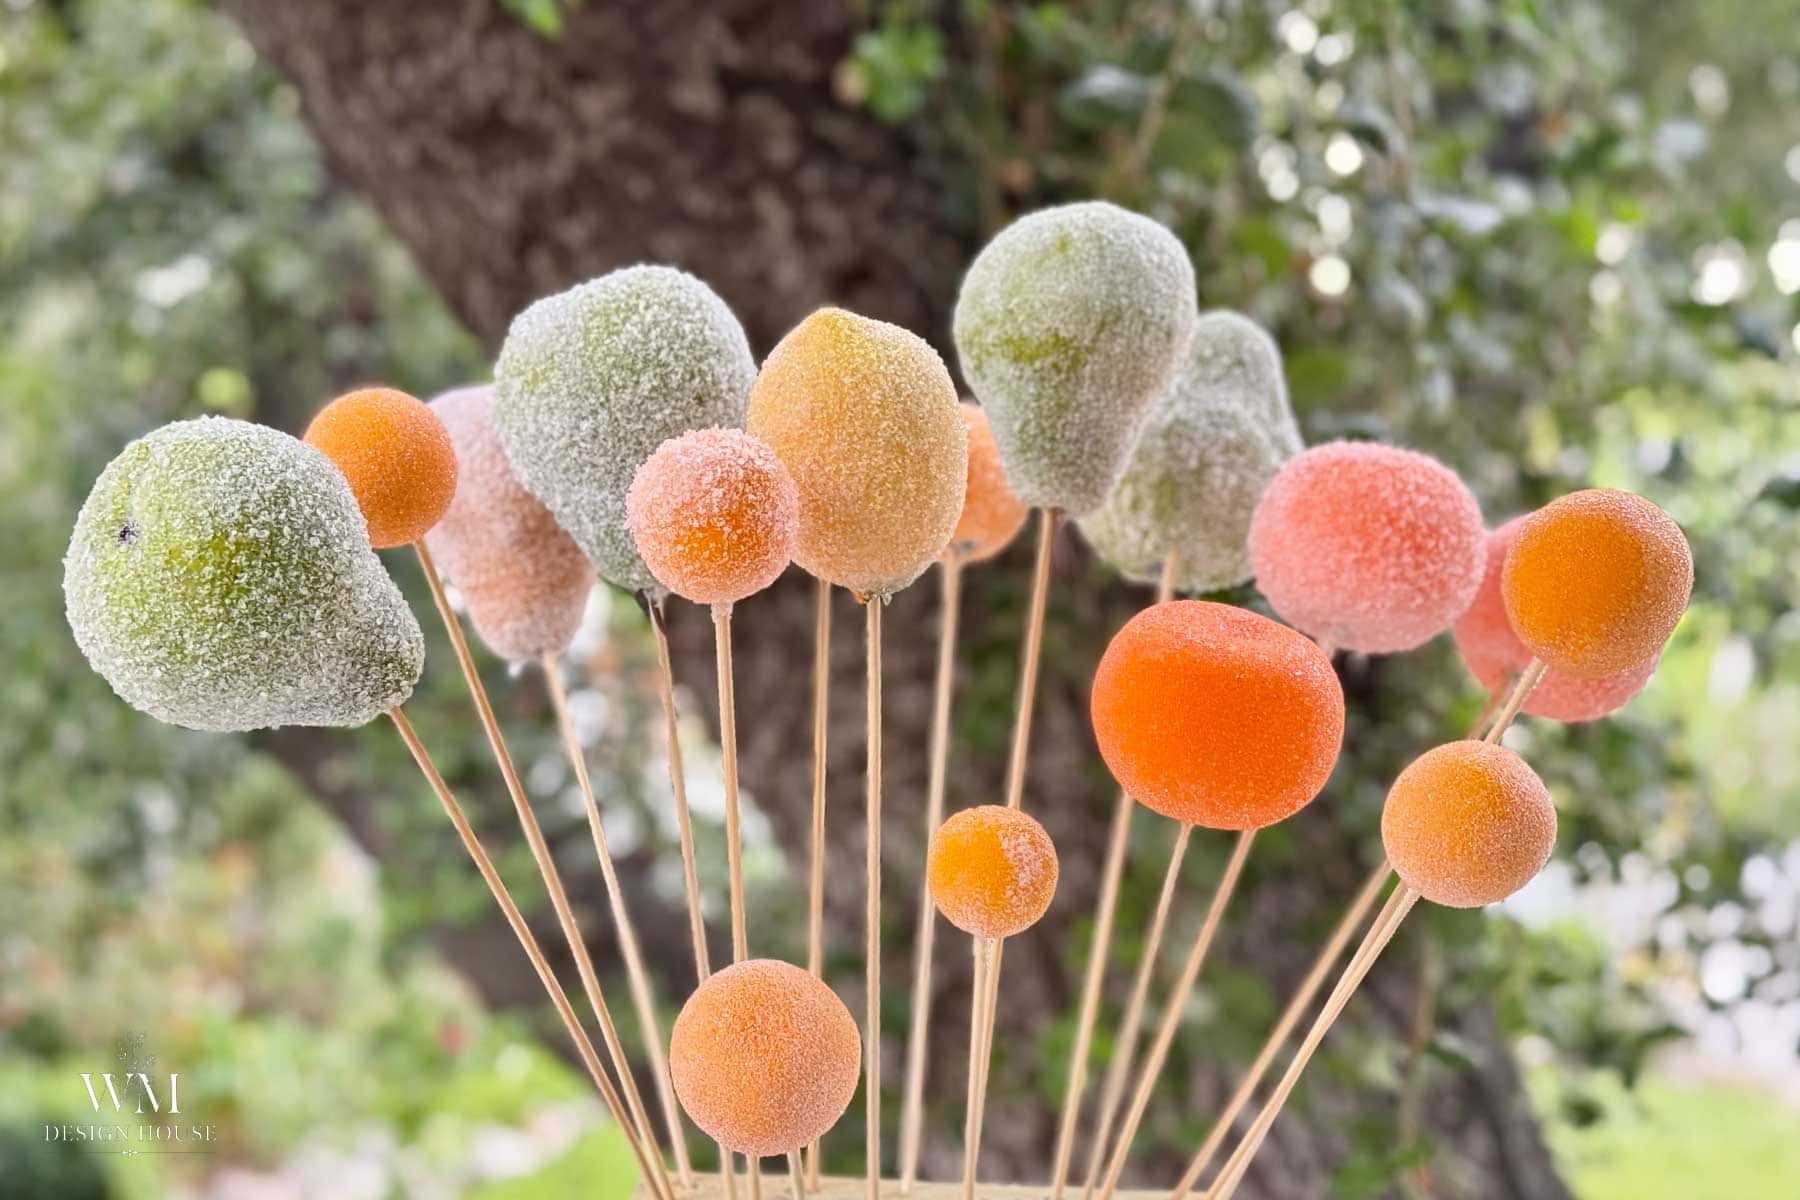
Poke the skewer into the styrofoam block and leave the fruit alone until the glue is fully dry. Dry time is typically 2-3 hours.
Seal it
Once dry, give each piece a coat of clear spray sealer in a well-ventilated spot. This is what keeps the sugar, beads, or glitter on the fruit instead of on your floor. Let the sealer dry, then pull out the skewer.
How to Tie the Ribbon Bow and Hanger
This one piece of ribbon makes the hanging loop and the bow at the same time, so there is no knot to hide and nothing to glue. It takes about a minute once you have done it a few times.
Add the hanging loop
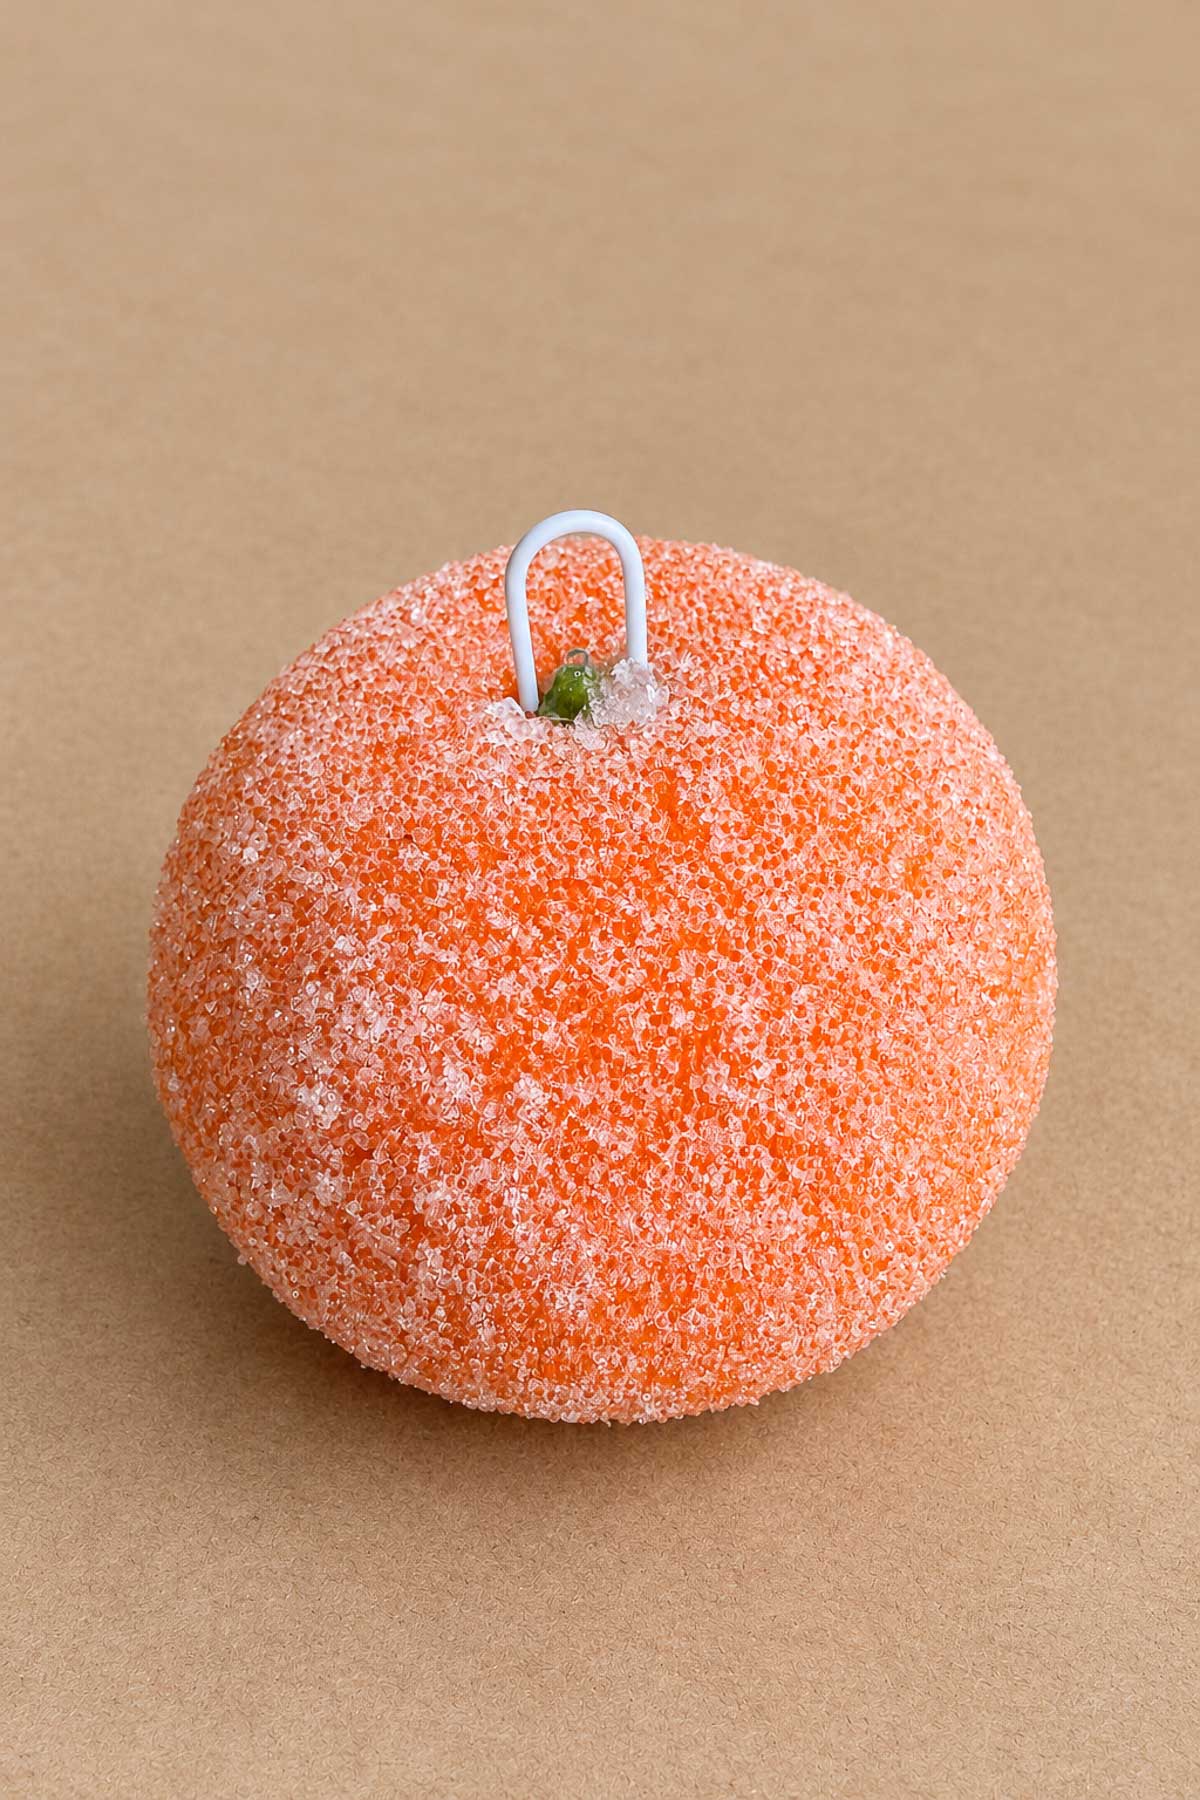
Cut a paper clip in half with wire cutters so you have a small U shape. Poke a starter hole in the top of the fruit with the tip of a skewer, add a dab of hot glue, and push the two legs of the paper clip into the hole. You can do this before you sugar the fruit as well. I just happened to do it after.
Fold and thread
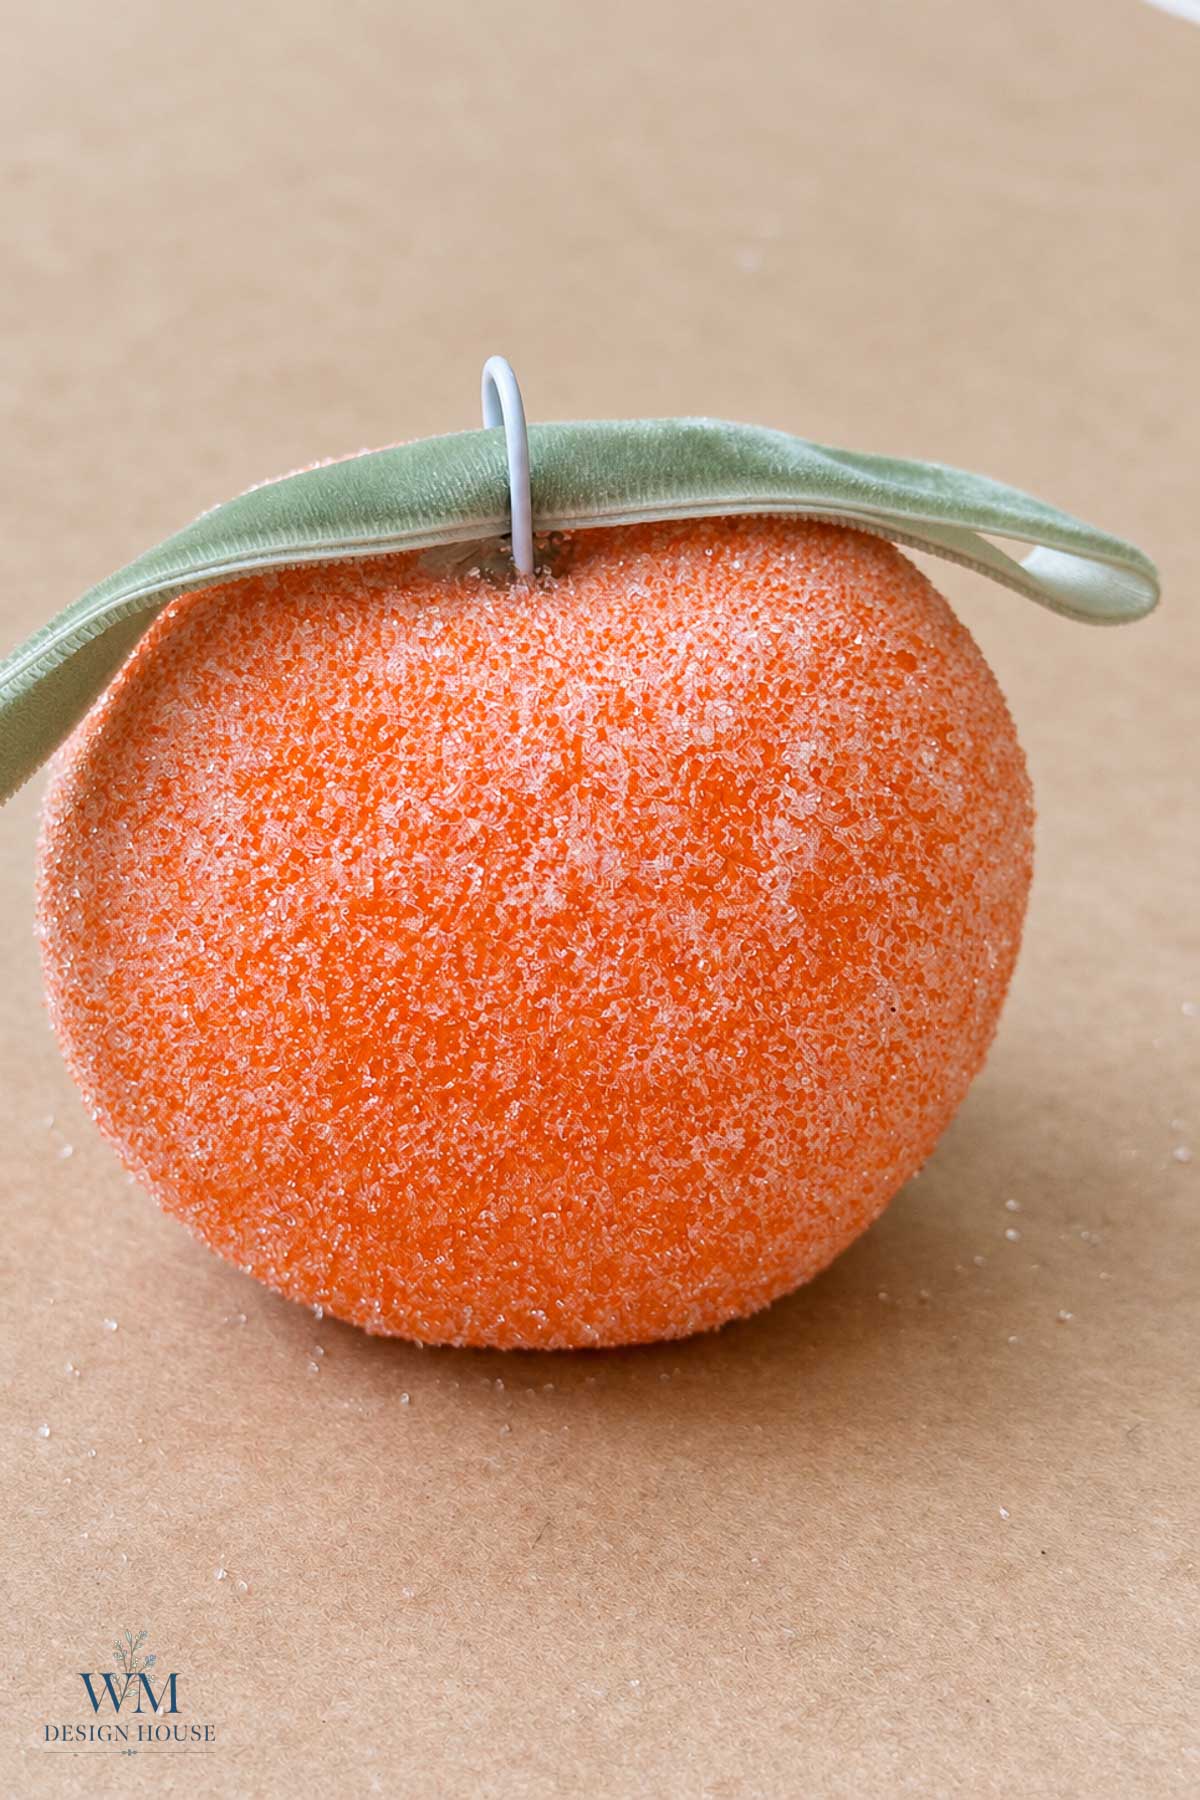
Cut 37 inches of ribbon and fold it in half. Push the folded end down through the paper clip loop so about 2 inches of folded ribbon comes out the other side.
Loop the tails through again
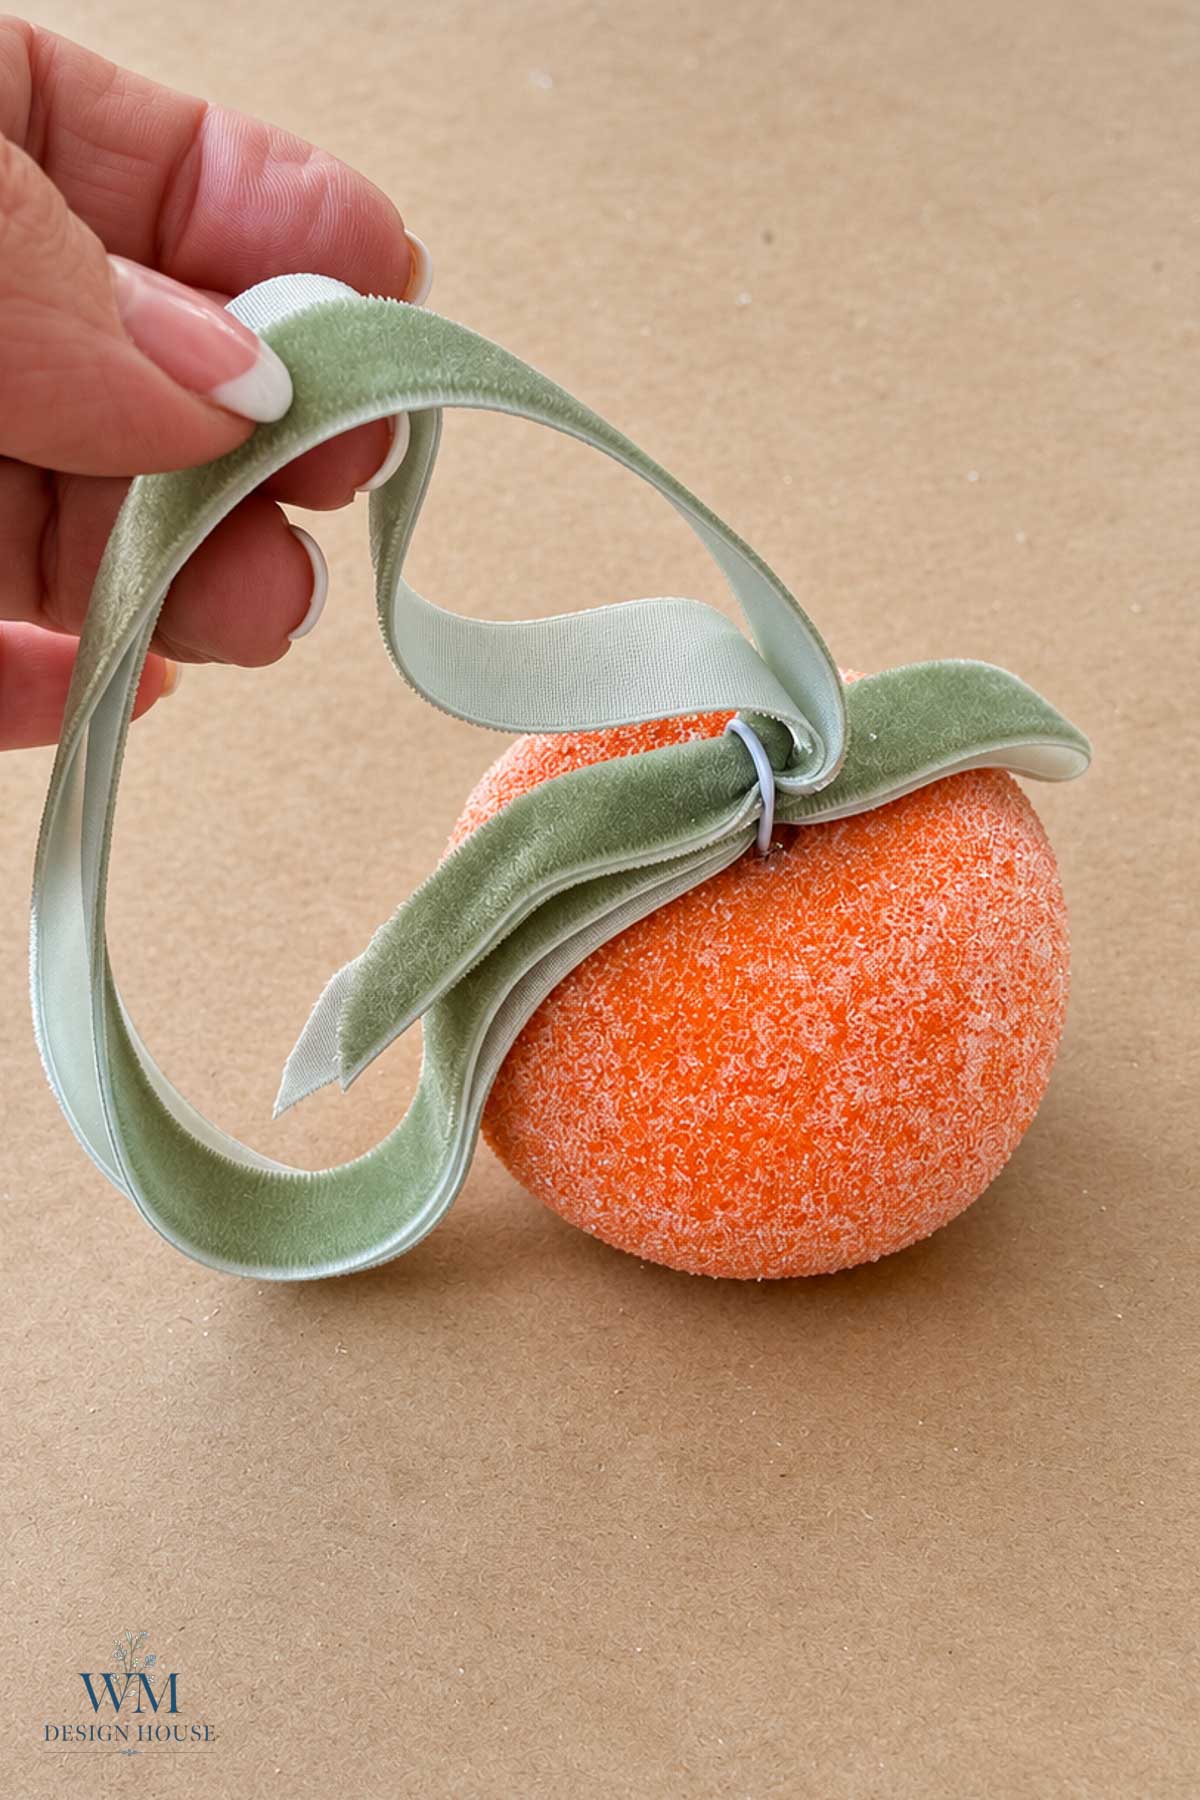
Bring the two long tails around and feed them through the paper clip loop a second time. Pull them until the folded loop you made in the first step is about 1 inch around. That small loop is going to be your hanger.
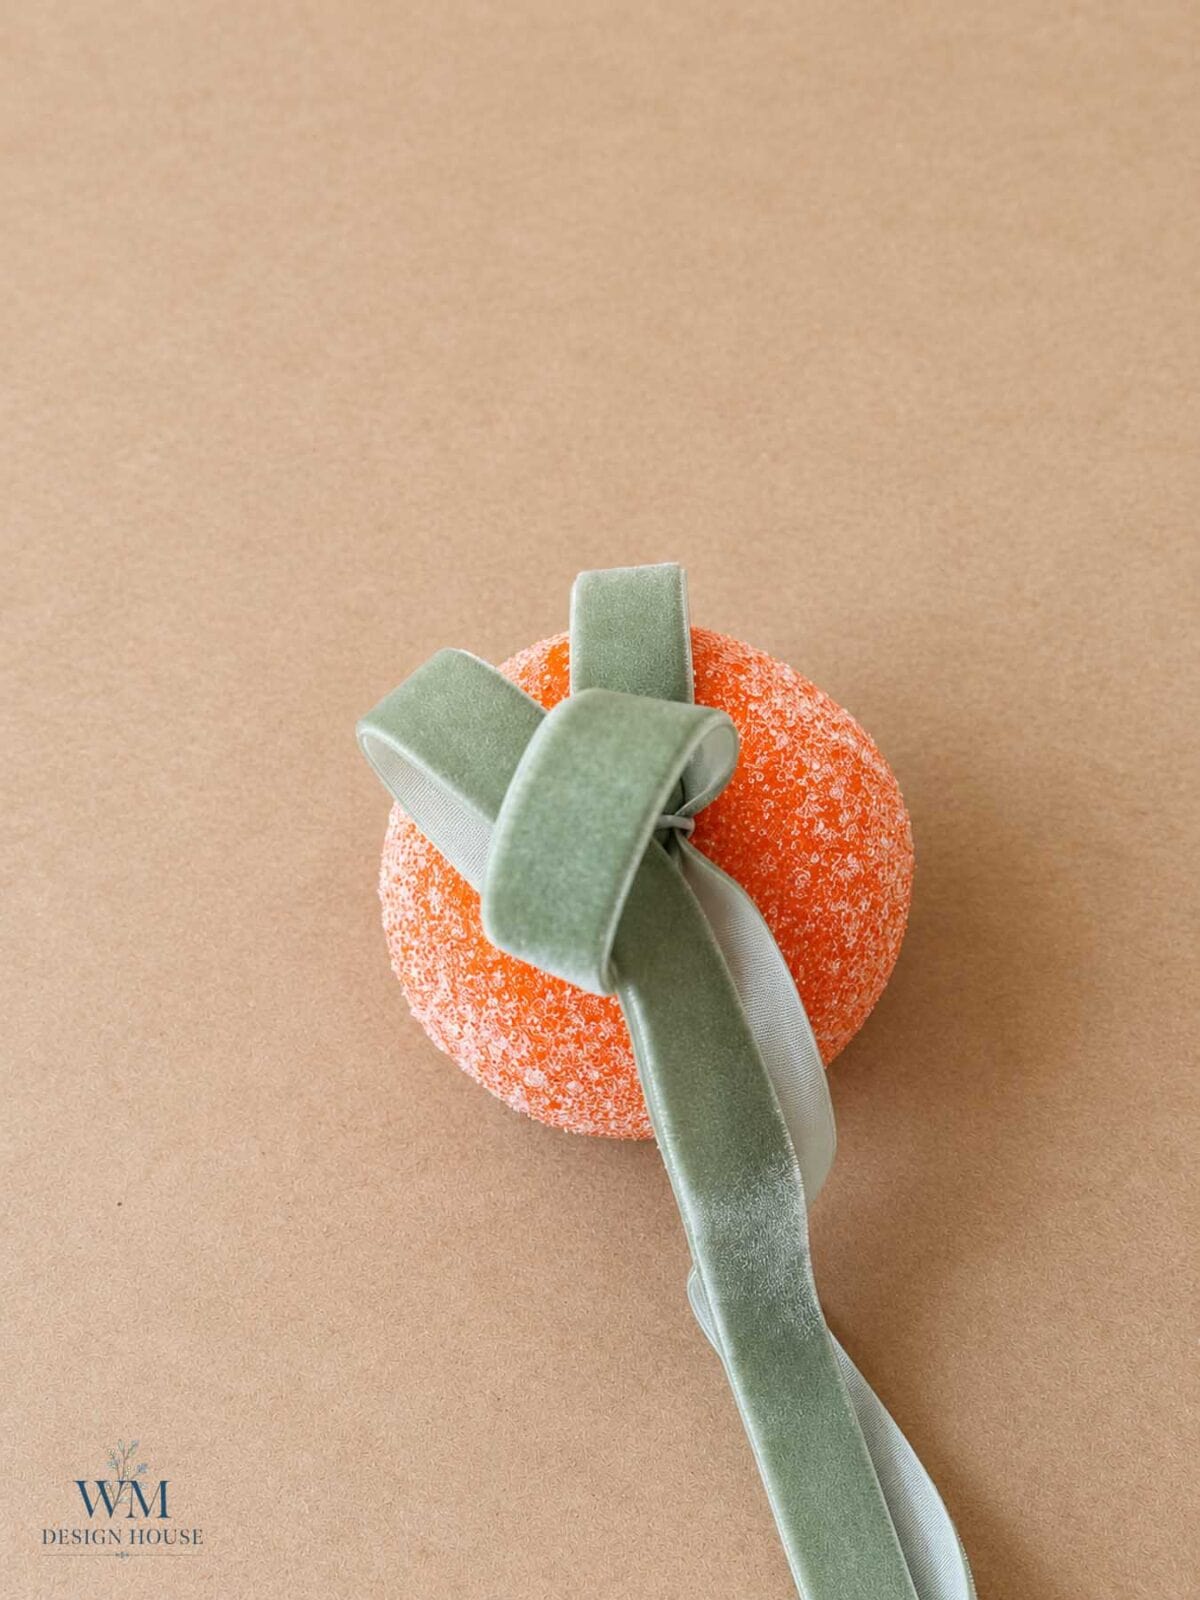
Make the first bow loop
Take one tail and form a loop about 2 to 3 inches long to the left of the center ring, leaving the rest of the tail hanging.
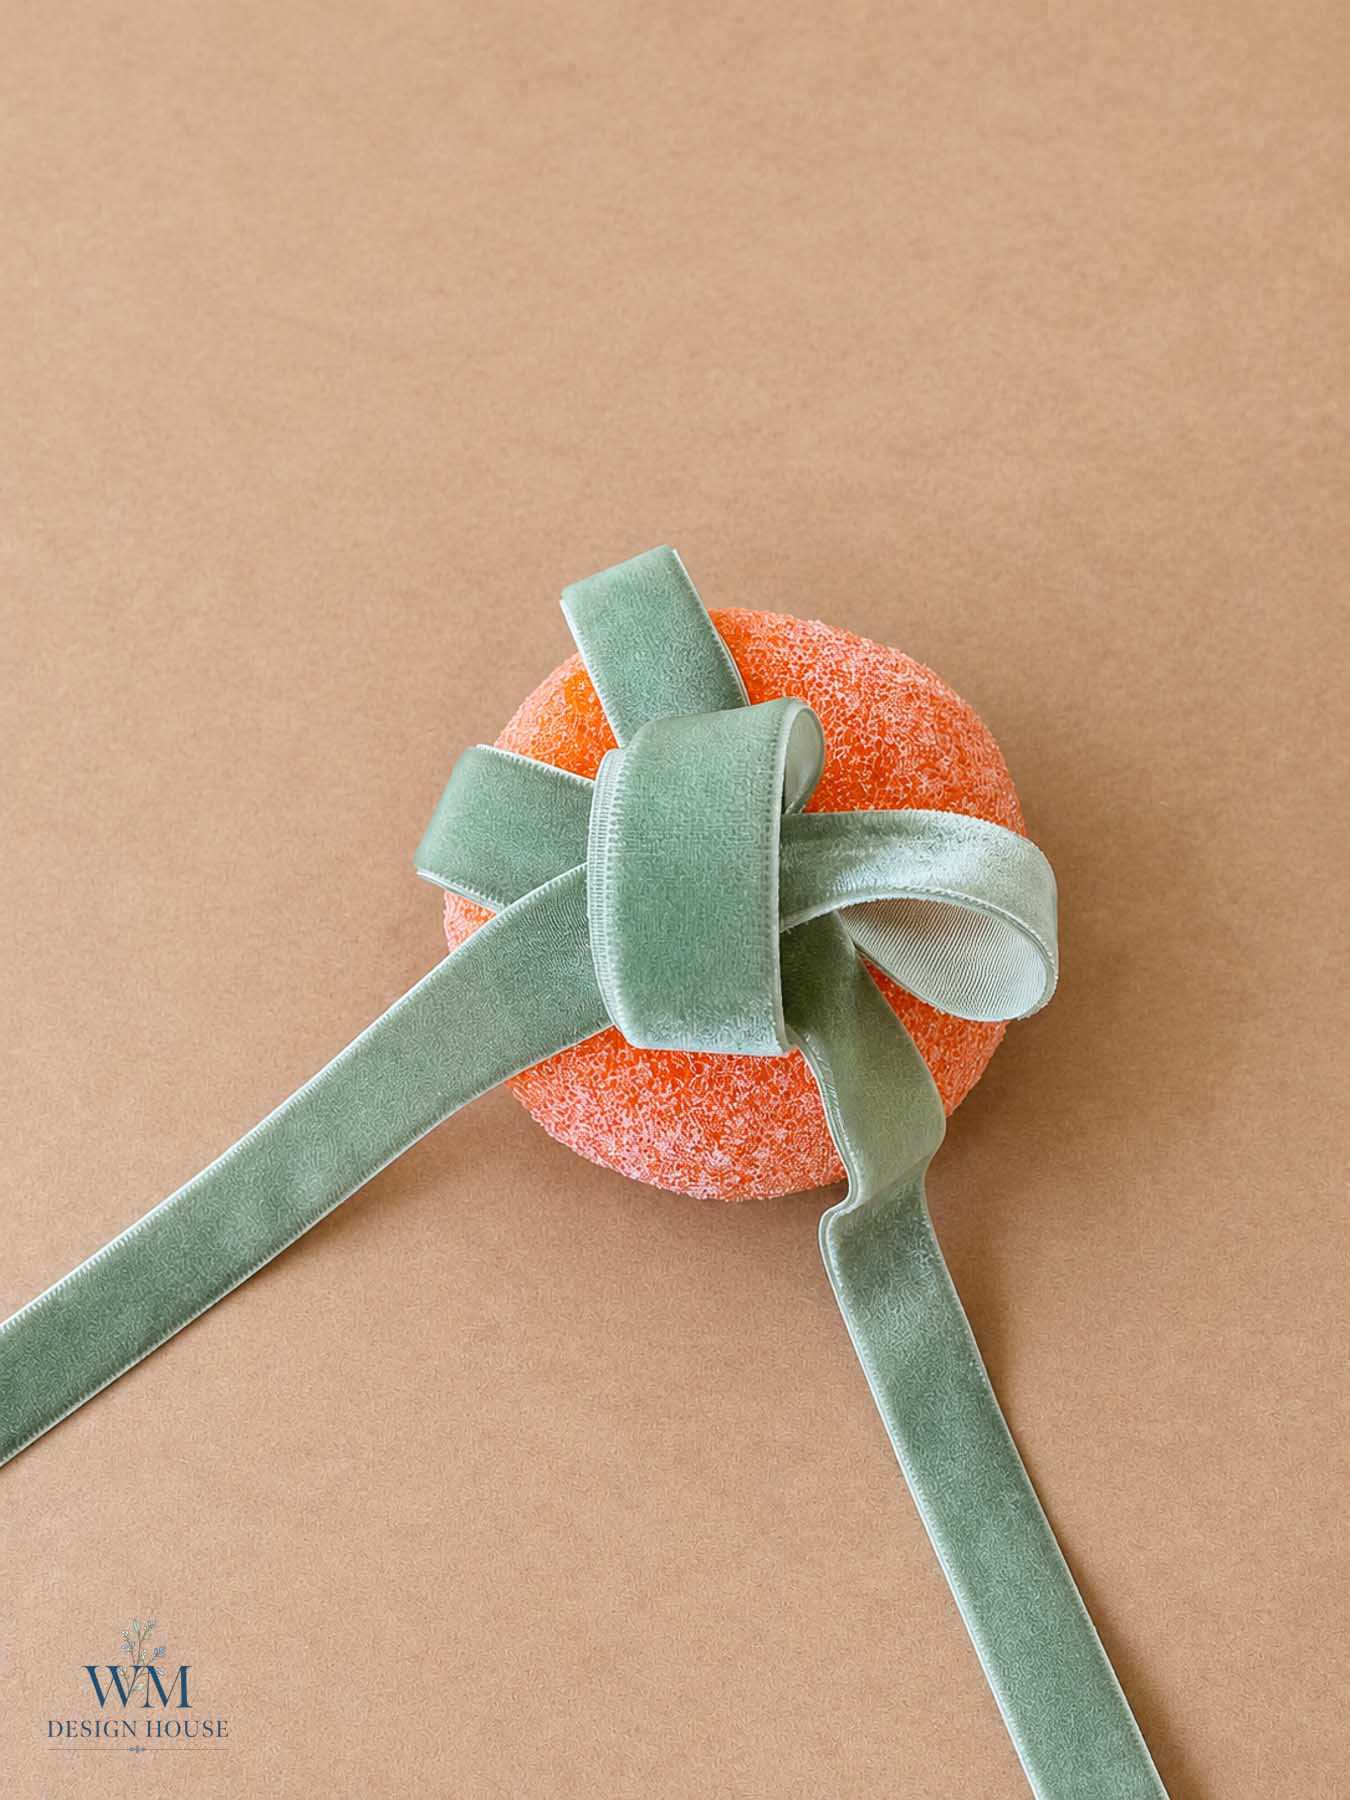
Make the second loop and tuck
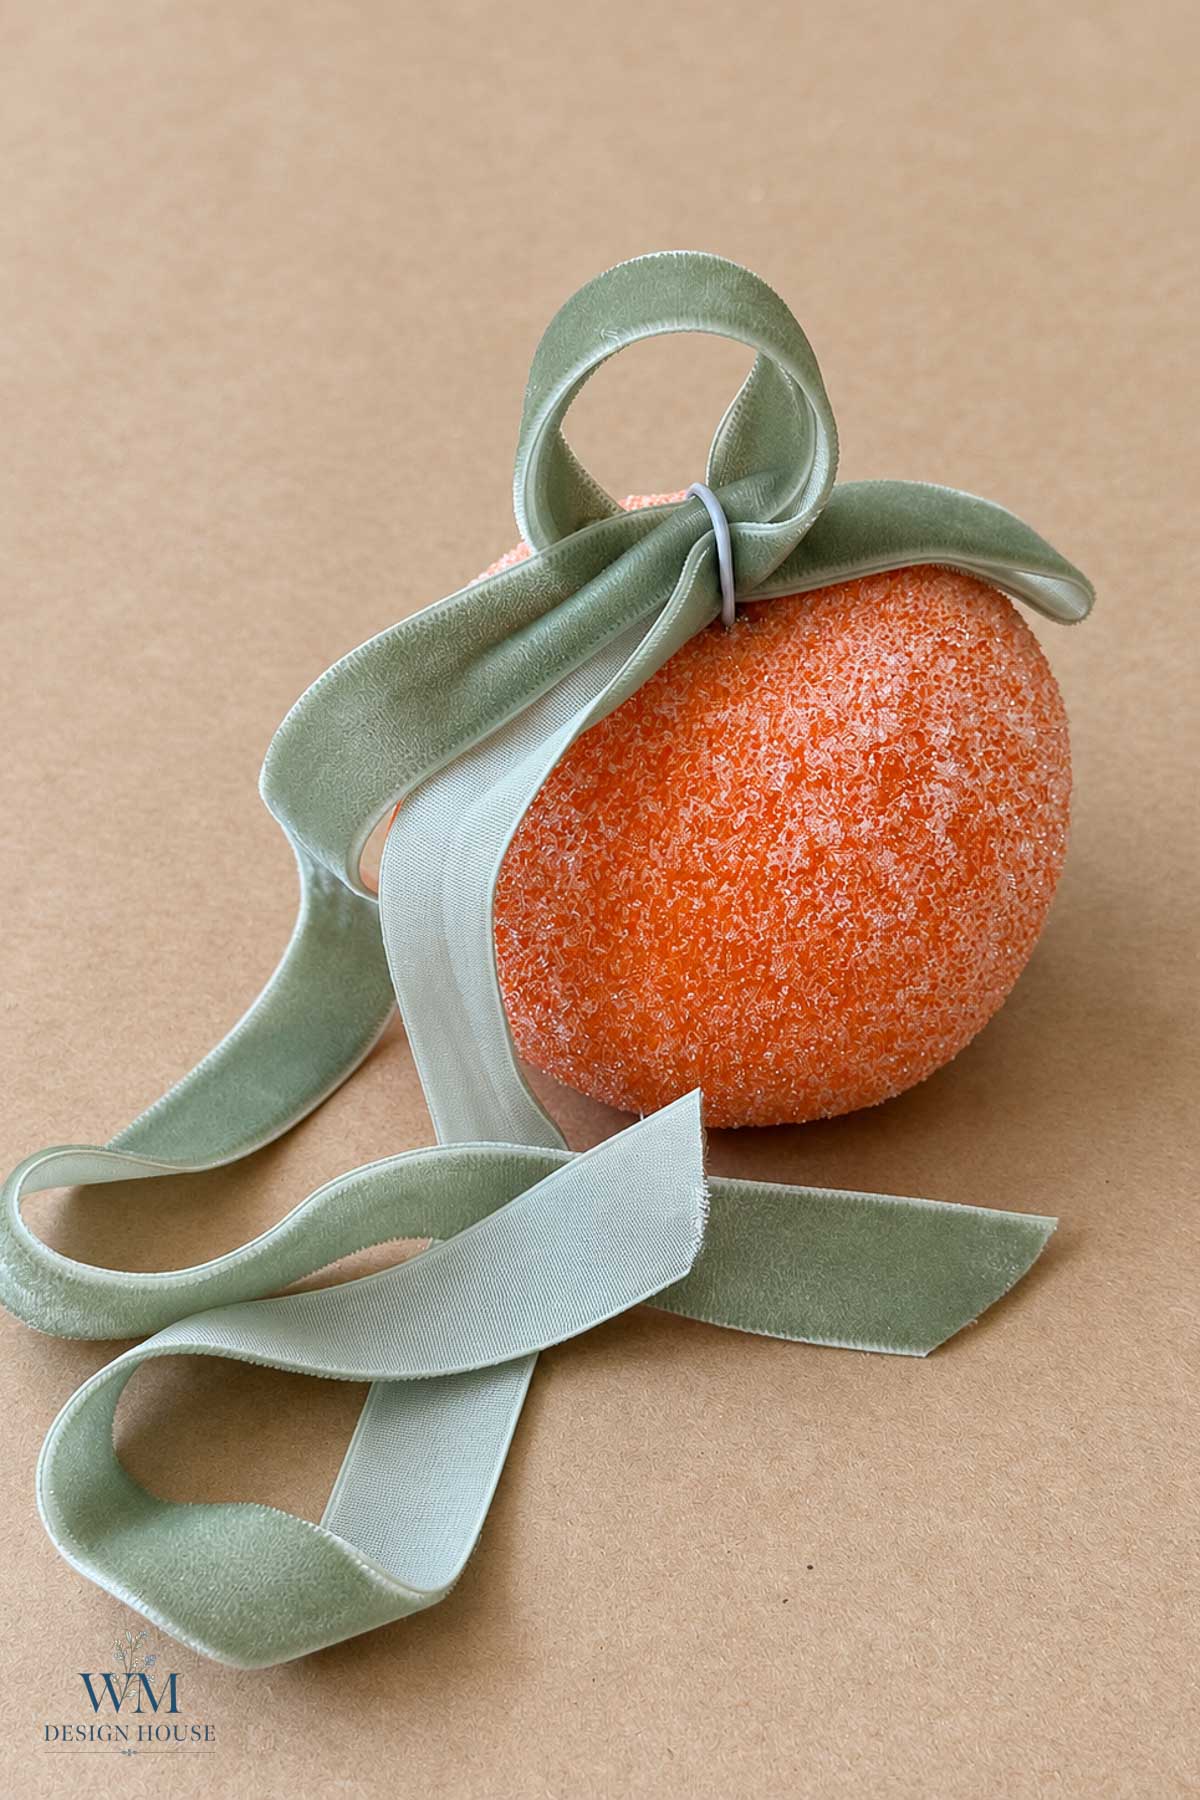
Take the other tail, form a matching loop on the right side, and feed its tail through the center. You now have a loose bow with a small loop standing up in the middle.
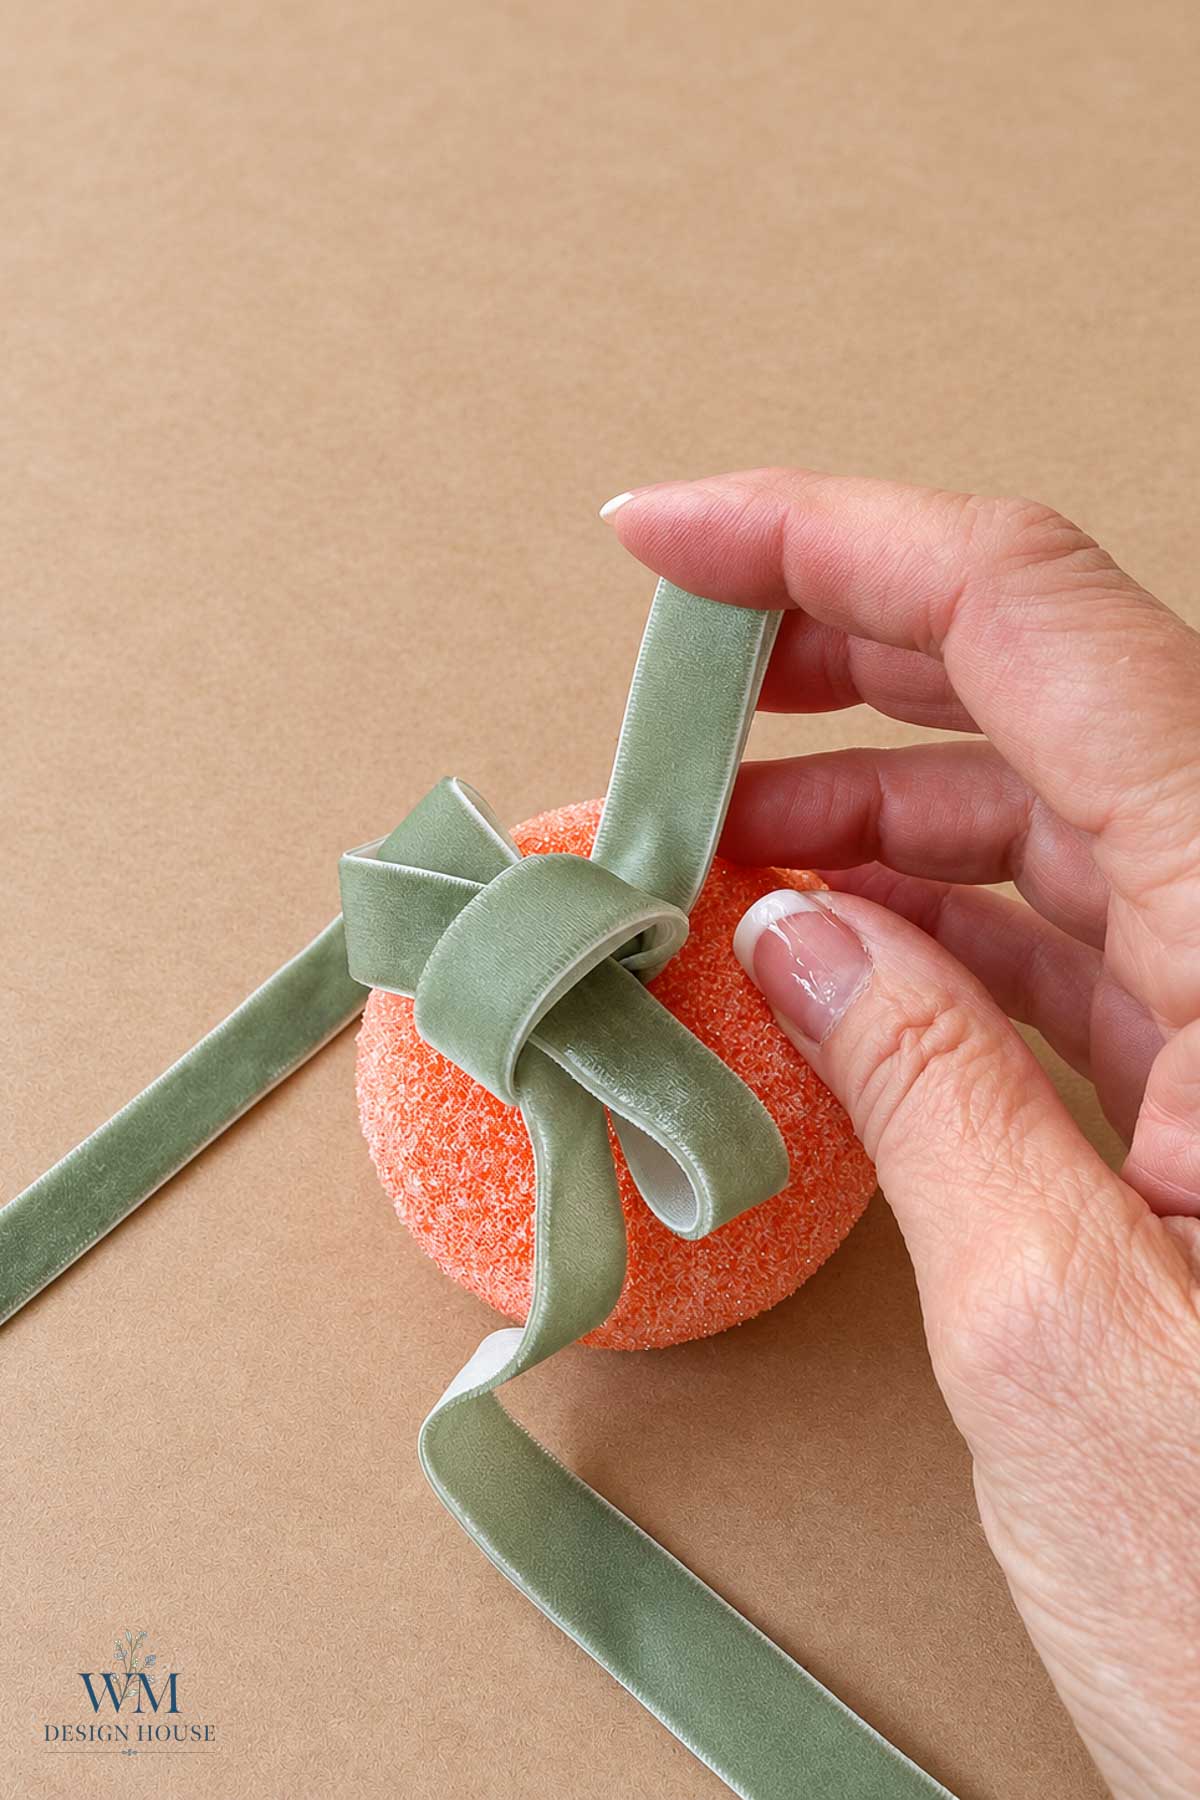
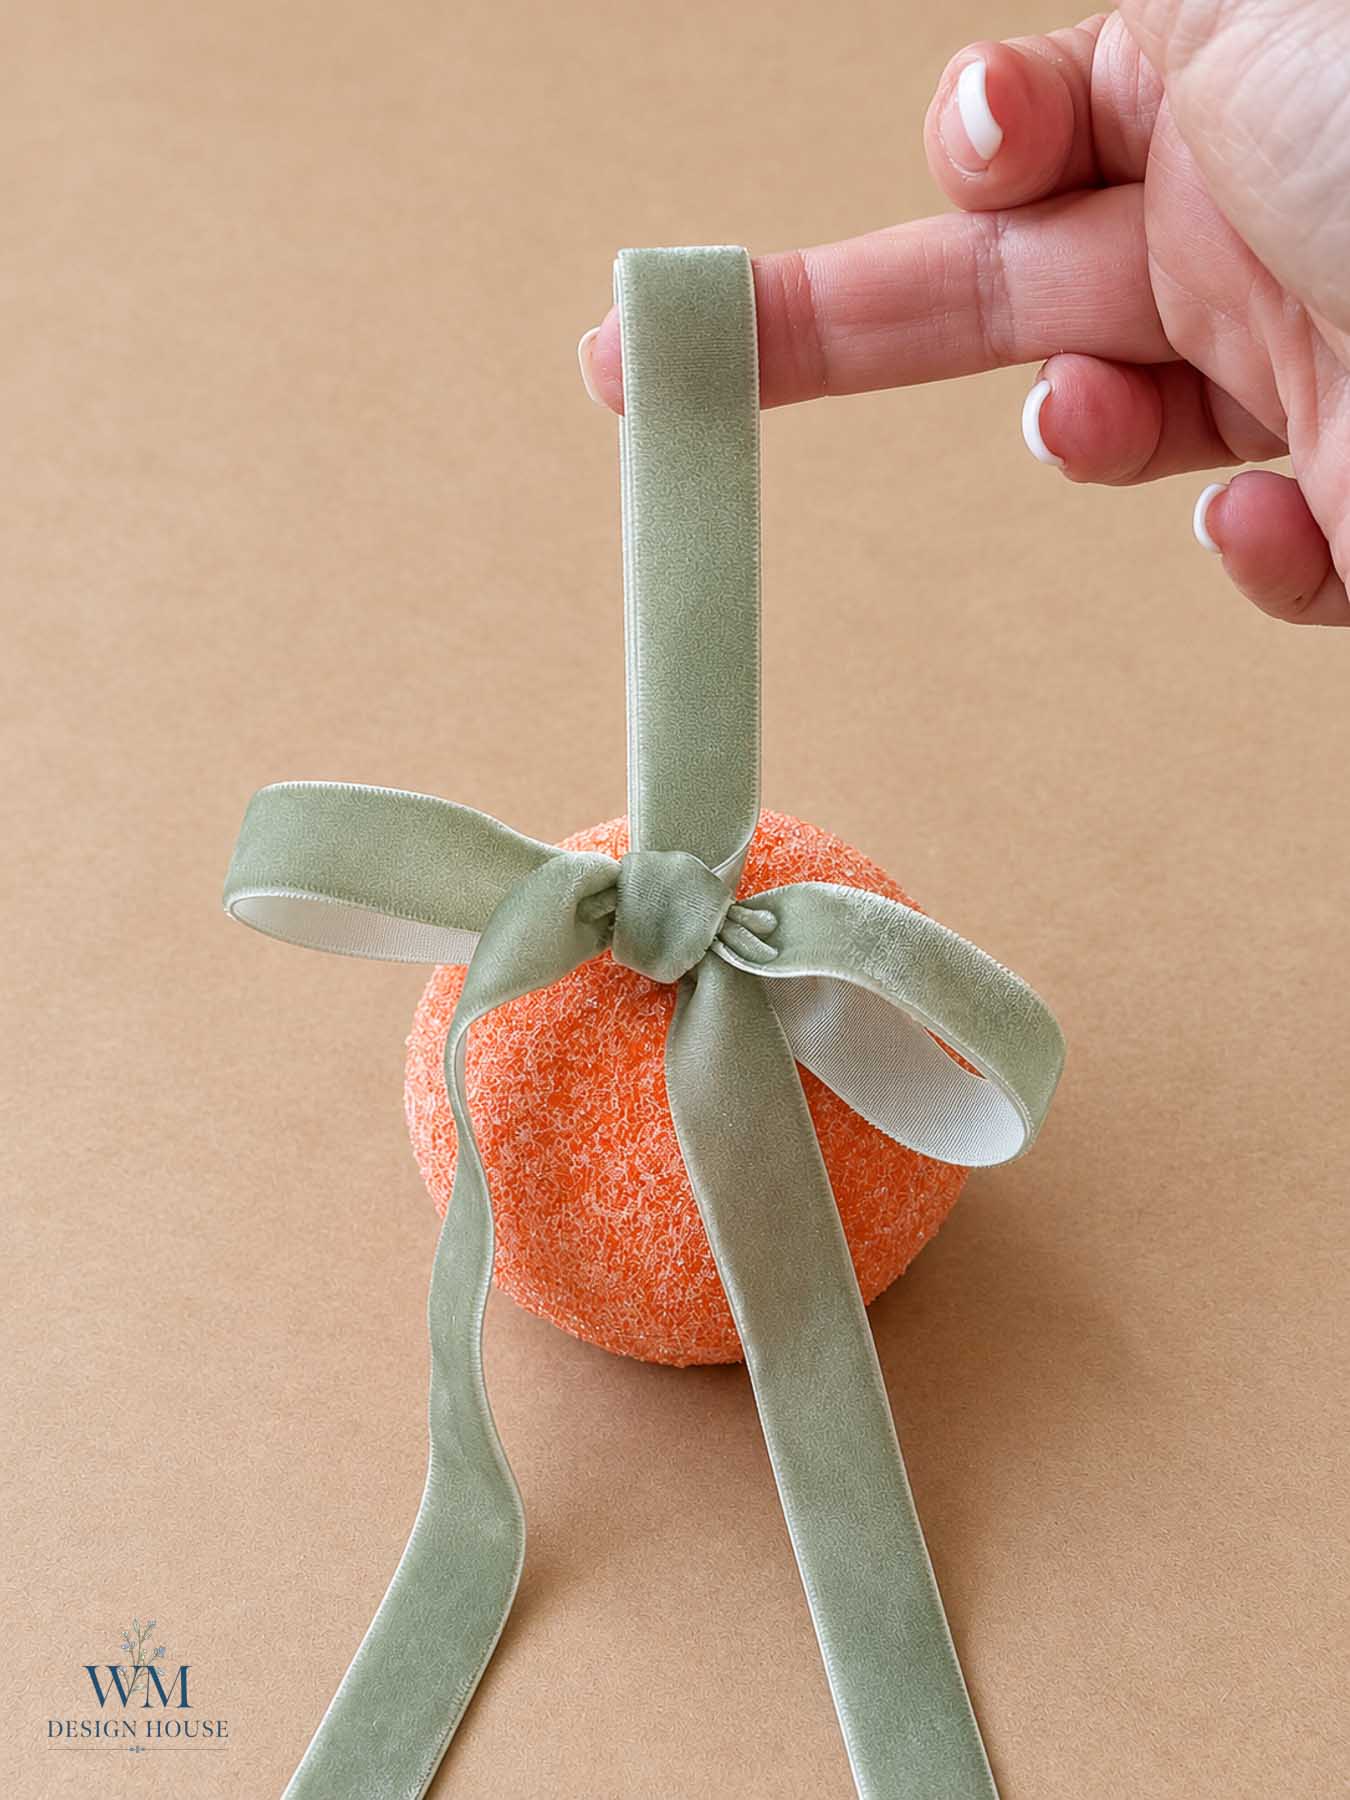
Pull the hanger tight
Now pull up on the loop you first pushed through the paper clip. That loop is what you will hang the ornament from, and pulling it tightens and cinches the bow closed in one motion. Fluff the loops, trim the tails on an angle, and hot glue a small velvet leaf behind the knot if you like.
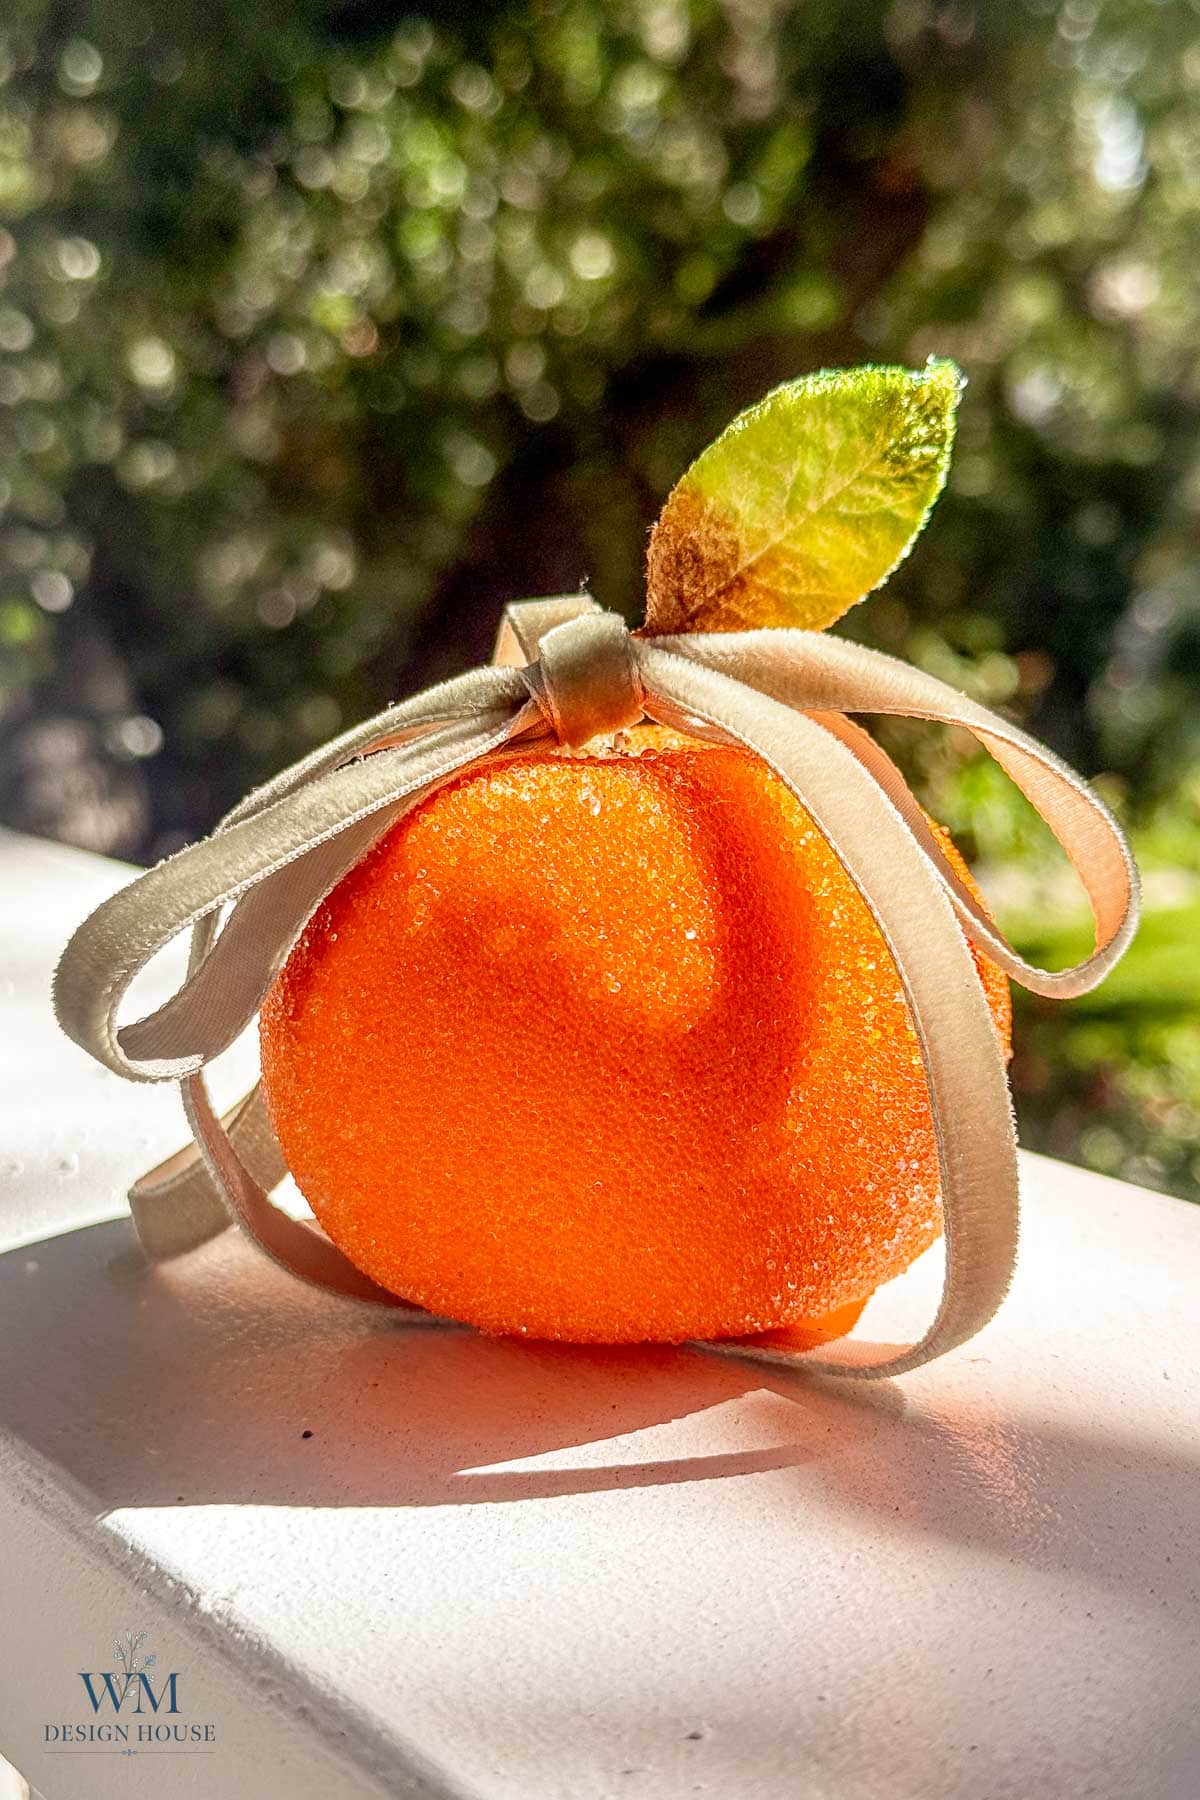
Method 1: Sanding Sugar (My Favorite)
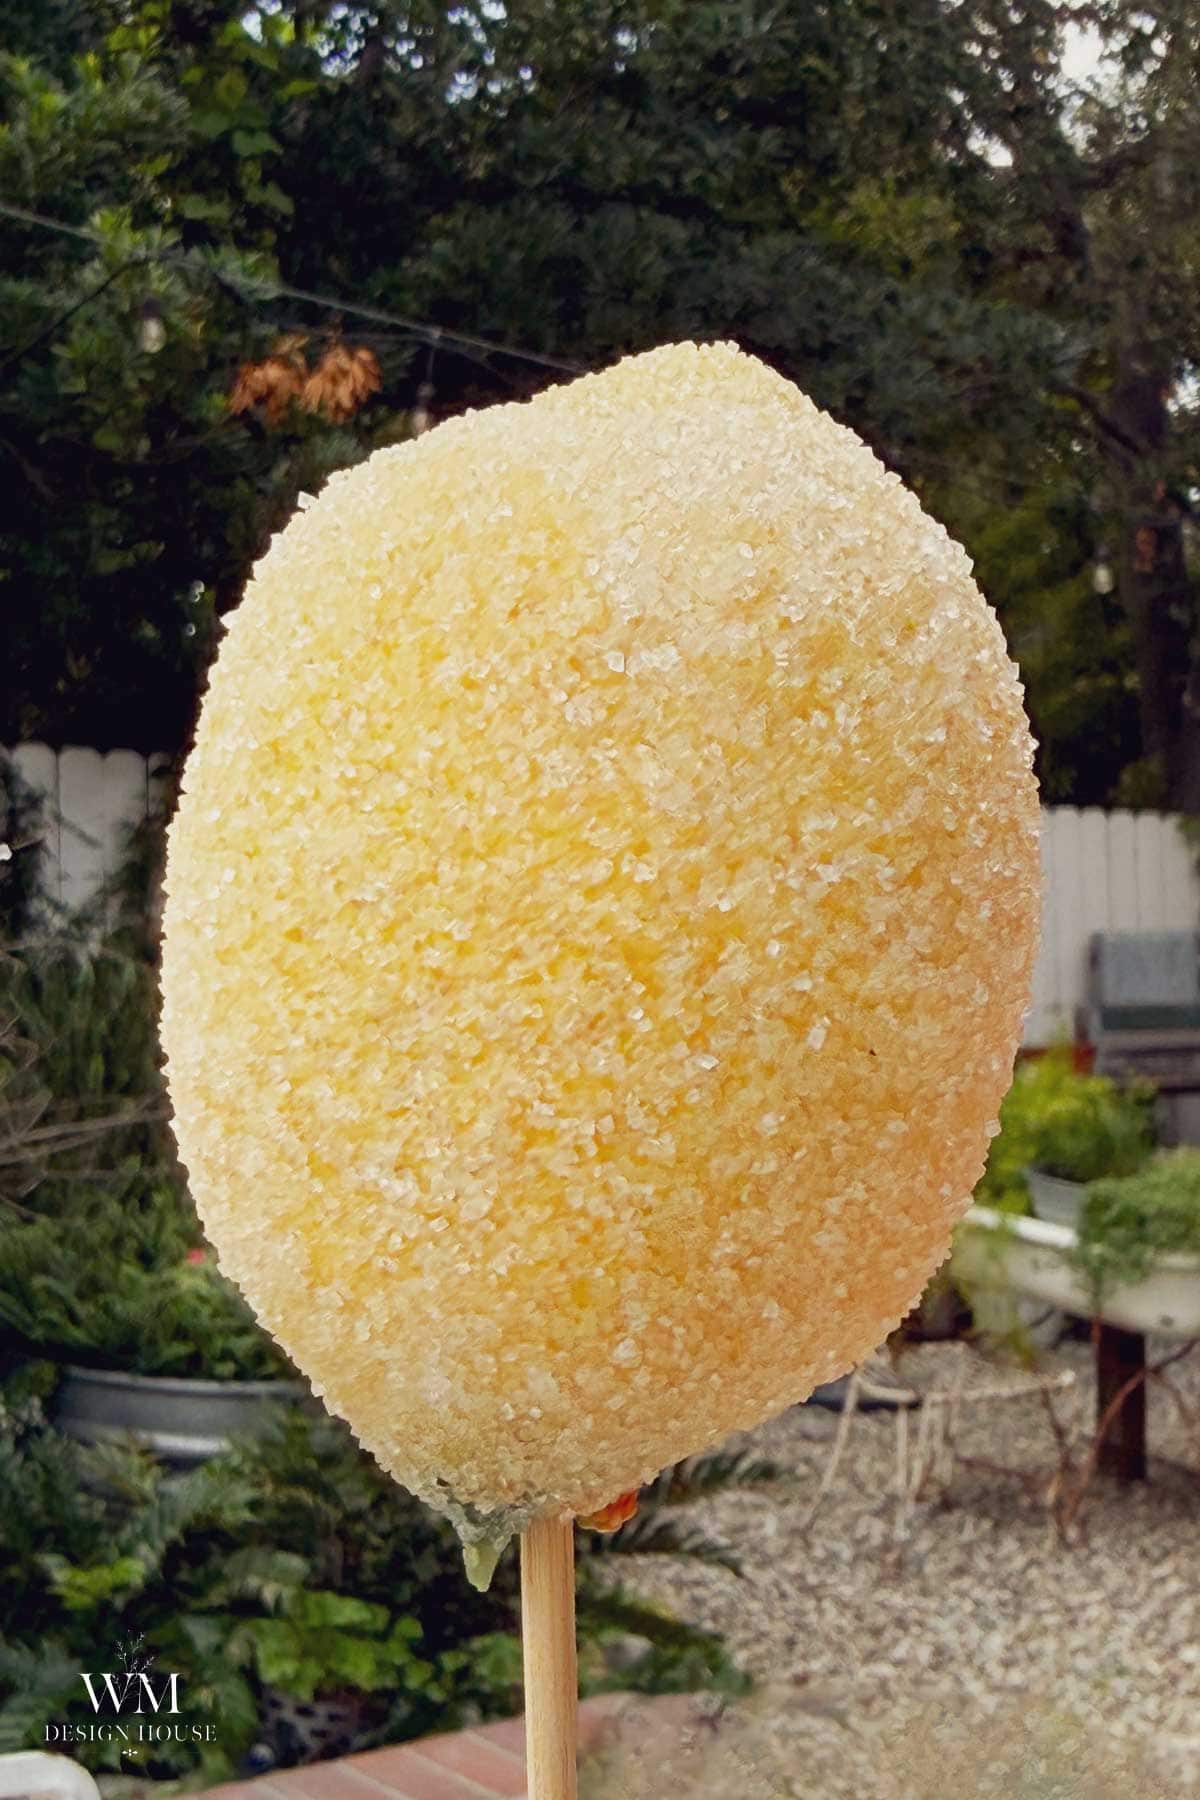
Sanding sugar is the coarse sugar you sprinkle on cookies, and it won. The grain is fine enough to look like real sugar on candied fruit, but coarse enough to catch the light, and it sits evenly over the whole fruit without clumping. Look closely and white sanding sugar has a faint beige fleck in it, which almost disappears on orange and pear tones and reads as warm rather than dingy.
Verdict: this is my favorite, and most of my ornaments are made with it.
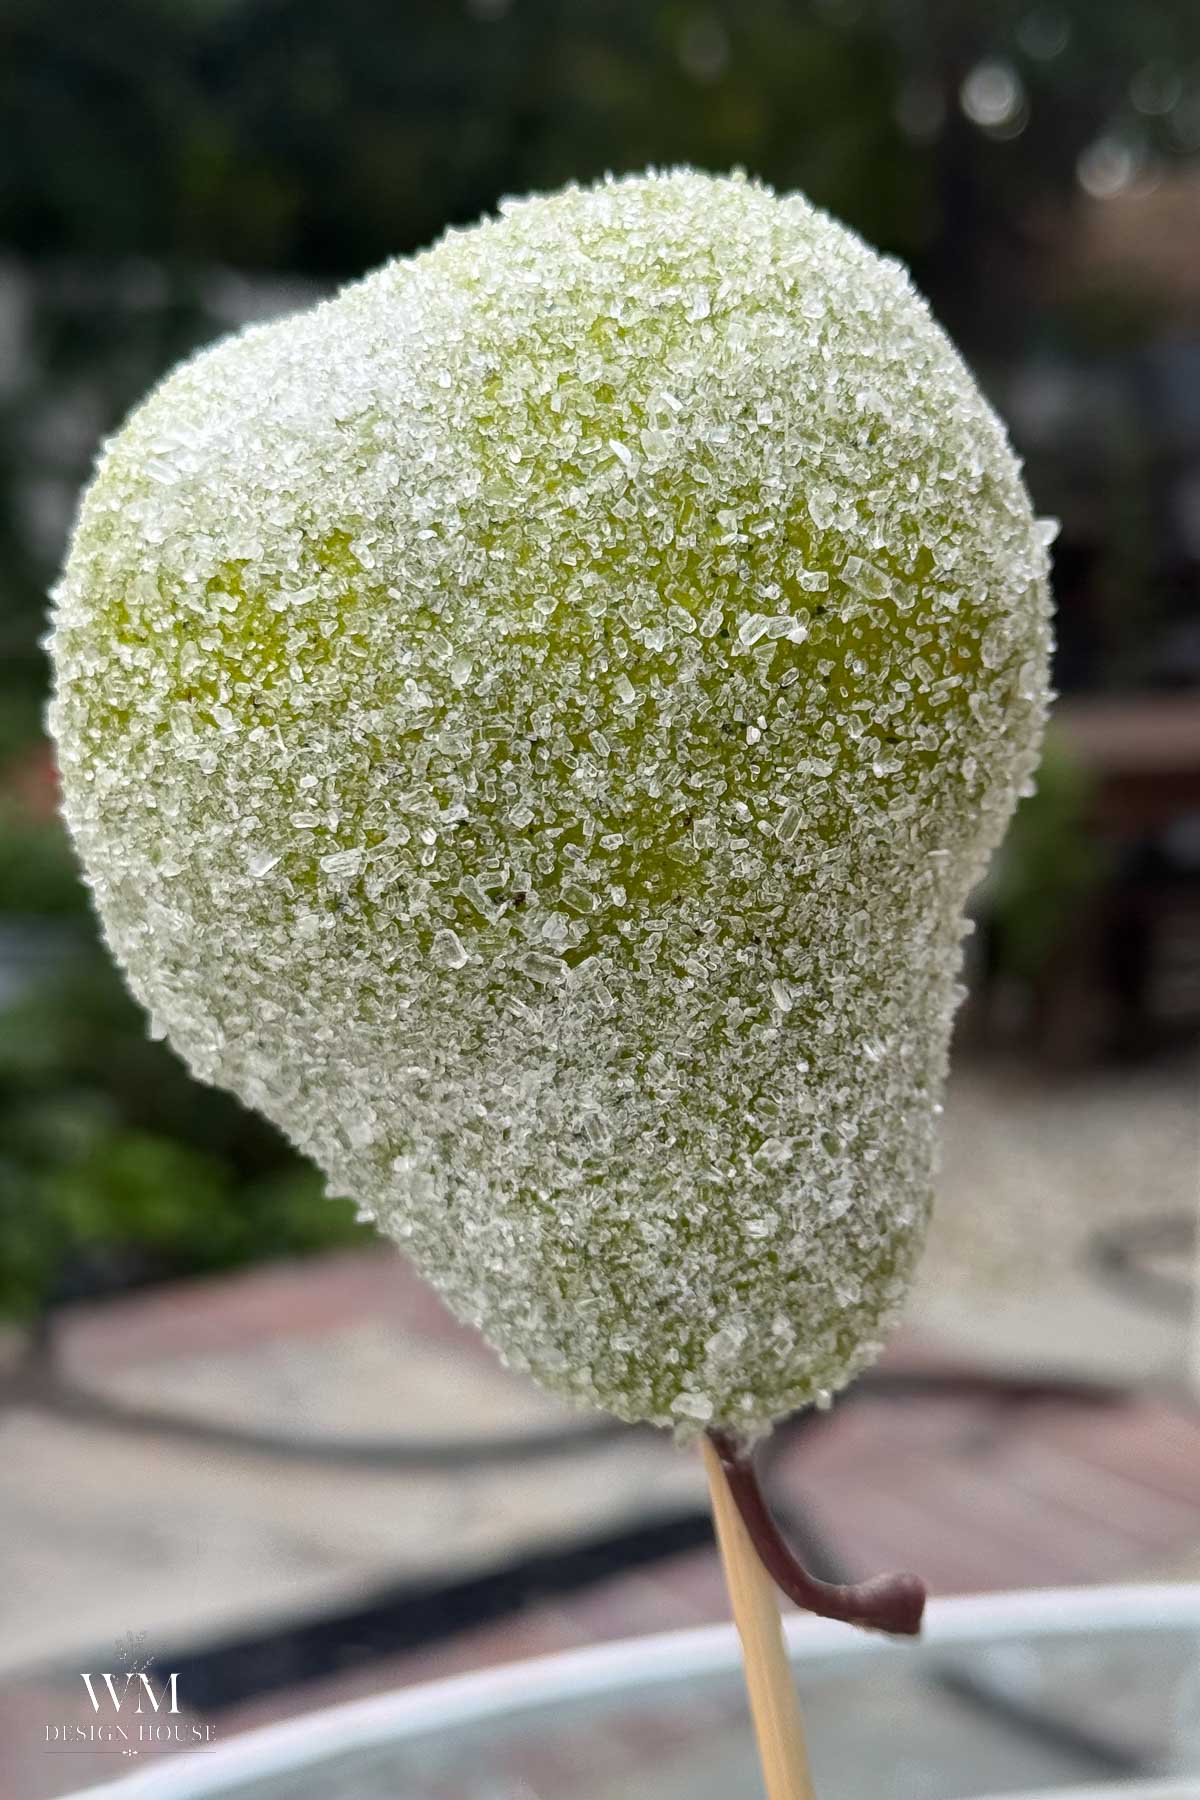
Method 2: Epsom Salt (The Budget Pick)
Epsom salt is the biggest, chunkiest crystal of the five and the cheapest by far, since a bag from the drugstore will do more fruit than you own. The finish is frosty, white and matte, more like a sugared gumdrop than a candied orange, and the large crystals stand up off the surface. It is a great look if you want heavy, snowy frosting, but it can tip over into looking like snow, so be sparing.
Verdict: a good choice, especially if you are coating a lot of fruit on a budget.
Method 3: German Deco Beads (Fabulous, and a Splurge)
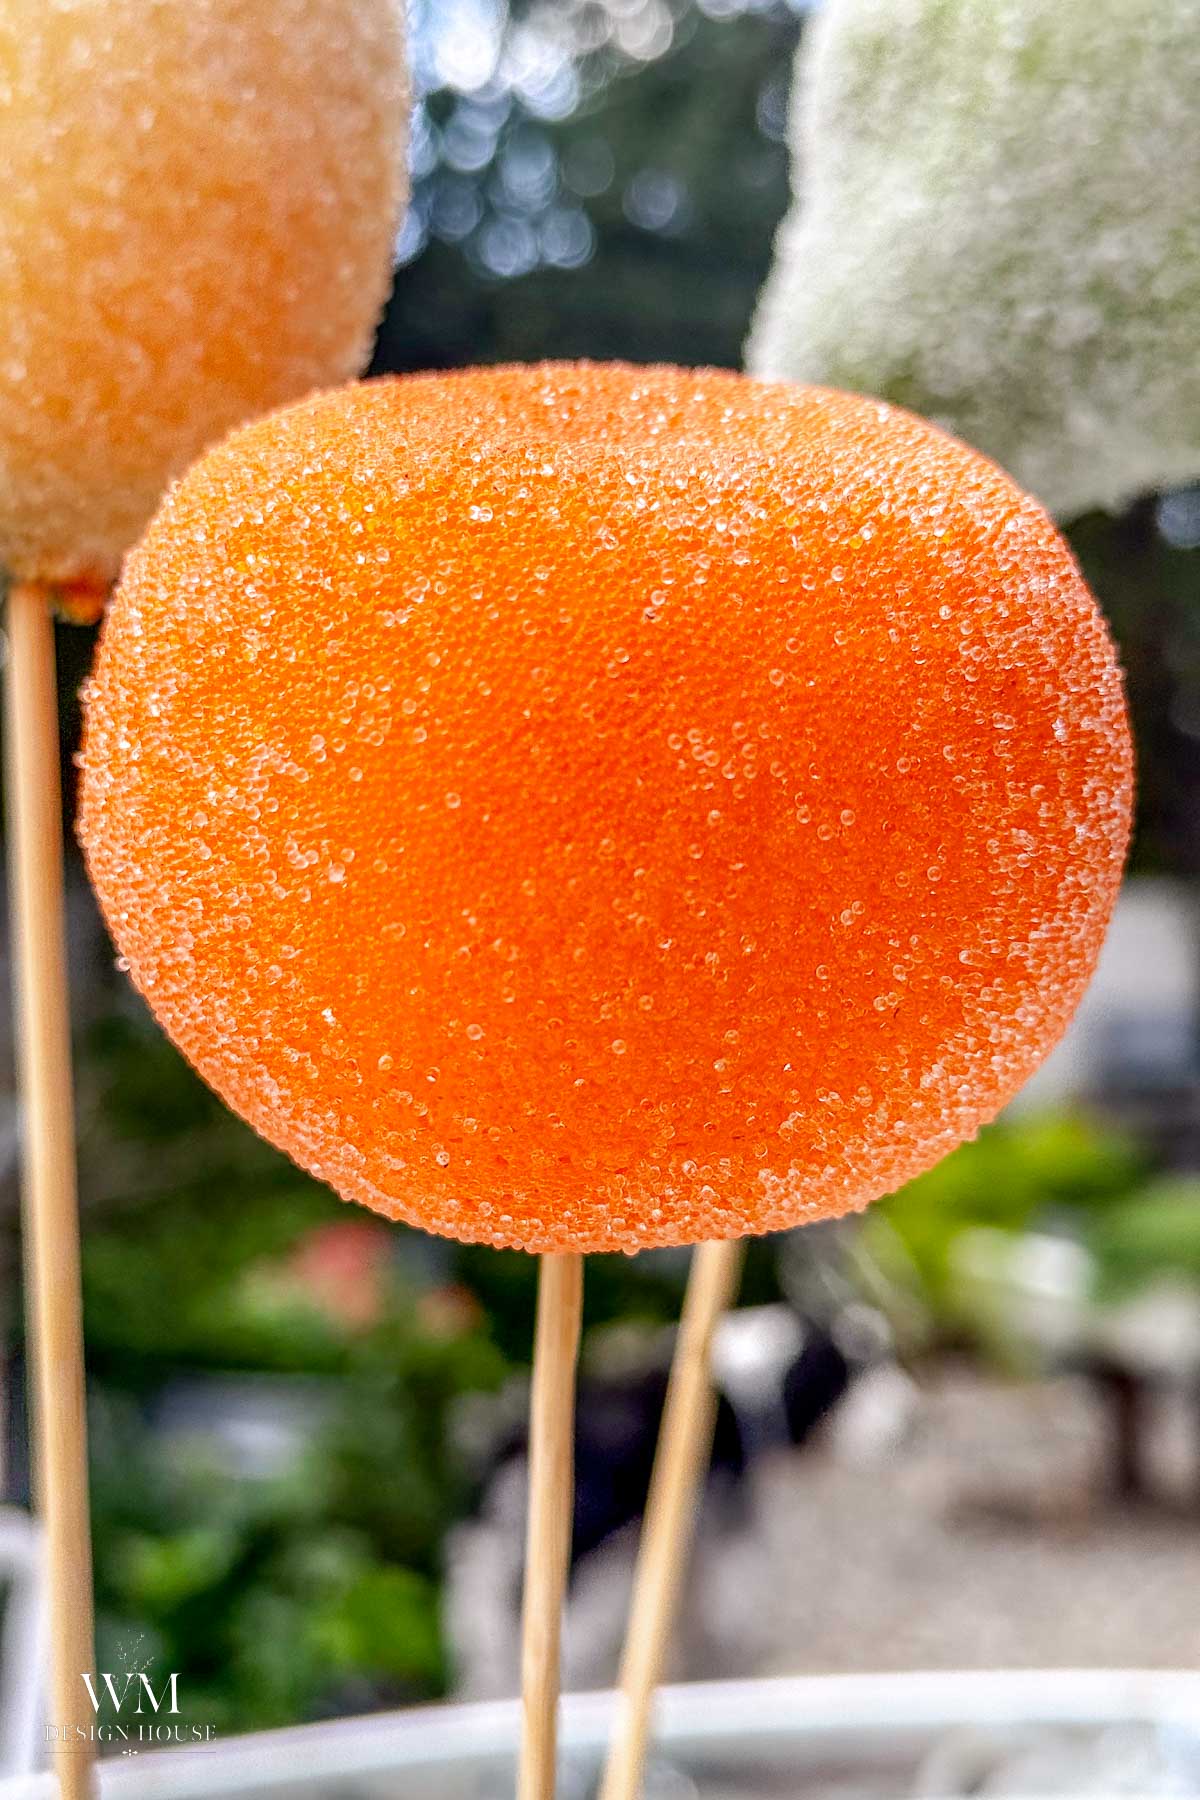
These are tiny clear glass beads, and they give the most polished finish of the five. The surface is smooth and glassy and catches light like ice, and because the beads are clear, more of the fruit’s own color shows through than with any of the sugars. The catch is cost. A 2.5 ounce jar was about $10 and covered roughly four pieces of fruit, so this is the method for a few statement pieces, not a whole tree.
Verdict: fabulous. Worth it for a handful of showpieces for the mantel or a bowl.
Method 4: German Glass Glitter
German glass glitter is real crushed glass, the kind used on vintage ornaments, and it is the sharpest sparkle of the five. The look is closer to frost on a window than to sugar on a candied pear, and it leans vintage rather than sweet. It is also expensive, but it goes further than the deco beads. One jar covers about 10 to 12 pieces of fruit, depending on their size.
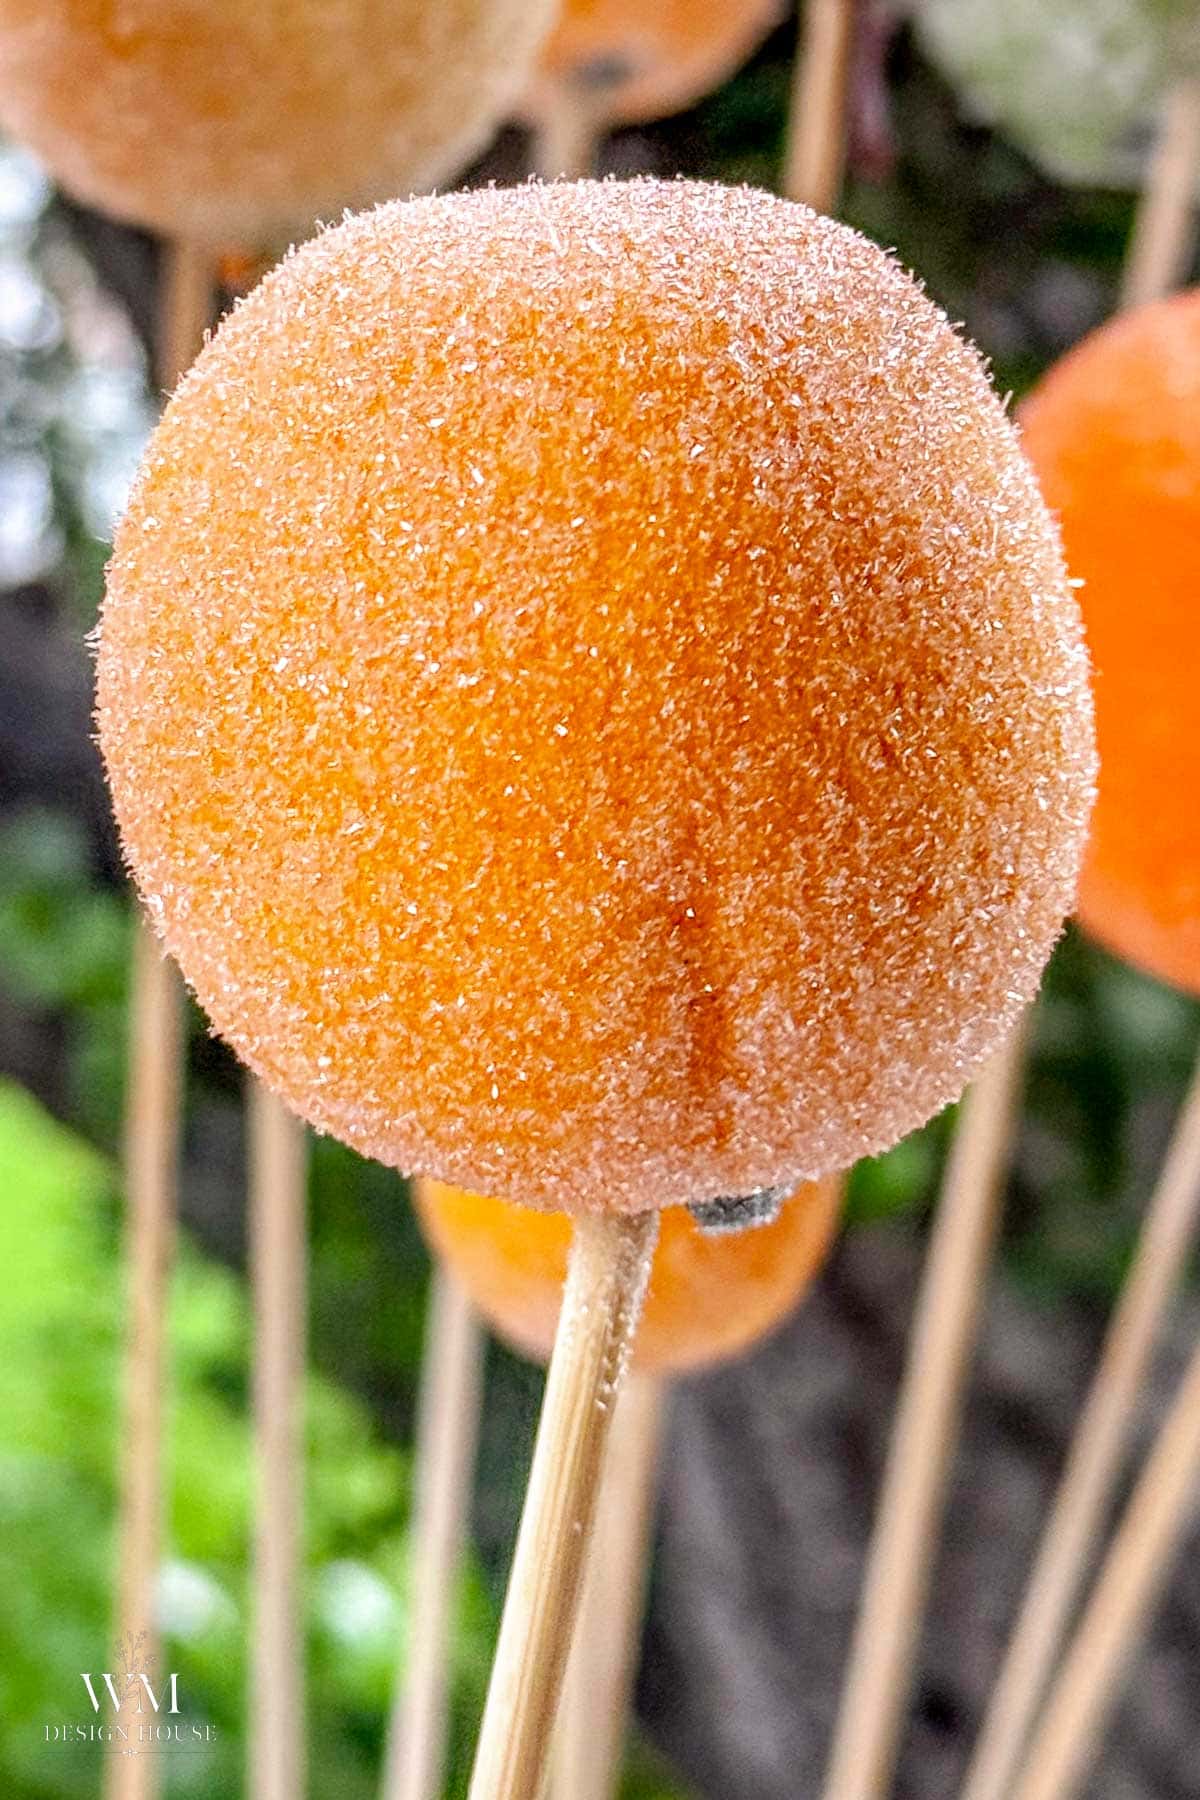
Verdict: beautiful if you love a vintage look, (and I do) and a better value than the deco beads. I will keep it for a few special pieces. I love the added sparkle.
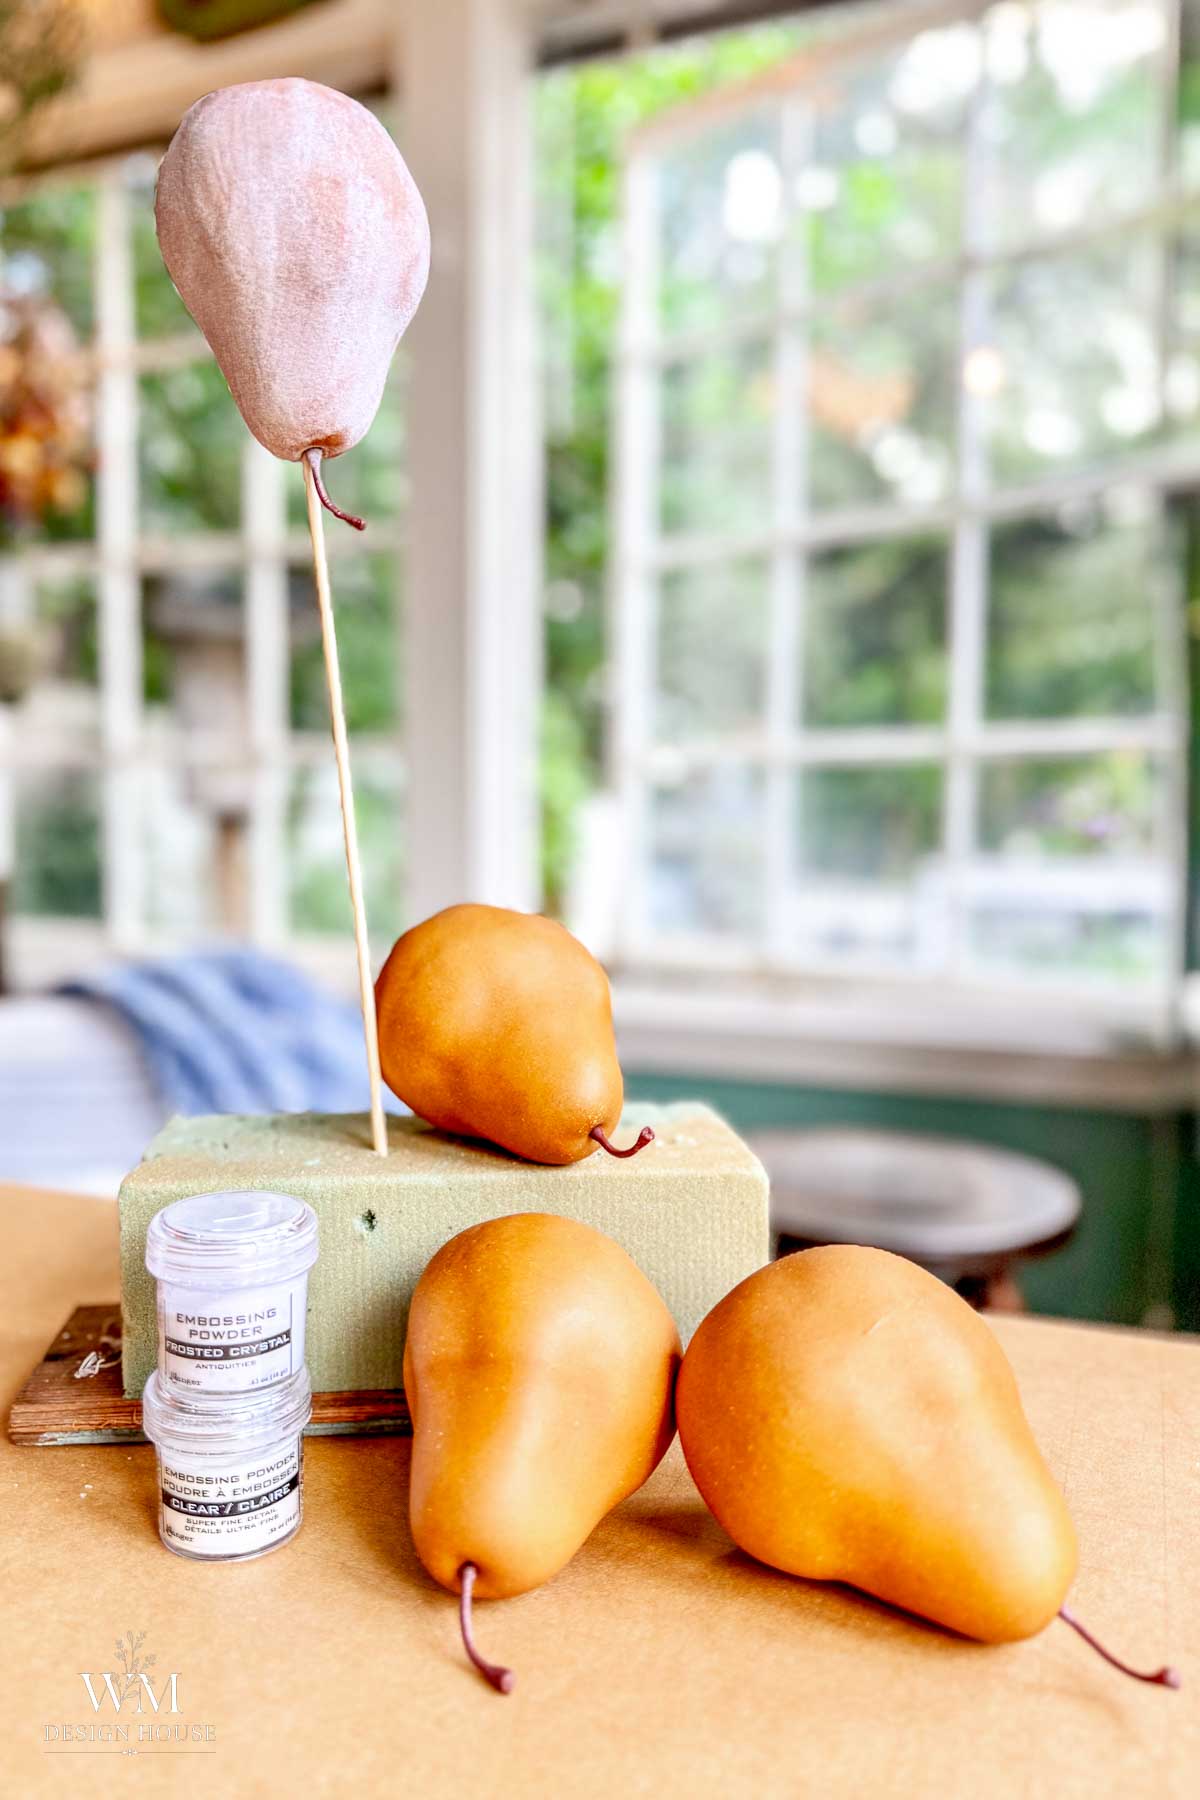
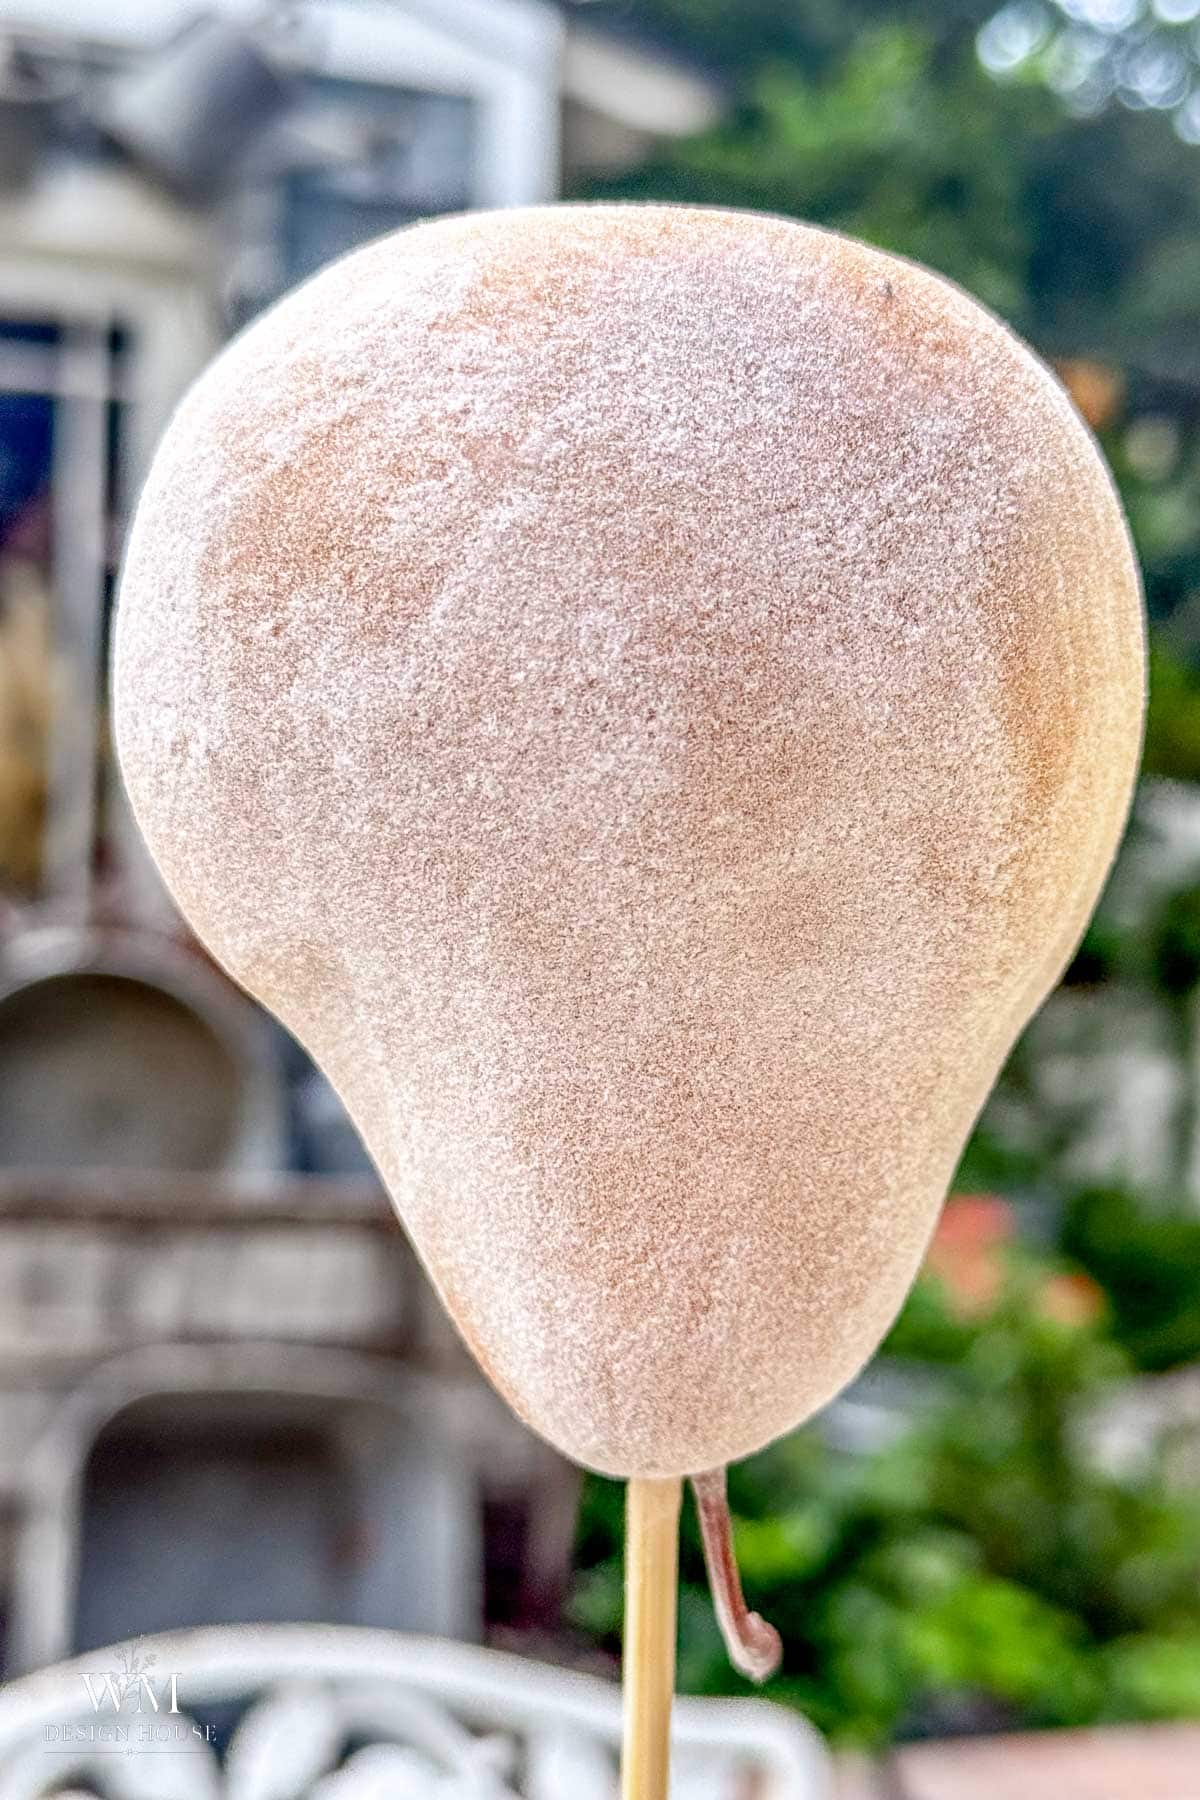
Method 5: Embossing Powder (The One That Failed)
Embossing powder is the method most tutorials recommend, so I expected this to be the winner. It was not what I expected. The powder is very fine, more like powdered sugar, and it dried dull. It looked exactly the same before and after it dried. This may work for some people, but it was not the look I was after.
I am leaving it in the post because if you search for sugared fruit you will see embossing powder recommended over and over, and I would rather you skip it and spend that money on sanding sugar.
Verdict: not using it. If you want a powdered sugar look, it does that. For frosted, candied fruit, pick any of the other four.
What to Expect: The Five Finishes Side by Side
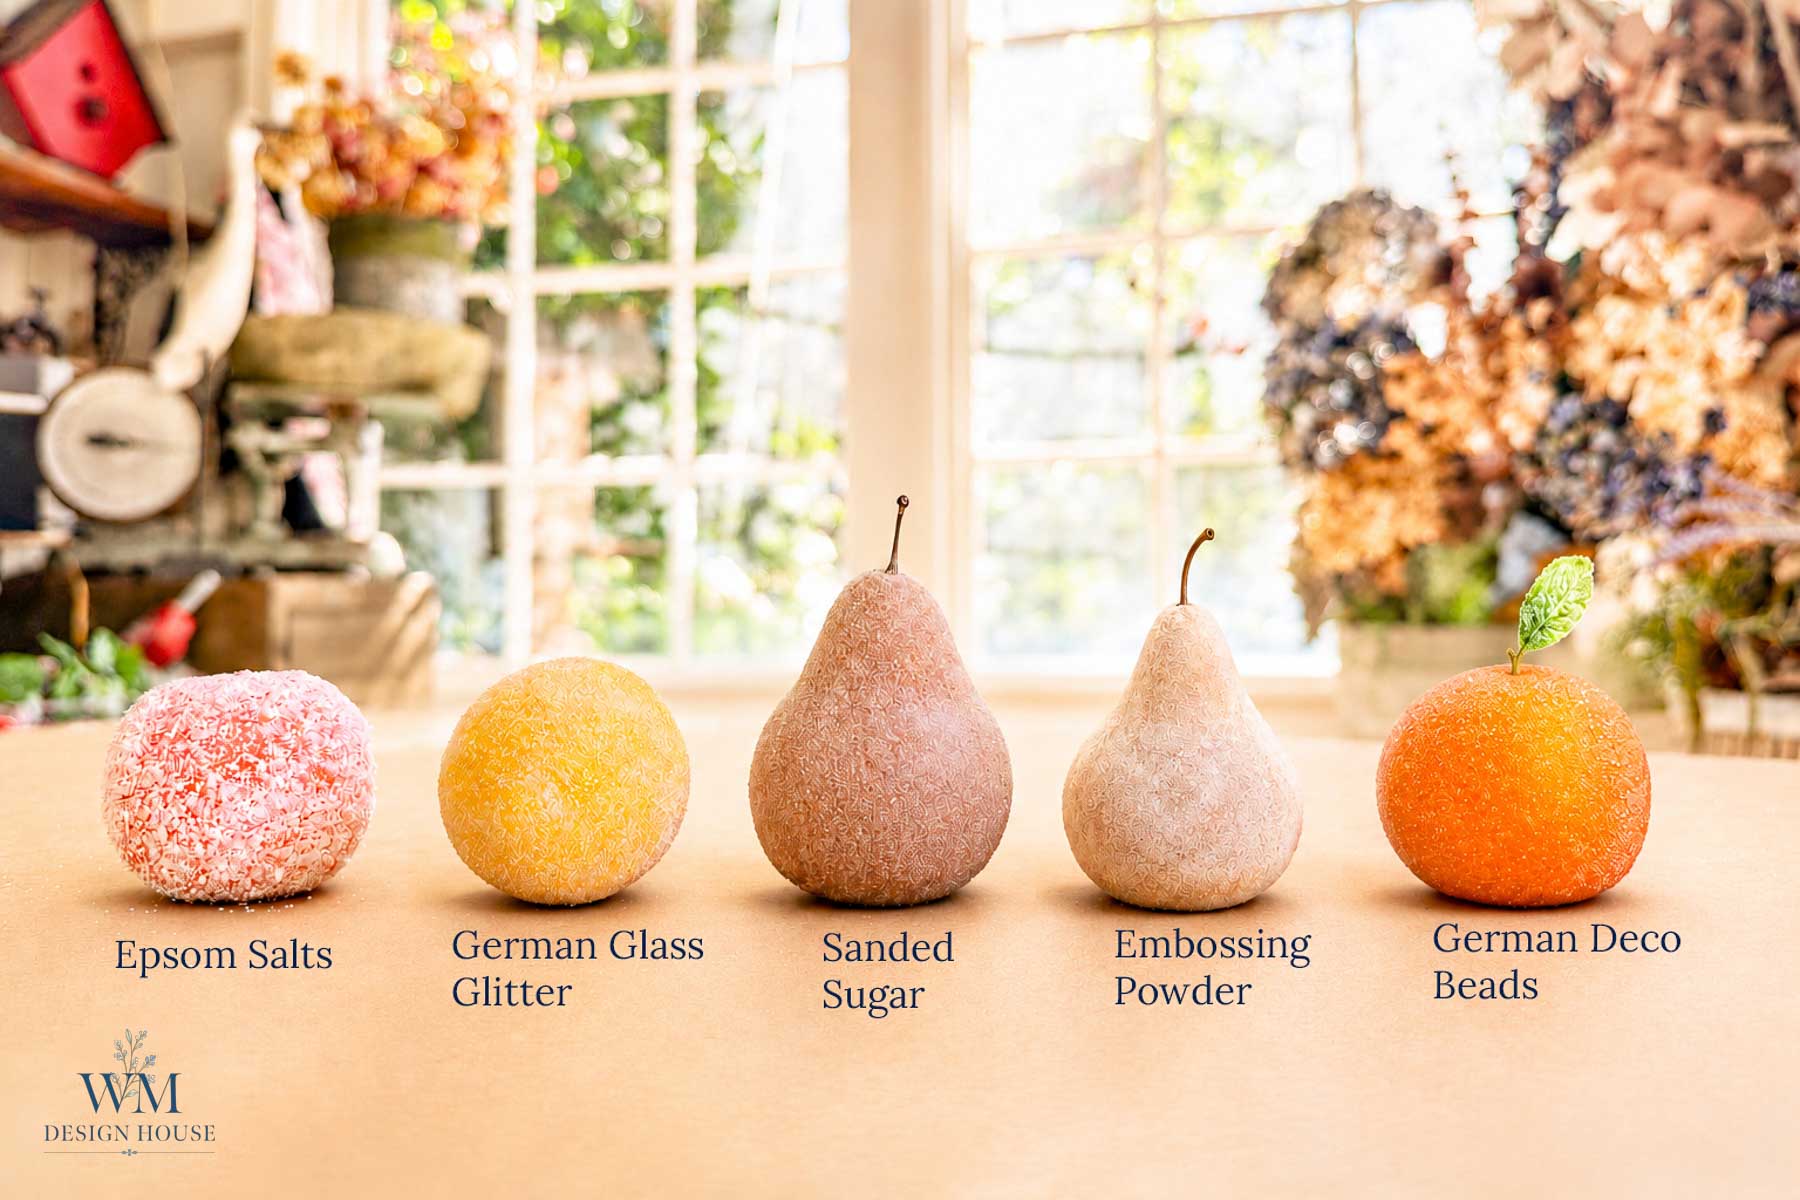
| Sanding Sugar | Epsom Salt | Deco Beads | Glass Glitter | Embossing Powder | |
|---|---|---|---|---|---|
| Finish | Fine, even, most like real sugar | Chunky, frosty, matte | Smooth, glassy, icy | Sharp vintage sparkle | Flat, like powdered sugar |
| Sparkle | Medium | Low | High | Highest | None |
| Cost per piece | Low | Lowest | About $2.50 | About $1 | $10 |
| Verdict | My favorite | Budget pick | A few showpieces | A few vintage pieces | Skip it |
Troubleshooting
The sugar is sliding off in patches
The glue set before the sugar went on. Work one piece at a time and sprinkle immediately. Bald spots can be fixed with a dab of Mod Podge and another sprinkle.
The finish looks thin or patchy
Let it dry, then give it a second coat of glue and a second sprinkle. Two thin layers look better than one heavy one.
The sugar is shedding
You skipped the clear spray, or it needs a second coat. Seal every piece once the glue is fully dry, and the shedding stops.
The hanging loop (paperclip) pulled out
Not enough hot glue, or the paper clip went into sugar instead of plastic. Pull it, clear the hole, add a fresh dab of glue, and push the clip halfway into the fruit.
How I Used My Sugared Fruit
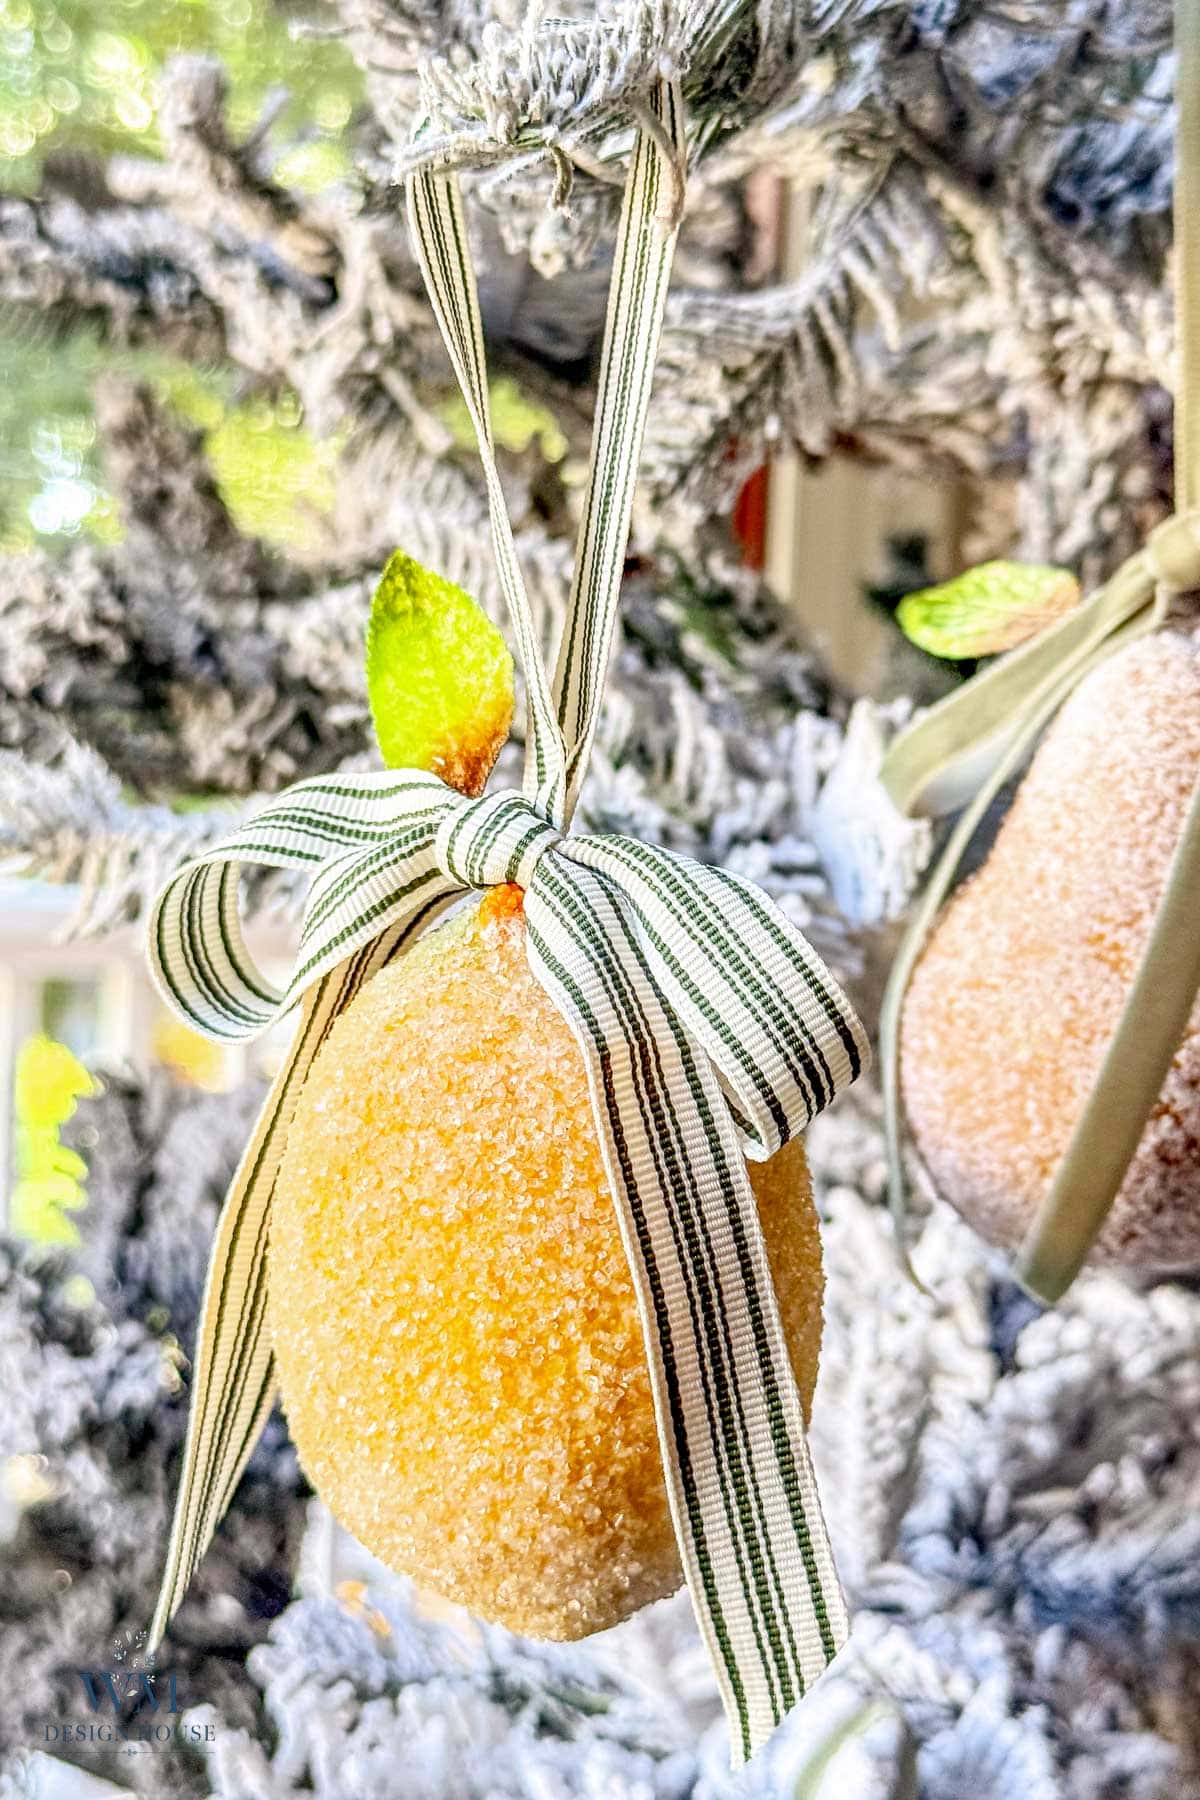
- On the flocked tree. Sugared pears on gingham ribbon, hung near the lights so the crystals catch the glow.
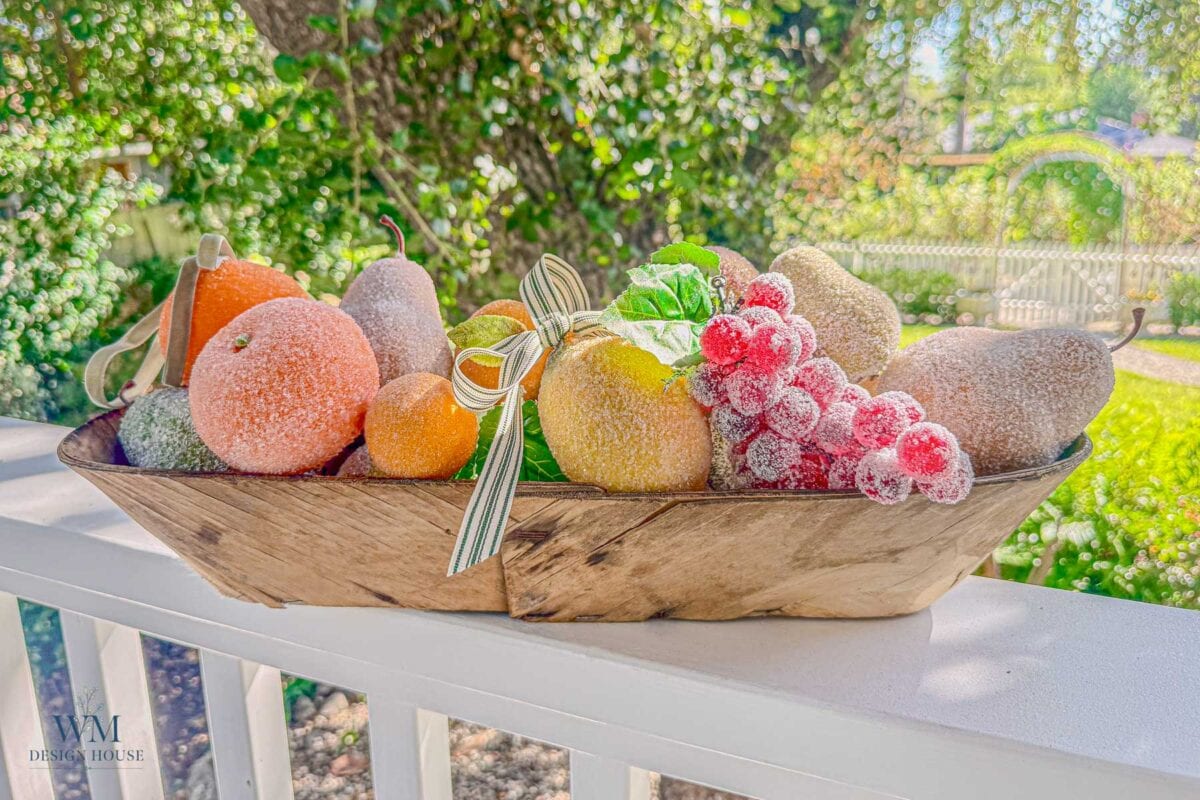
- In a trug on the porch. Piled in a wooden trug with a striped ribbon and a few faux leaves, the whole batch together.
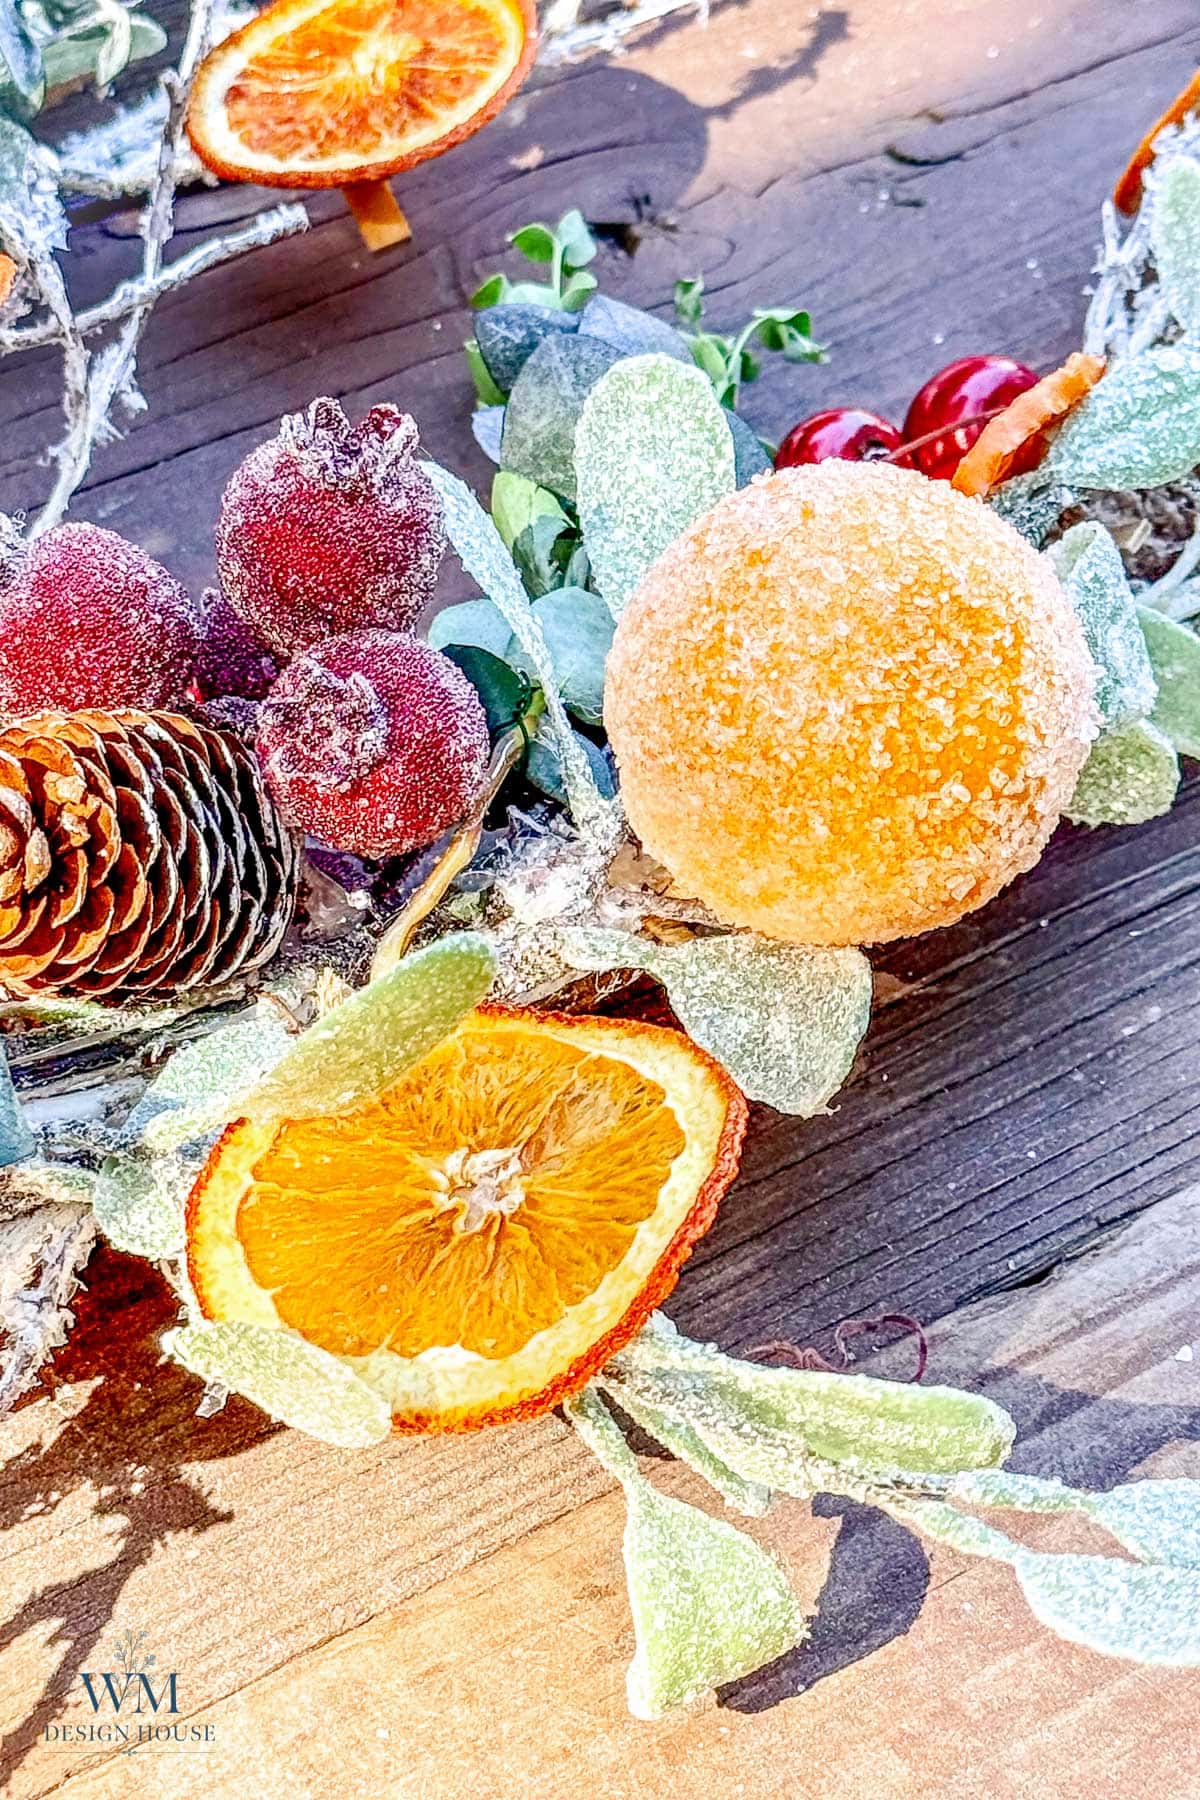
- In the garland. Wired into the mantel greenery, the same way I built my fall mantel garland.
- On the table. Beside pomegranates and dried oranges, like my rustic Christmas tablescape and pomegranate Christmas decor.
- As a place card. A sugared pear with a tag tied into the bow. More ideas in my Christmas place card holders post.
More Ways to Decorate with Fruit
If you love decorating with fruit from the kitchen and the garden, these posts use the same idea:
- 3 Ways to make dried orange slices.
- 13 ideas for dried orange ornaments.
- Pomegranate Christmas decor with a fresh, natural touch.
- How to dry persimmons for the holidays.
Give one of these a try before the tree goes up. A bag of plastic fruit, a can of spray glue, and a bag of sanding sugar is all it takes.
Frequently Asked Questions
Not with glue. Fresh fruit is coated with egg white or gelatin and granulated sugar and lasts about a week. The plastic versions in this post last for years.
Yes. Brush on Mod Podge and recoat with sanding sugar or Epsom salt. It fills thin spots and the new coat blends with whatever is left of the old one.
Yes, and foam grips both glues even more easily. Be gentle pushing in the skewer and the paper clip, since foam can crumble at the hole, and use a little extra hot glue on the loop.
Sanding sugar is sold in colors already, so buy the shade you want. Epsom salt takes color from a drop or two of food coloring mixed into Mod Podge first, which gives a soft blush or pale gold. Deco beads and glass glitter also come in colors.
Wrap each piece loosely in tissue and store in a lidded box, not a plastic bag, so moisture cannot build up against the coating. Sealed pieces keep for years.
Wrapping Up
Five sugars, two glues, one afternoon, and I ended up with a trug full of sugared fruit ornaments for less than the price of a single boutique pear. Sanding sugar is where I would start if you are only going to try one. If you make a batch, leave a comment and tell me which sugar you used, and if you figure out a way to make embossing powder work, I would honestly love to hear it.

Shop the Post


More about me!

Hello, I’m Wendy – a dedicated homemaker with a deep passion for decorating, gardening, cooking, and crafting. I find joy in harmonizing beautiful elements to fashion a space that is both comfortable and inspiring. I will help you create a beautiful home, one project at a time.