Your Ultimate Guide to Blue Hydrangea Centerpieces
Creating blue hydrangea centerpieces is a beautiful way to add elegance and charm to your table, whether you’re hosting a special gathering or simply brightening up your home. In this step-by-step guide, I’ll show you how to arrange these stunning blooms into a centerpiece that looks effortlessly gorgeous!
On my blog WM Design House, I may sometimes use affiliate links, which means a small commission is earned if you purchase via the link. The price will be the same whether you use the affiliate link or go directly to the vendor’s website using a non-affiliate link. Read my full disclosure policy here.
Designing Elegant Centerpieces with My Favorite Flower – Blue Hydrangeas!
There’s nothing quite like a beautiful floral arrangement to bring a fresh, cheerful touch to your home. And the best part? You don’t need to be a professional florist to create something stunning. All you need is a little creativity and a love for flowers!
I’ve always adored flowers, and I owe much of that to my mom, who worked as a floral designer. Our home was always filled with fresh-cut blooms from the garden, and over the years, she taught me so many wonderful tips and tricks for arranging flowers.
Now, I’m excited to share some of that knowledge with you!
Today, we’re focusing on one of my absolute favorites—blue hydrangeas. I love growing hydrangeas in our garden and in the side yard near my beloved She Shed. Not only do they add great curb appeal to our outdoor living spaces, but these gorgeous, full blooms make the perfect centerpiece for any occasion.
Whether you’re hosting a gathering like an elegant garden party, putting together blue hydrangea centerpieces for a wedding, a baby shower, or simply creating an arrangement to brighten up your home, blue hydrangea centerpieces are an easy and beautiful way to add a touch of charm and freshness to your space.
So, let’s dive in. ’ll walk you through everything you need to know to create your own beautiful blue hydrangea arrangement!
Materials You’ll Need to Make Blue Hydrangea Centerpieces
Additional Tools You’ll Need
How to Choose Flowers to Pair with Your Blue Hydrangeas
Before you start, it helps to have a color palette and a general idea of your arrangement in mind.
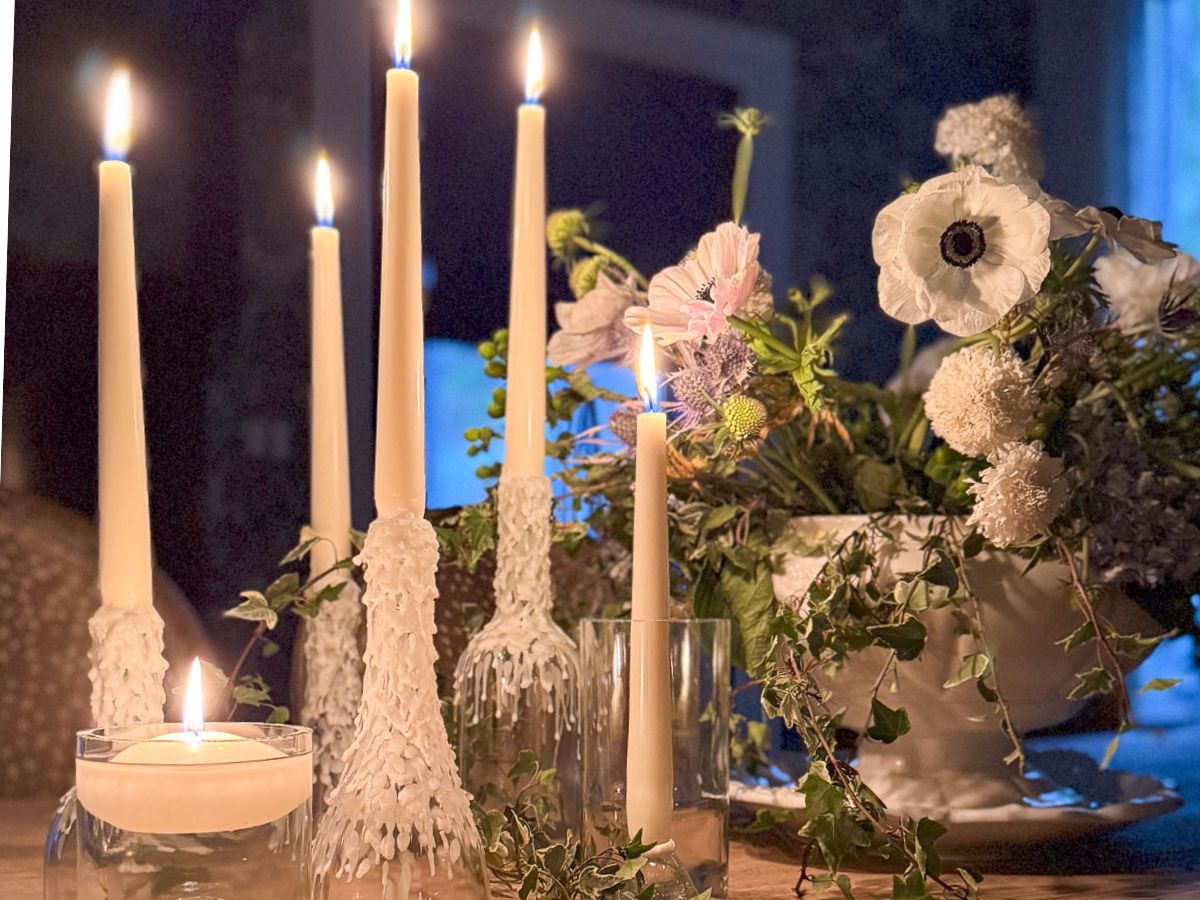
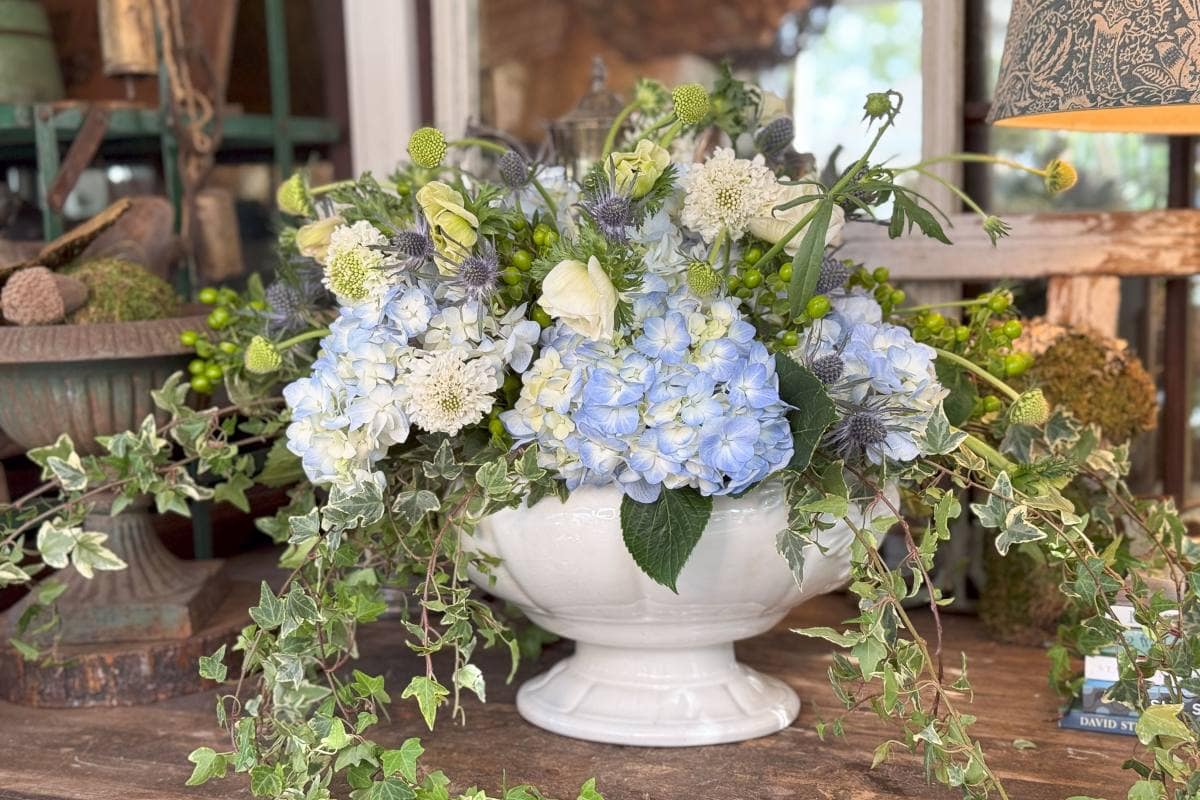
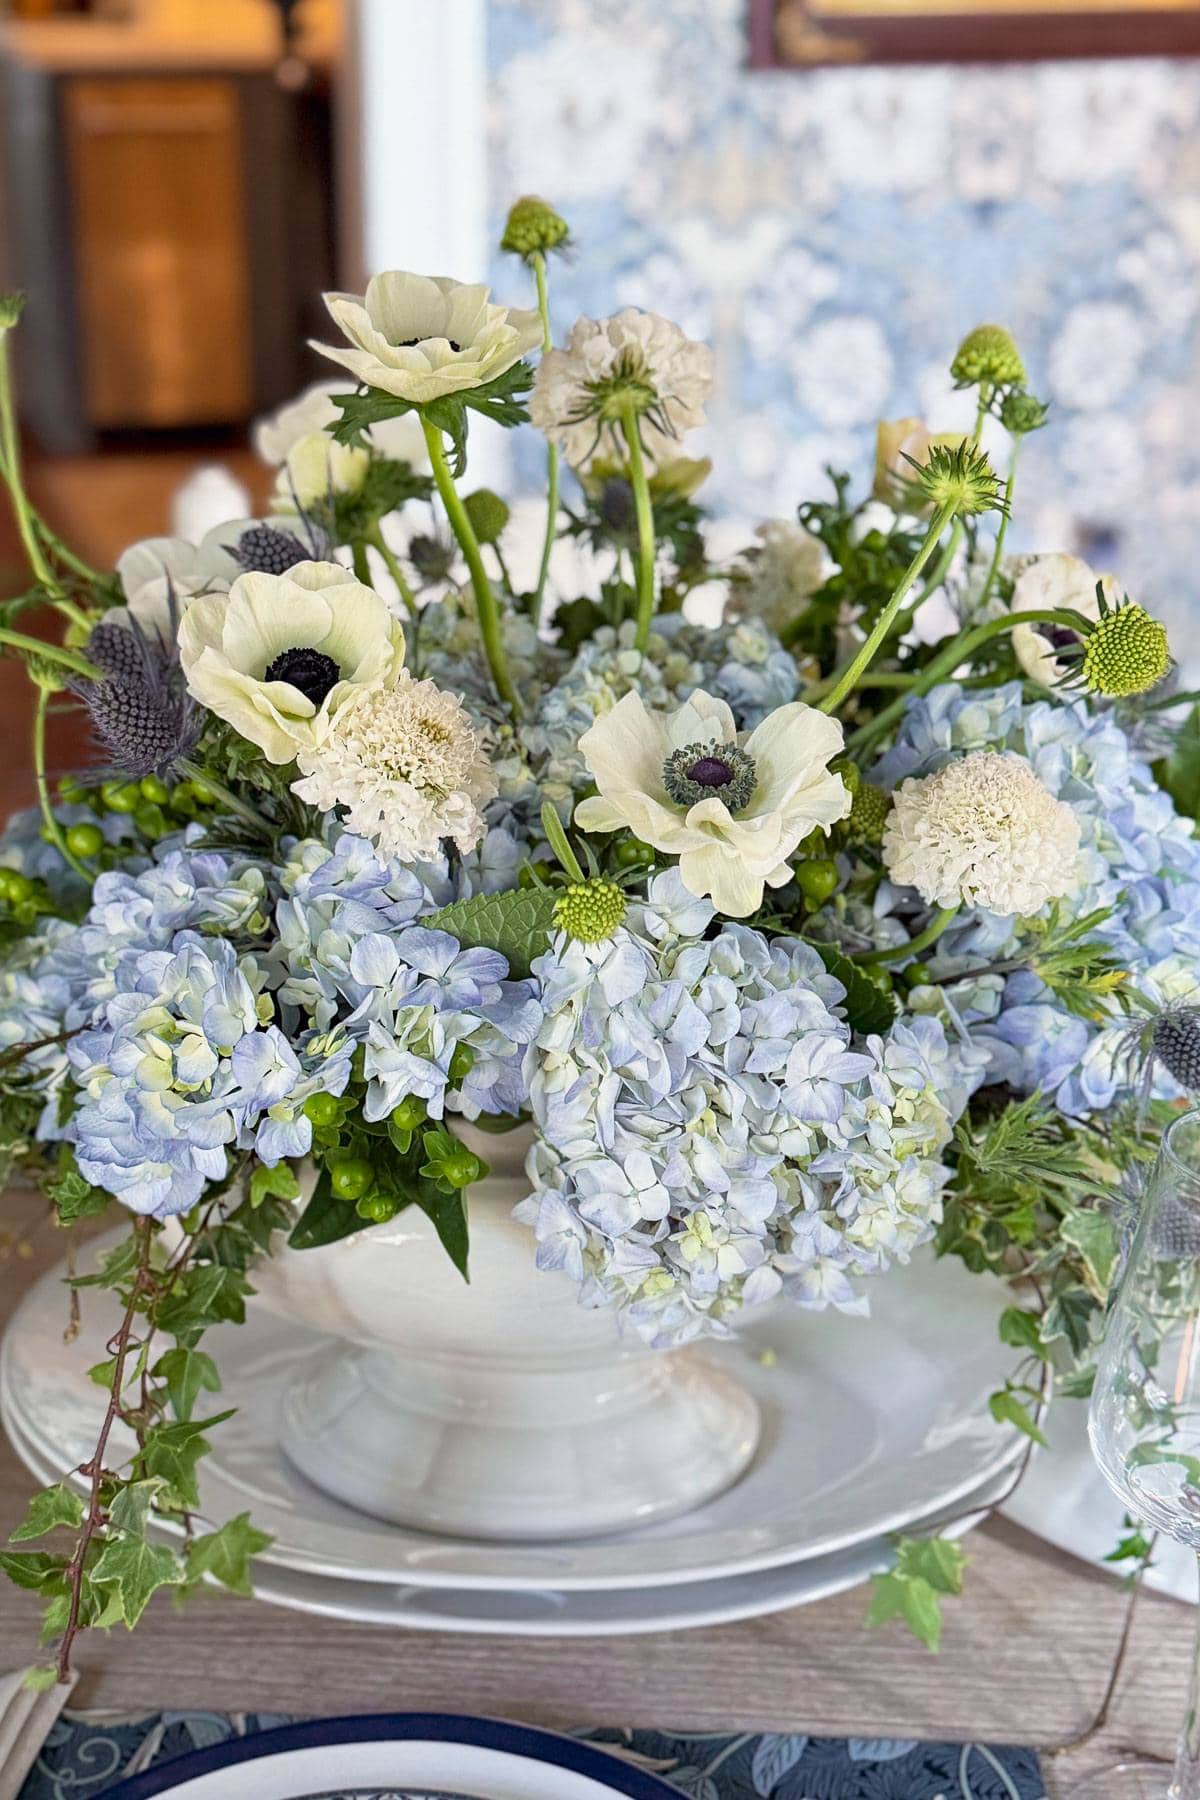
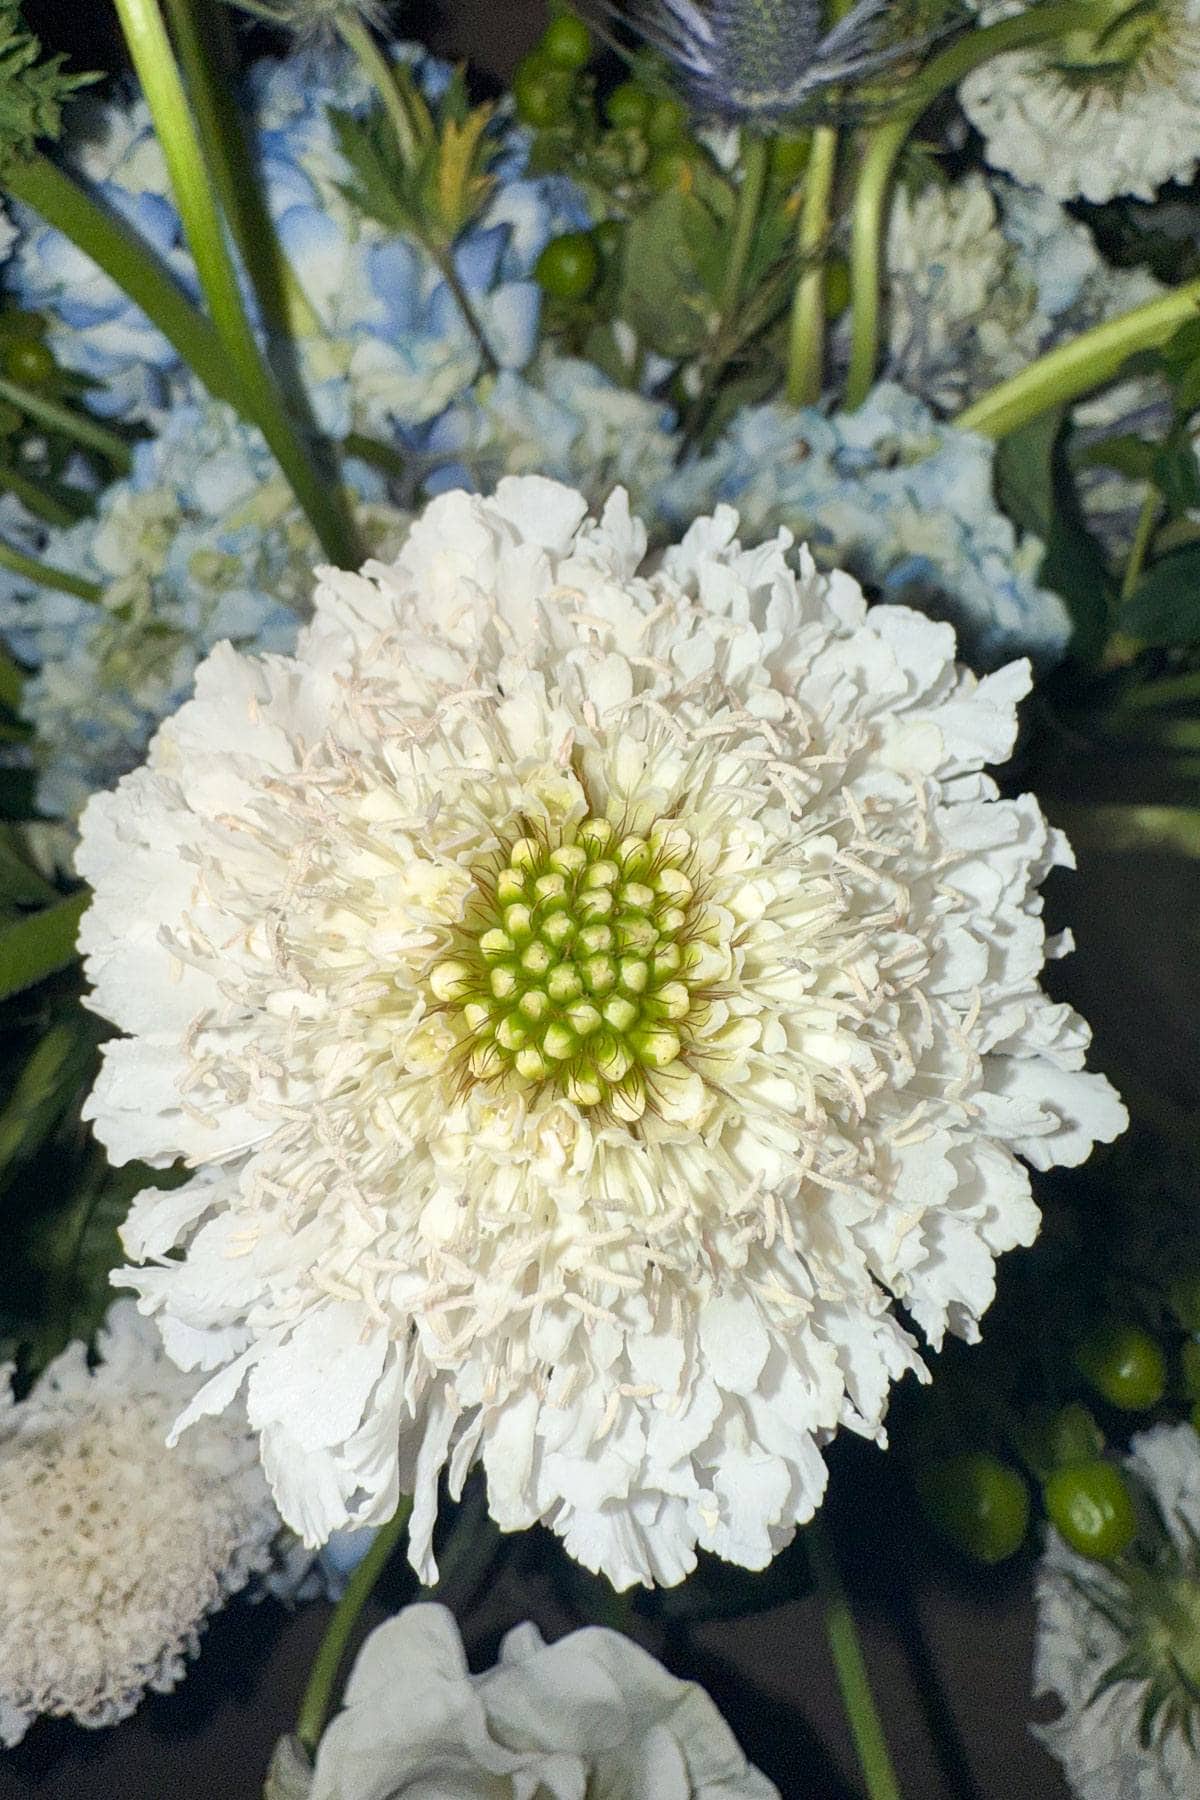
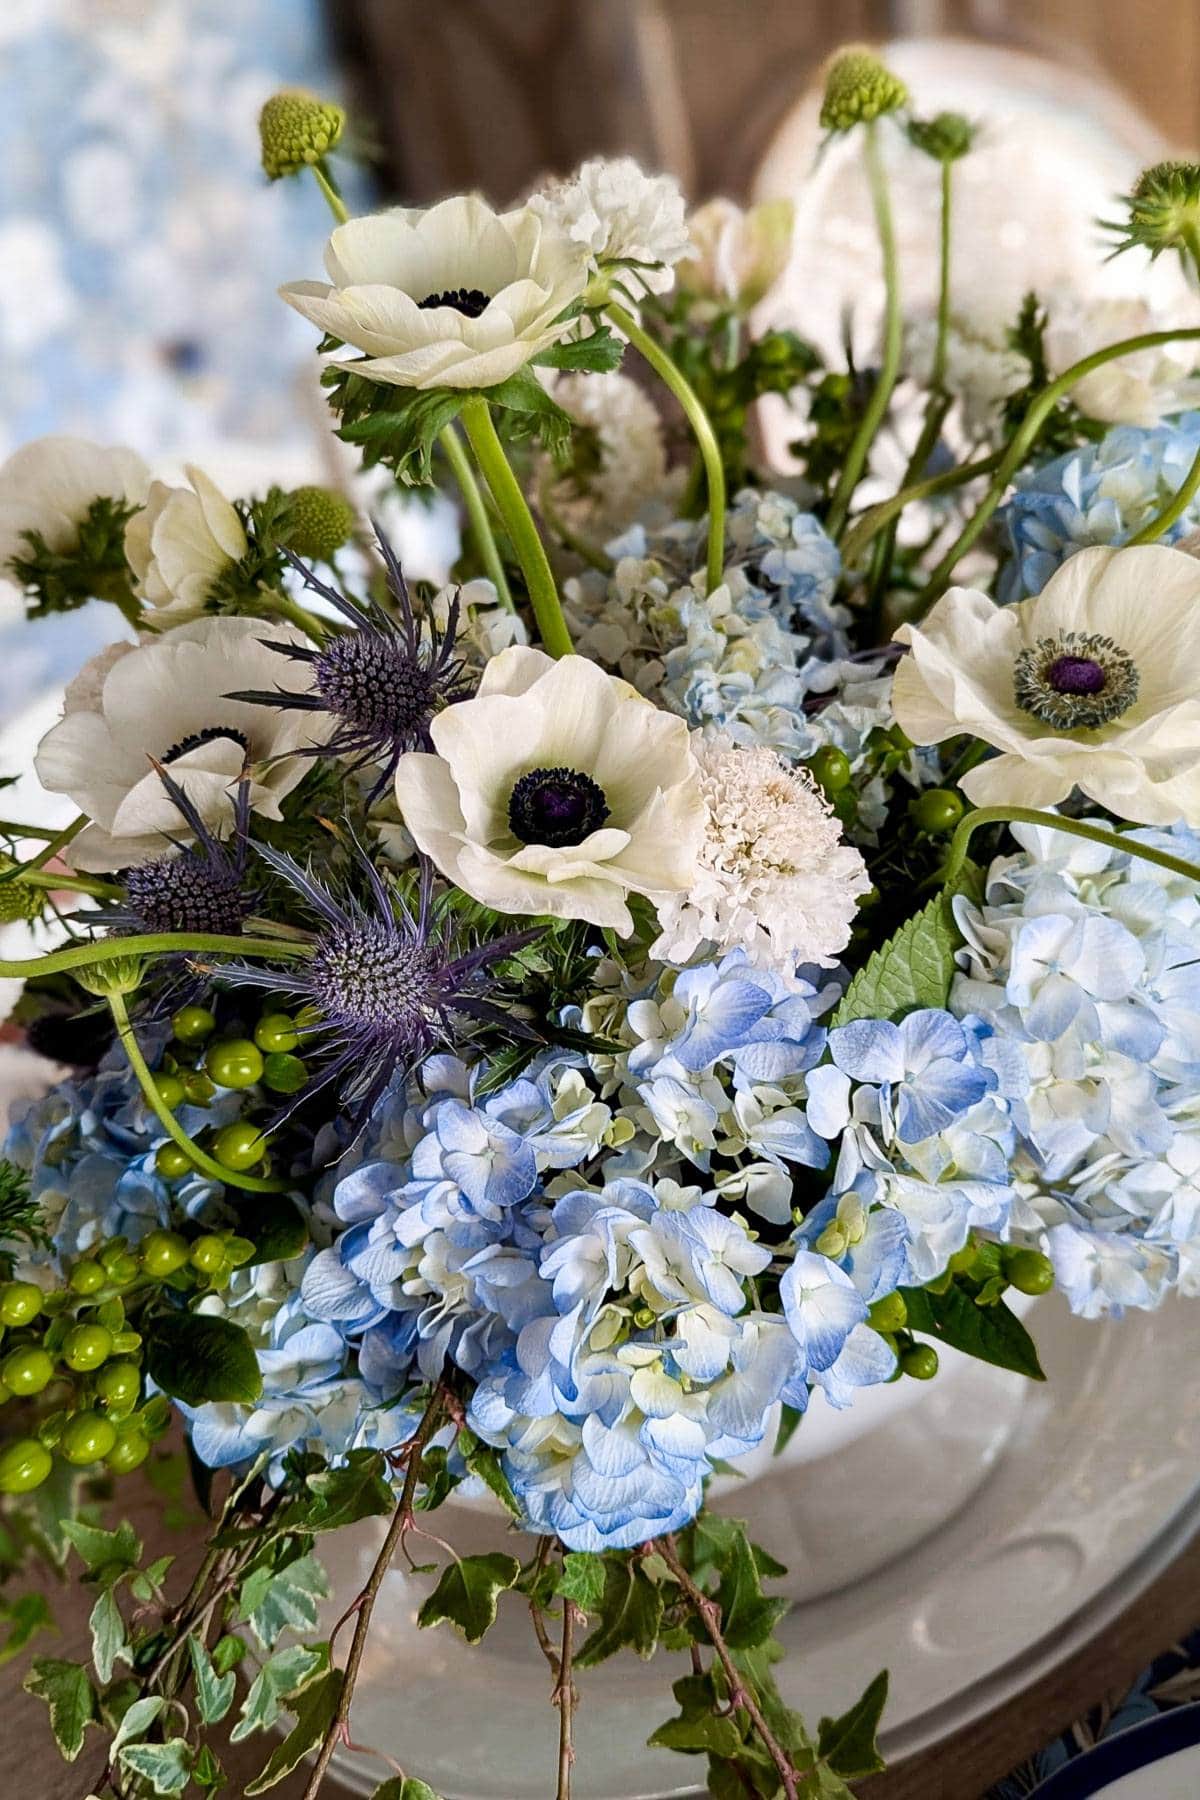
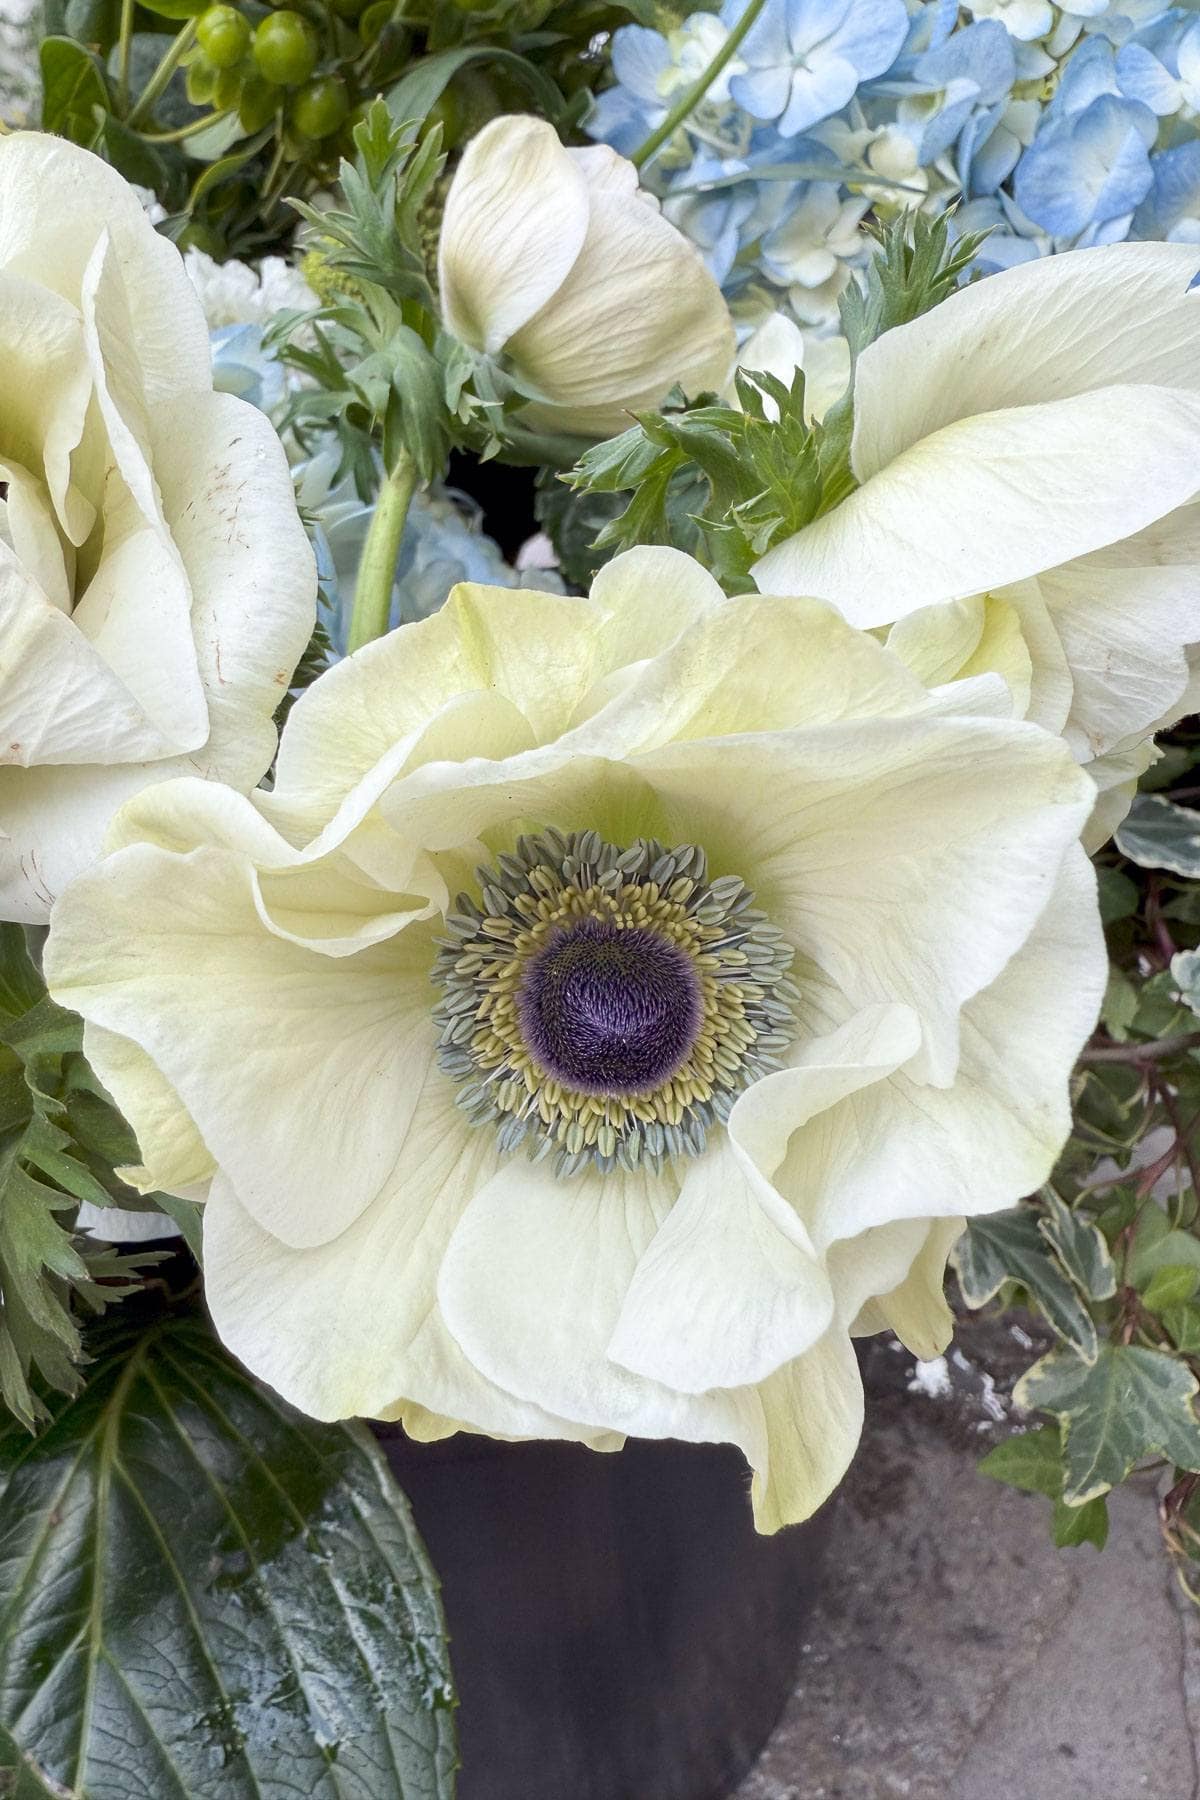
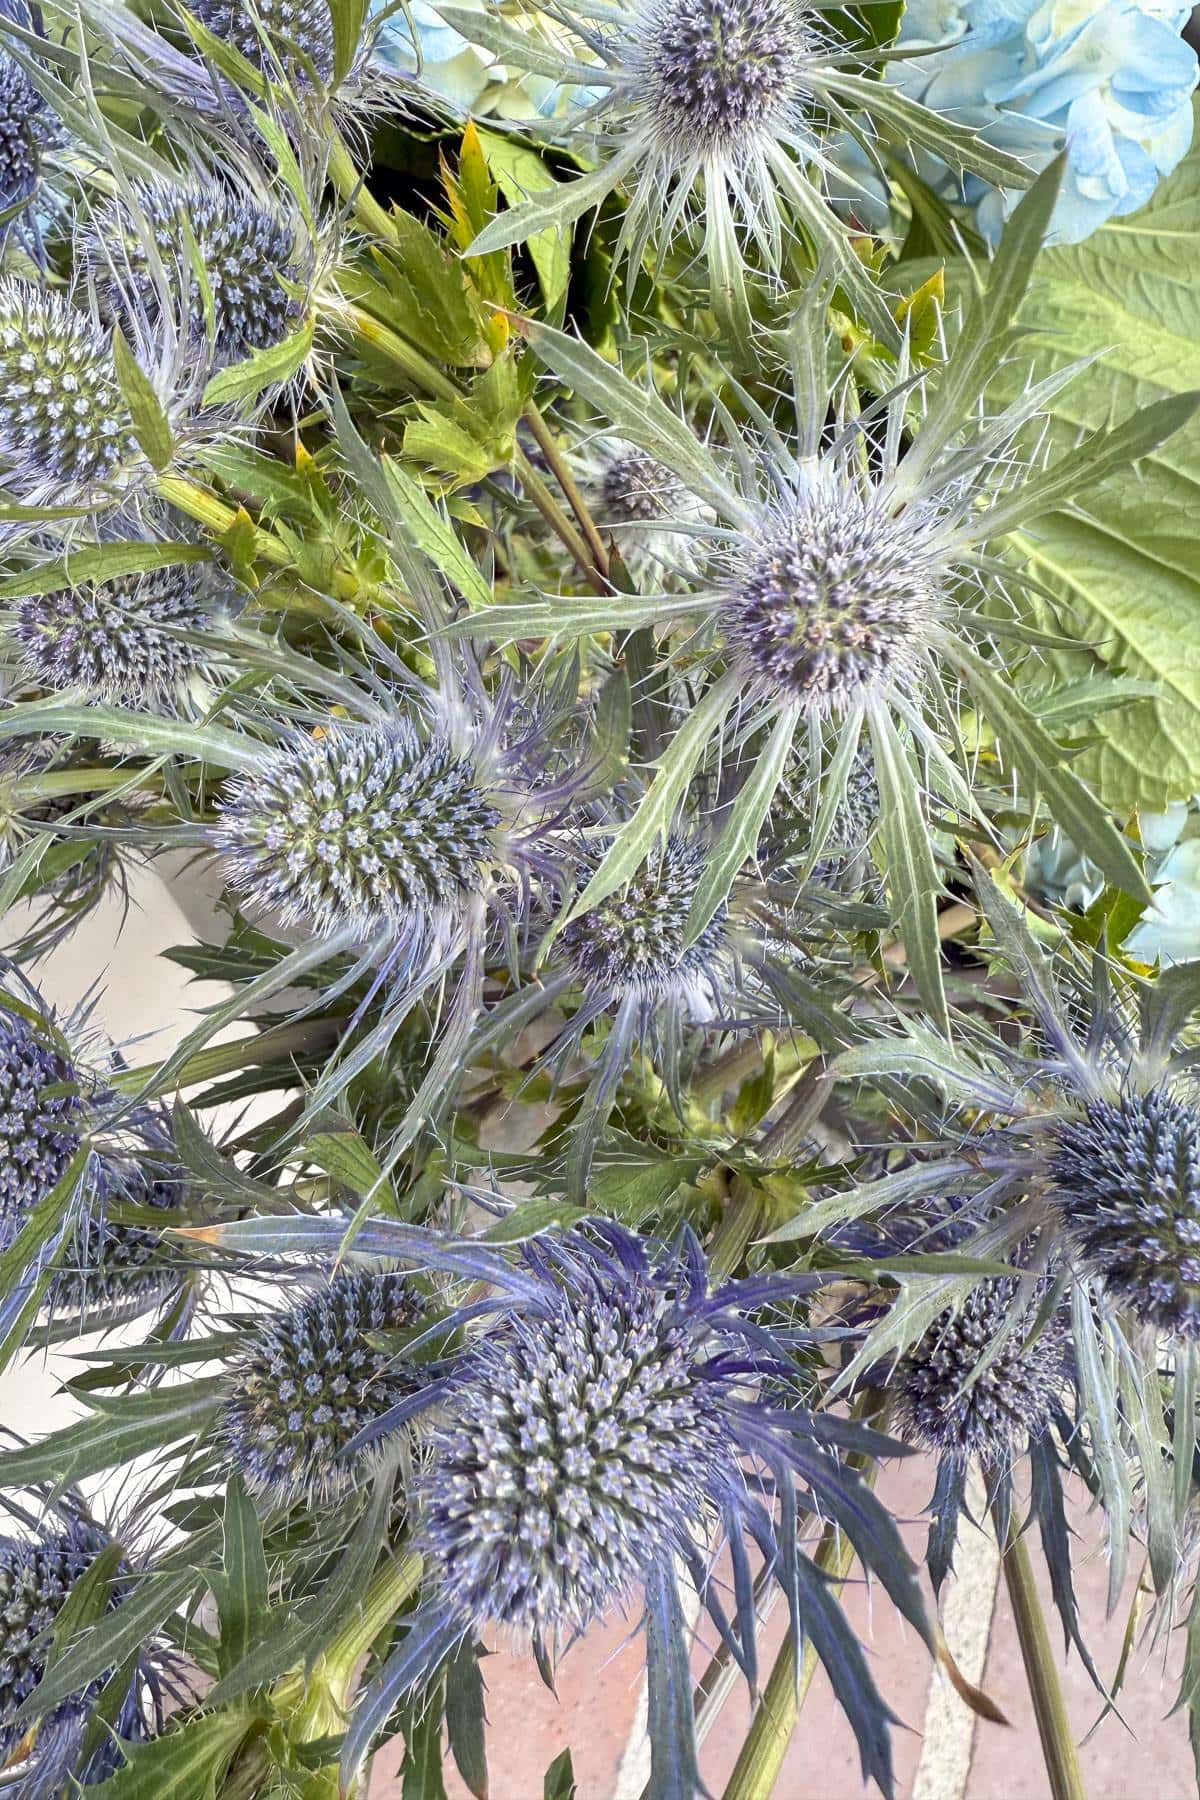
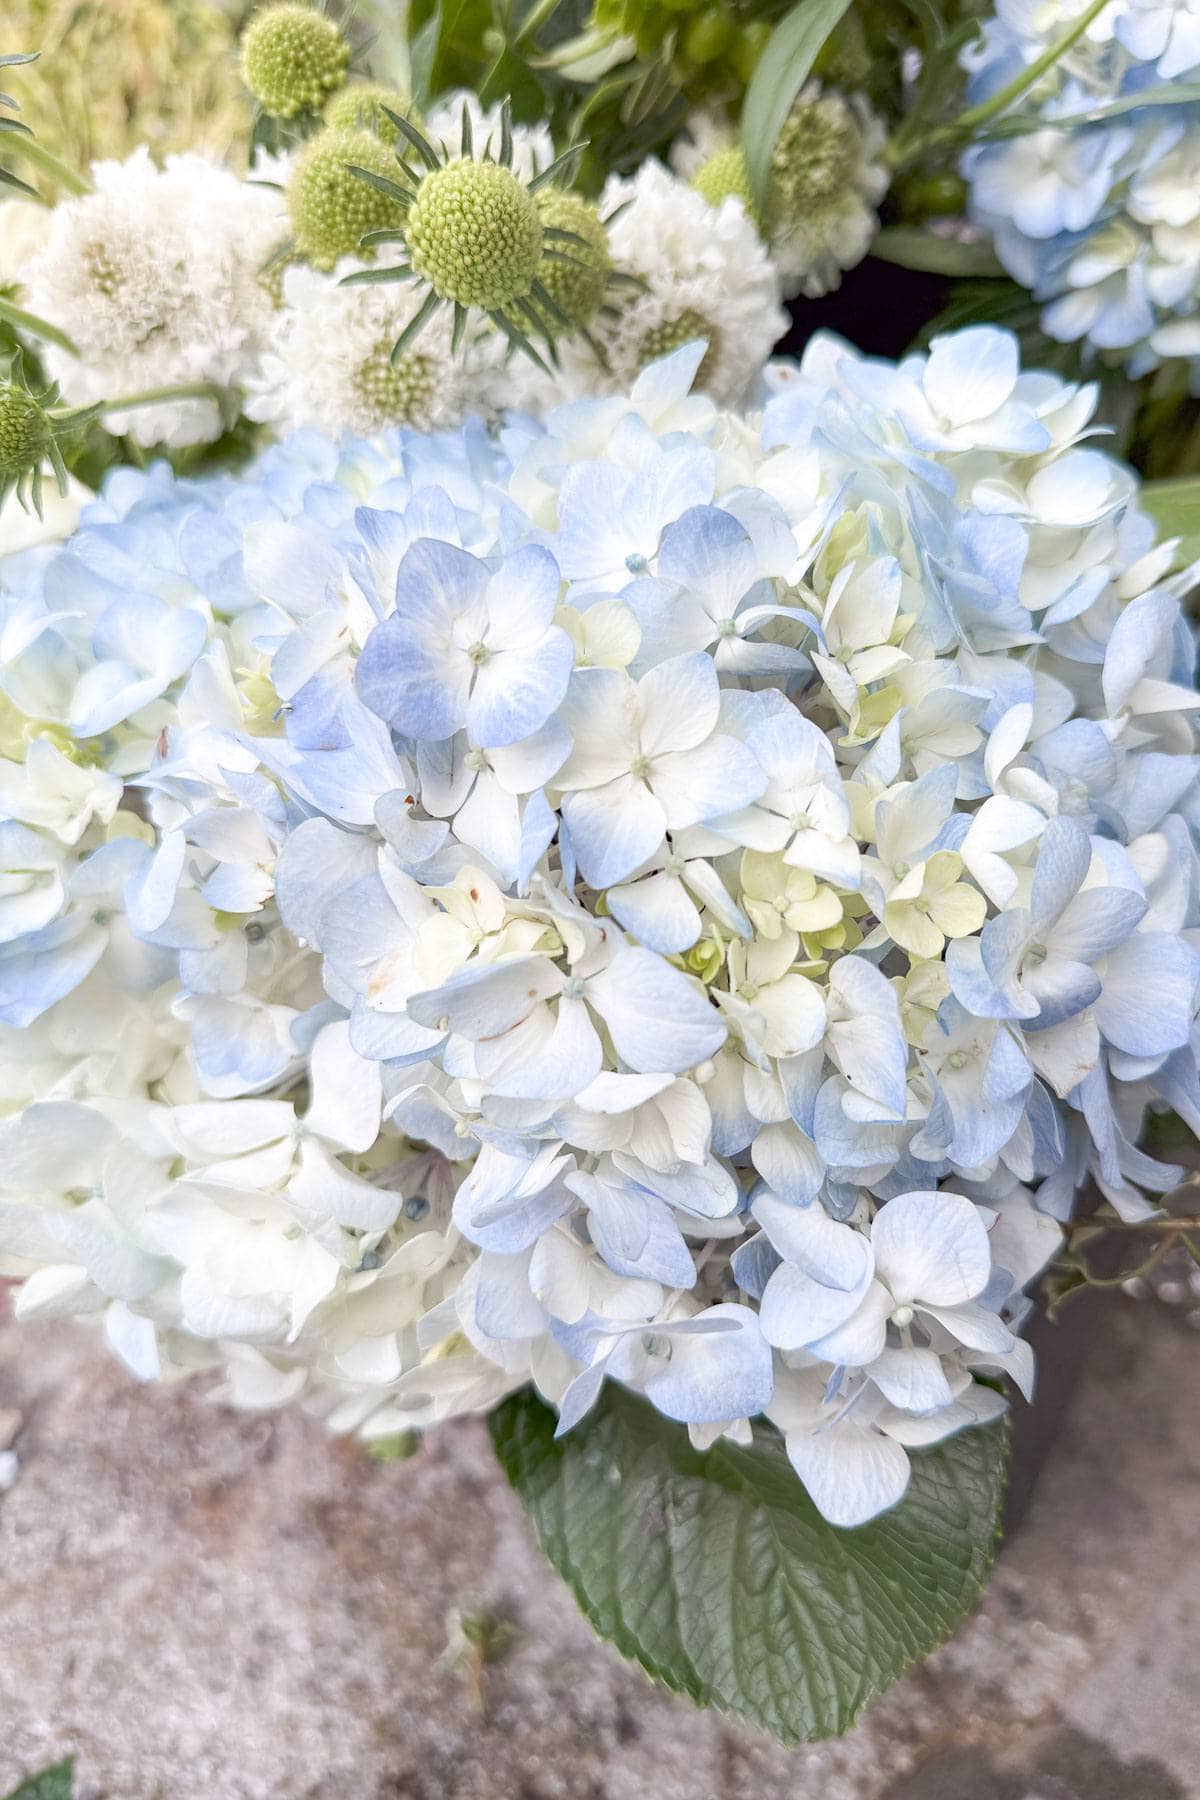
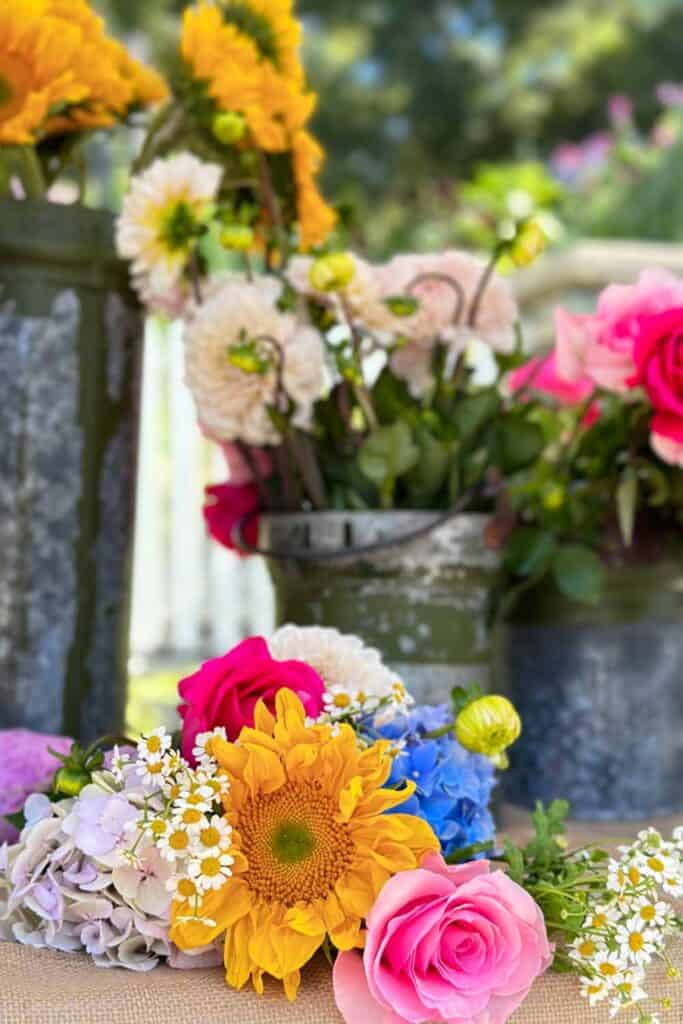
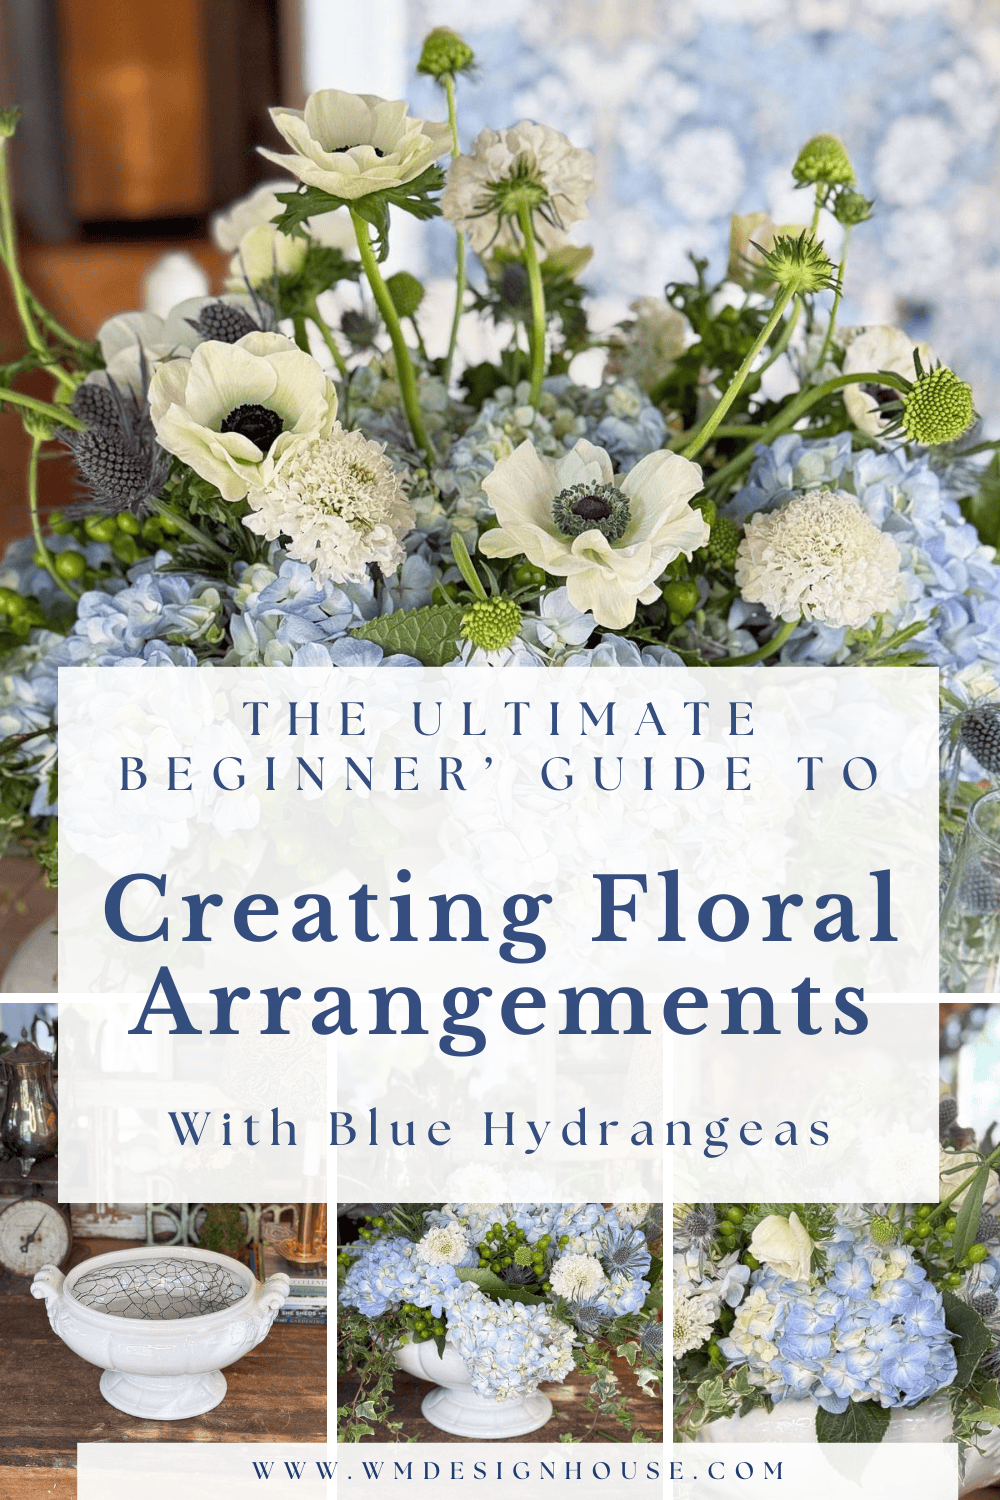
Since blue hydrangeas are the focal point of my centerpiece, I picked a few flowers to complement them without overpowering their soft, full blooms. I used green coffee bean for a fresh pop of color, green ivy for some natural movement, white anemones to keep things light and airy, blue thistles for a little texture, and white pincushions to tie it all together.

That said, flower availability can be unpredictable, so be flexible and see what’s fresh at your local florist or market. If you have a Trader Joe’s nearby, they often carry a great selection of fresh flowers at an affordable price.
Here are a few other ideas for color palettes and flowers you can pair with your blue hydrangea bouquet:
Classic & Elegant Pairings
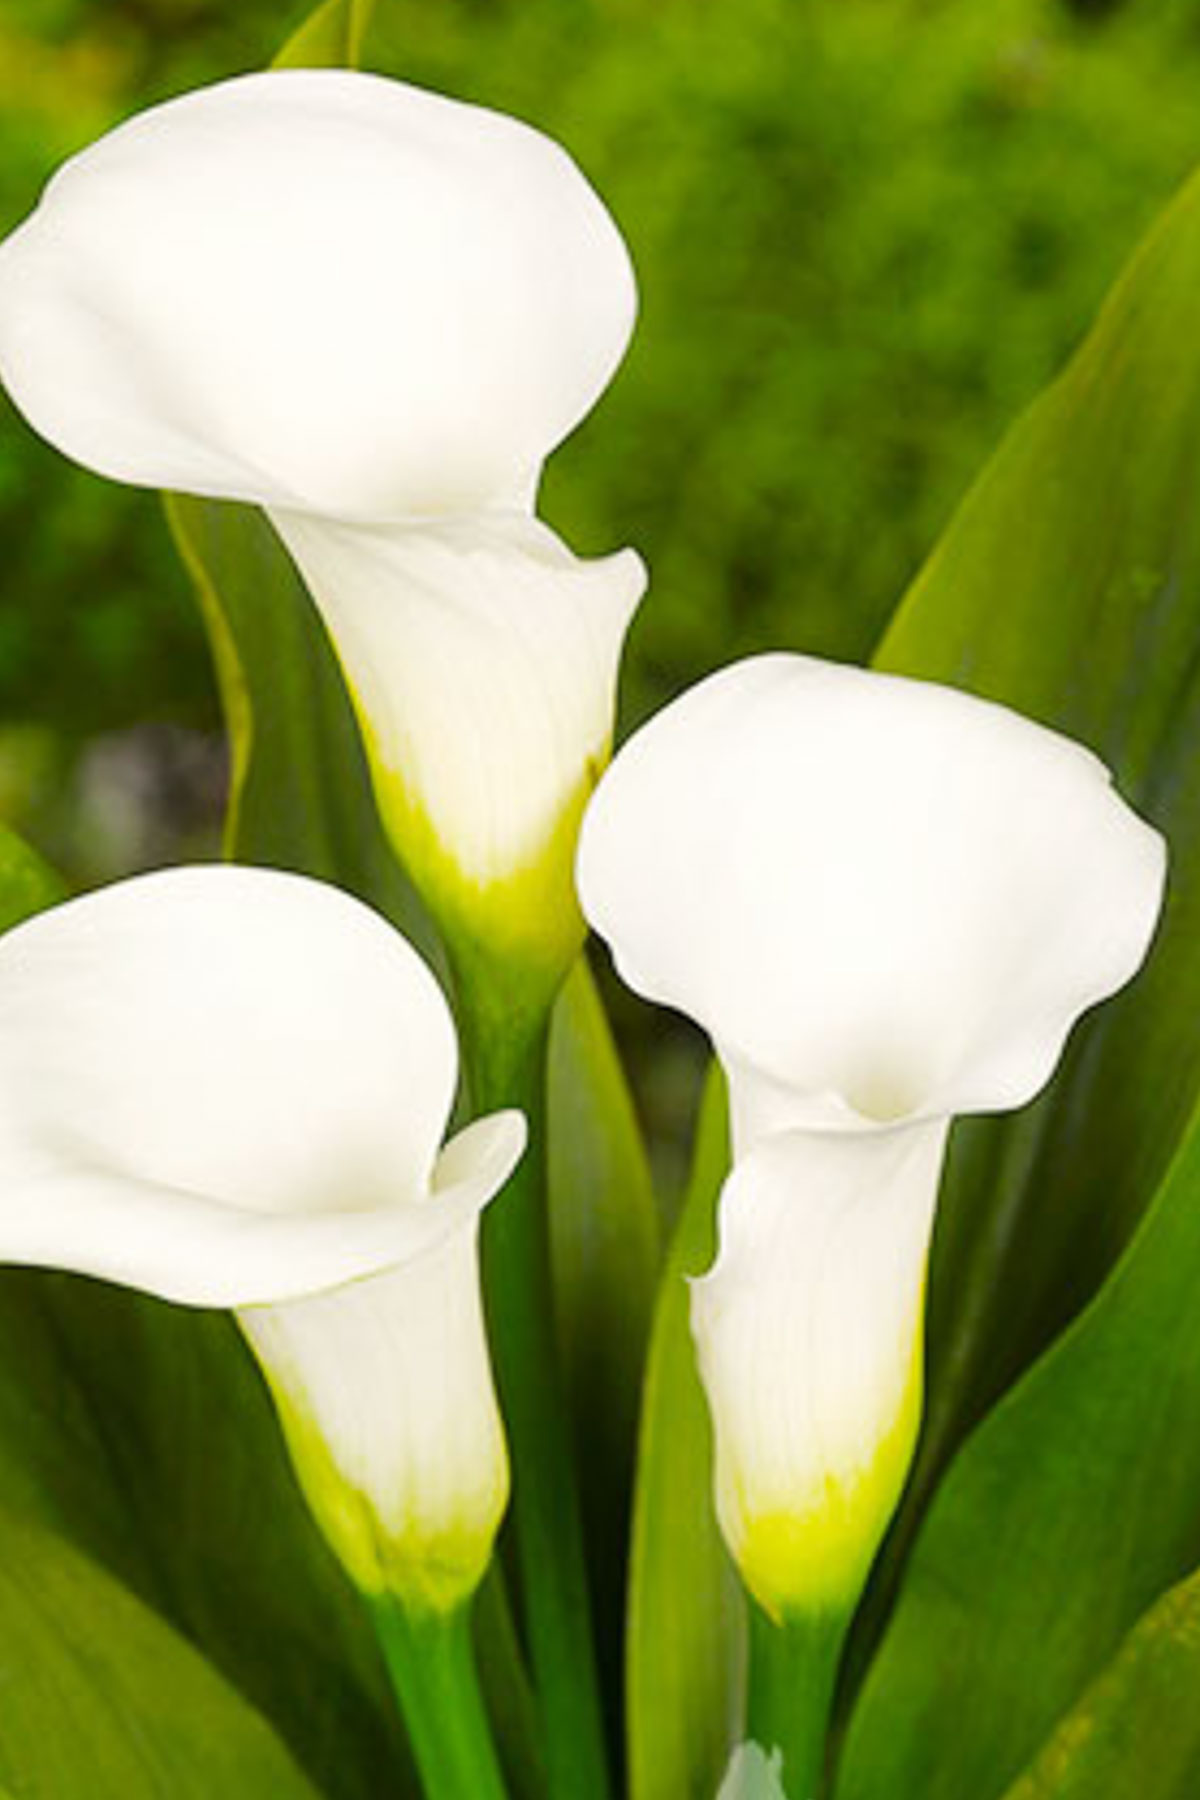
- White Roses
- Calla Lilies
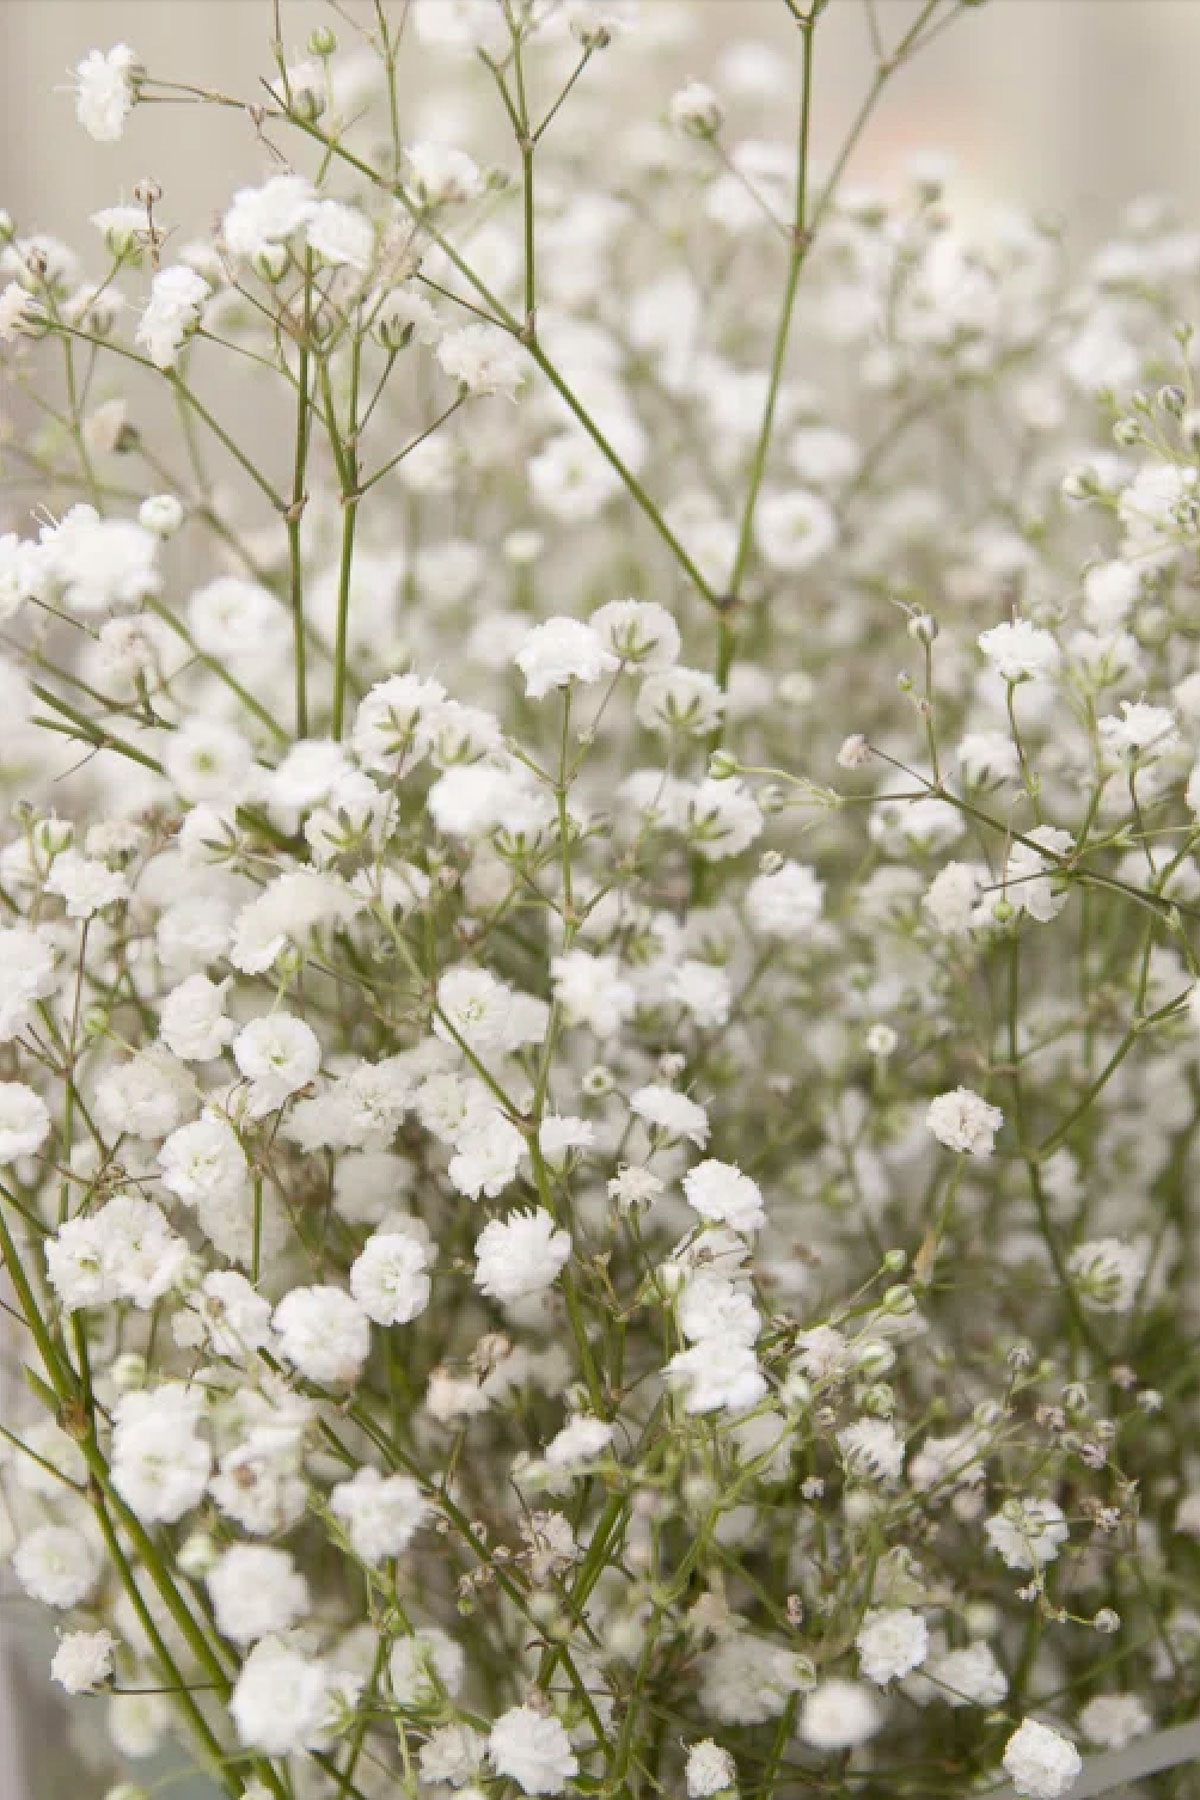
- Baby’s Breath
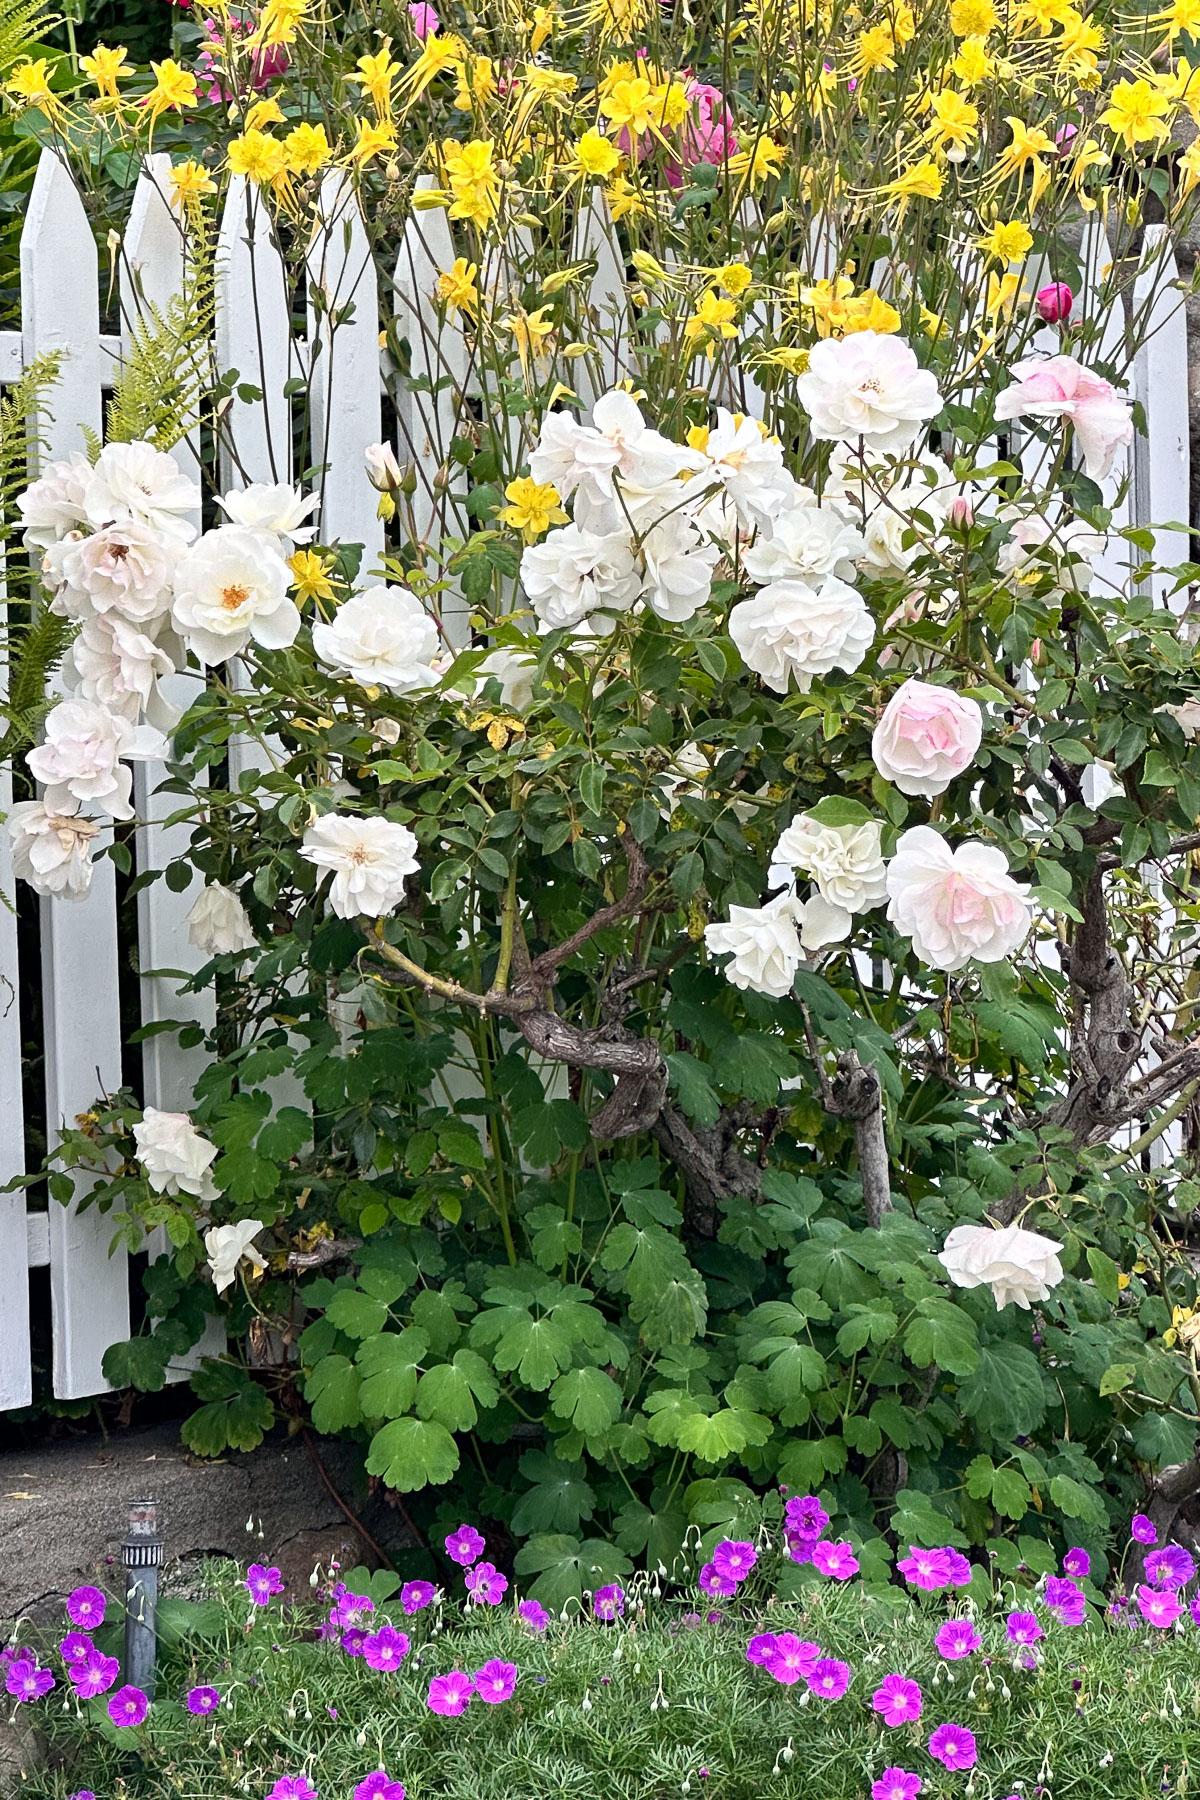
Romantic & Soft Pairings
- Blush Pink Peonies
- Pale Lavender Roses
- Ranunculus
- Lisianthus
Bold & Vibrant Pairings
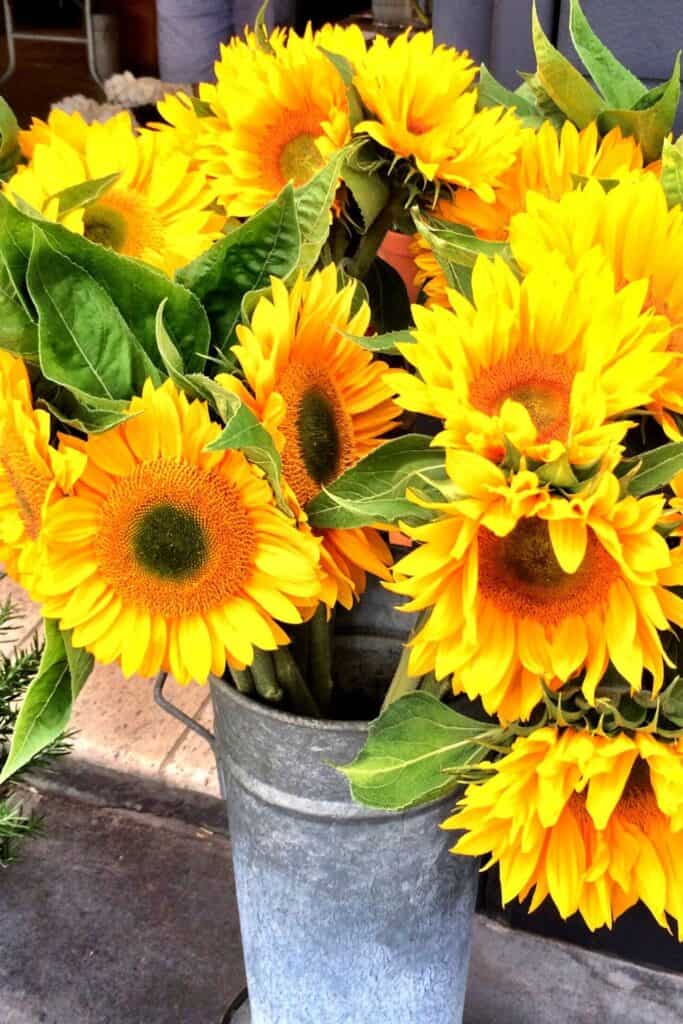
- Yellow Sunflowers
- Coral Garden Roses
- Bright Orange Poppies
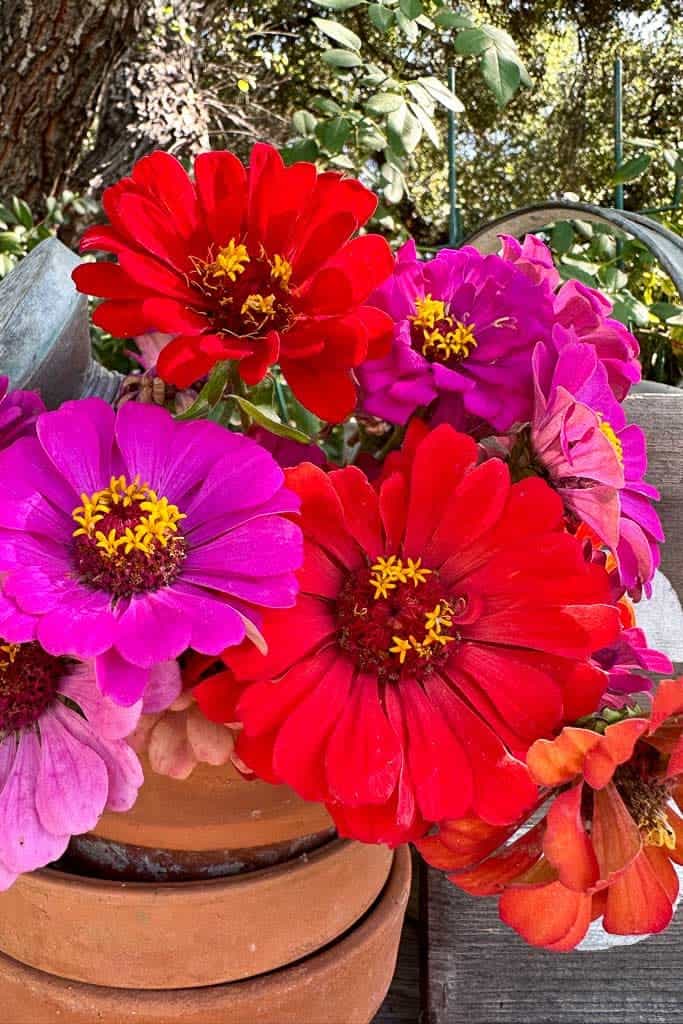
- Hot Pink Zinnias
Cool & Serene Pairings
- Lavender Sprigs
- Blue Delphiniums
- Silver Brunia
- Dusty Miller
Greenery & Filler Options
- Eucalyptus
- Ruscus
How to Make Centerpieces with Beautiful Blue Hydrangeas
Here’s the step-by-step process to create one of the most beautiful blue hydrangea flower arrangements that will bring charm and elegance to any space!
Step 1: Clean Your Flowers
Prepping your flowers properly is the secret to creating beautiful arrangements that last.
Start by removing any packaging, rubber bands, or ties holding the flowers together. Then, check for any damaged or wilted petals and gently pull them off, along with any leaves that look bruised or brown.
Be sure to strip off any leaves that would sit below the water line in your vase—this helps keep the water clean and prevents bacteria from forming. If you’re working with roses, you’ll also want to remove the thorns. If you’re handling a large number of roses, investing in a thorn remover can make the job much easier. This Amazon set even includes foliage removers and gloves for added convenience.
Once your stems are cleaned up, grab a floral knife or sharp scissors and trim each stem at a diagonal. This fresh cut helps the flowers absorb water better. Then, place them in a bucket of clean water mixed with cut flower food to keep them hydrated and healthy.
Now your flowers are prepped and ready to be arranged!
Tip from wendy’s garden:
Keep Your Water Fresh and Clean! As a general rule of thumb, it is important to keep foliage out of the water. This will help keep your water fresh and clean, ensure proper nutrient uptake, and extend the longevity of your floral arrangement. Plus, if you are using a clear vase, it keeps your design much cleaner and nicer looking, keeping the focus on the beautiful bouquet.
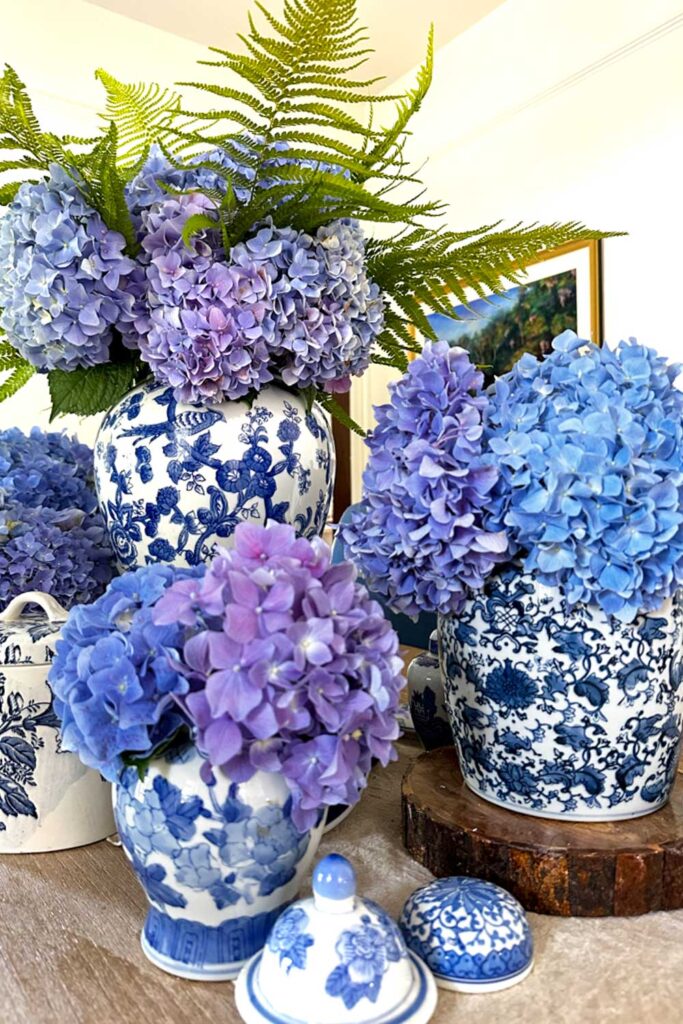
Step 2: Choose a Container for Your Centerpiece
When selecting a vessel or other container to create centerpieces, first consider the type of flowers you are using.
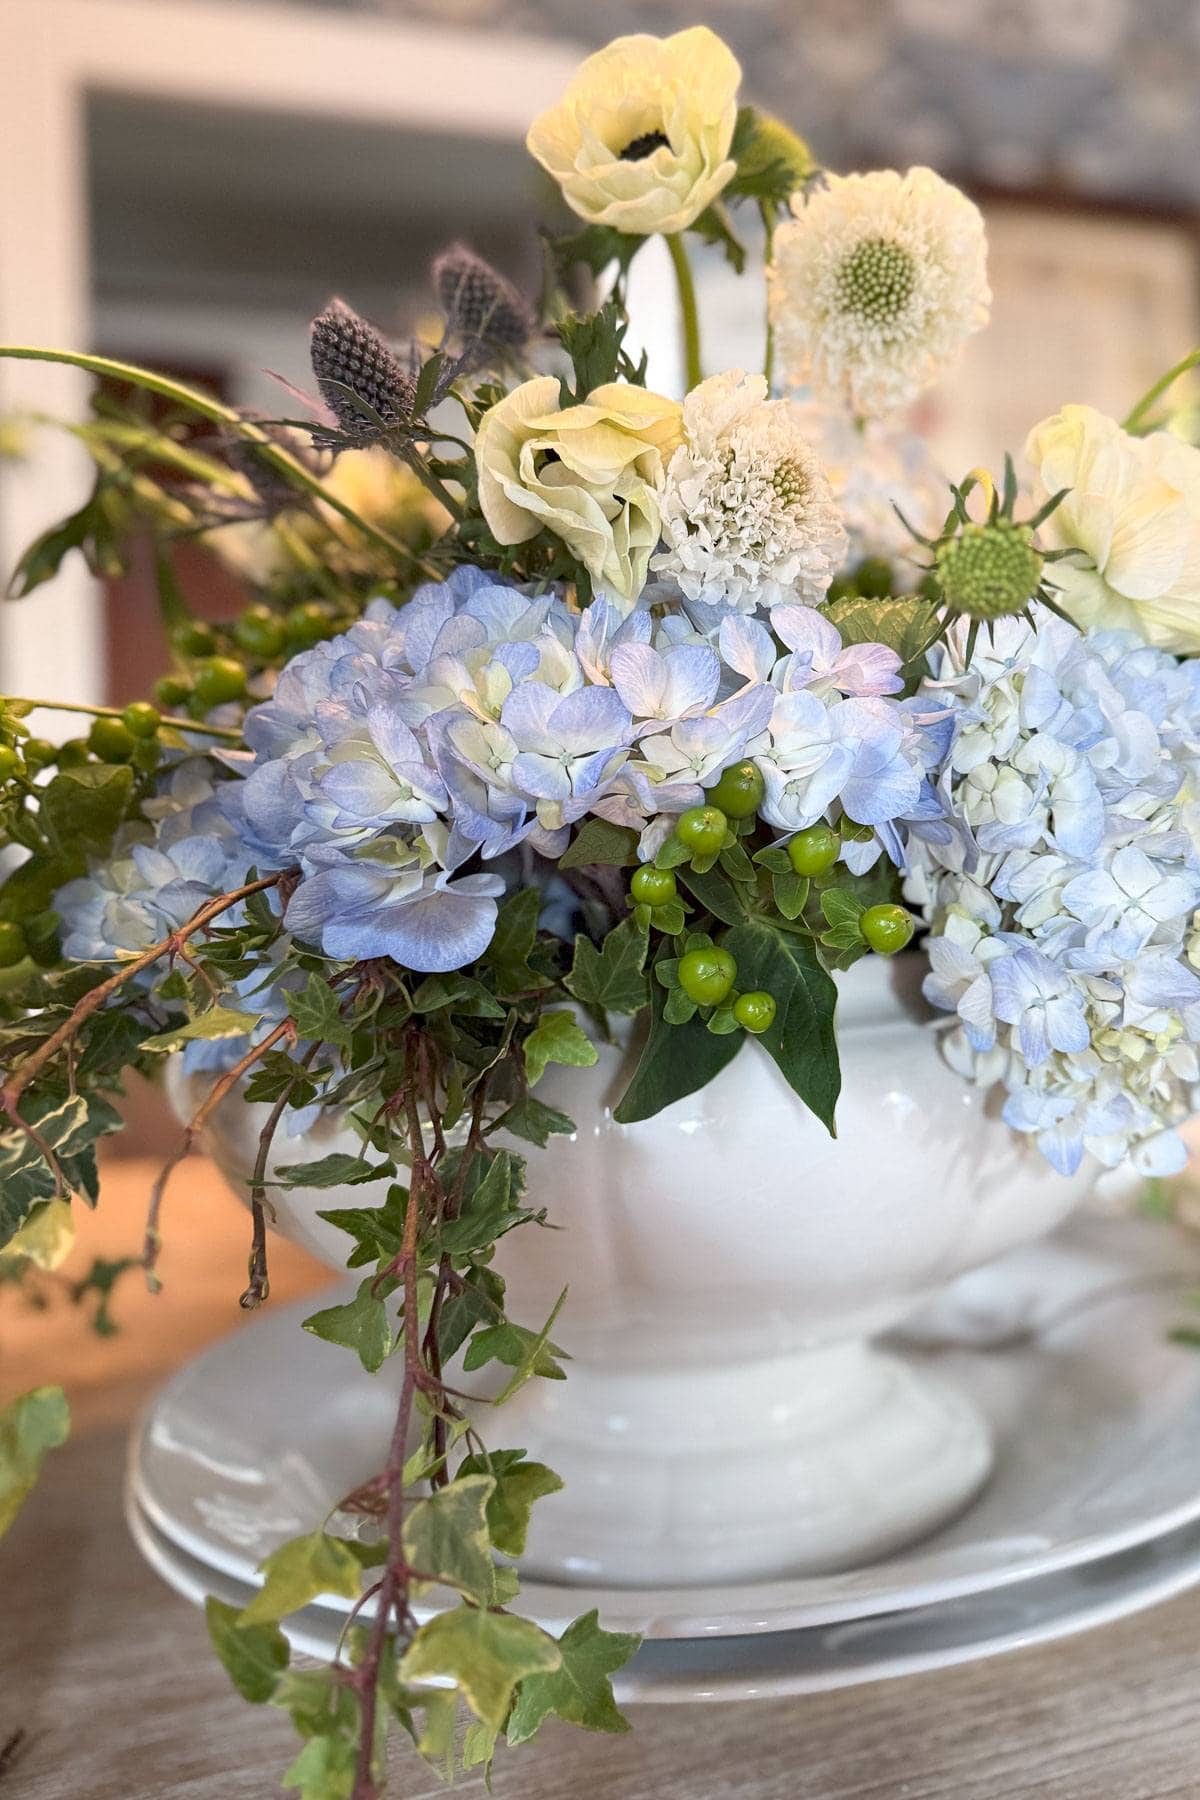
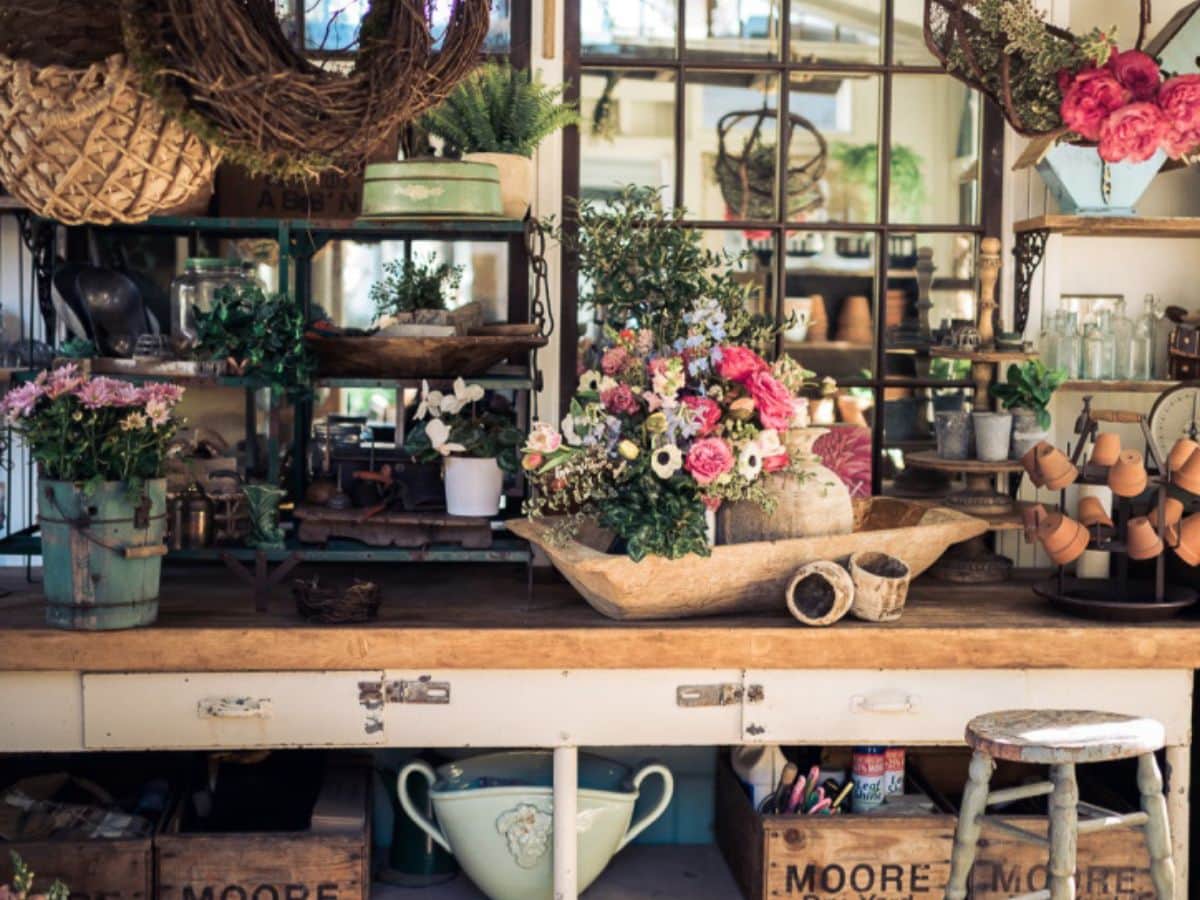
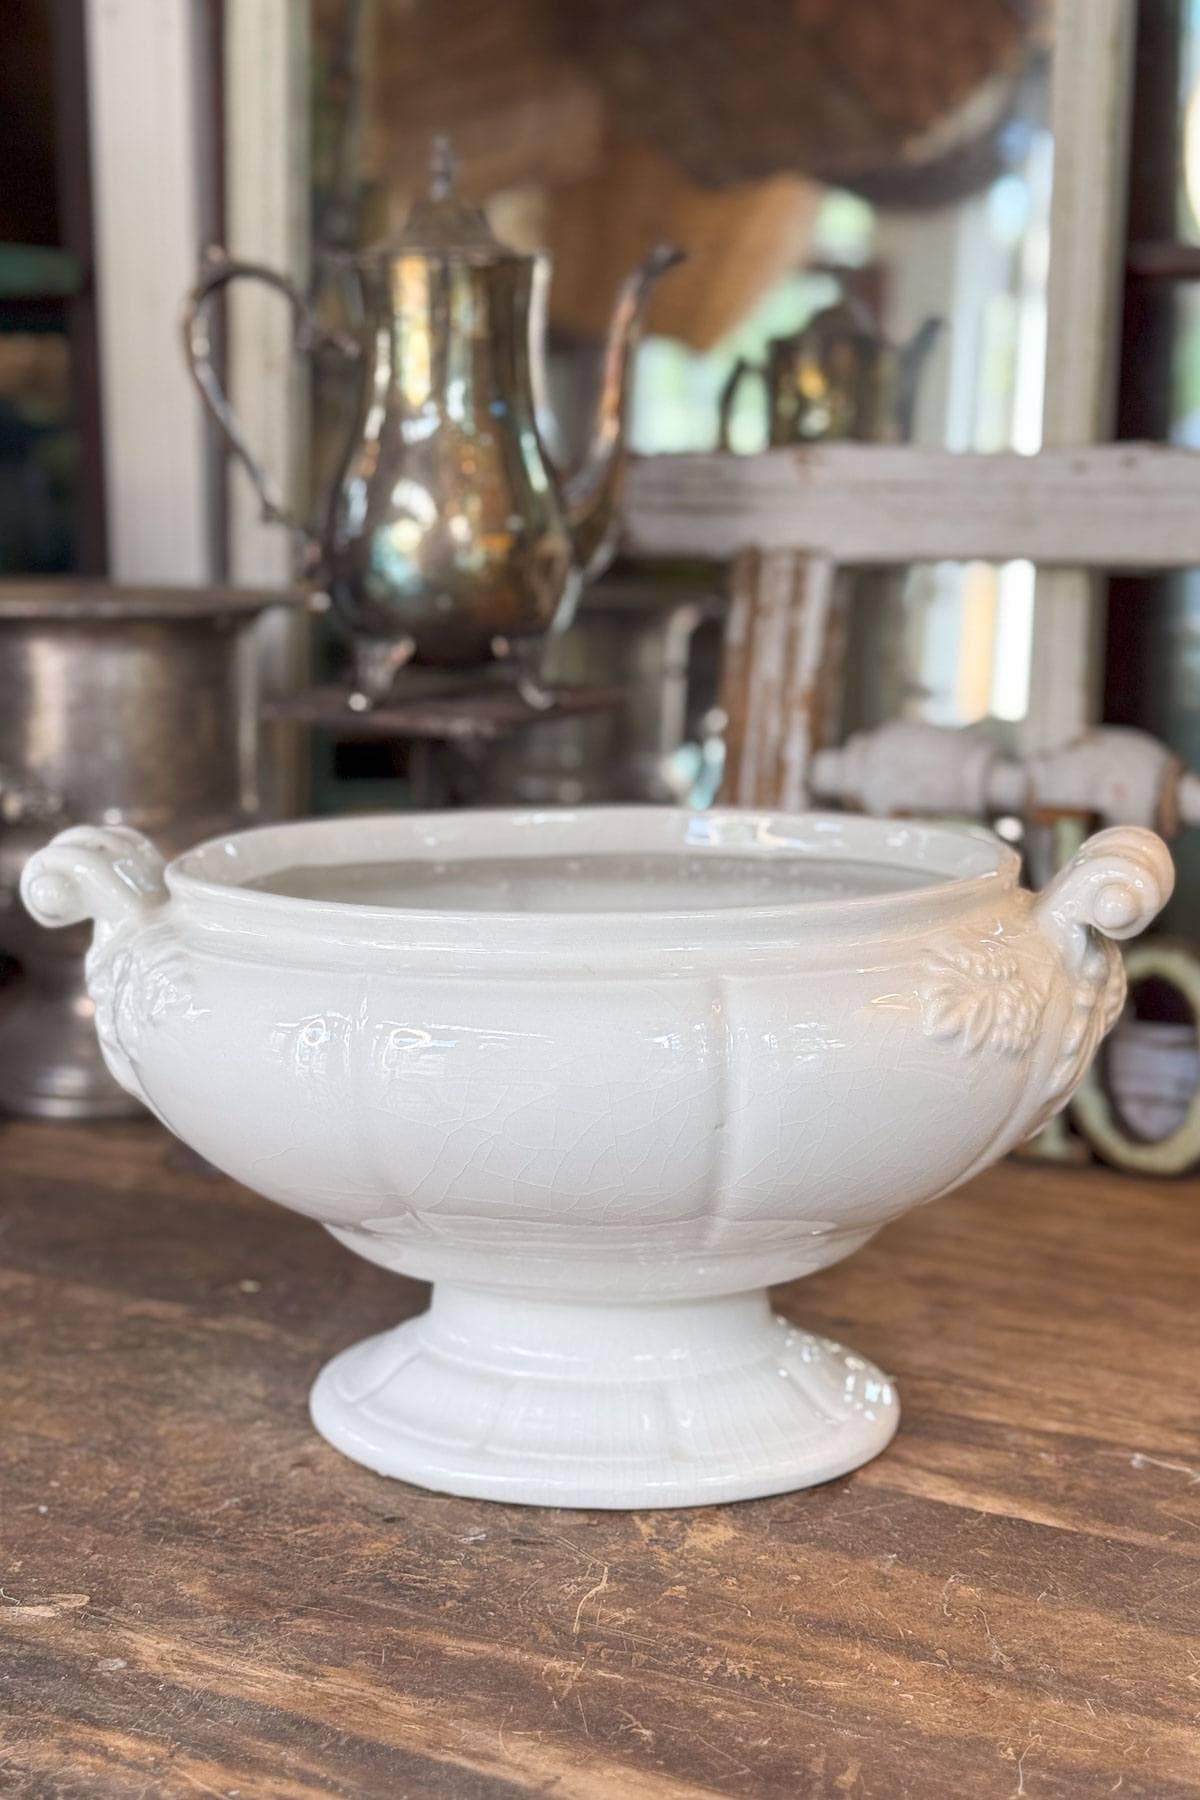
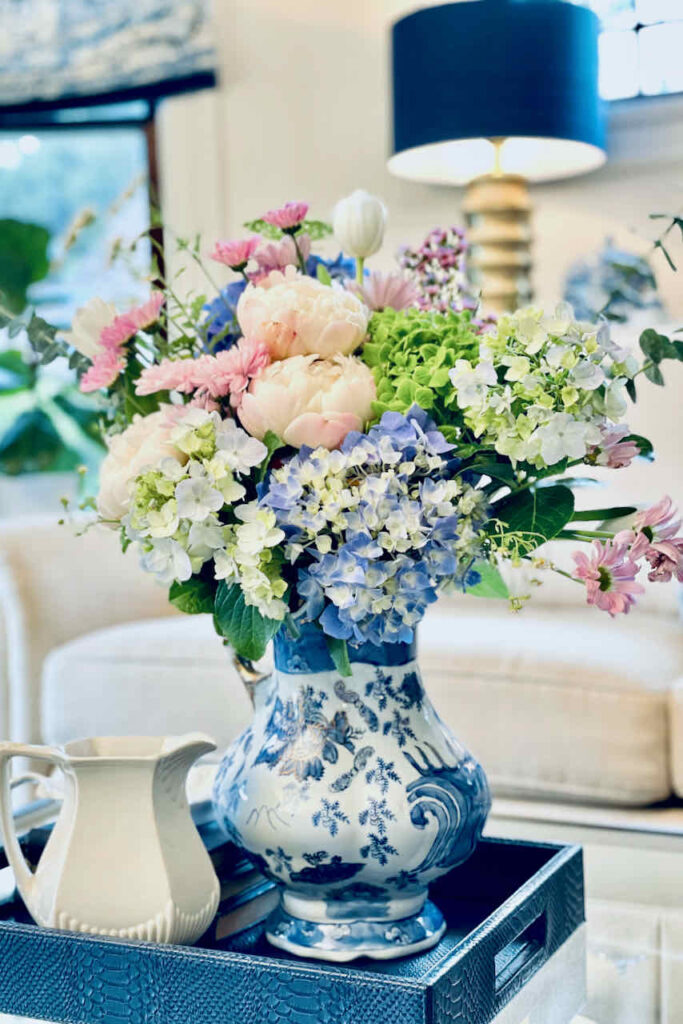
For this arrangement, I used a vintage soup tureen to create a low hydrangea centerpiece, but do not be afraid to get creative! There are so many beautiful options for flower containers. You can use a plain vase like this one, a mason jar, or an aged terra cotta pot.
Or think outside of the box and use something a bit more unusual. Other unique flower vase ideas include watering cans, suitcases, wooden boxes, toolboxes, and even shoes!
(You can see how I used old dress shoes to create flower arrangements for my son’s wedding reception here.)
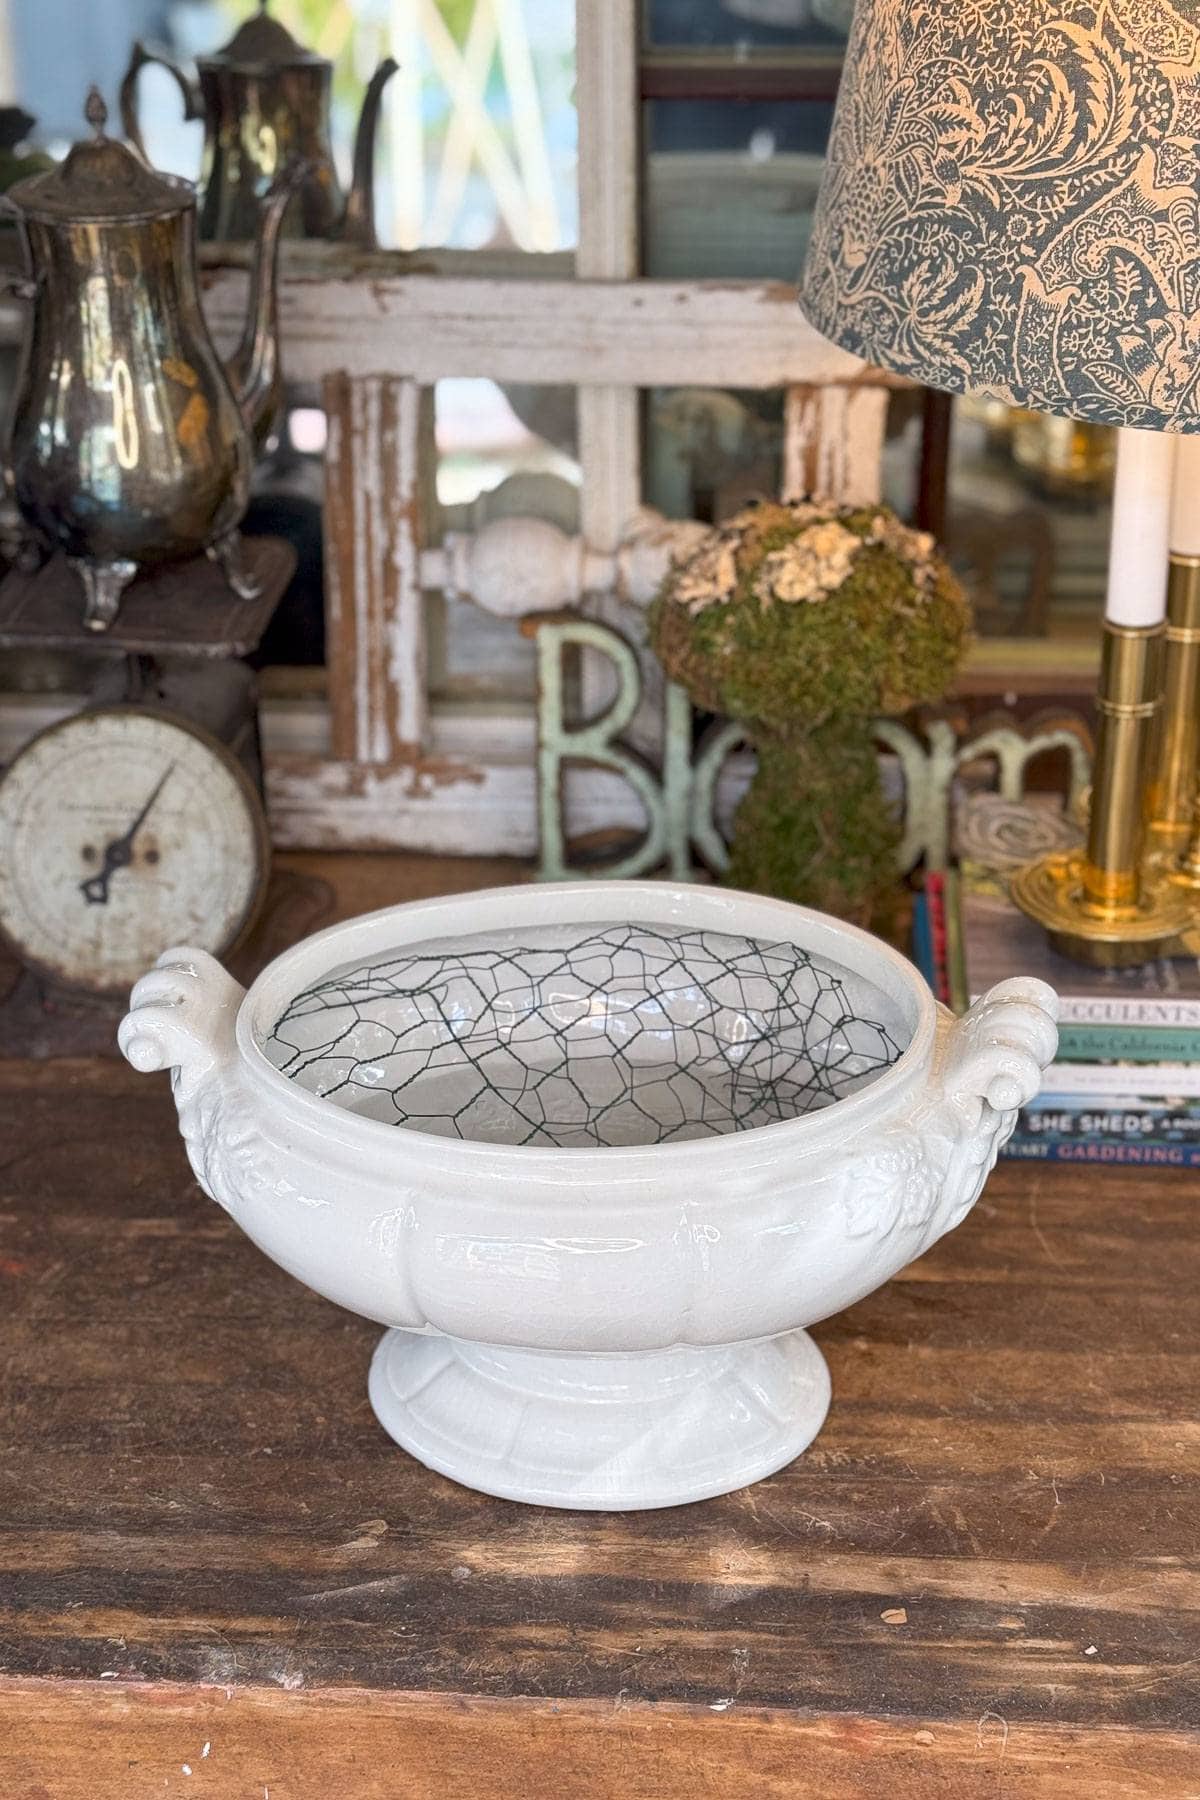
When you’re ready to start arranging your flowers, it helps to have a sturdy base to keep everything in place. One of my favorite tricks is using chicken wire inside the vase. It creates a natural grid to hold the flowers securely, making it easier to arrange them just the way you like. Plus, it’s a sustainable alternative to floral foam, which isn’t biodegradable.
Simply cut a piece of chicken wire, shape it to fit your vase, and tuck the edges inside so it stays put. This little step makes a big difference, especially when working with large, full blooms like hydrangeas, helping them stay upright and beautifully arranged.
Tip from wendy’s garden:
Clean Your Vase Thoroughly! Before you put your hydrangeas in a vase, make sure it’s nice and clean. Wash it with hot, soapy water, give it a good scrub, and rinse well. If you want to go the extra mile, let a little bleach and water solution sit in the vase for a few minutes before rinsing again.
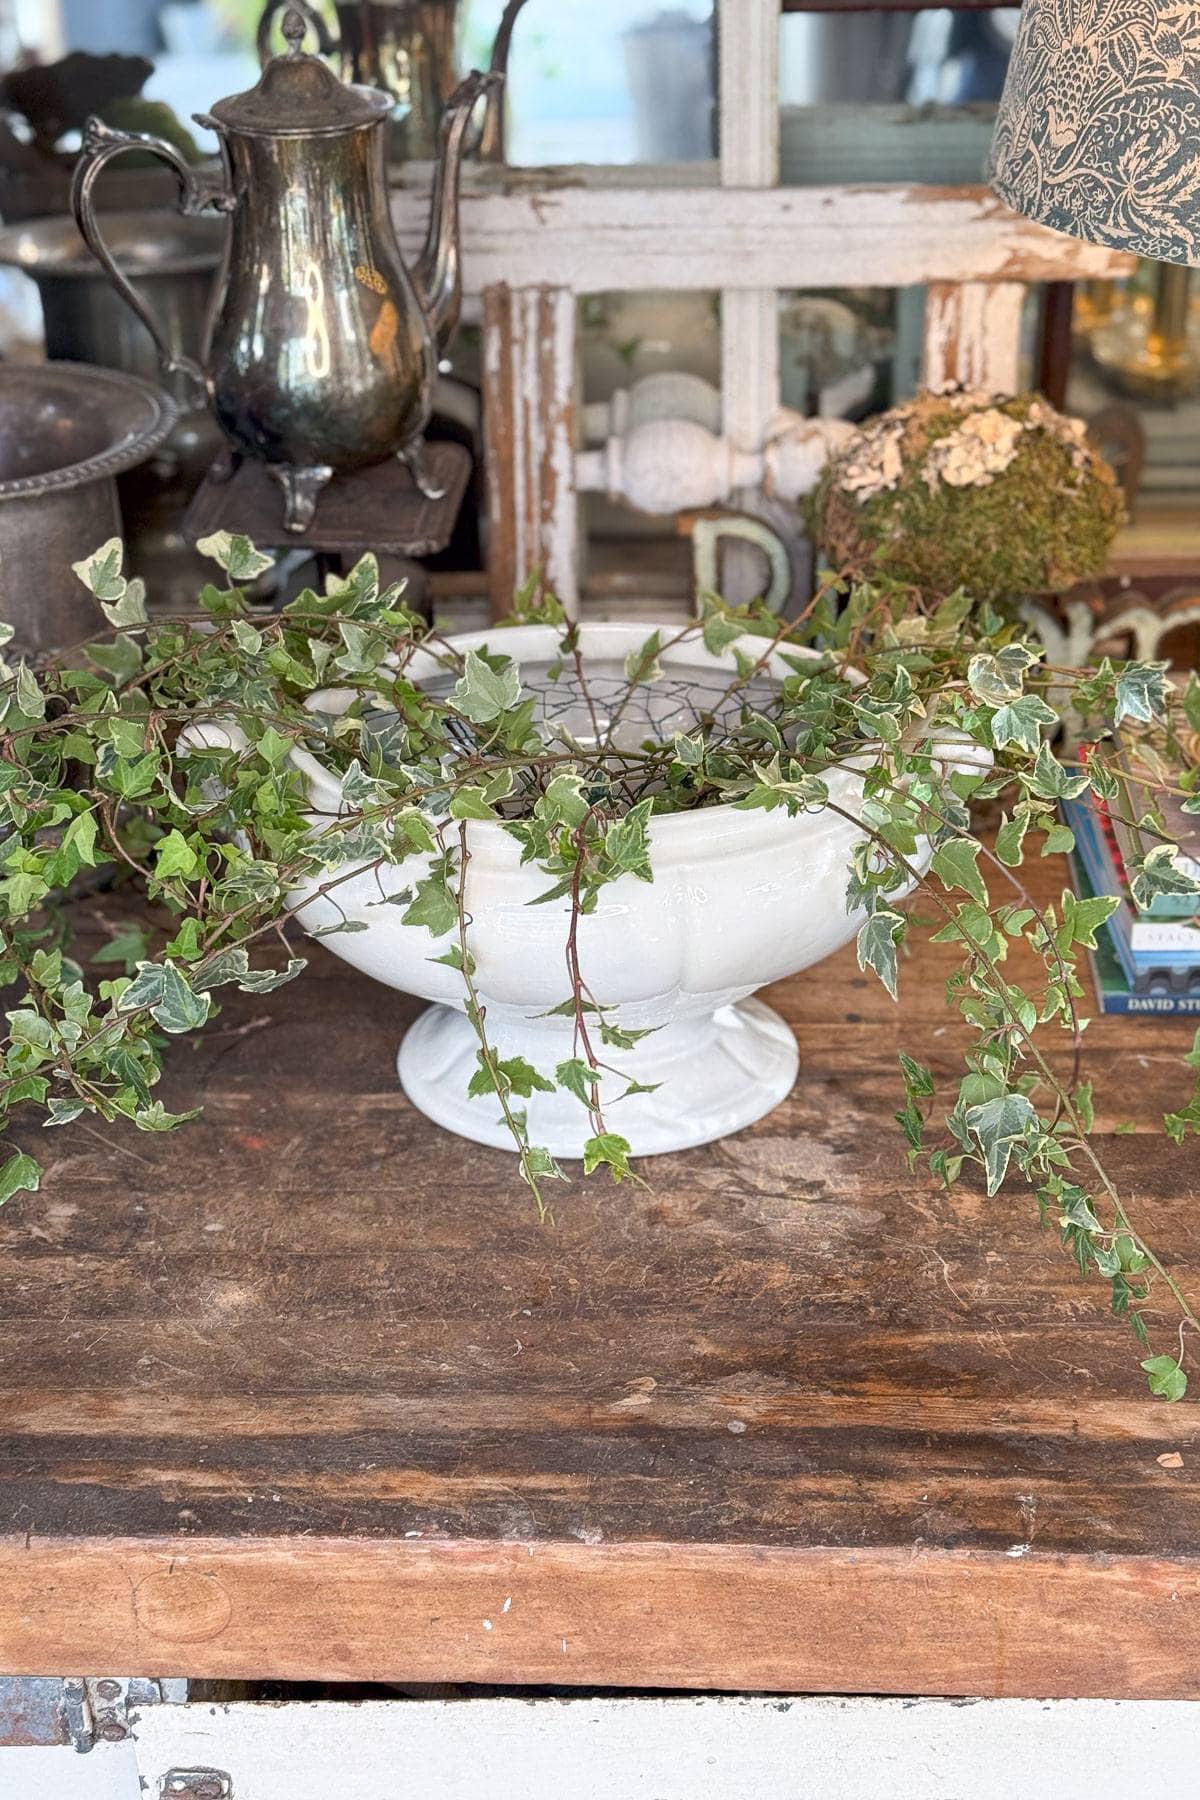
Step 3: Create a Base with Greenery
To create a centerpieces with your beautiful bouquet of blue hydrangeas, first start by building a base of greenery. This will give your arrangement structure and make it look full and natural from the start.
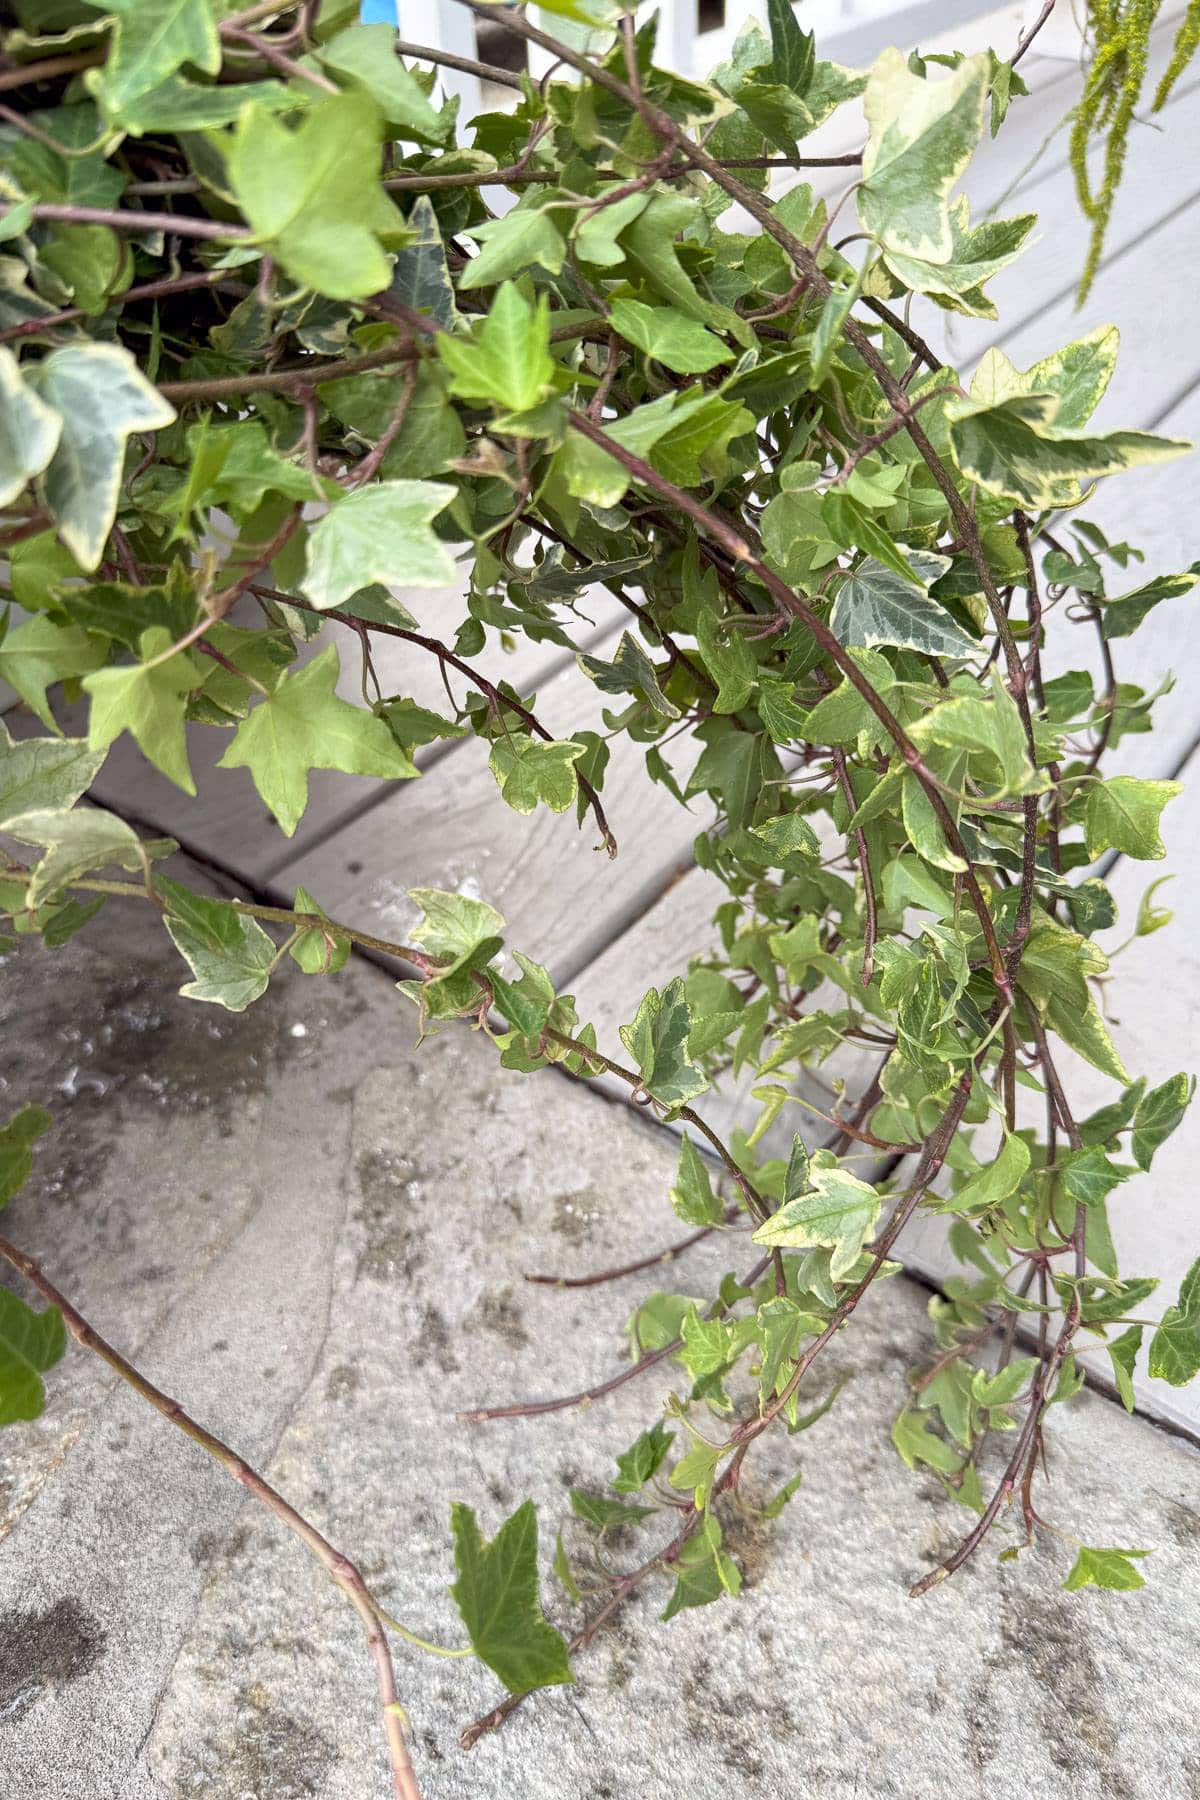
Before adding your greens to the vase, be sure to strip off any leaves that would sit below the water line. You only want the bare stem in the water to keep the arrangement fresh for as long as possible.
Once your greenery is prepped and placed, it will help support the flowers and create a beautiful, natural foundation for your blue hydrangea centerpiece.
Tip from wendy’s garden:
Don’t Skimp on Cleaning Up Leaves! Leaving foliage submerged can cause it to break down quickly, leading to bacteria buildup that clogs the stems and prevents your flowers from absorbing water properly. Plus, it can make the water murky and unpleasantly smelly—something no one wants in their centerpiece!
Step 4: Arrange Your Flowers
Now it’s time to start arranging your blue hydrangea centerpiece. Begin with your biggest flowers first, the blue hydrangeas. These full blooms create the base, so add enough to make the arrangement look nice and full.
Next, add the blue thistles. Let them stand a little taller than the hydrangeas to add some height and texture. The contrast between the soft hydrangeas and the spiky thistles makes the arrangement more interesting.

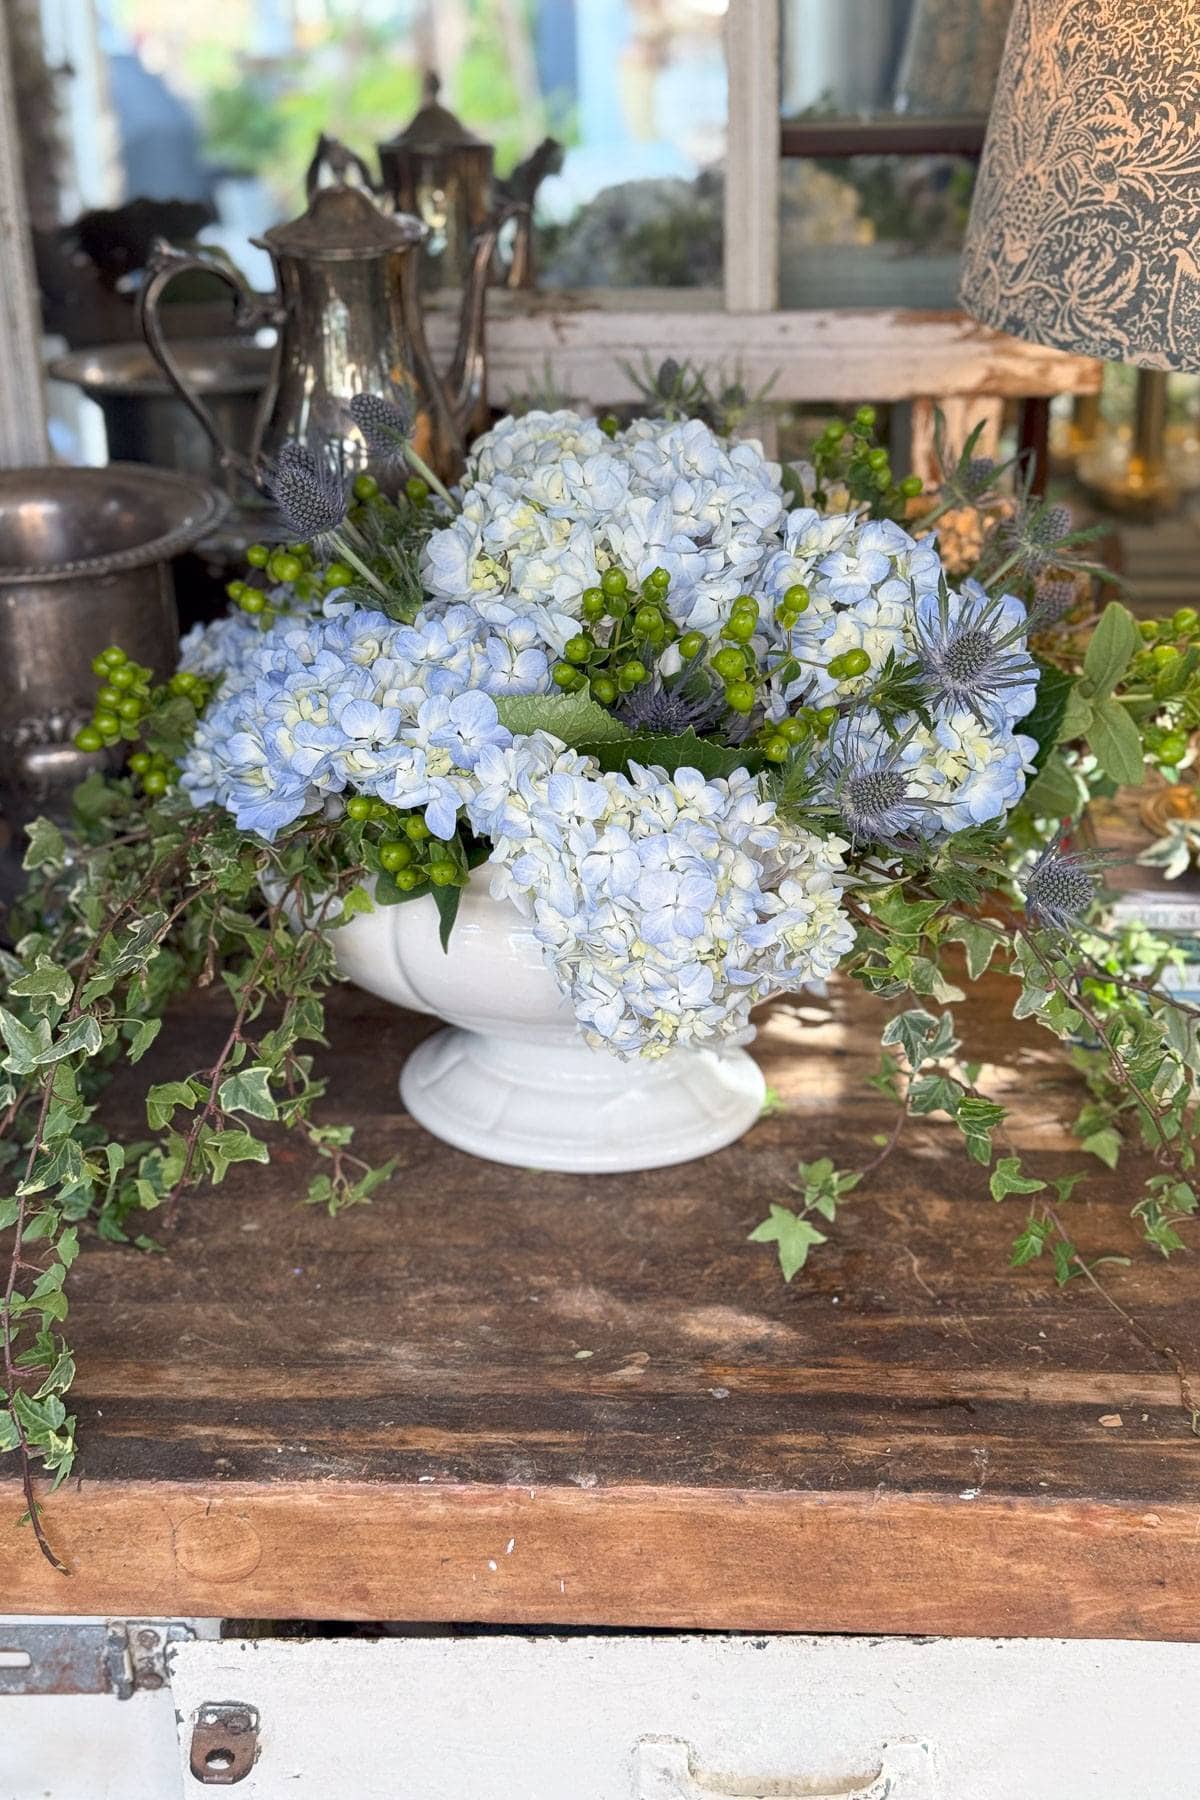
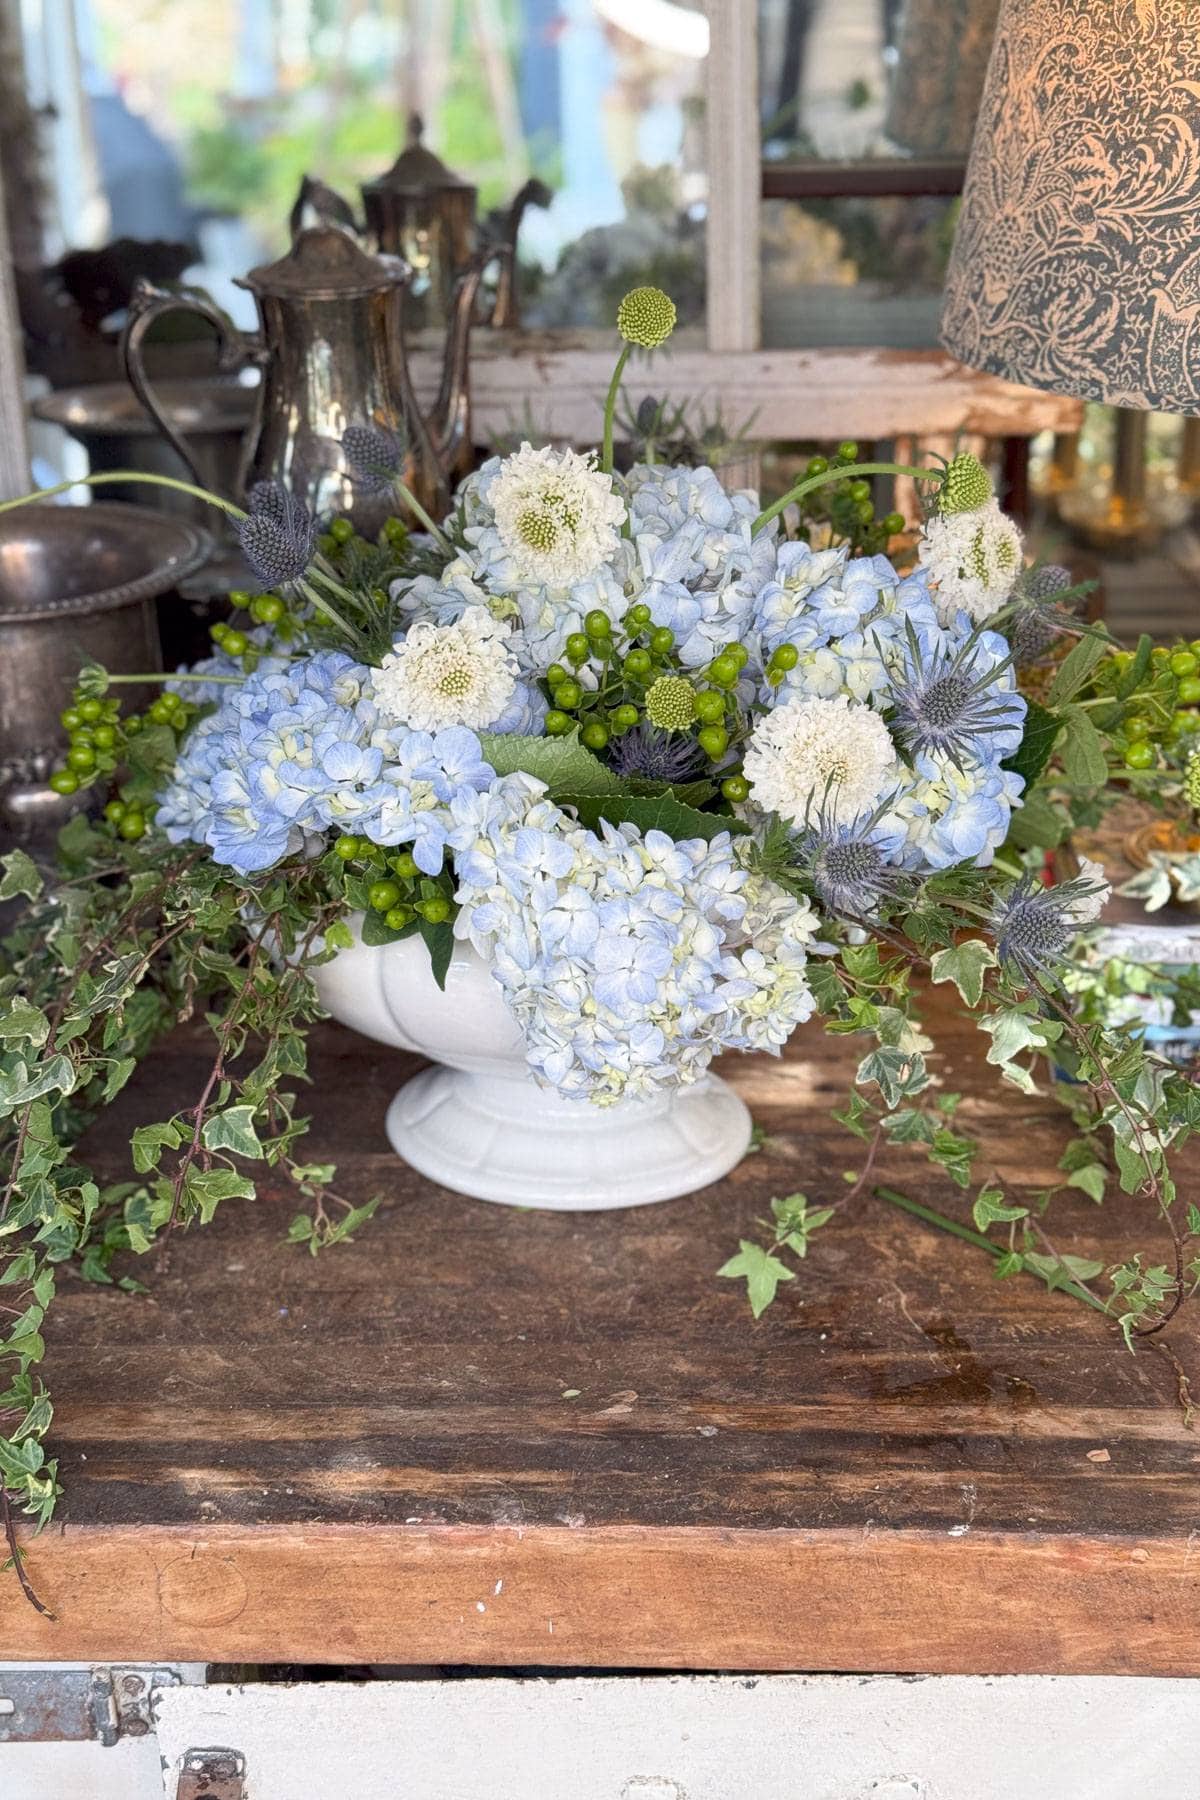
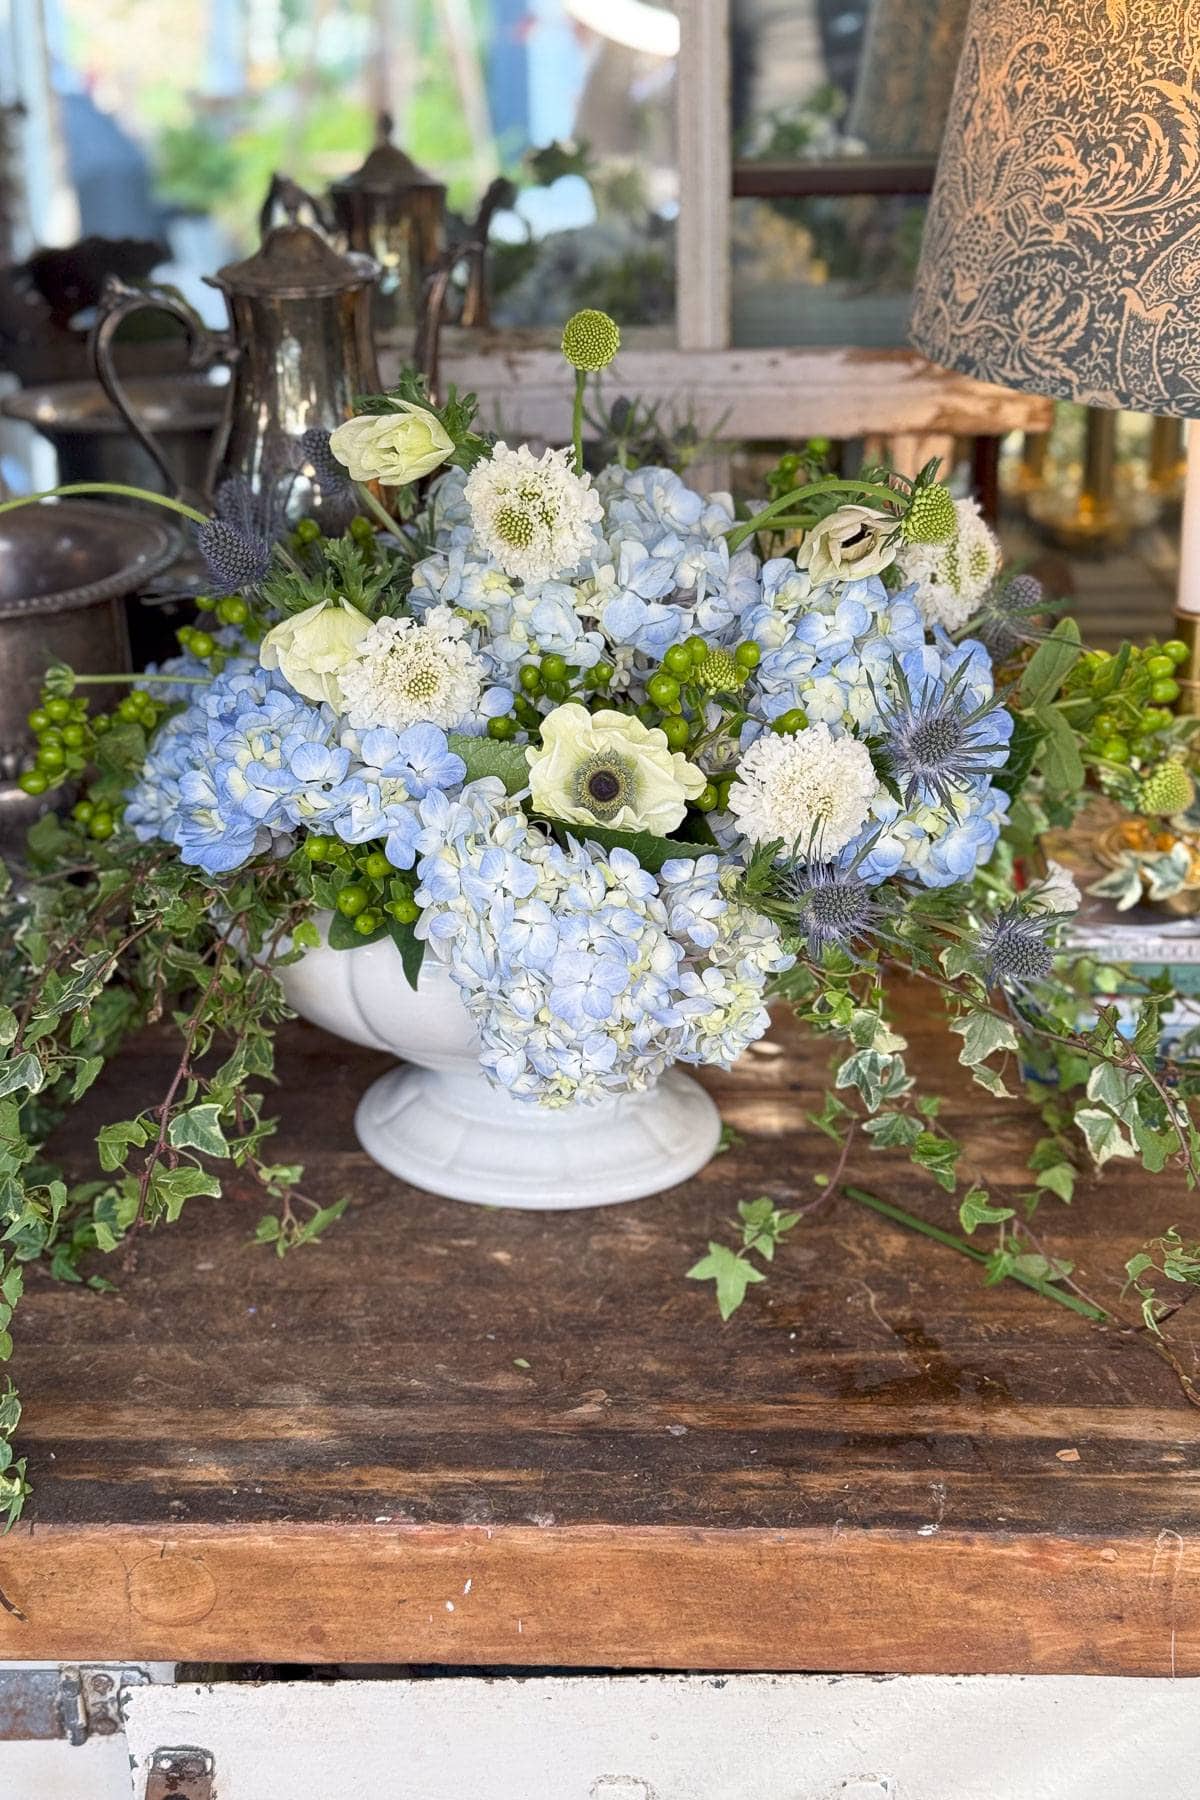
Now mix in some green coffee bean, also known as Green Hypericum. The tiny round buds add a nice pop of green and break up all the blue. After that, place the white pincushion flowers on longer stems so they stand up above the hydrangeas and make a statement.
Finish it off with a few white anemones. Their black centers give the arrangement a little extra drama and help tie everything together.
When you’re done with your blue hydrangea centerpiece, step back and take a look, and adjust anything that feels off and make sure it all looks balanced.

How to Keep Your Hydrangeas Fresh
Here are a few simple tricks to keep your blue hydrangeas looking fresh and your centerpiece looking beautiful for as long as possible.
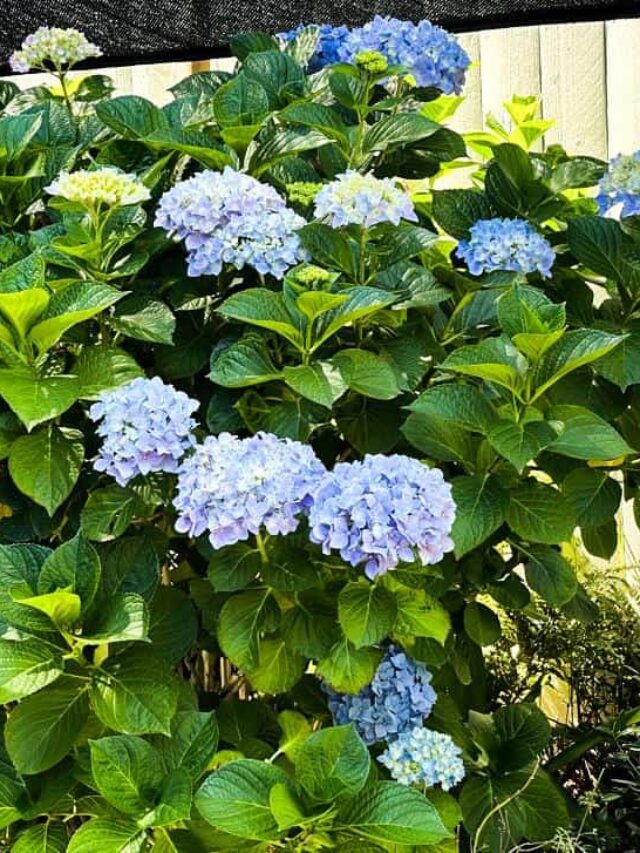
1) Harvest Hydrangeas at the Right Time
If you are cutting hydrangeas from your own garden there are a few simple tips and tricks to help your blooms stay fresh longer.

The best time to cut hydrangeas is early morning or late evening when the temperatures are cooler. In the morning, the flowers are well-hydrated from the overnight moisture, making them fresher and less likely to wilt.
Evening is a great time too since the heat of the day has passed and the plant has had time to recover from the sun.
Also be sure to choose fully mature blooms when cutting hydrangeas. Younger, less developed flowers tend to wilt quickly, while mature ones have sturdier stems and hold moisture better, keeping your arrangement fresh for longer.
Tip from wendy’s garden:
Timing is Everything! Try to avoid cutting your hydrangeas in the middle of the day when it’s hot. This is when they lose moisture the fastest and are more likely to wilt. A little timing makes a big difference in keeping your blooms fresh and beautiful!
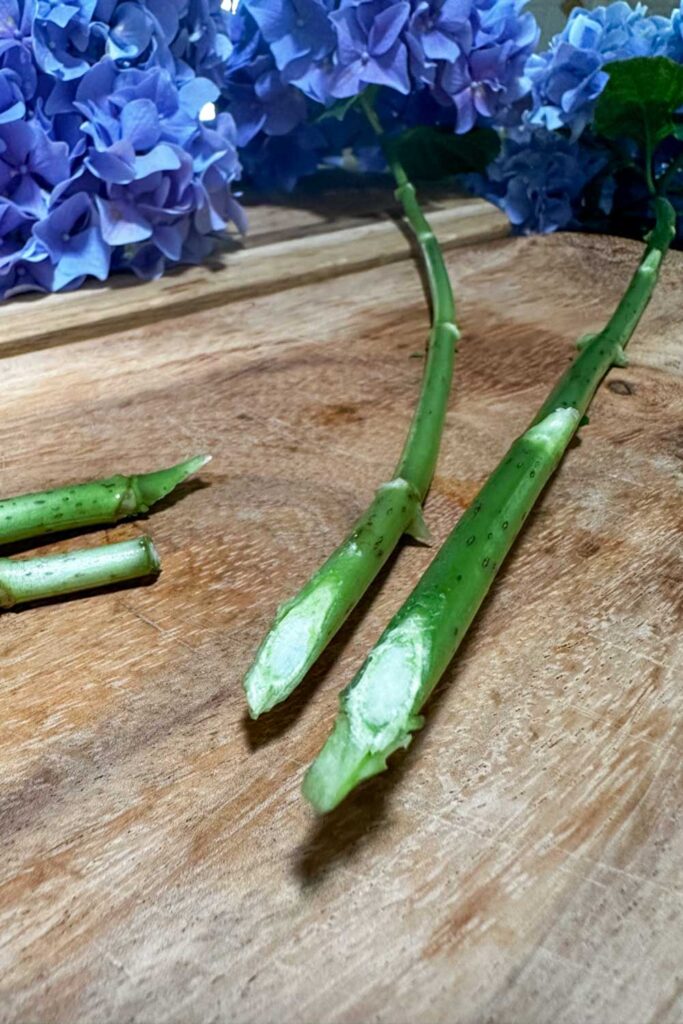
2) Cut Your Stems at an Angle
Always cut the stems at an angle before placing them in water. This helps your hydrangeas absorb more water and stay hydrated.

3) Place Your Hydrangeas in Water Immediately
Once you’ve either cut our purchased your hydrangeas, be sure to place them in some lukewarm water immediately. This helps prevent air from getting into the stems, which can block water absorption and cause them to wilt faster.
Tip from wendy’s garden:
Smash Your Stems! To take it a step further, gently smash the ends of the stems with a hammer or the back of your scissors. This opens up the veins in the stem, allowing even more water to flow through.
4) Use Floral Preservatives
Another great option is using a product called Dip It. It helps open the flower’s veins and keeps them fresh longer. If you arrange flowers often, it’s definitely worth having on hand.
5) Condition Your Stems
For even better results, try dipping the cut ends of the stems in alum powder before placing them in water. This helps them absorb more water and stay vibrant.
Hydrangeas also produce a sticky sap that can clog their stems and cause wilting. To fix this, dip the freshly cut ends into boiling water for about 30 seconds, then place them in room temperature water. This clears the sap and helps the flowers stay hydrated and beautiful for longer!
6) Replace Your Water Frequently
Change the water in your vase every other day to keep your hydrangeas fresh longer. Fresh water helps prevent bacteria buildup and keeps the flowers hydrated with the nutrients they need. A little upkeep goes a long way in making your blooms last!
7) Dunk Wilted Blooms in Water
And here’s one final tip. If you notice your hydrangeas starting to look wilted, don’t toss them just yet. Try soaking the head of your flowers in water for about ten minutes.
Hydrangeas absorb water through their petals too, so this can bring them back to life!
More Blue Hydrangea Arrangement Ideas
Each of these arrangements highlights the beauty of blue hydrangeas in a unique way, perfect for different occasions and styles!
Coastal Elegance Arrangement
- Blue hydrangeas
- White roses
- Dusty miller
- Eucalyptus
- Baby’s breath
Garden Romance Bouquet
- Light blue hydrangeas
- Soft pink peonies
- White lisianthus
- Lavender sprigs
- Green ivy
Rustic Charm Arrangement
- Blue hydrangeas
- Sunflowers
- Pink Roses
- Lemon leaf
- Chamomile
Modern Minimalist Hydrangea Vase
- Blue hydrangeas
- White orchids
- Blue delphiniums
- Bear grass
- Fern frawns
- Monstera leaves
How to Display Blue Hydrangea Centerpieces
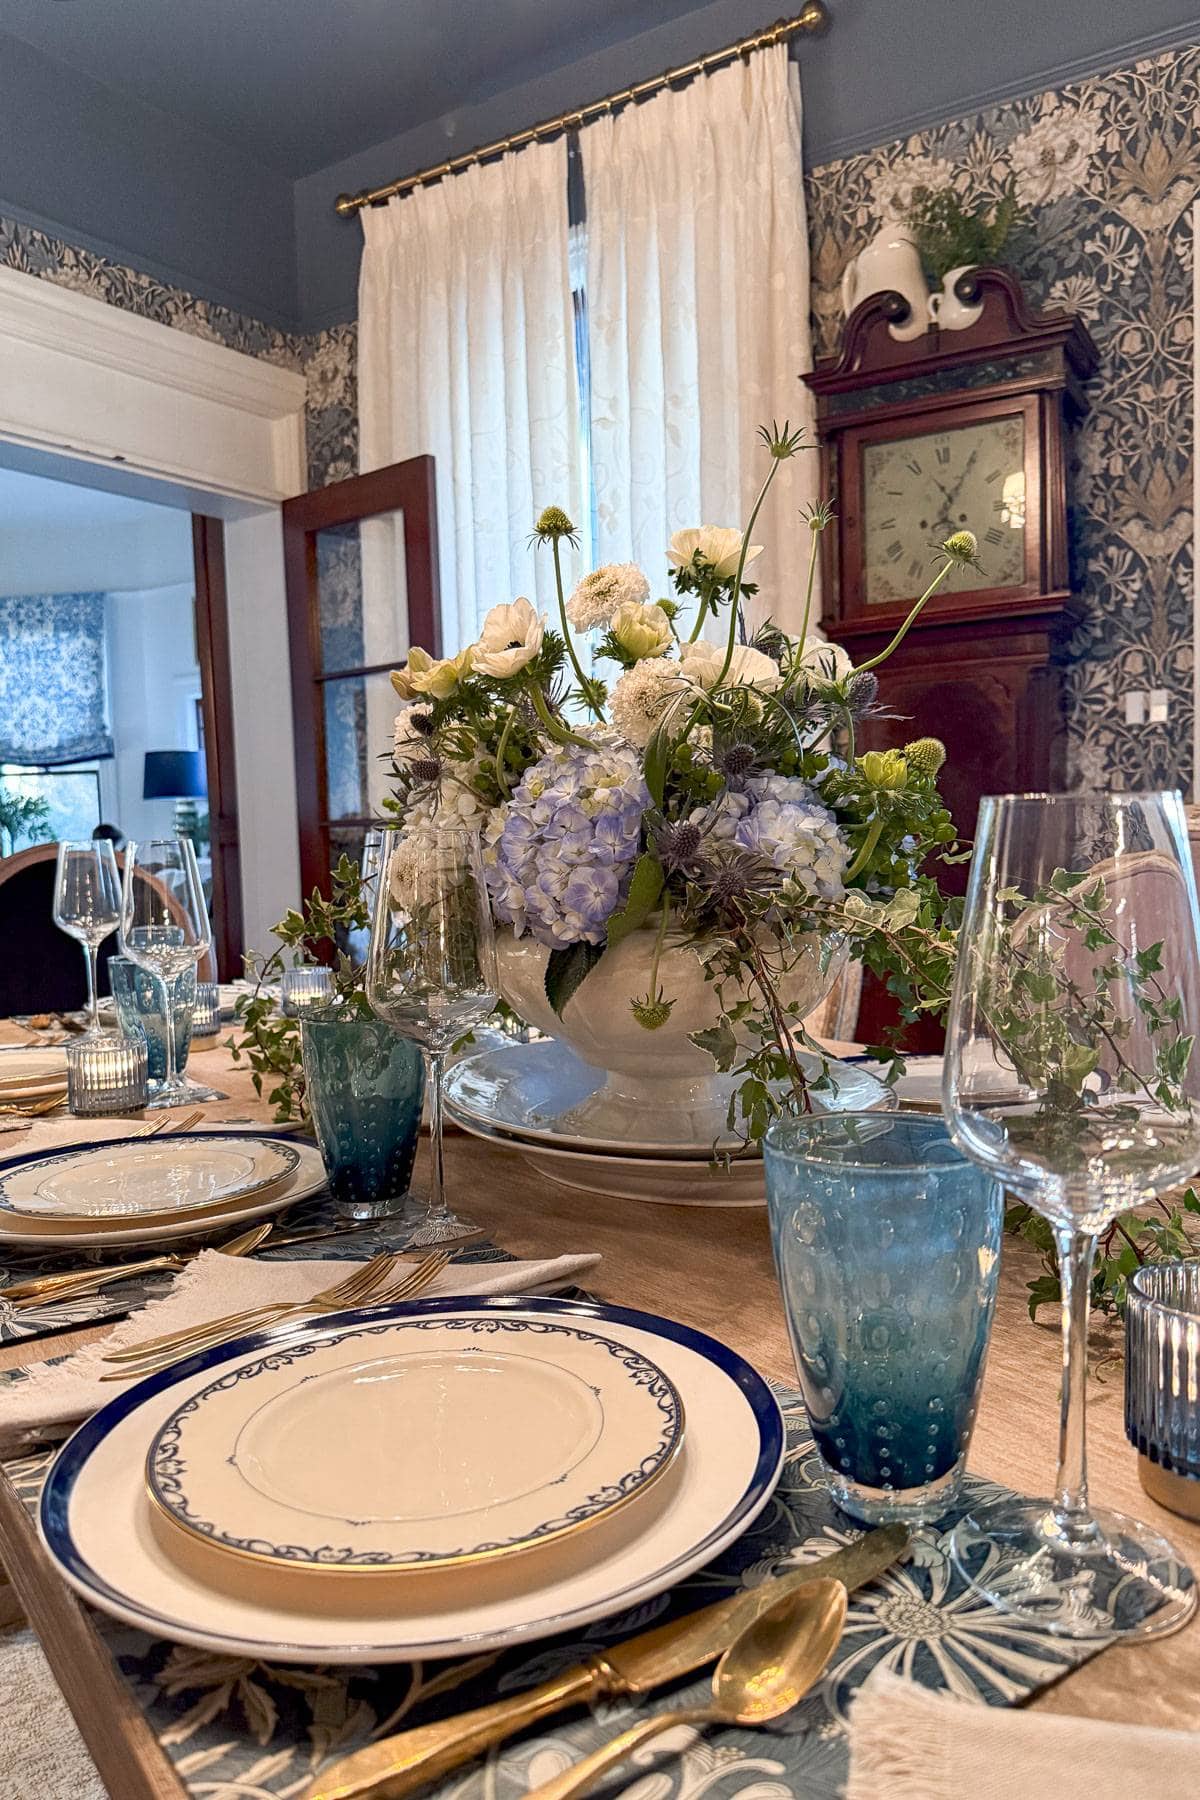
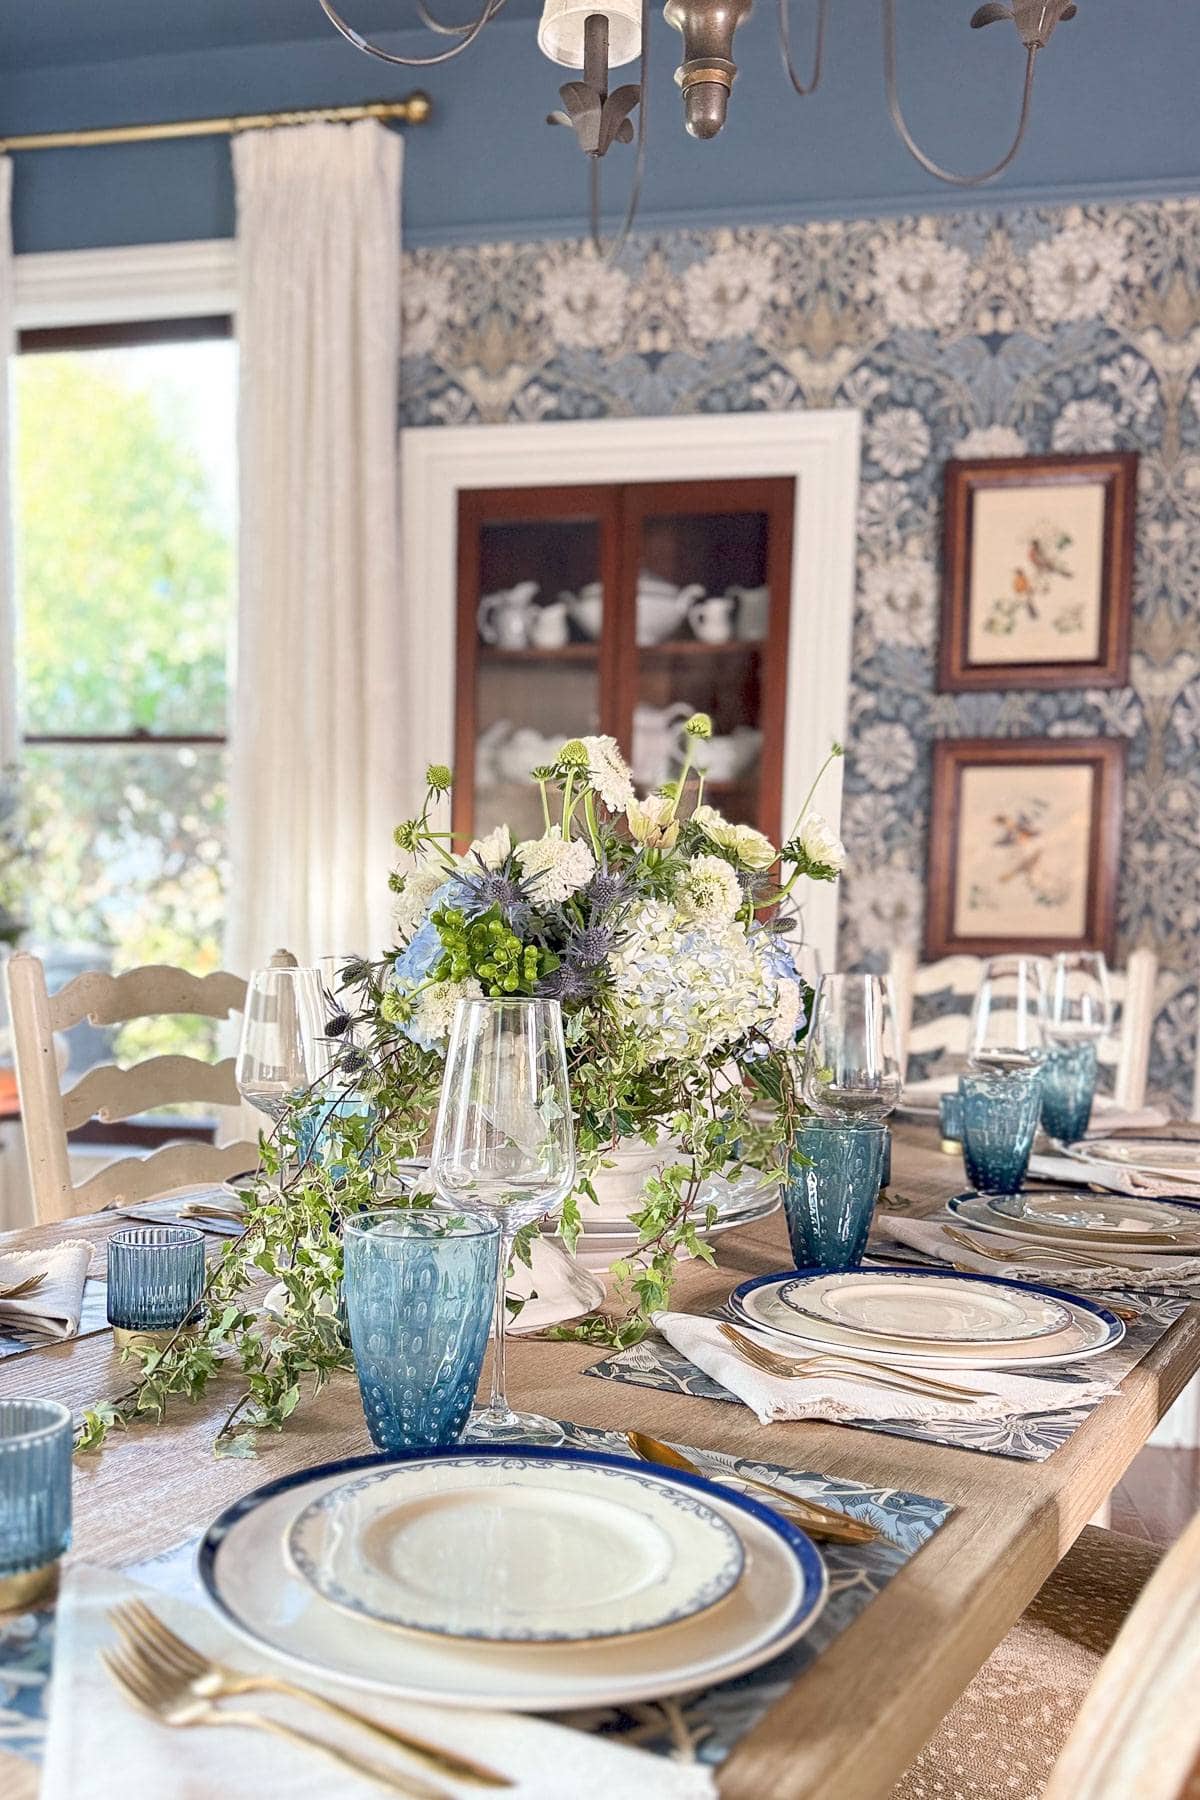
Once your blue hydrangea centerpiece is complete, it’s time to find the perfect spot to display it. These arrangements make a stunning focal point on a dining table, whether for a casual gathering or a special occasion. If you’re setting the table, keep the vase low enough so guests can see each other across the table.
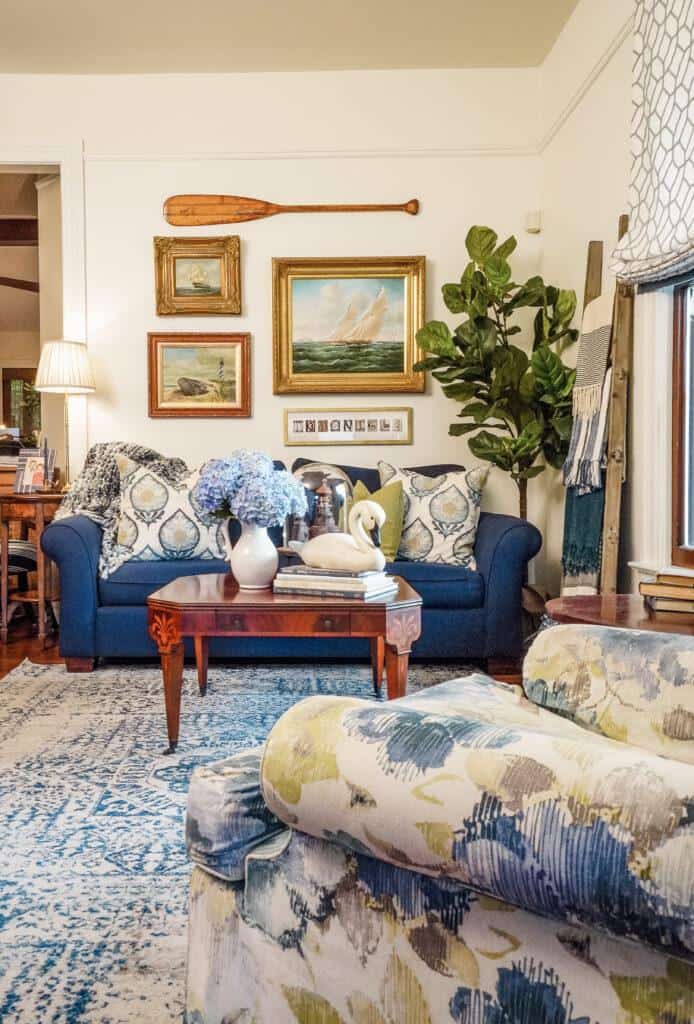
They also look beautiful on a kitchen island, coffee table, or entryway console, adding a fresh, welcoming touch to your home.
If you want to take it outside, place your centerpiece on an outdoor dining table or patio side table for a charming garden-inspired look. Just be sure to keep it in a cool, shaded area to help the blooms last longer.
No matter where you put it, a blue hydrangea centerpiece adds instant beauty to any space!
Other Flower Arrangement Tutorials from WM Design House
If you love these tips for creating blue hydrangea centerpieces, you might also enjoy some of my other favorite floral arrangements.
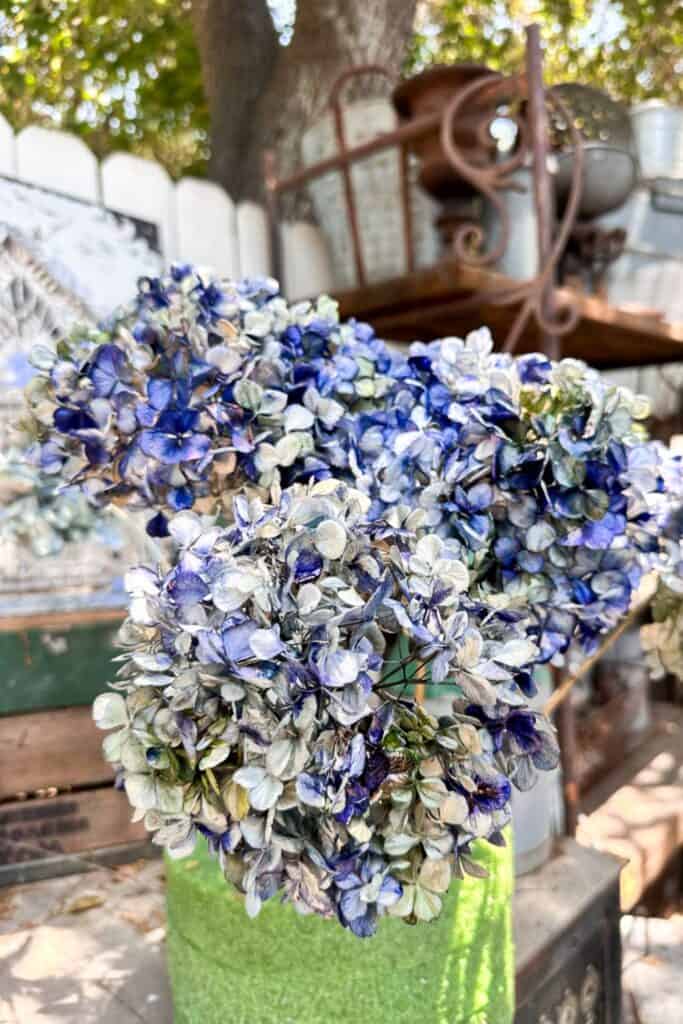
How to Easily Dye Dried Hydrangeas in 3 Easy Steps
Hydrangea Arrangements: How to Make Them Quick & Easy
Decorating with Hydrangeas
Wrapping Up
And that’s it! Creating a blue hydrangea centerpiece is easier than you think, and the end result is absolutely gorgeous. Whether you’re putting one together for a special occasion or just to brighten up your home, these blooms always make a statement.
Have fun with it, play around with different flower pairings, and don’t stress about making it perfect. Sometimes the most beautiful arrangements are the ones that feel a little wild and natural.
I’d love to hear if you give this a try, so let me know how it turns out.
Happy arranging!


Did you make this craft?
We would love to see what you have created, so mention us @wmdesignhouse or tag us using #wmdesignhouse so we can see your creations!
More about me!

Hello, I’m Wendy – a dedicated homemaker with a deep passion for decorating, gardening, cooking, and crafting. I find joy in harmonizing beautiful elements to fashion a space that is both comfortable and inspiring. I will help you create a beautiful home, one project at a time.