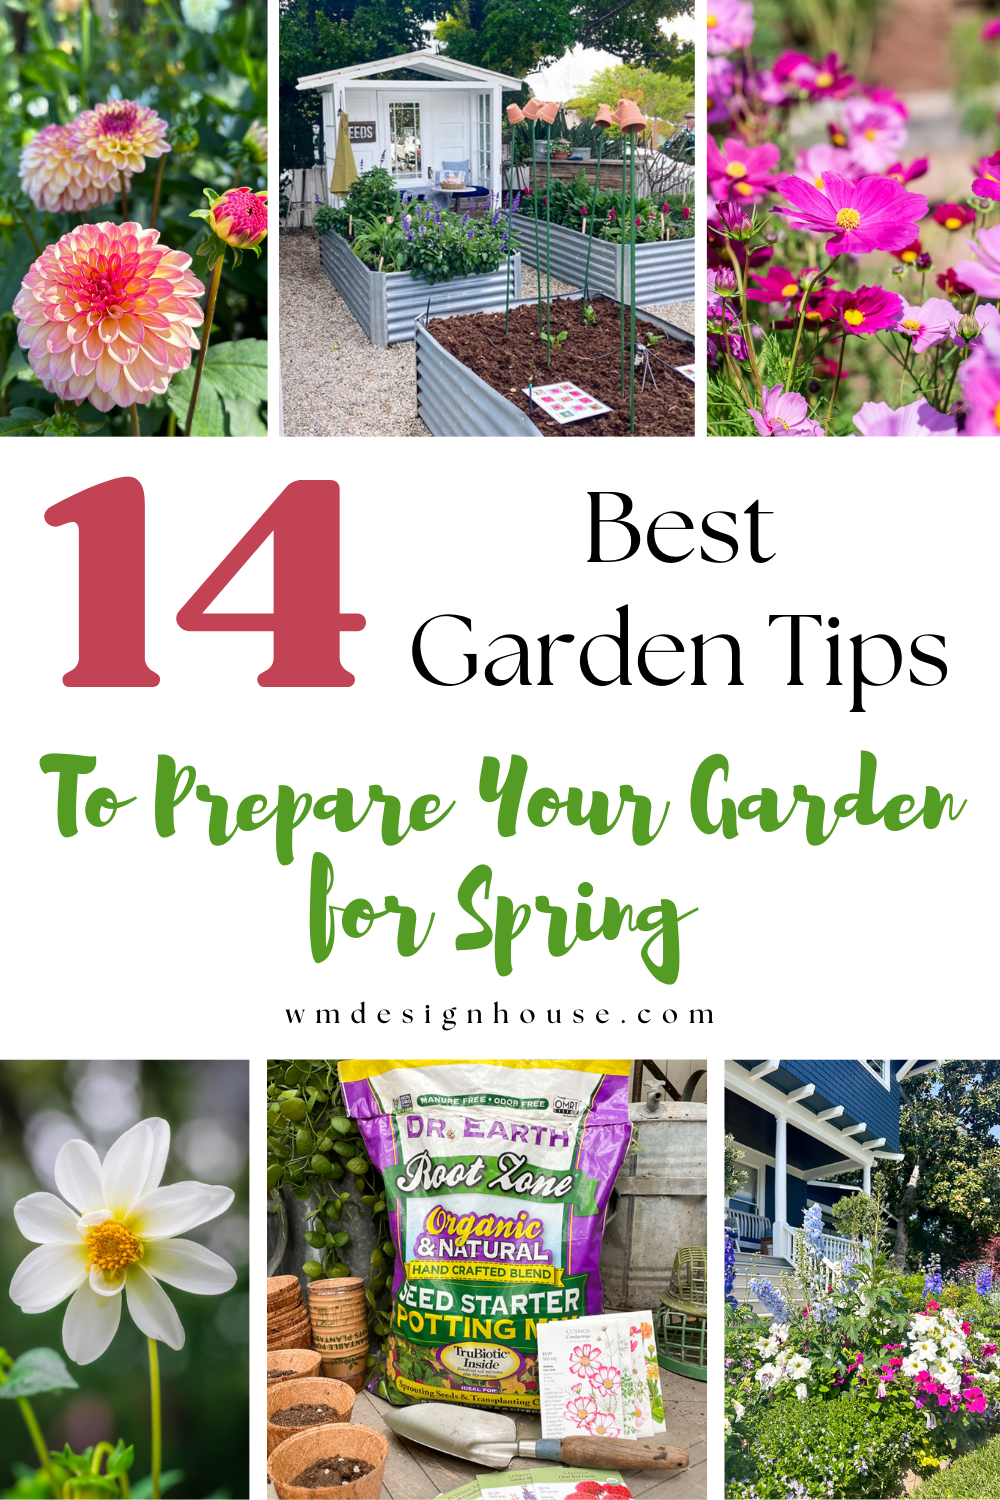
Preparing Your Garden for Spring: 14 Easy Tips
Whether you’re a seasoned gardener or just getting started, these 14 easy tips for preparing your garden for spring will help you create a vibrant, thriving space.
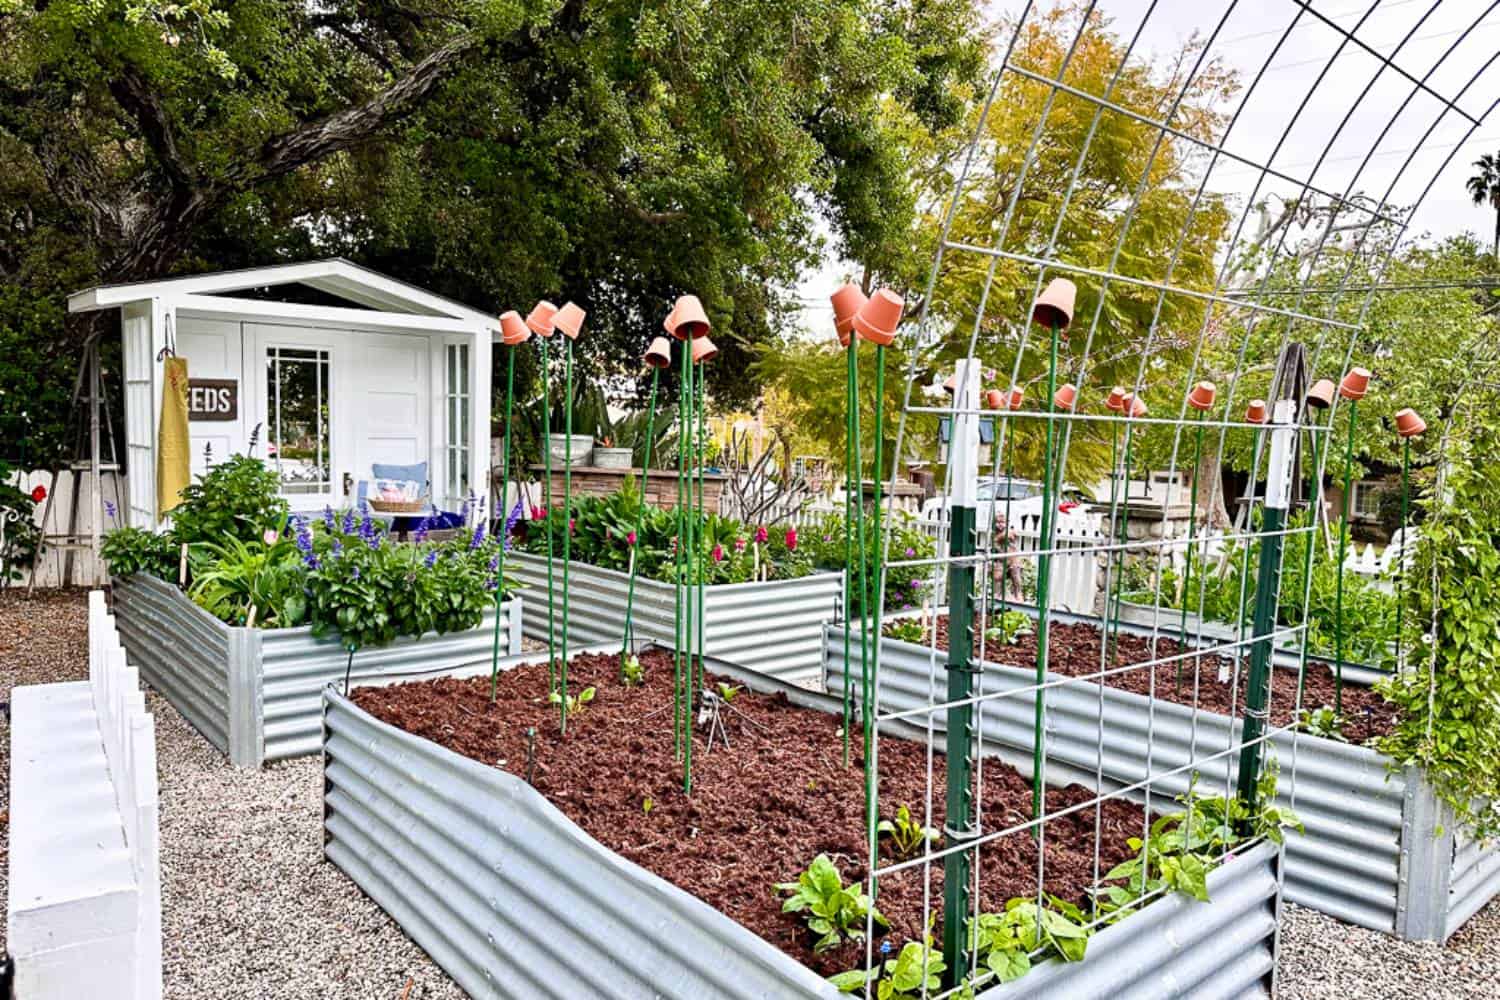
Spring is just around the corner, and there’s no better time to start getting your garden ready for the season of growth and beauty. While I know it might feel a little early for some of you living in cooler climates, here in sunny Southern California, we need to get a head start.
Today I’m sharing 14 easy tips for preparing your garden for spring. From simple cleanup tasks to prepping your soil, these steps will set the stage for a stunning garden you’ll love all season long!
So keep this list close, and when the time is right, you’ll be ready to welcome spring into your garden with open arms.
When Should You Start Preparing Your Garden for Spring?
The best time to start preparing your garden depends on your location, climate, and the plants you want to grow. Gardening zones (or hardiness zones as they are often referred to) significantly determine when to begin, as frost dates and seasonal temperatures vary across regions.
If you don’t know your hardiness zone, you can find it here.
For those in colder climates, preparation typically starts in late winter to early spring once the threat of frost has passed. This means gardeners in zones 3-7 may need to wait until March or even mid-May to begin outdoor planting. However, seed-starting indoors can start earlier, allowing for strong transplants when the weather warms up.
(You can find more tips for starting zinnias from seed here, sowing sweet pea from seeds, and growing your own cosmo from seed.)
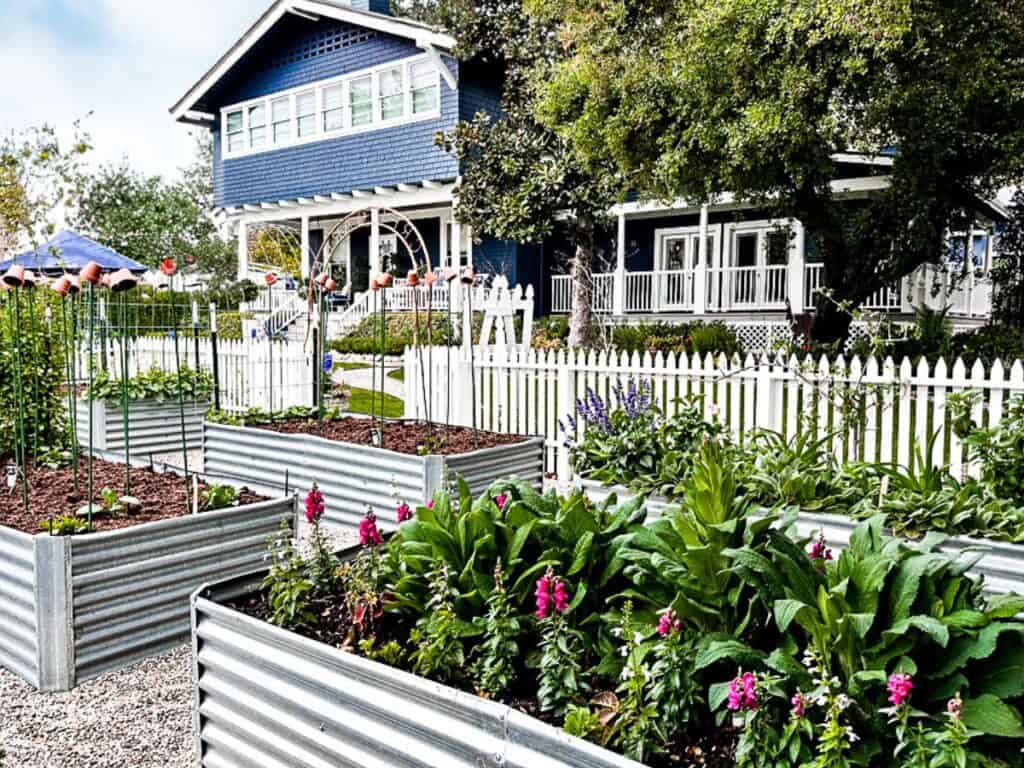
In milder climates (zones 8-10), like Southern California, gardening can be nearly year-round. Since I live in zone 10B, where we enjoy a long growing season, I start preparing my garden in late January or early February. This gives me time to clear out any leftover debris from winter, refresh the soil, prune plants, and begin planting cool-season crops or early spring flowers.
No matter your zone, getting a head start on your garden ensures a thriving, productive space once the growing season begins.
14 Essential Tips to Prep Your Winter Garden for a Flourishing Spring
Are you ready for winter garden preparation for spring? Here’s a checklist with 14 essential tips to help your garden thrive when the warmer days arrive!
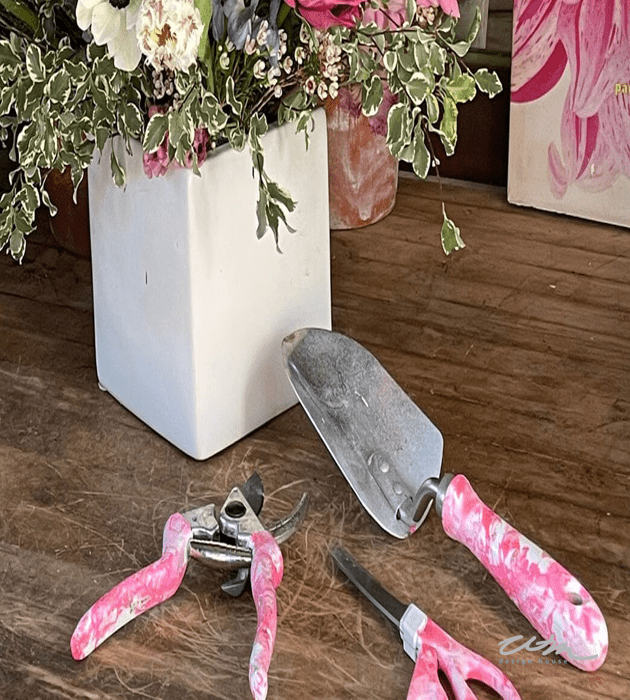
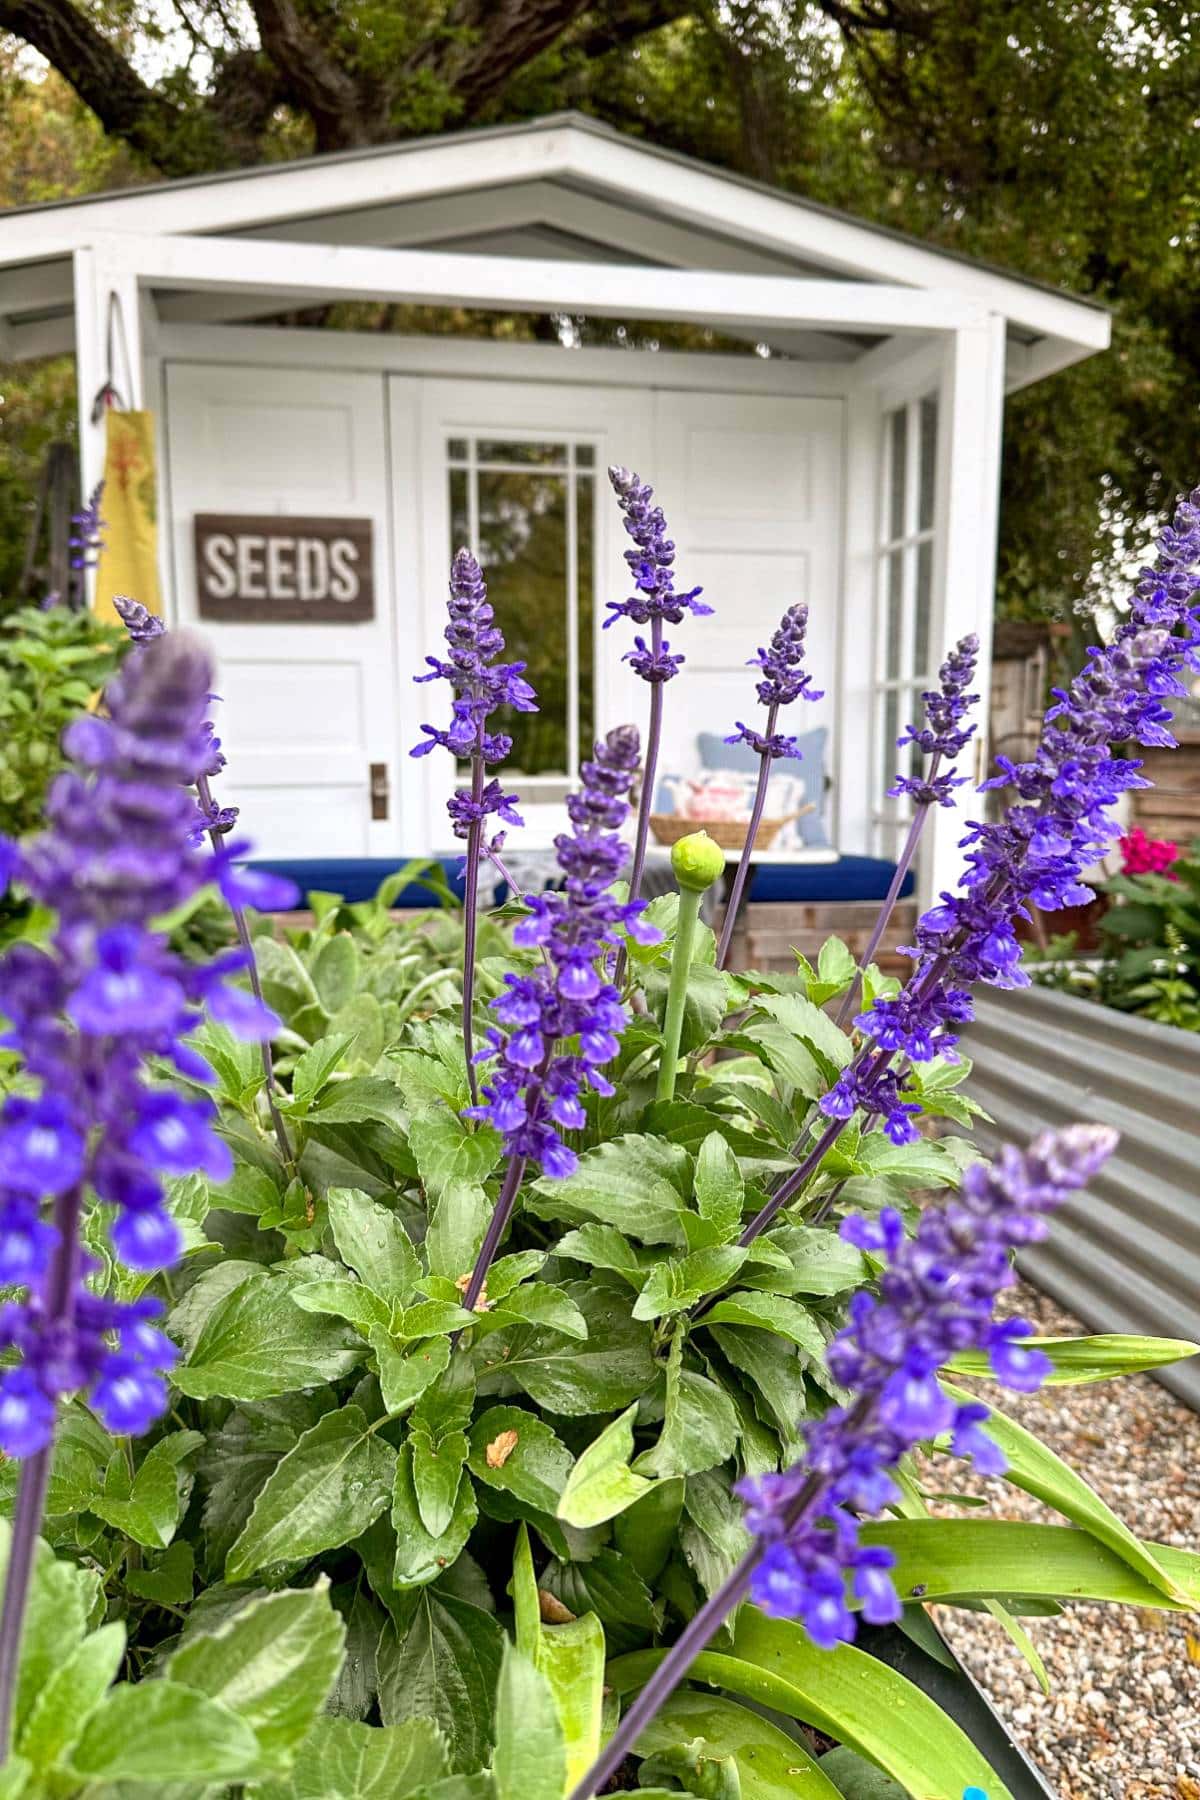
1. Check Your Garden Tools and Organize Your Garden Shed
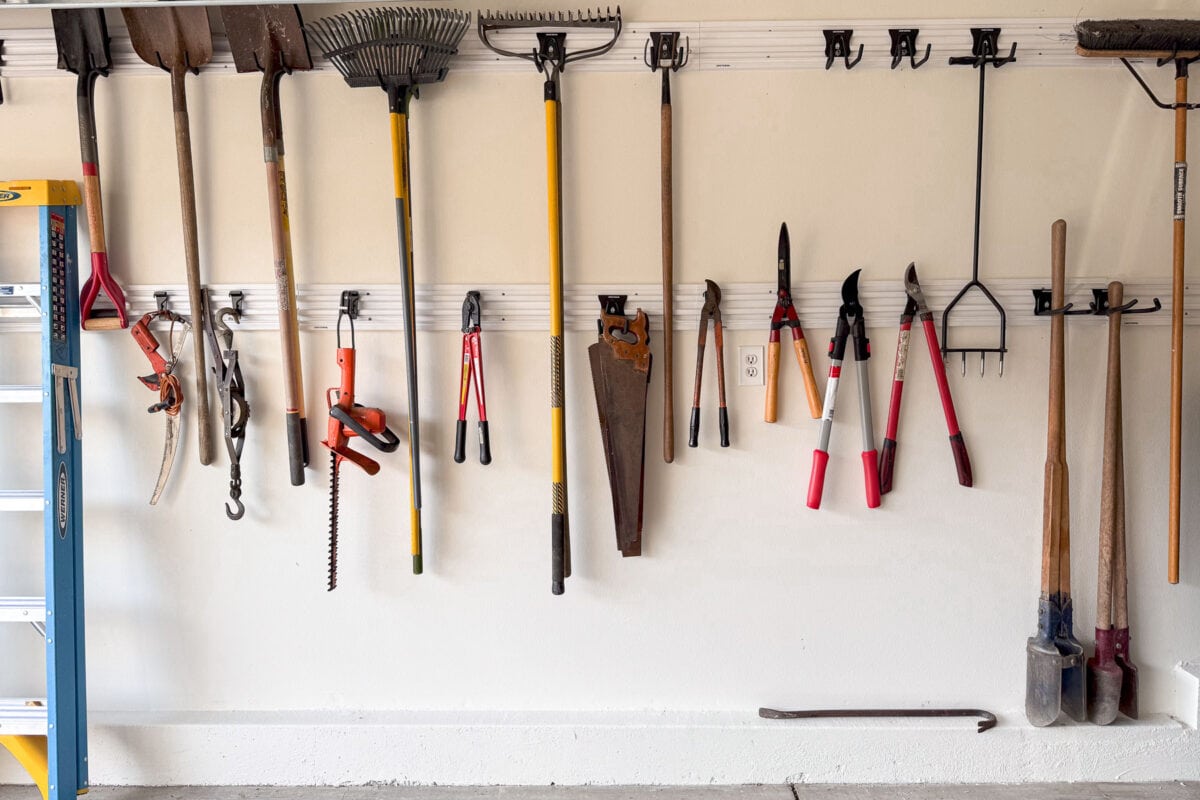
Before the start of each season it’s always a good idea to check the condition of your tools. Sharpening your garden tools and clippers regularly keeps them in top shape, making gardening easier and helping plants heal faster after pruning.
Here’s the equipment you’ll need to keep your garden tools in great condition and the best way to sharpen them:
What You’ll Need:
- A mill file (for larger tools like shovels, hoes, and shears)
- A sharpening stone or diamond file (for pruners and smaller tools)
- A wire brush or steel wool (to remove rust)
- A rag and soapy water (for cleaning)
- WD-40 or mineral oil (to prevent rust)
- A vise or clamp (to hold tools steady)
- Safety gloves and goggles (for protection)
Steps to Sharpen Different Tools:
Pruners, Clippers, and Shears
- Clean: Use soapy water and a wire brush to remove dirt and sap.
- Disassemble (if possible): This makes sharpening easier.
- Sharpen with a diamond file or sharpening stone: Hold the blade at its original bevel angle (usually around 20-30 degrees). Stroke in one direction, moving from the base to the tip. Repeat about 5-10 times or until sharp.
- Remove burrs: Use a fine file or sharpening stone on the back edge to smooth out any rough edges.
- Oil and reassemble: Wipe blades with mineral oil or WD-40 to prevent rust.
Shovels, Hoes, and Edgers
- Clean and remove rust: Use a wire brush or steel wool.
- Secure in a vise: This prevents movement while sharpening.
- Use a mill file: Hold it at a 45-degree angle and push along the beveled edge in one direction.
- Repeat until sharp: 10-15 strokes should be enough.
- Smooth rough edges: Lightly sand any burrs with fine sandpaper or a sharpening stone.
- Oil to prevent rust: Apply a thin WD-40 or mineral oil coat.
2. Organize Your Garden Shed
When preparing your garden for spring, You should also tidy up your shed and storage area by organizing your gardening tools for easy access throughout the season.
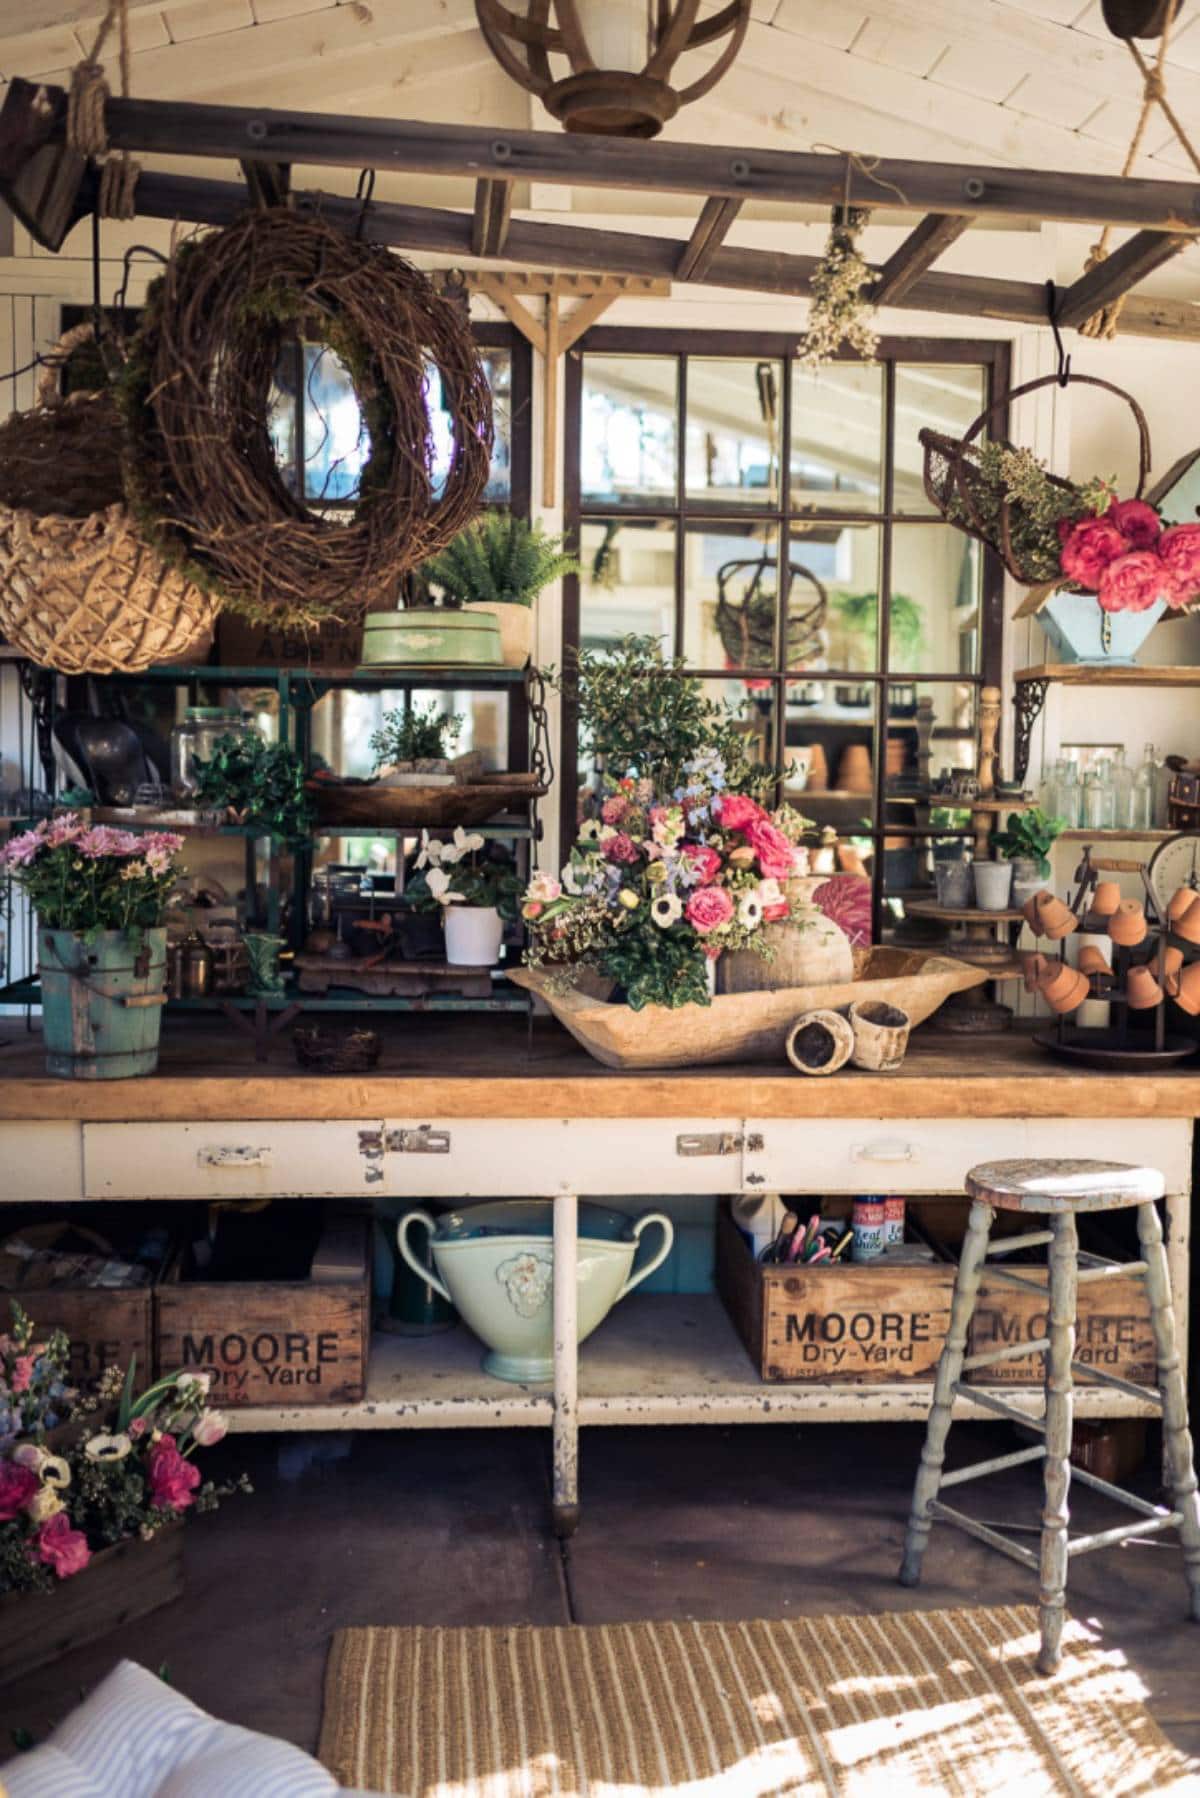
This will make it much easier to find what you need, when you need it as you work to prepare your garden for spring.
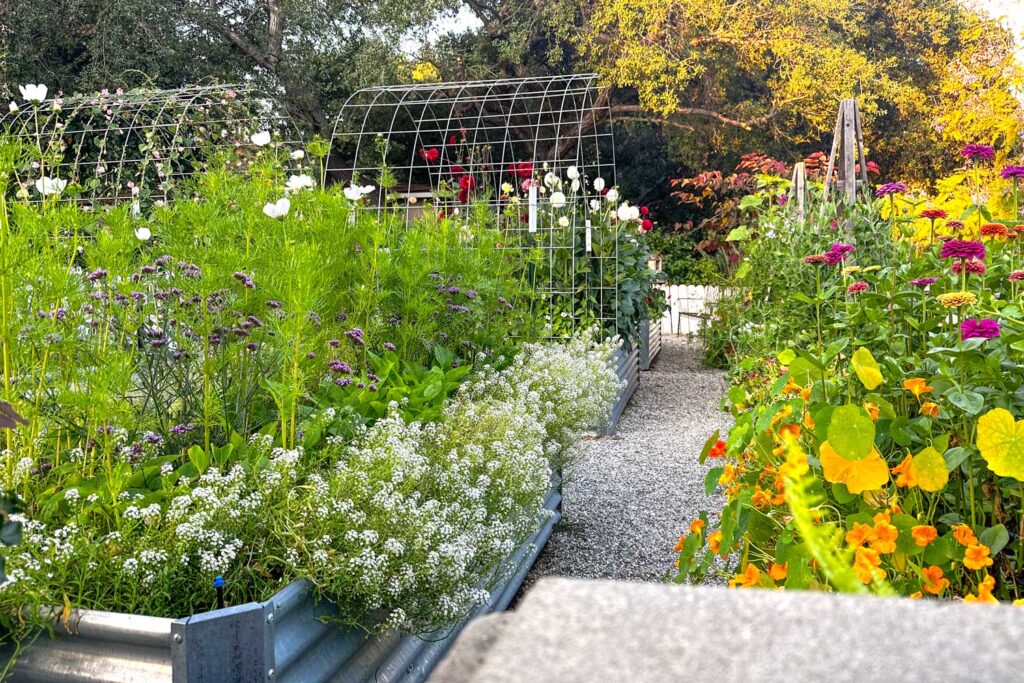
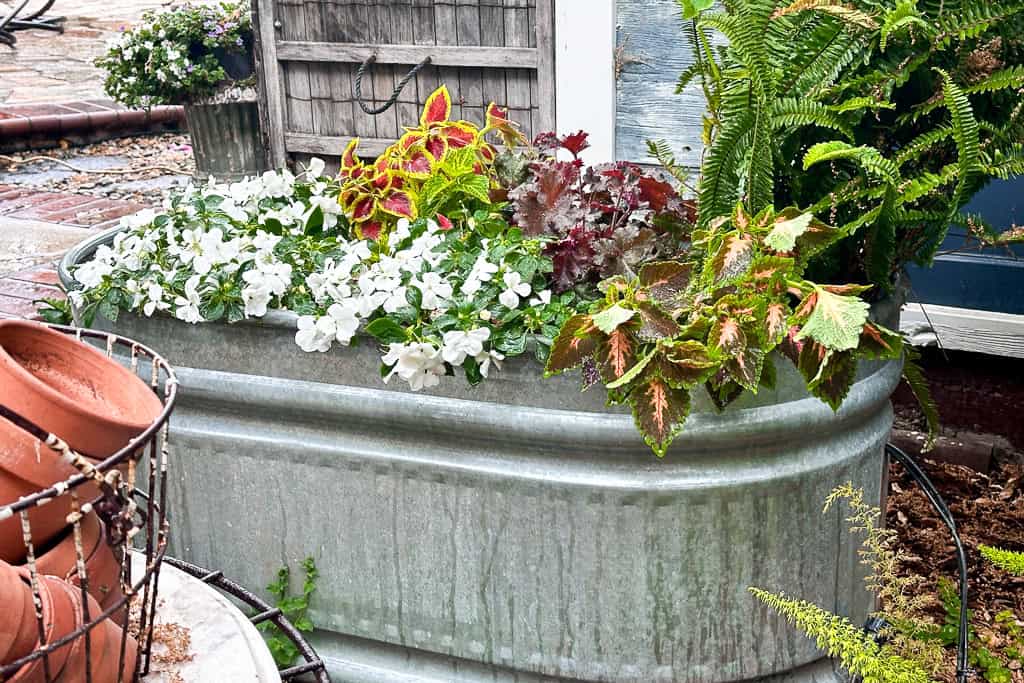
3. Clean Your Garden Beds
Give your flower beds a fresh start this spring by clearing out debris, trimming back dead growth, and pruning shrubs and perennials to encourage healthy new growth. Remove weeds, leftover leaves, and spent plants to make room for vibrant blooms.
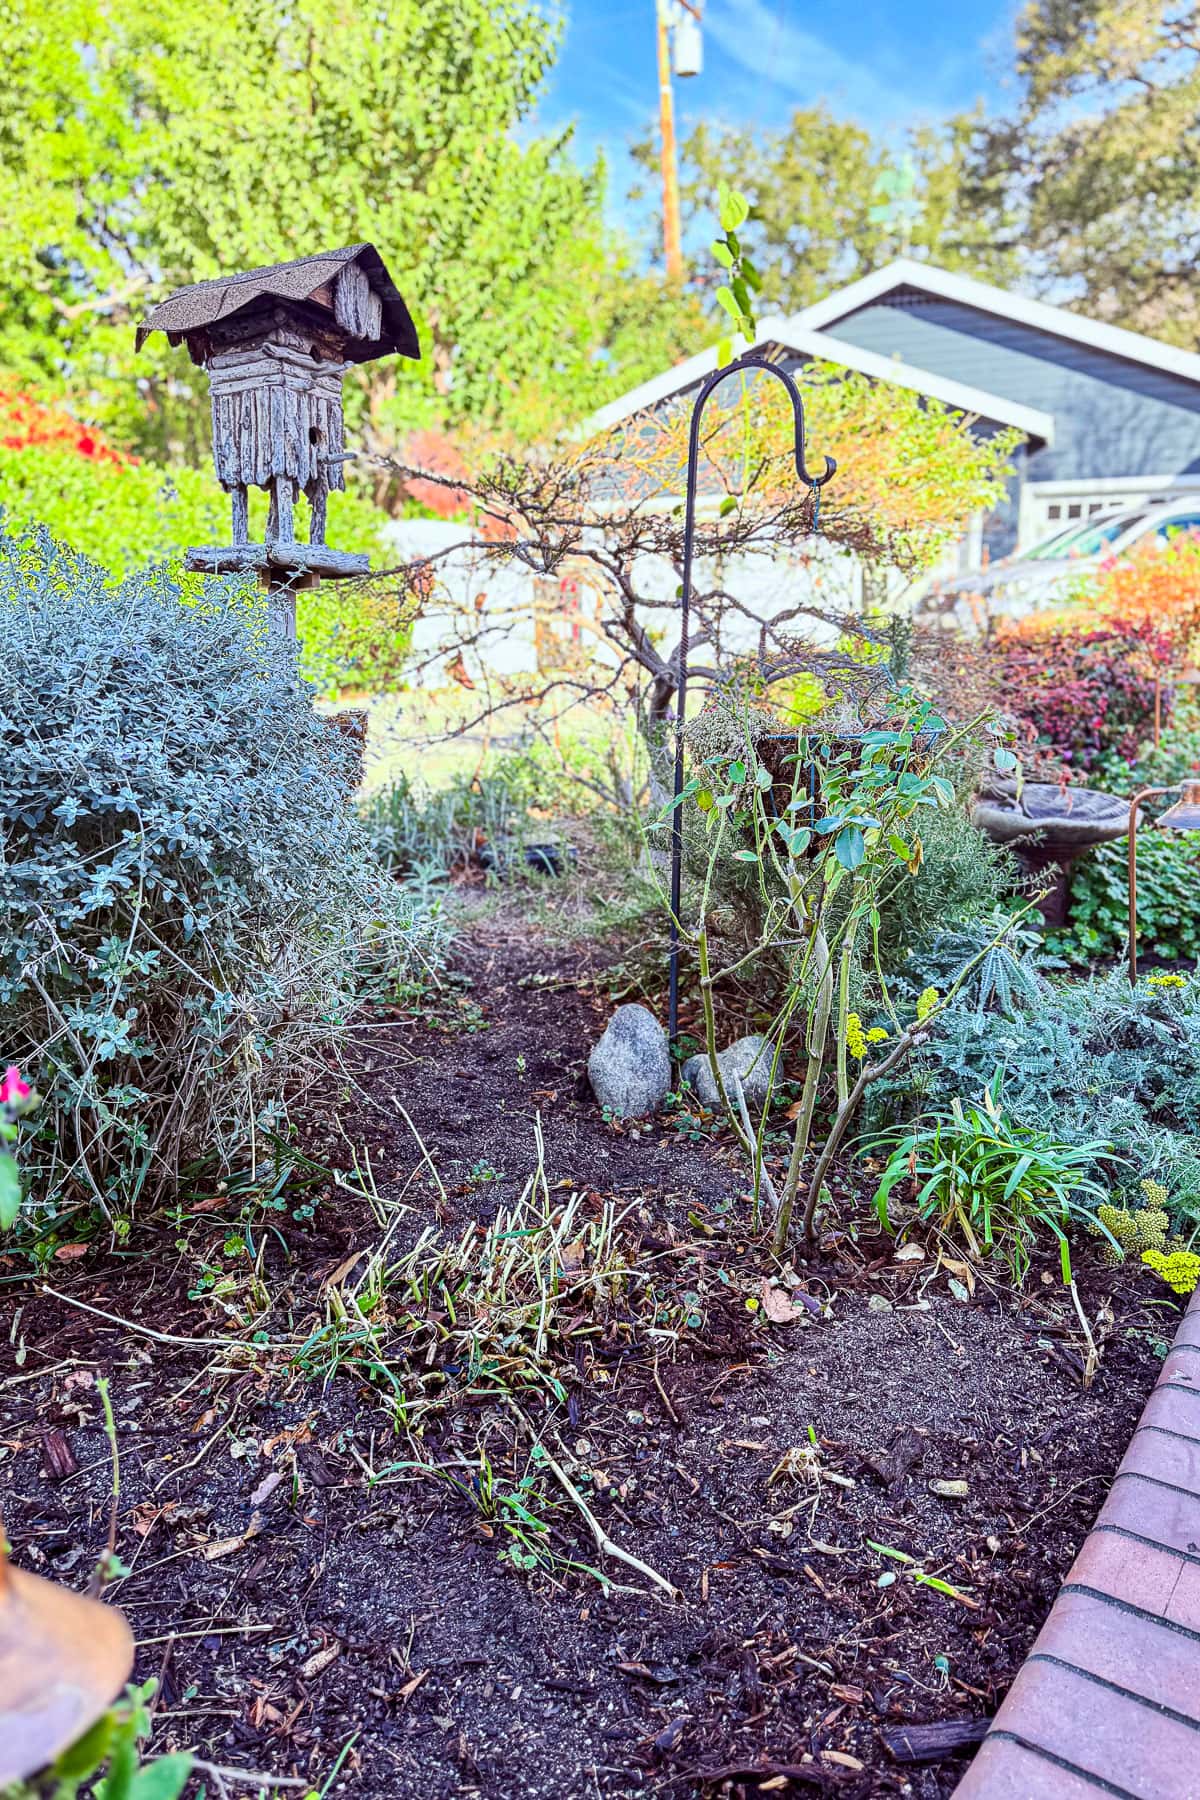
Cut back ornamental grasses and shape overgrown bushes for a tidy, well-maintained look. Refresh the soil with compost or mulch to nourish your plants and retain moisture. A minor spring cleanup now sets the stage for a thriving, beautiful garden all season long!
4. Check Your Watering System
Winter is perfect for checking your sprinkler system before the heat hits.
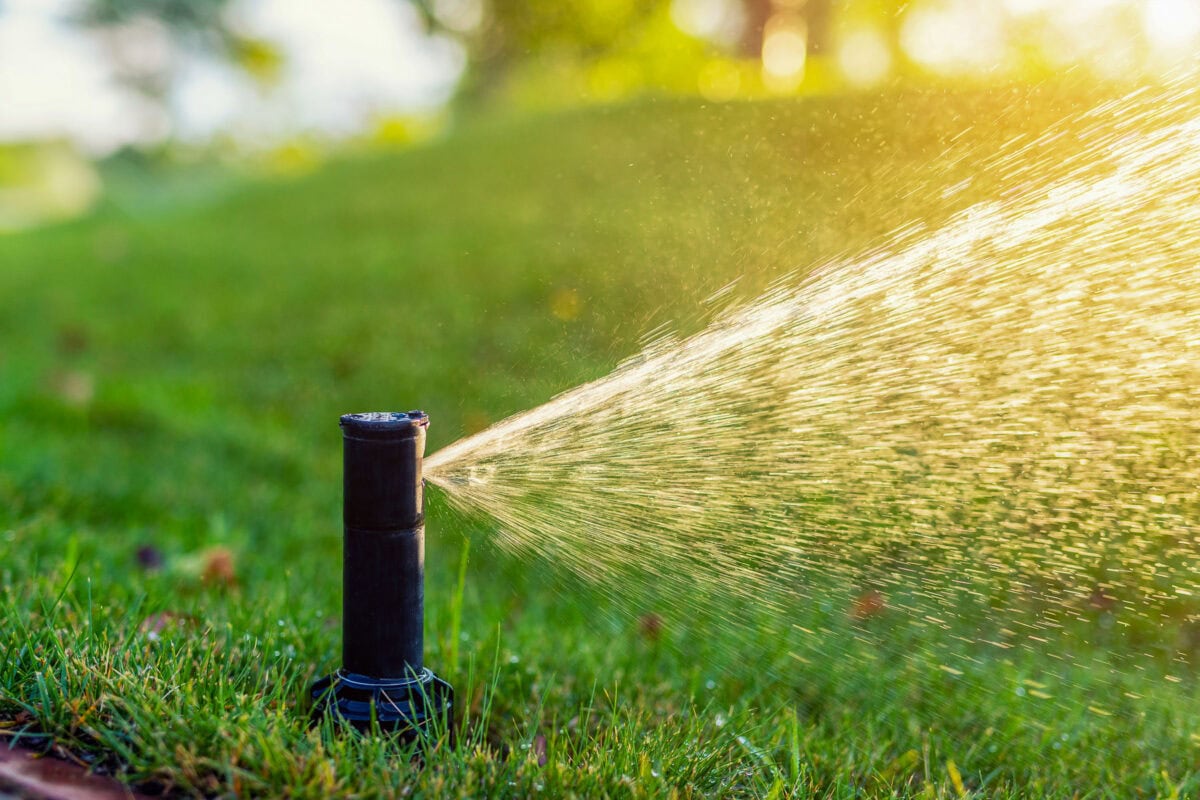
Here’s a quick checklist to ensure your sprinkler system is ready for spring and summer:
- Turn on the Water Supply – Slowly open the main valve to prevent pressure surges.
- Check for Leaks – Inspect pipes, valves, and sprinkler heads for leaks or cracks.
- Inspect and Clean Sprinkler Heads – Remove dirt or debris that may clog the nozzles.
- Test Each Zone – Run a manual test to ensure all zones function properly.
- Adjust Sprinkler Heads – Ensure they cover the intended areas and do not spray sidewalks or driveways.
- Check Water Pressure – Too high or too low pressure can cause inefficiency and damage.
- Replace Worn or Broken Parts – Swap out damaged heads, nozzles, or seals.
- Update the Timer/Controller – Adjust watering schedules for seasonal needs and check the backup battery.
- Inspect Rain or Moisture Sensors – Ensure they work properly to prevent overwatering.
A well-maintained sprinkler system helps keep your garden lush and thriving all season long!
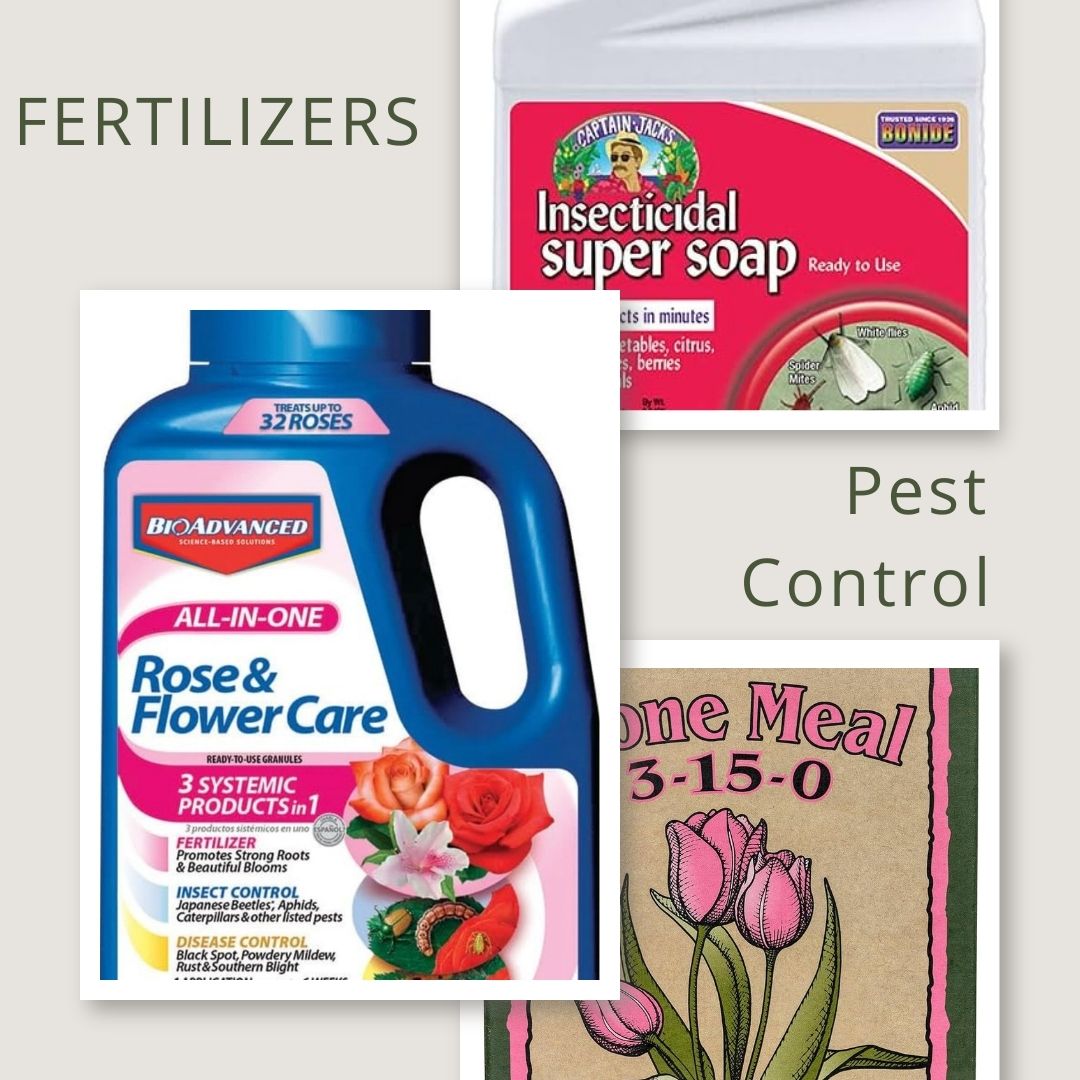
5. Purchase all Fertilizers, Pest Control Products, and other Garden Supplies for the Season
Before the season starts, I ensure all my gardening supplies are ready. Staying ahead of pests and mold control helps prevent problems from getting out of hand.
To kick off the season, I mix bone meal and blood meal into the soil to promote strong roots and healthy foliage.
Once the plants have grown to be about 12″, I fertilize them with Rose and flower food every six weeks. And alternate with fish emulsion three weeks after the rose and flower food.
Here is a list of my favorite products I use in my garden when preparing it for the spring.
First, I always save my eggshells, coffee grounds, and banana peels as they make great natural fertilizers.
Bayer Systemic Rose and Flower Care
Bayer Systemic Rose & Flower Care 3-in-1 is a garden treatment designed to protect and nourish roses, flowers, and ornamental plants. It serves three key purposes:
- Fertilizer – Provides essential nutrients to promote strong, healthy growth and vibrant blooms.
- Insect Control – Protects against common pests like aphids, Japanese beetles, and whiteflies by being absorbed into the plant for long-lasting protection.
- Disease Prevention – Helps prevent and control fungal diseases like black spot, powdery mildew, and rust.
This product is absorbed into the plant’s system, offering up to six weeks of protection against pests and diseases while supporting overall plant health. It is best applied at the base of plants and watered in for systemic absorption.
bone meal
Bone meal is a natural fertilizer rich in phosphorus and calcium, making it especially beneficial for plant growth. Here’s how it helps your garden:
Uses of Bone Meal in the Garden
- Encourages Strong Root Development – The high phosphorus content promotes healthy root growth, making it ideal for bulbs, perennials, and newly planted flowers.
- Boosts Flower and Fruit Production – Helps plants produce more blooms and fruit, making it great for flowering plants, roses, and fruit-bearing trees.
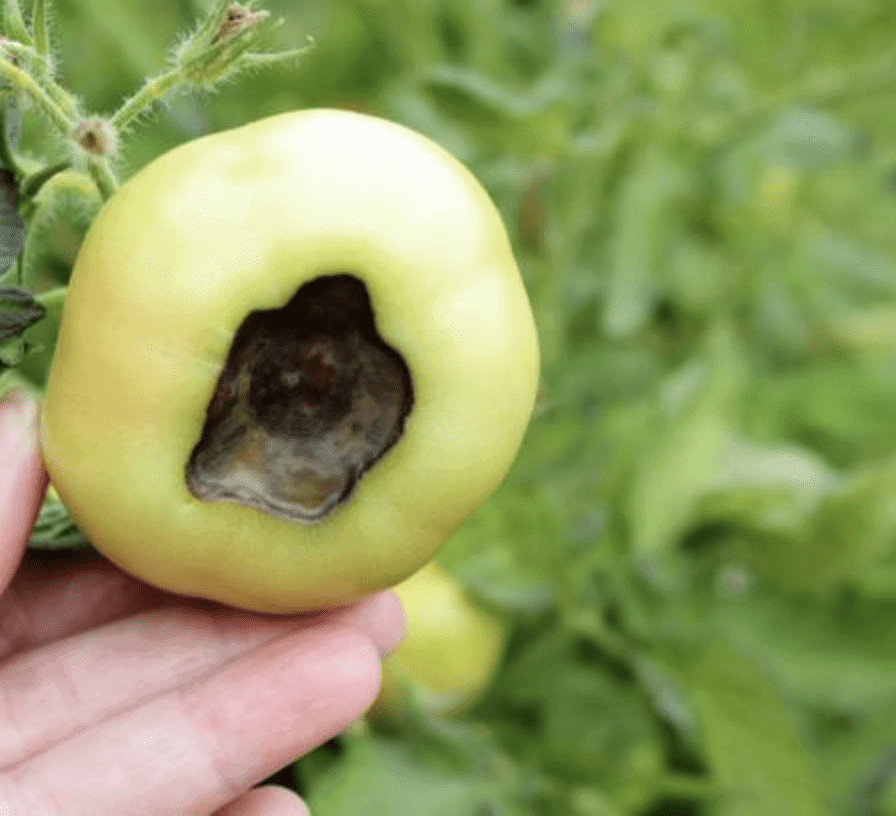
- Provides Calcium for Plant Strength. Calcium supports strong cell walls, preventing issues like blossom end rot in tomatoes and peppers.
- Improves Soil Health – Slowly releases nutrients over time, enriching the soil without causing nutrient runoff.
- Safe for Organic Gardening – A natural, slow-release alternative to synthetic fertilizers.
How to Use Bone Meal
- Mix into the soil when planting bulbs, roses, or vegetables.
- Apply around established plants and water it in for better absorption.
- Use in moderation, as too much phosphorus can limit nitrogen uptake.
Bone meal is best suited for acidic to neutral soil (pH below 7); in alkaline soil, phosphorus may not be as available to plants.
Blood meal
Blood meal is a high-nitrogen organic fertilizer that provides several benefits to your garden:
Uses of Blood Meal in the Garden
- Boosts Leafy Growth – Its high nitrogen content encourages lush, green foliage, making it ideal for leafy vegetables like lettuce, spinach, and kale.
- Improves Soil Fertility—It enriches the soil by increasing nitrogen levels, which is essential for overall plant health and vigor.
- Speeds Up Compost Breakdown—When added to compost piles, it helps accelerate decomposition, balancing carbon-rich materials like dry leaves or straw.
- Deters Pests—It acts as a natural repellent against deer, rabbits, and other small animals that dislike its strong scent.
- Corrects Nitrogen Deficiencies – Helps plants that show signs of nitrogen deficiency, such as yellowing leaves and slow growth.

How to Use Blood Meal
- Sprinkle lightly around plants and mix it into the soil.
- Use as a top dressing for fast-growing vegetables and flowers.
- Apply sparingly, as too much nitrogen can burn plants or cause excessive leafy growth at the expense of flowers and fruit.
Blood meal is best suited for acidic to neutral soils . The perfect time to use this is early spring to jumpstart plant growth.
Fish emulsion
Fish emulsion is an organic liquid fertilizer rich in nitrogen, promoting lush growth, healthy roots, and improved soil health. It boosts microbial activity, supports flowering and fruiting, and is safe for organic gardening.
How to Use:
- Dilute with water (1:4 ratio) and apply to soil or as a foliar spray every 2-3 weeks.
- Ideal for seedlings, vegetables, flowers, and container plants early in the season.
- Avoid overuse to prevent excessive leafy growth.
Though it has a strong odor, fish emulsion is an excellent fast-acting fertilizer for vibrant, thriving plants.
Insecticidal Super Soap
I spray this on my plants weekly as a preventative measure against pests.

Insecticidal Super Soap controls soft-bodied pests like aphids, mites, and whiteflies by breaking down their outer coating. Safe for vegetables, flowers, and houseplants, it leaves no harmful residue and can also help prevent powdery mildew.
How to Use:
- Spray directly on pests, covering all surfaces.
- Apply in morning or evening to prevent leaf burn.
- Repeat every 5-7 days as needed.
A great eco-friendly option for pest control!
Copper Fungicide
If I see any sign of mildew, or blight, I start this immediately.
Copper fungicide prevents and treats fungal diseases like powdery mildew, blight, and black spot on fruits, vegetables, and ornamentals.
How to Use:
- Spray on plants, covering all surfaces.
- Apply early morning or evening to prevent sun damage.
- Reapply every 7-10 days or after rain.
A great organic solution for disease prevention!
Slug and Snail Bait
This is a natural and organic product that is pet-friendly to help keep away the slugs and snails.
6. Test Your Soil
When you’re ready to begin preparing your garden for spring, one of the first things you should do is test your soil.
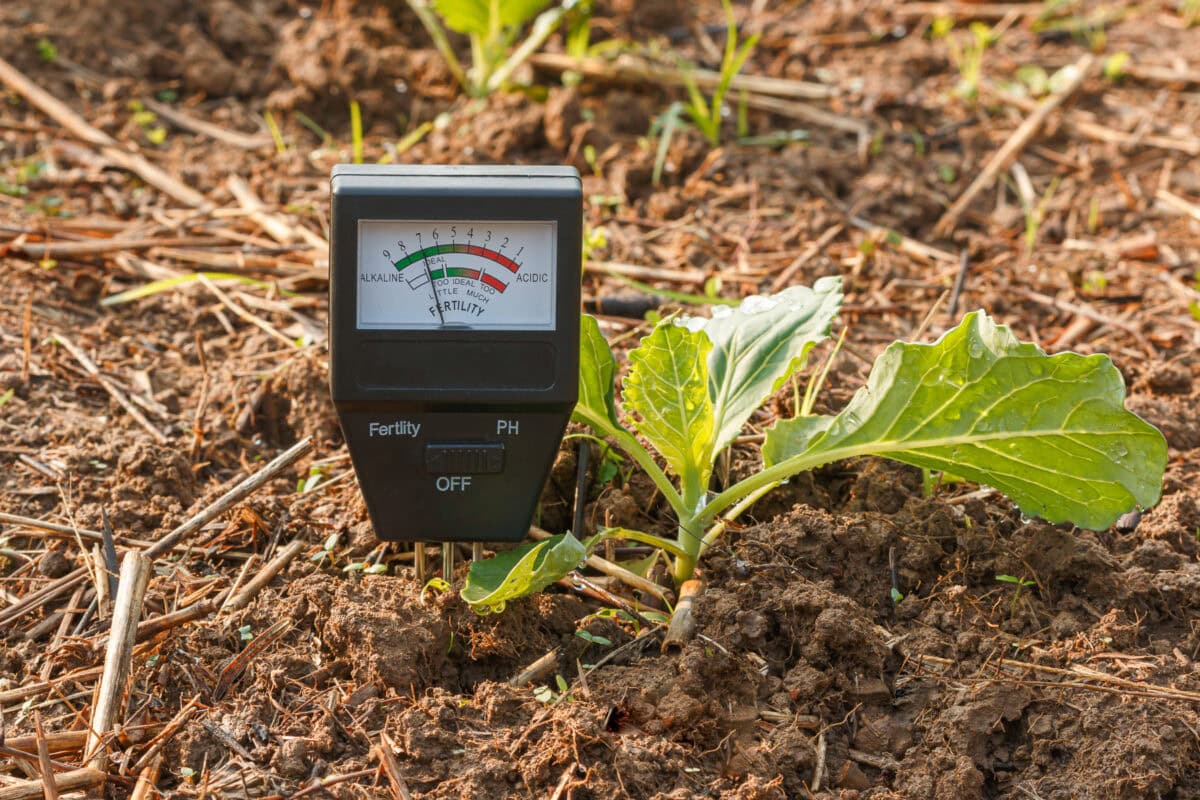
Testing your soil helps determine its pH, nutrient levels, and overall health, ensuring plants get the right balance for optimal growth.
Why It’s Important:
- Identifies nutrient deficiencies (e.g., nitrogen, phosphorus, potassium).
- Prevents over-fertilization, saving money and protecting the environment.
- Helps adjust soil pH for better nutrient absorption.
- Improves plant health and yields by providing the right amendments.
When & How to Test:
- Test annually before planting season.
- Use a DIY soil test kit or send samples to a local extension service for detailed results.
Healthy soil = stronger, more productive plants!
7. How to Prepare Garden Soil for Next Year
Receiving the results from your soil test will help you determine what you need to use to amend the soil.
PH Soil (LOW)
If your soil pH is too low (acidic), use lime, wood ash, crushed eggshells, baking soda, or ground oyster shells to improve plant health.
How to Apply:
- Mix into the top 6-8 inches of soil.
- Apply in fall or early spring for best results.
PH Soil (HIGH)
If your soil pH is too high (alkaline), lower it with sulfur, peat moss, coffee grounds, vinegar (sparingly), or ammonium sulfate to improve plant health.
How to Apply:
- Mix into the top 6-8 inches of soil.
- Apply in fall or early spring for best results.
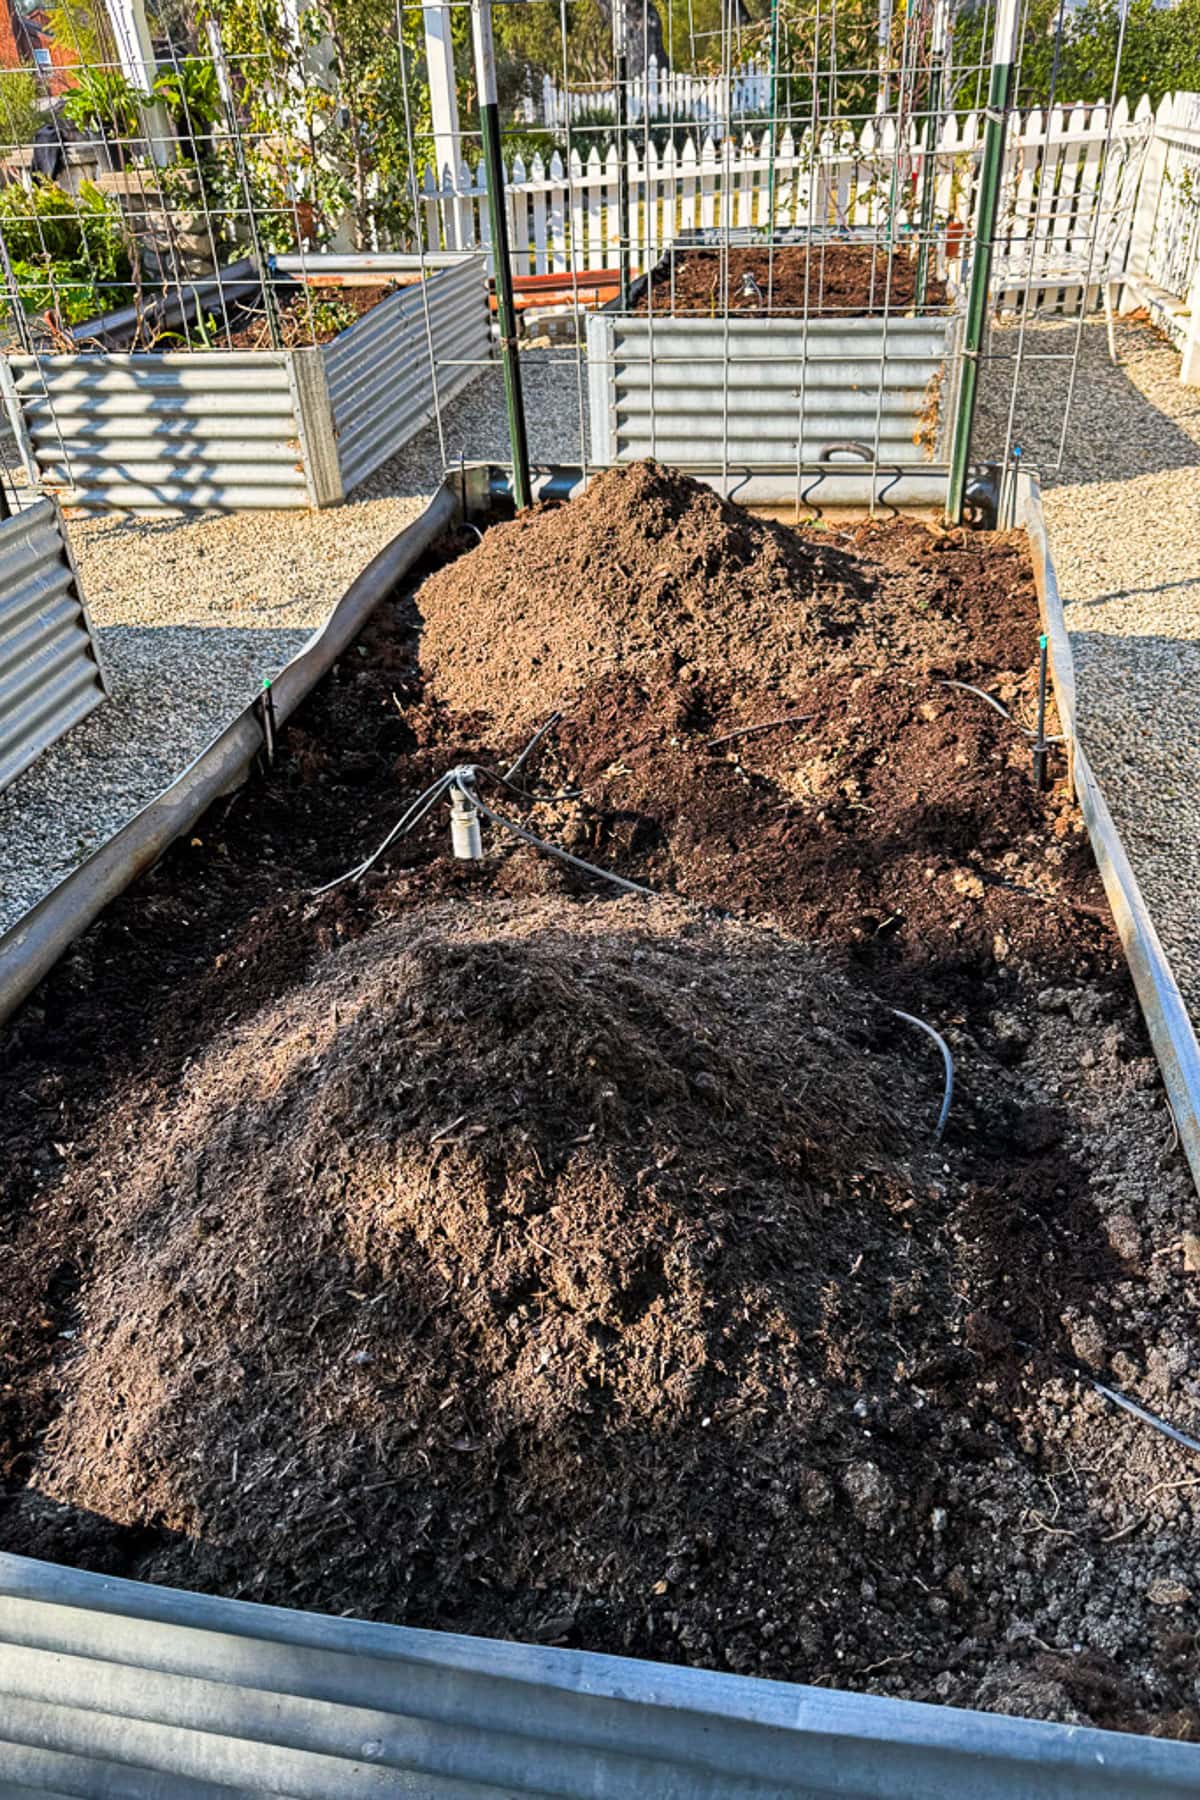
I also like to bring in a few scoops of a 50/50 mix to incorporate into my bare soil each year.
50/50 mix soil blends 50% topsoil and 50% compost or organic matter. It combines the structure and minerals of topsoil with the nutrient-rich benefits of compost.
What It’s Good For:
- Garden Beds & Raised Beds – Provides a balanced, nutrient-rich plant base.
- Lawn Repair & Sod Installation – Supports healthy grass growth.
- Flower & Vegetable Gardens – Enhances drainage and fertility for better plant health.
- Tree & Shrub Planting – Encourages strong root development.
This mix creates a well-draining, nutrient-dense soil ideal for most gardening needs!
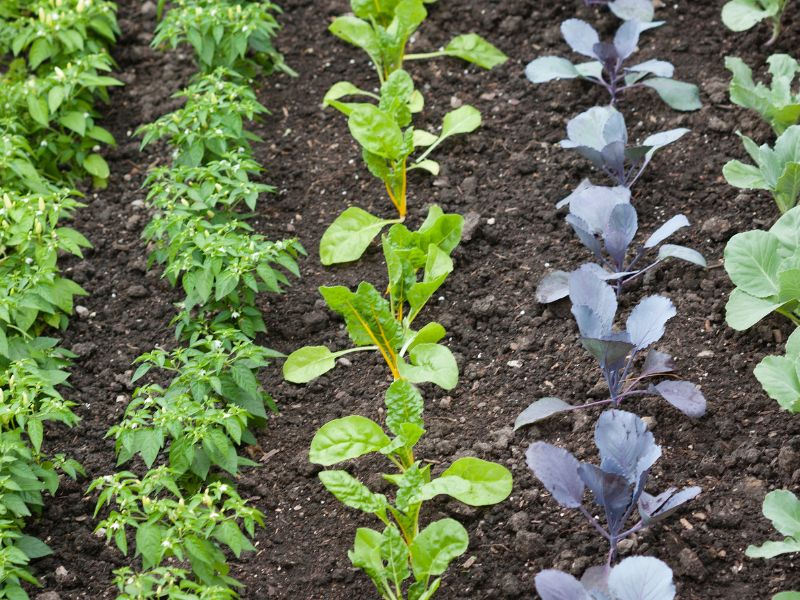
8. How to Prepare a Garden Bed for Planting Vegetables
A vegetable garden and a flower garden have different nutrient needs. Vegetables require a balanced mix of nitrogen (N) for leafy growth, phosphorus (P) for strong roots and fruiting, and potassium (K) for disease resistance and quality produce. Calcium helps prevent blossom end rot, while magnesium and sulfur support overall plant health.
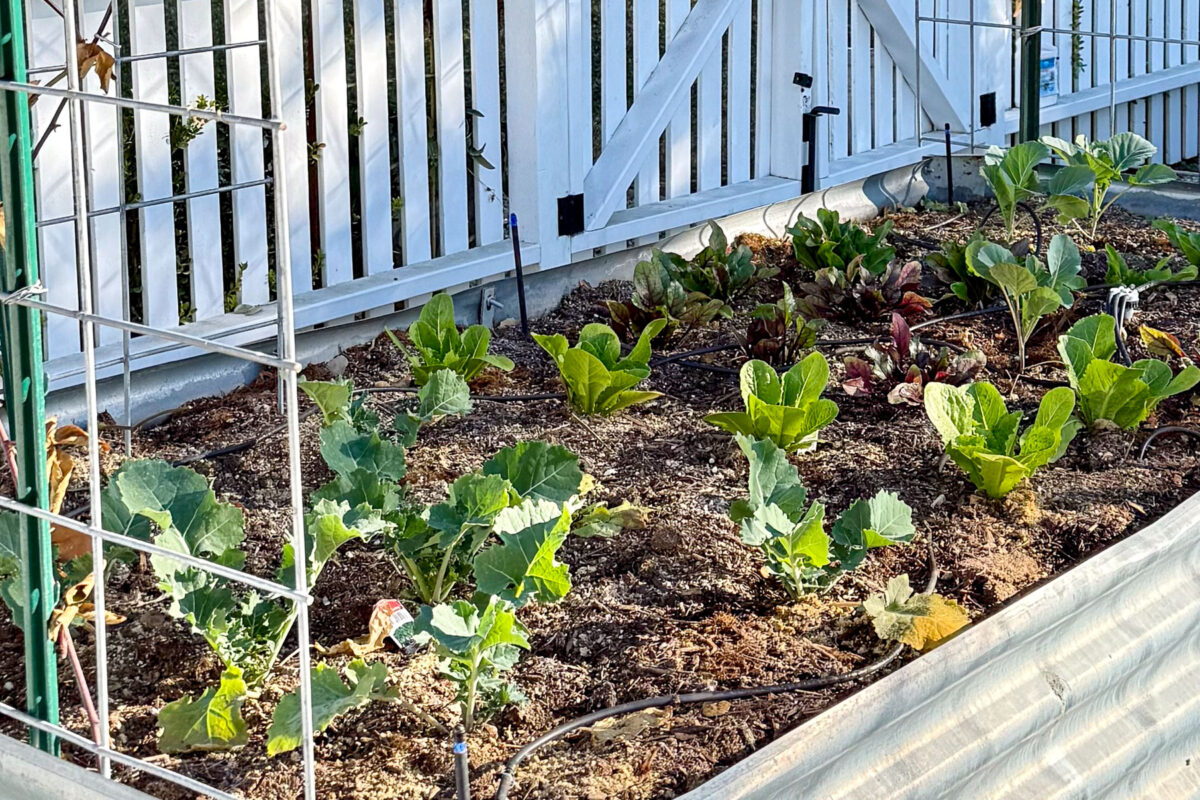
Since vegetables are harvested frequently, they deplete soil nutrients faster and benefit from regular feeding with compost or fertilizer.
A great choice is Dr. Earth Organic Tomato, Vegetable & Herb Fertilizer (4-6-3) this fertilizer provides, which slow-release nutrients and organic matter for healthy growth.
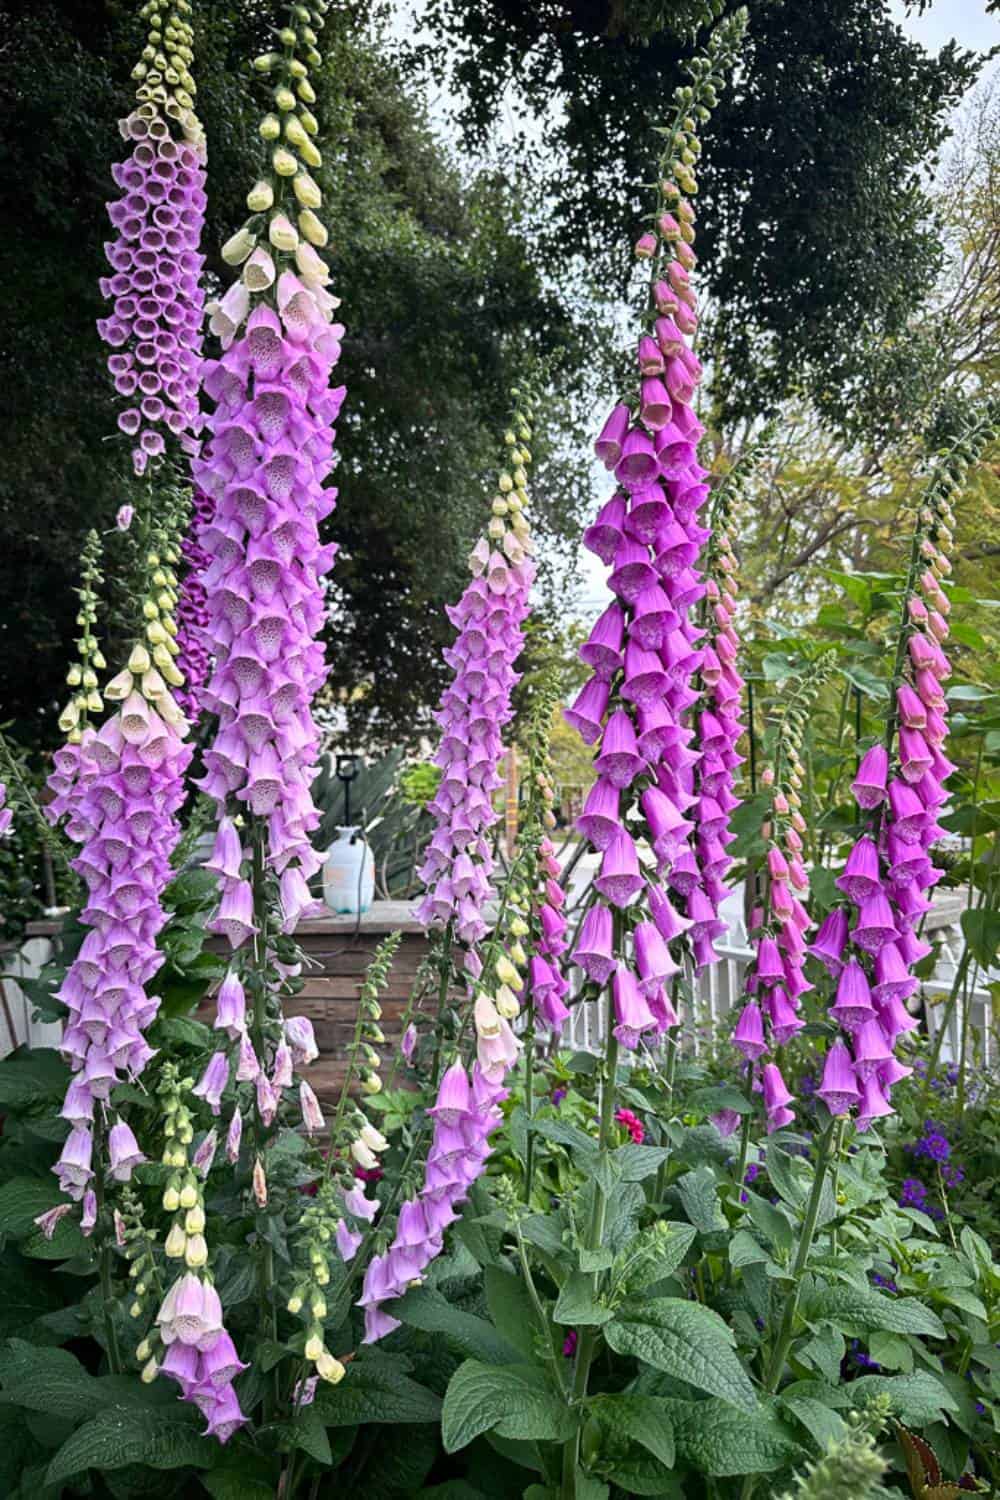
9. Preparing Perennials for Spring
Another great task to do when preparing your garden for spring is to divide your perennials.
Dividing perennials prevents overcrowding and boosts growth.
Perennials to Divide:
- Hostas, daylilies, irises, peonies, ornamental grasses, and foxgloves.
How to Divide:
- Dig up carefully with a shovel or garden fork.
- Separate roots by gently pulling apart or cutting sections.
- Replant immediately at the same depth in prepared soil.
- Water thoroughly to help establish roots.
Dividing every few years keeps perennials in your spring garden healthy, vibrant, and thriving.
Dividing every few years keeps perennials healthy, vibrant, and thriving!
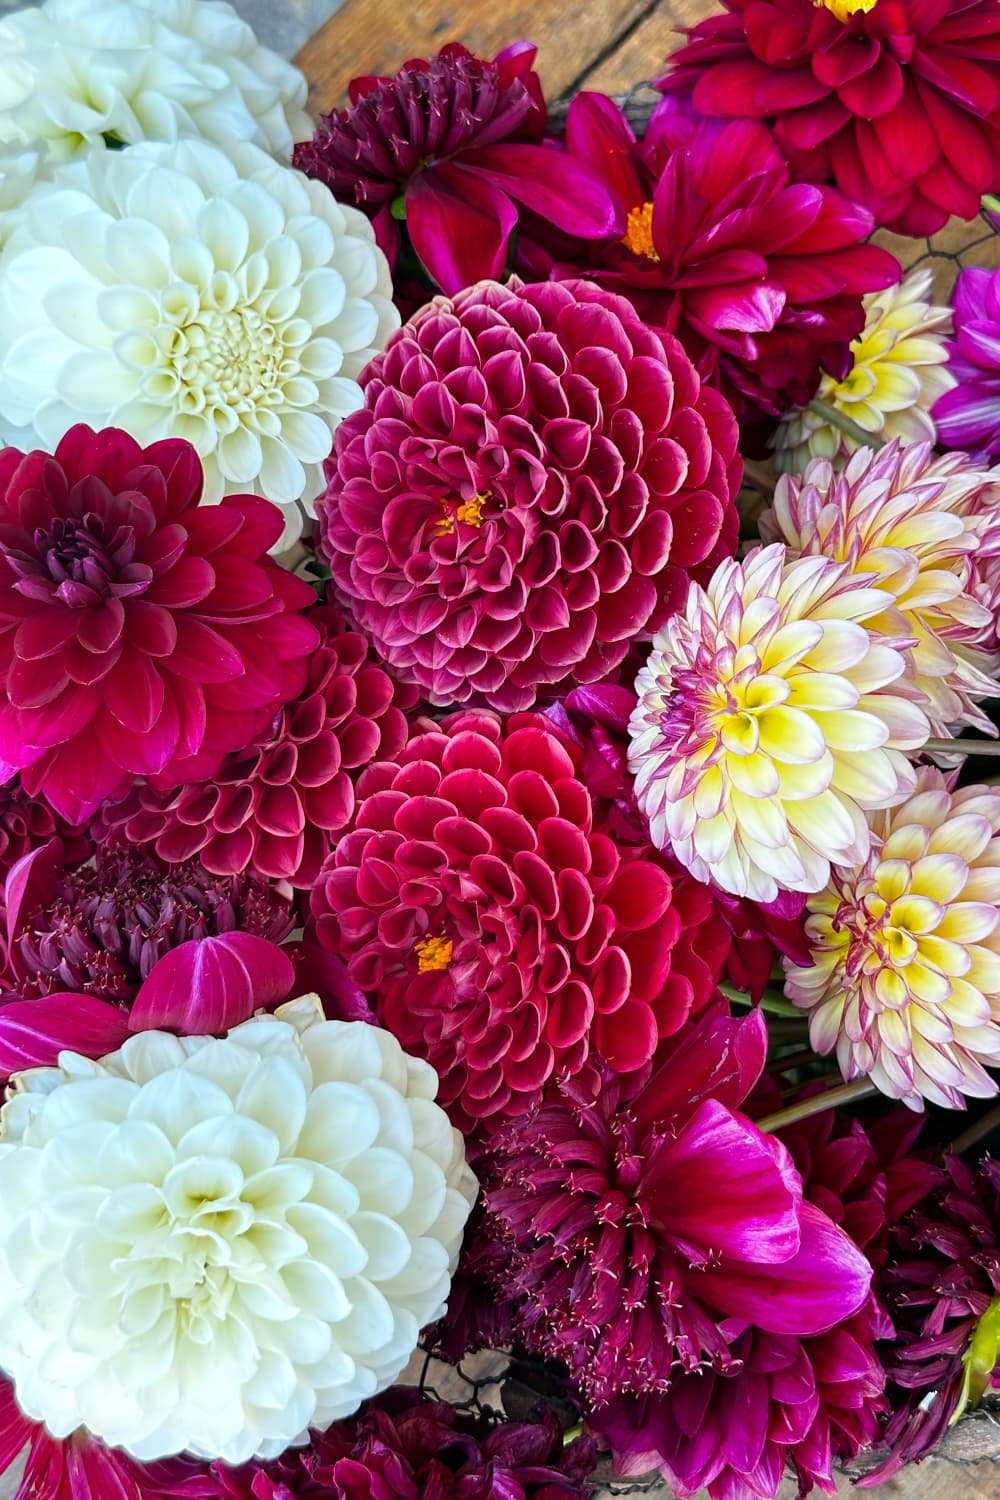
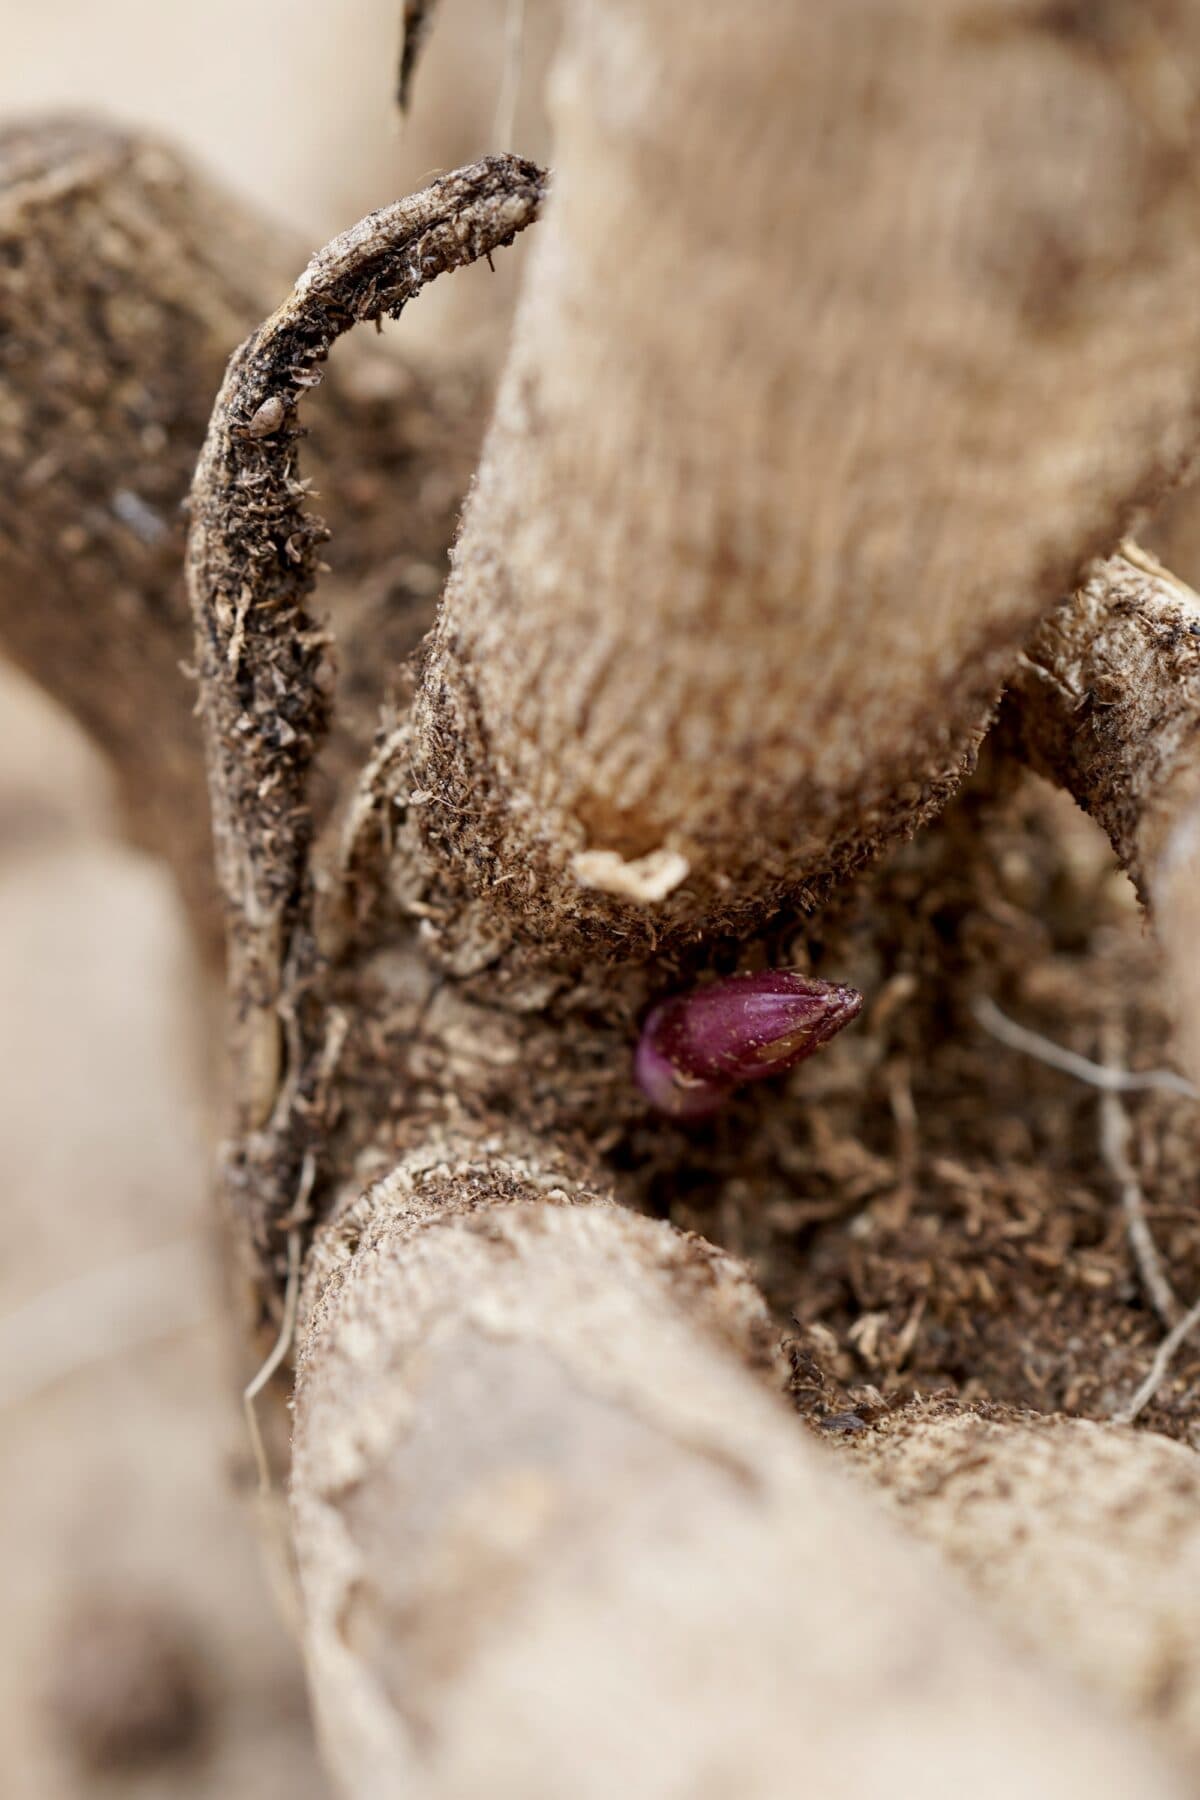
10. Divide Tubers
Dividing dahlia tubers prevents overcrowding and boosts plant growth.
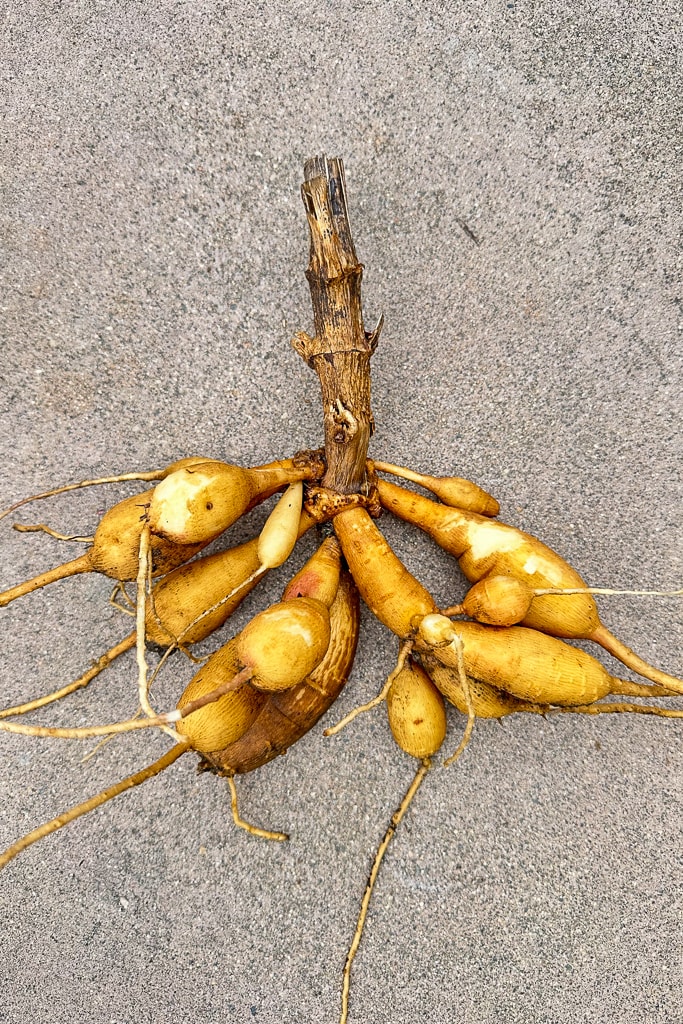
Tubers to Divide:
- Dahlias, caladiums, cannas, elephant ears, begonias
How to Divide:
- Dig up tubers after foliage dies back. ( they should look like the image above)
- Clean and dry for a day.
- Separate using a sharp knife, ensuring each section has an eye or growth point.
- Replant or store in a cool, dry place until the next season.
Regular division keeps tubers healthy and thriving!
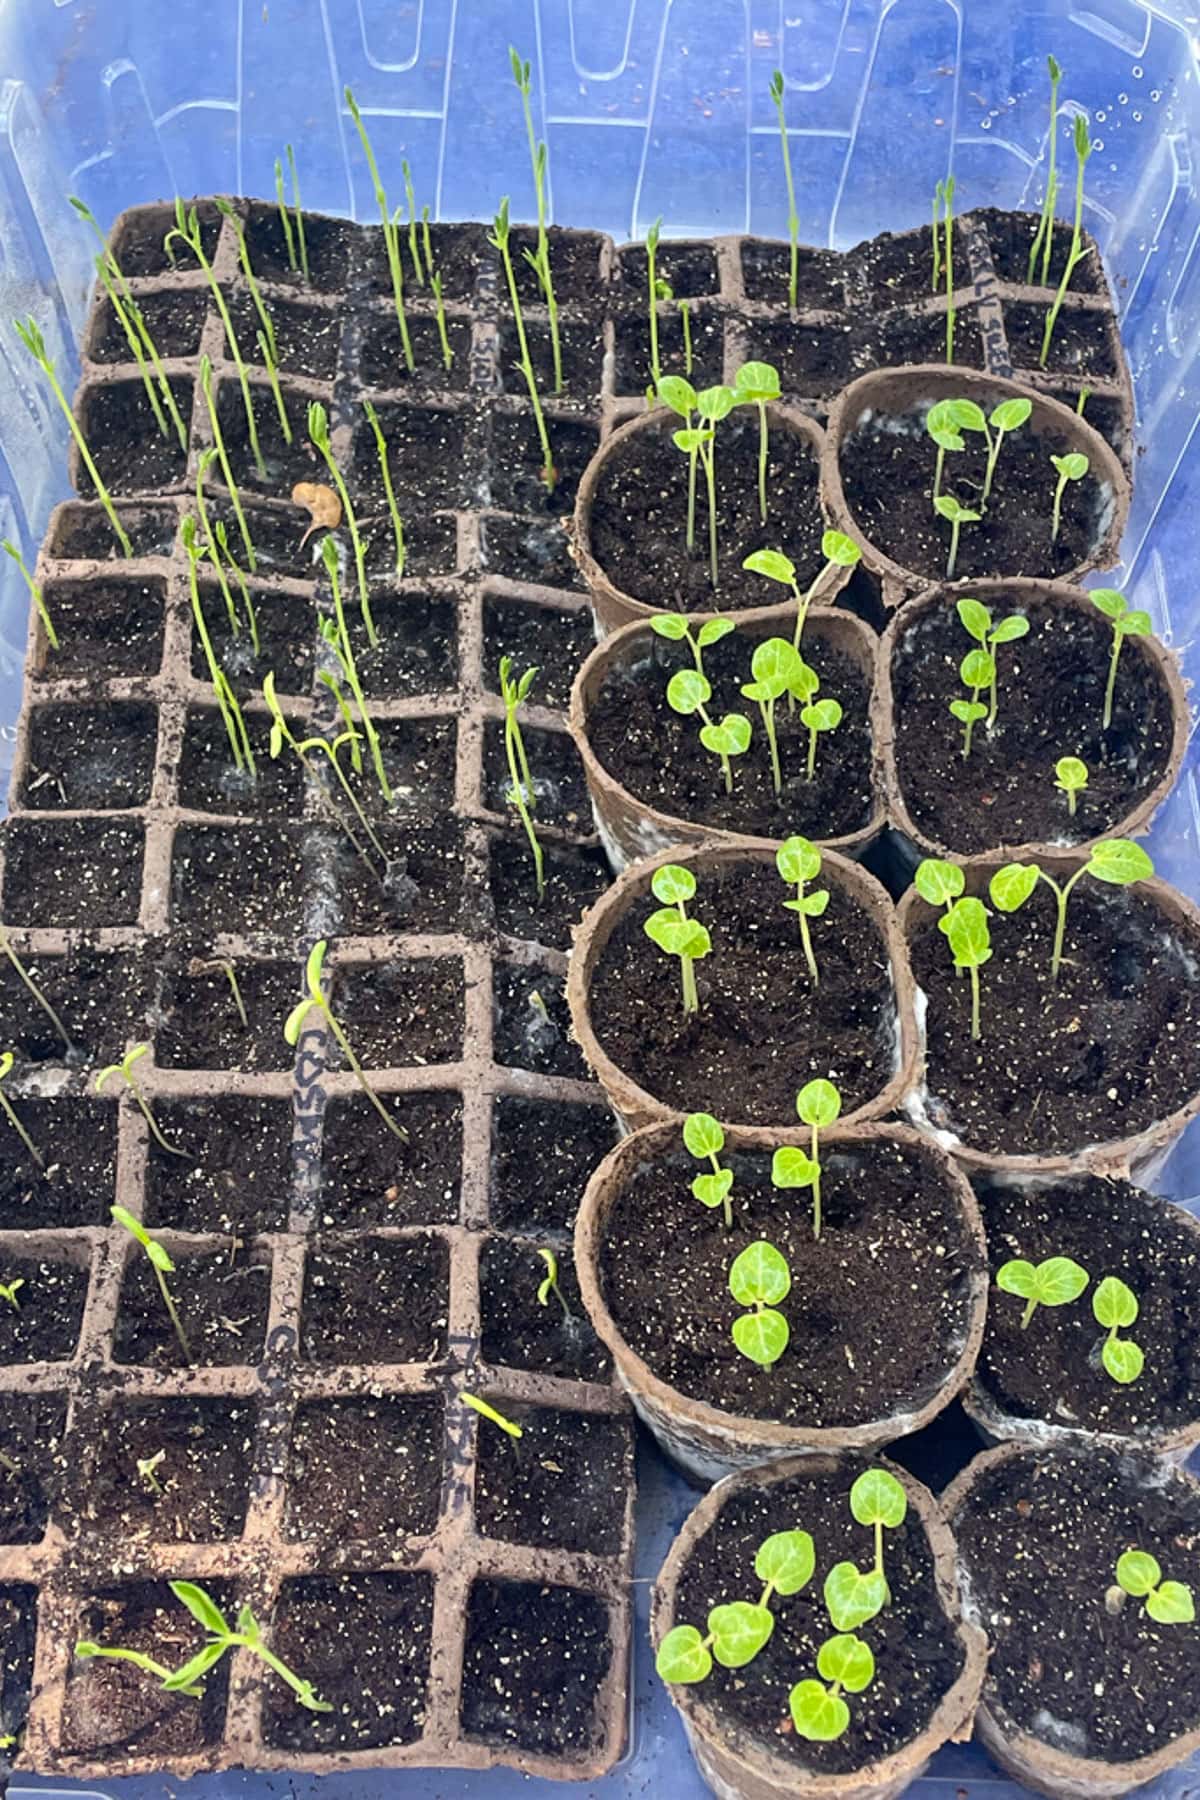
11. Shop for garden seeds and plant
Exploring reputable online seed companies can enhance your gardening experience with diverse and high-quality selections.

Here are some notable options:
- Burpee: A well-established company offering a wide range of vegetable, herb, and flower seeds, known for their high germination rates.
- Johnny’s Selected Seeds: Offers a diverse selection of seeds suitable for home gardeners and small farms, including heirloom and hybrid varieties.
- Baker Creek Heirloom Seeds: Specializes in 19th-century heirloom seeds from Europe and Asia, providing unique and rare varieties for gardeners.
These companies provide a range of seeds to suit various gardening preferences and climates. Exploring their offerings can help you find the perfect varieties for your garden.
Depending on your zone, you can either plant your seeds in peat pots and grow your seedlings indoors or directly sow them in the ground.
12. Add stakes and supports for the plants
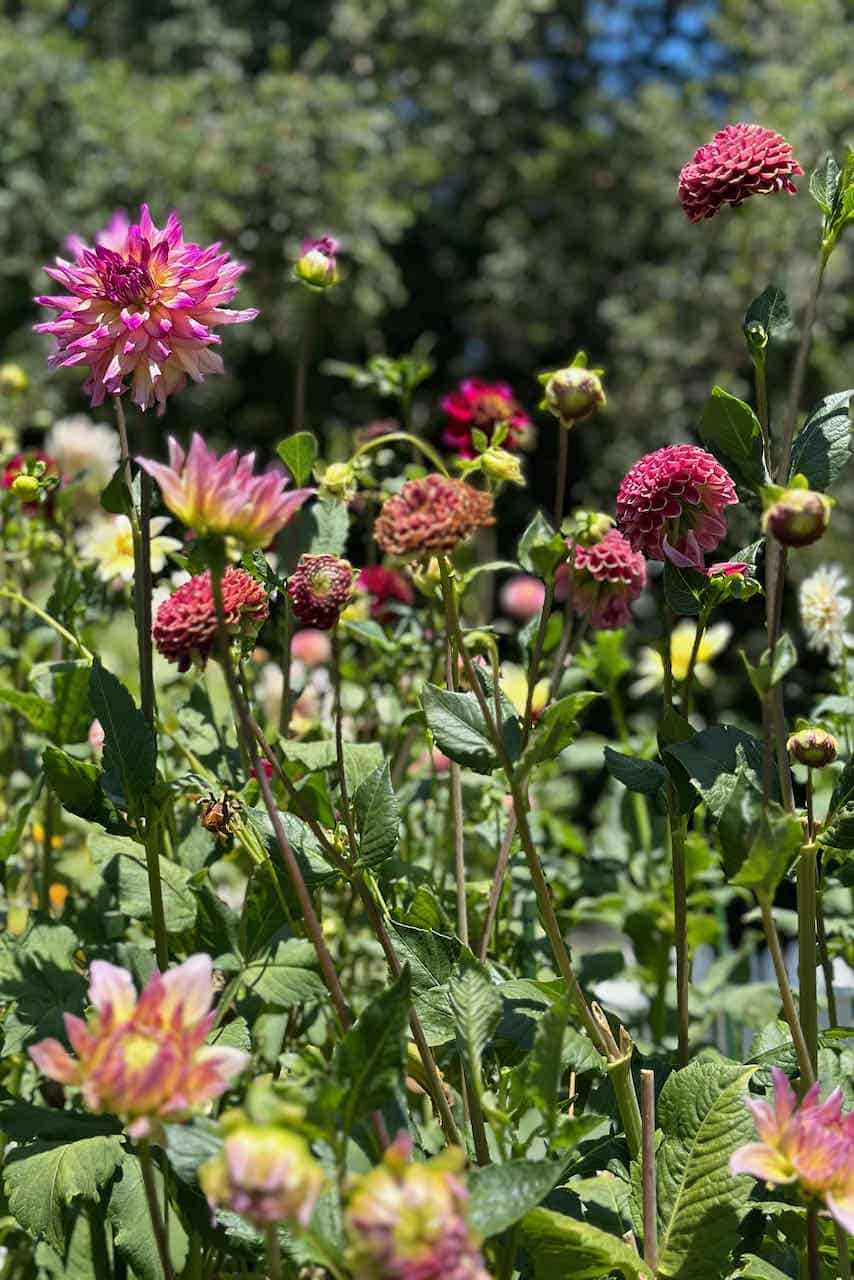
Support Dahlias, Peonies, Asters, Foxgloves, Sweet Peas and other plants with heavy flowers or tall, delicate stems early in spring.

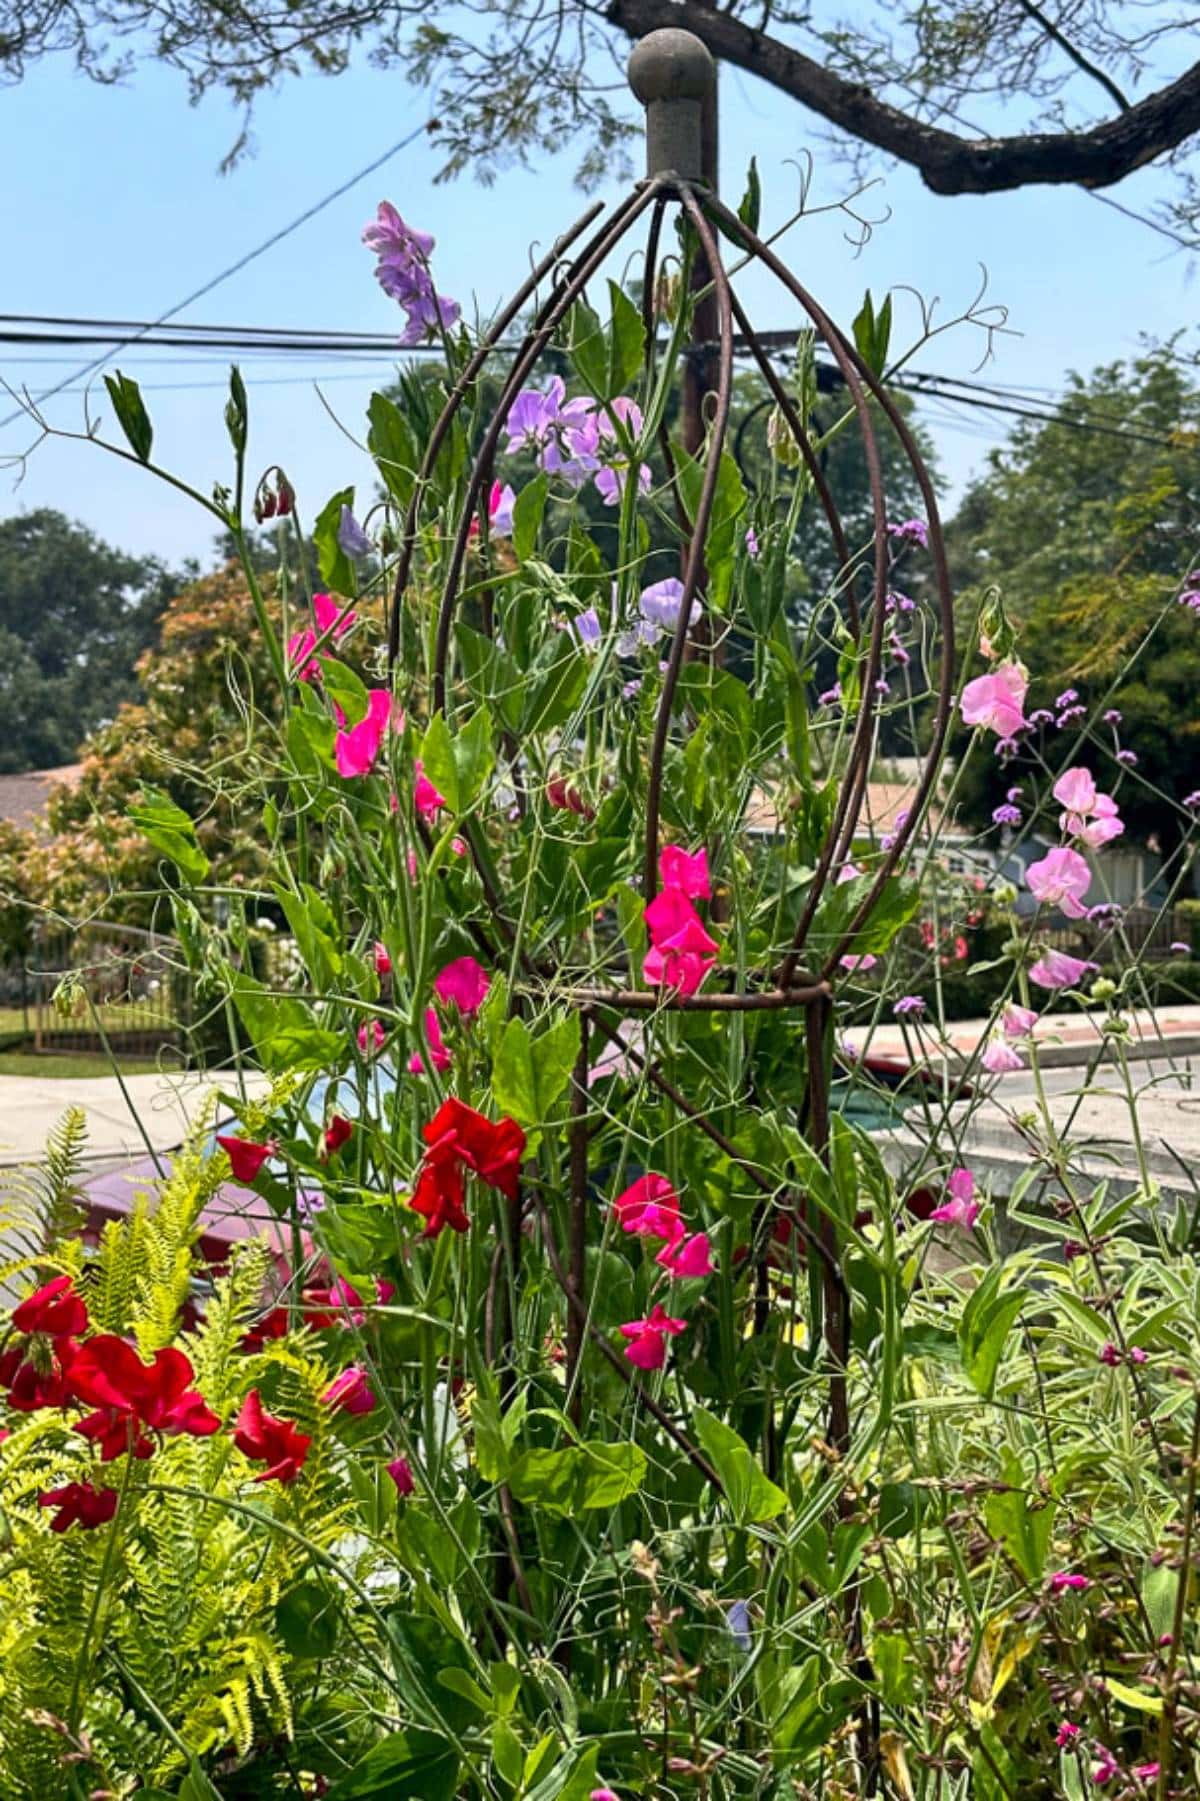
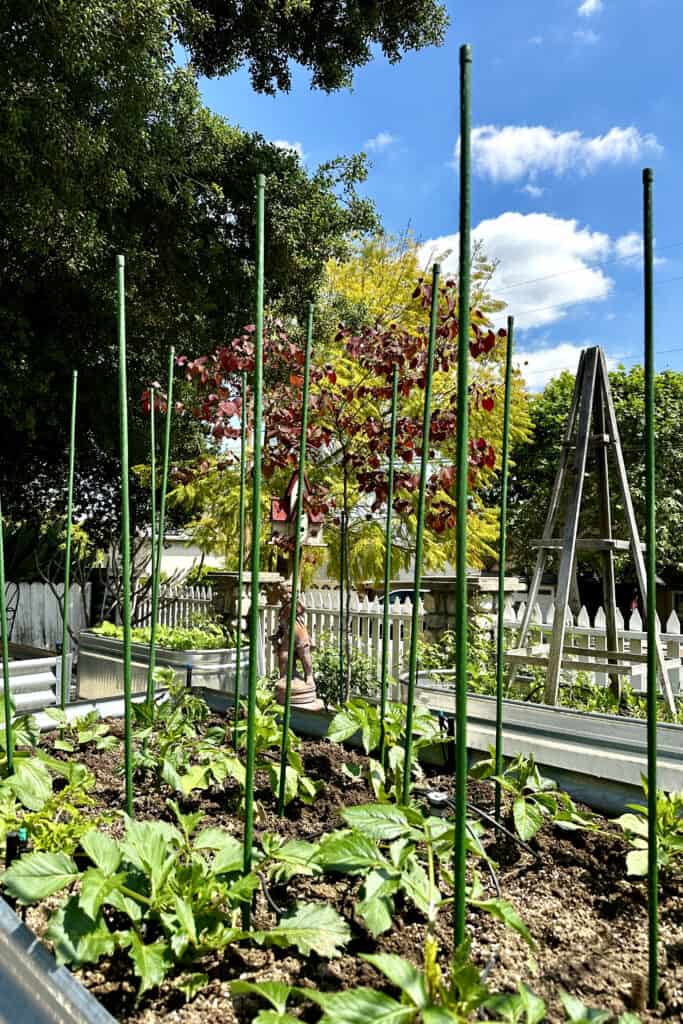
Staking them before they reach full growth makes the process easier and helps prevent damage once foliage and blooms are in full swing.
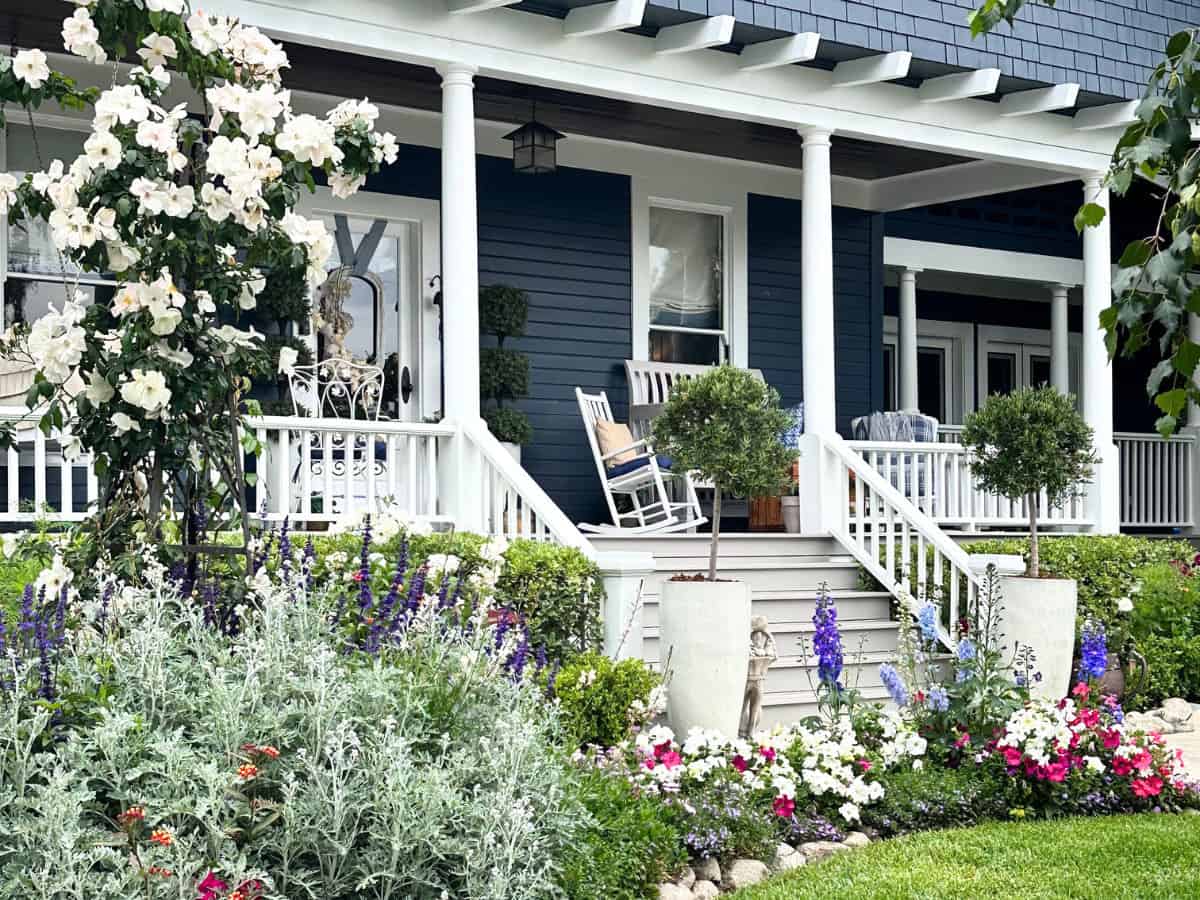
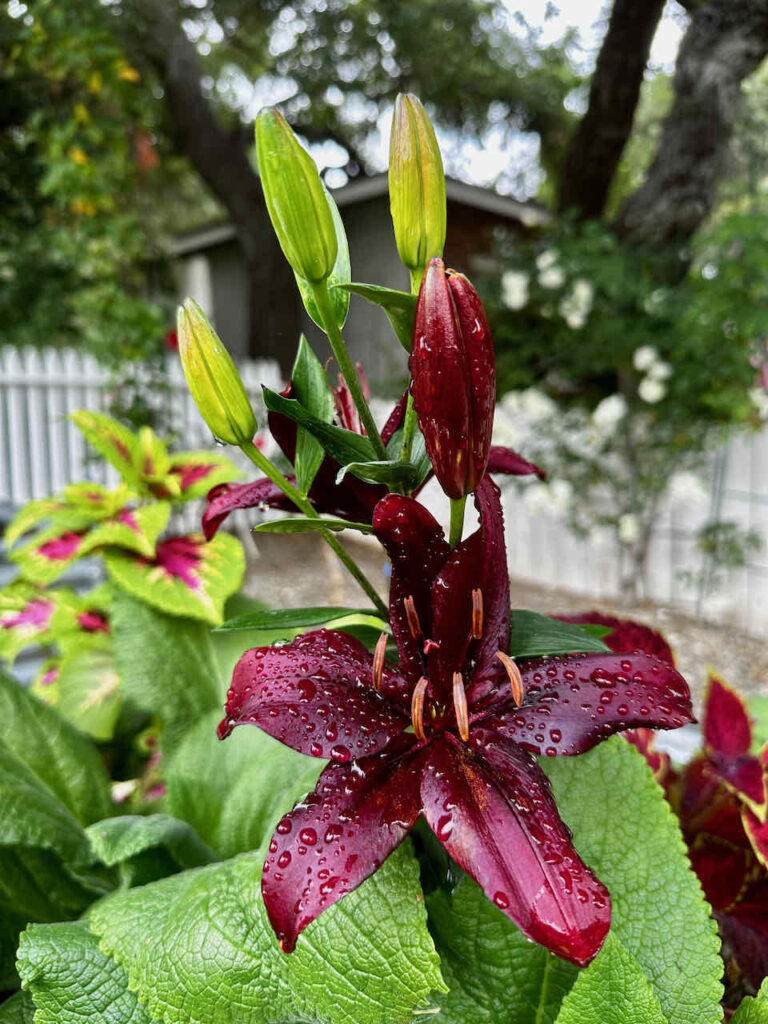
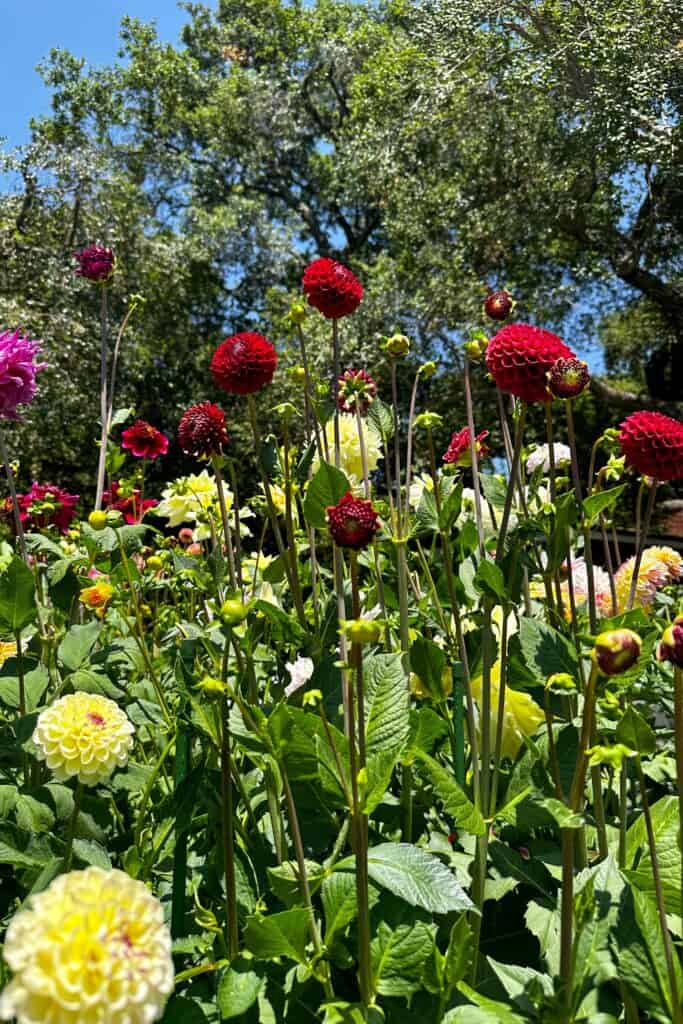
13. Spring Planting Flowers
Here is a list of a few of my favorites to shop for while preparing your garden for spring.

Perennials (Return Each Year)
- Peonies, Daylilies, Coneflowers, Black-eyed Susans, Daisies, Bleeding Hearts, Columbine, Lavender, Coreopsis, Delphiniums, Foxgloves.
Annuals (One-Season Blooms)
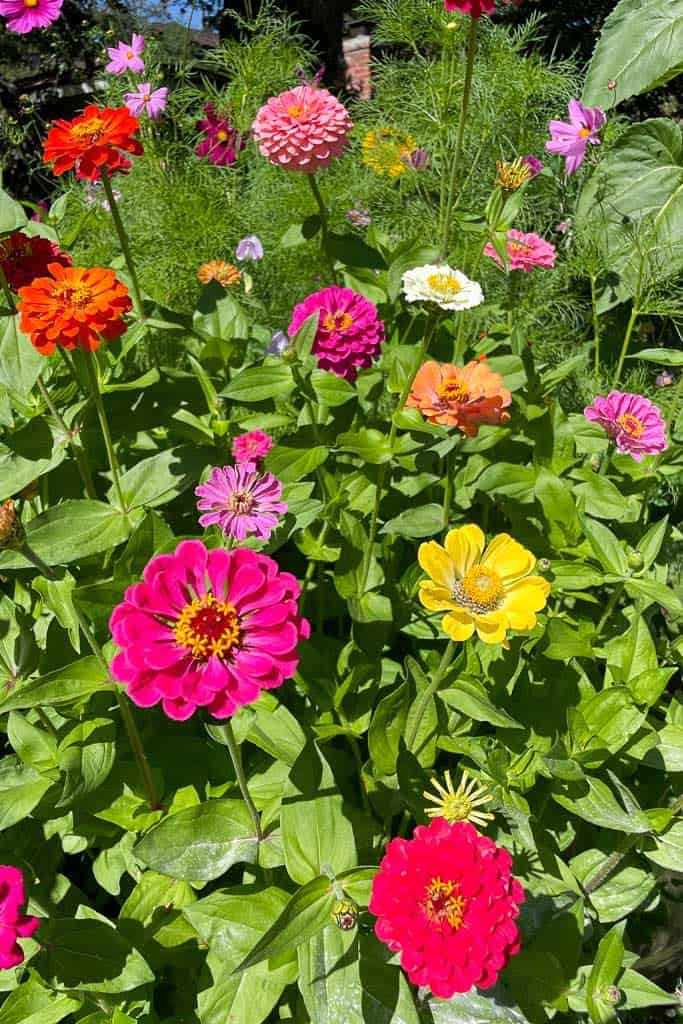

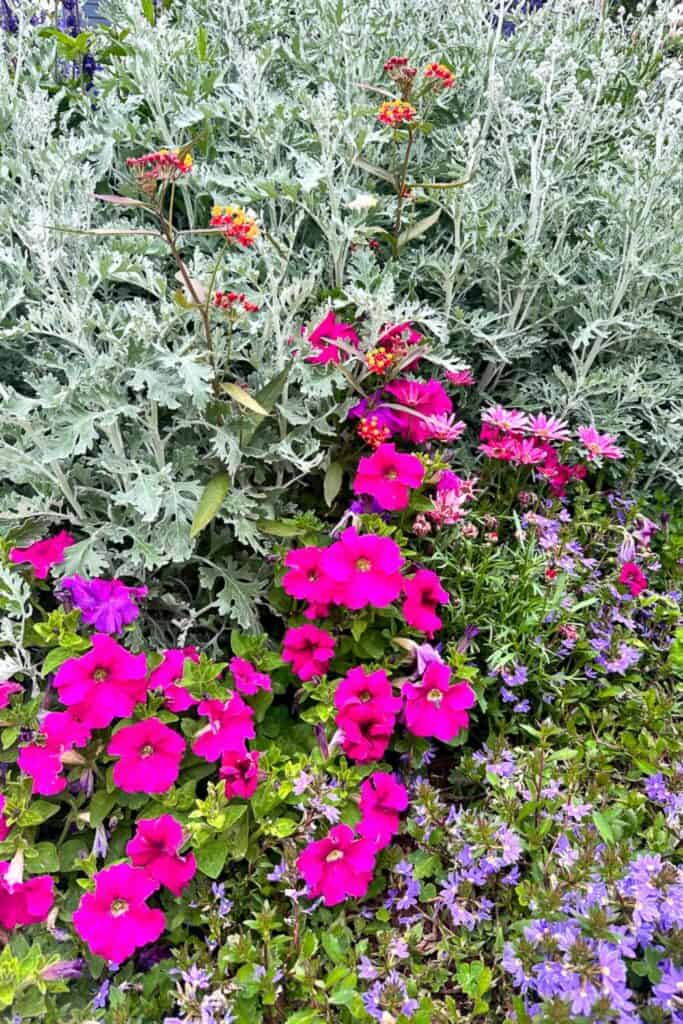
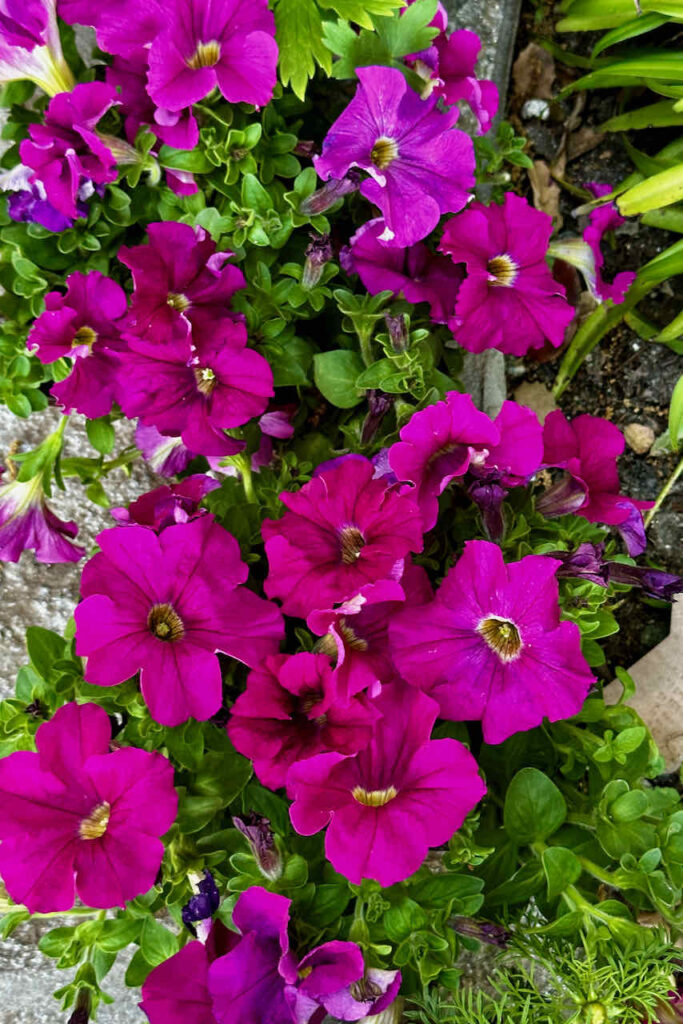
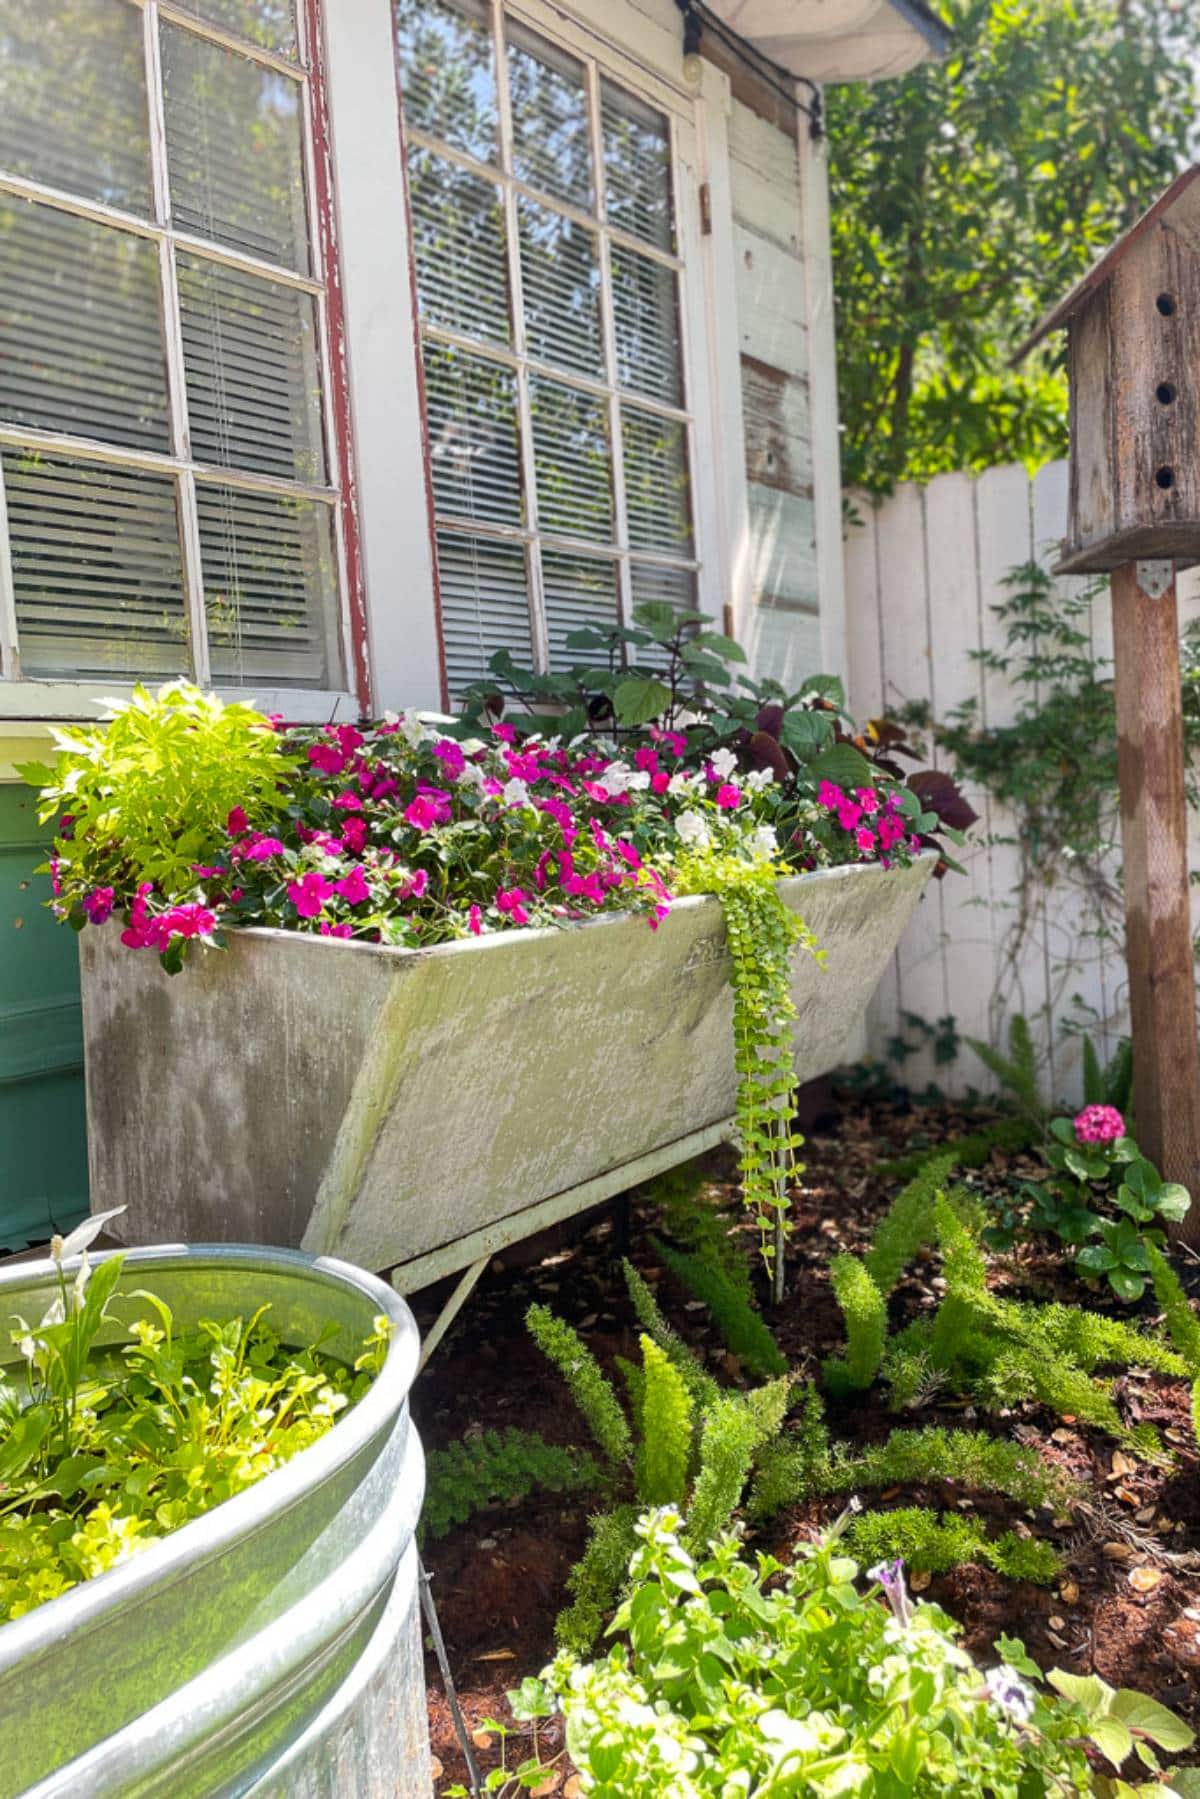
- Petunias, Marigolds, Zinnias, Snapdragons, Pansies, Alyssum, Impatiens, Begonias, Cosmos, Sunflowers.
Bulbs & Tubers (Plant in Spring for Summer Blooms)
- Dahlias, Gladiolus, Lilies, Ranunculus, Calla Lilies
Plant in early spring for vibrant blooms all season long!
14. Add a Layer of Mulch to Your Garden Beds
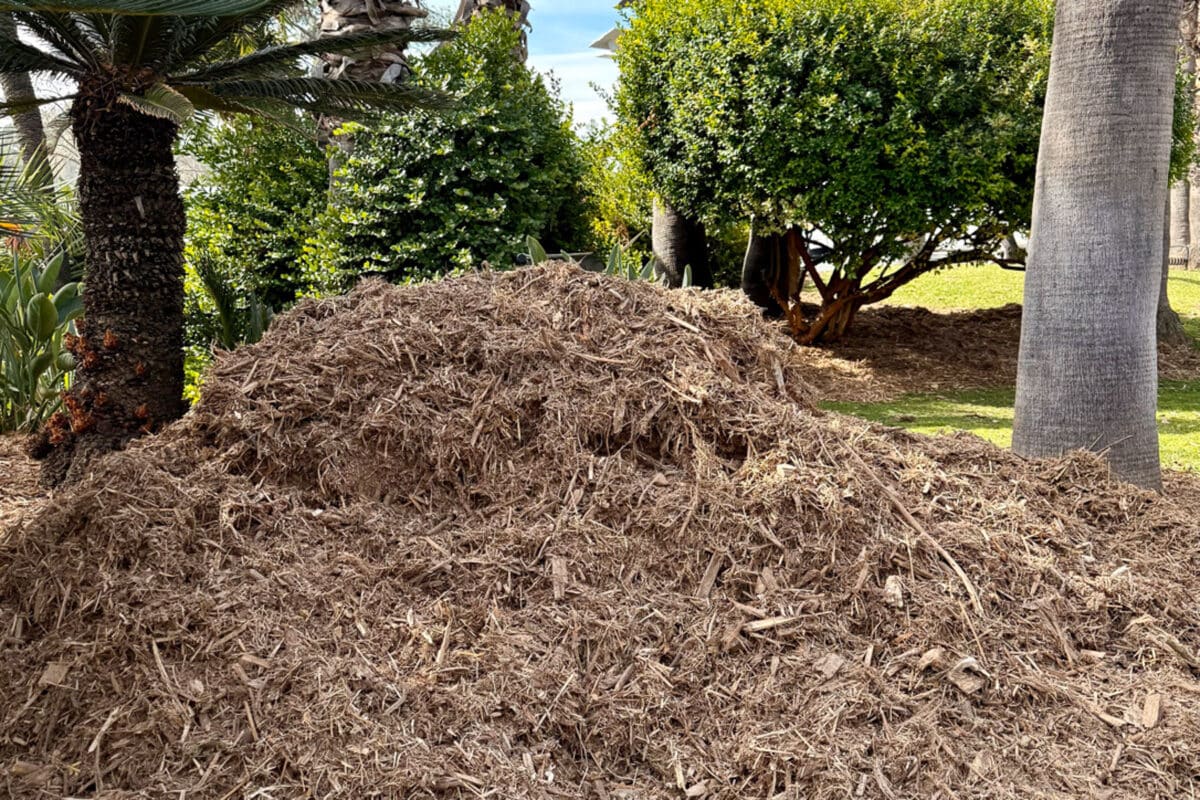
I make it a habit to add a fresh layer of mulch each year because it offers so many benefits and gives the garden a neat, refreshed look.
Here are several of the benefits you receive from using mulch.
- Retains moisture & reduces watering.
- Suppresses weeds by blocking sunlight.
- Regulates temperature, keeping roots cool/warm.
- Prevents erosion & improves soil health.
- Adds nutrients as organic mulch breaks down.
- Reduces disease by keeping soil off leaves.
- Enhances appearance with a neat, polished look.
More Gardening Ideas from WM Design House
If you love these gardening tips, you might also enjoy these inspiring spring gardening posts.
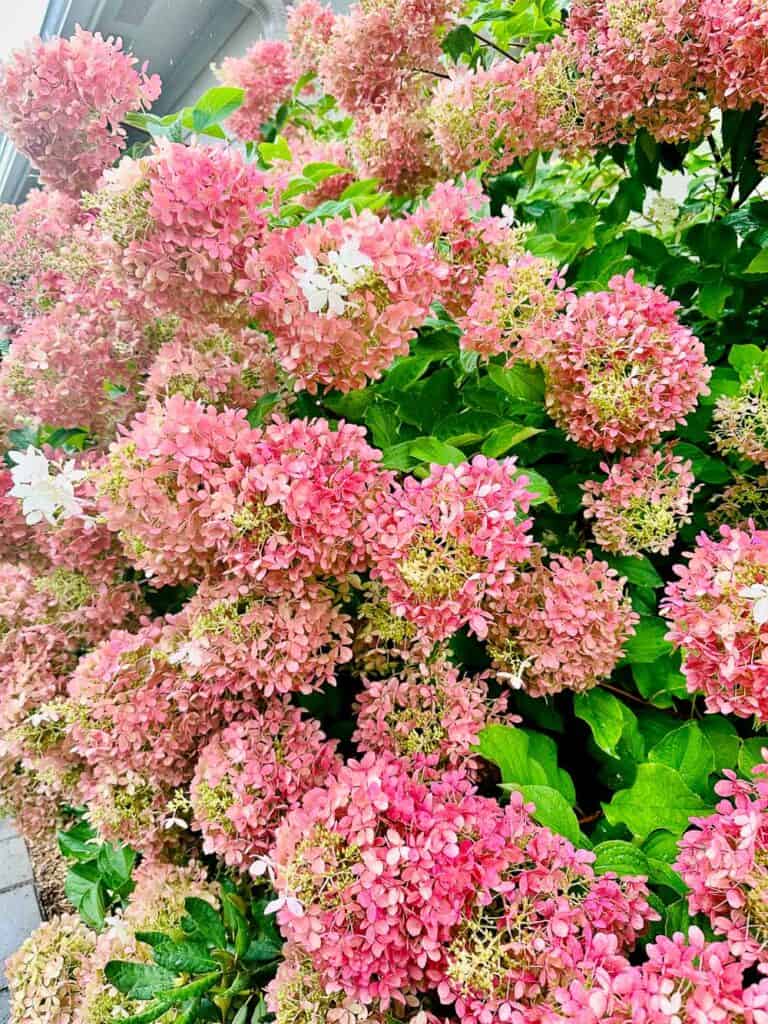
Everything You Need to Know About Growing Hydrangeas
Are Dahlias Perennials? The Ultimate Guide to Planting and Care

Sweet Pea Seeds: How to Harvest, Sow and Grow
Wrapping It Up
With these 14 tips, you’ll have your garden prepped and ready to thrive this spring. A little effort now will set the stage for a season full of healthy plants, vibrant blooms, and a flourishing outdoor space.
So grab your gloves, get outside, and enjoy the rewards of a well-prepared garden!


More about me!

Hello, I’m Wendy – a dedicated “So Cal Gal” with a deep passion for decorating, gardening, cooking, and crafting in California. I find joy in harmonizing beautiful elements to create a space that is both comfortable and inspiring. I will help you create a beautiful home and garden, one project at a time.