Basics of Flower Arranging
Learn all the basics of flower arranging with these easy floral design tips for beginners.
Flower arrangements are a great way to bring beauty and freshness into your home. You don’t need to be a professional florist or have formal training to make a beautiful floral centerpiece. With the right flowers and a basic knowledge of floral design, you can create beautiful flower arrangements for any room in your home. Let’s dive into the world of floral arrangements as I share some basic tips about what to look for when purchasing flowers, the role of different kinds of flowers, and give a quick and easy tutorial on how to make a basic arrangement. Be sure to look out for my top floral design tips highlighted throughout!
Floral Design Tip: Keep it simple
Arrangements do no need to be elaborate to make a statement. Sometimes the most beautiful and effective designs are simple and straightforward.
What to look for when purchasing flowers
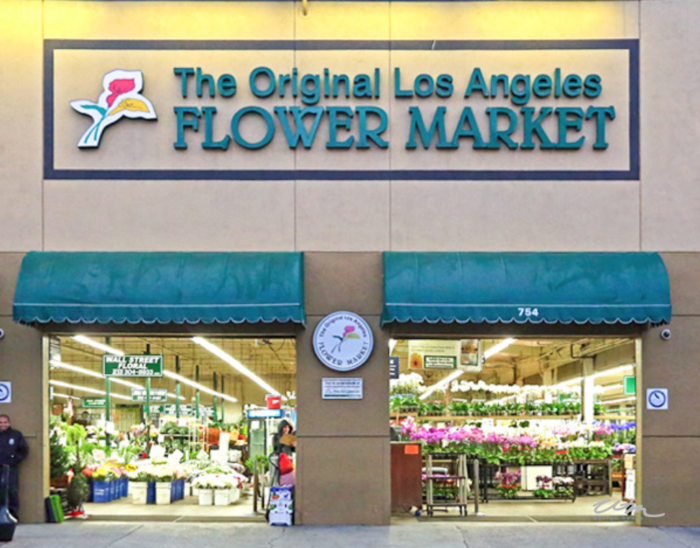
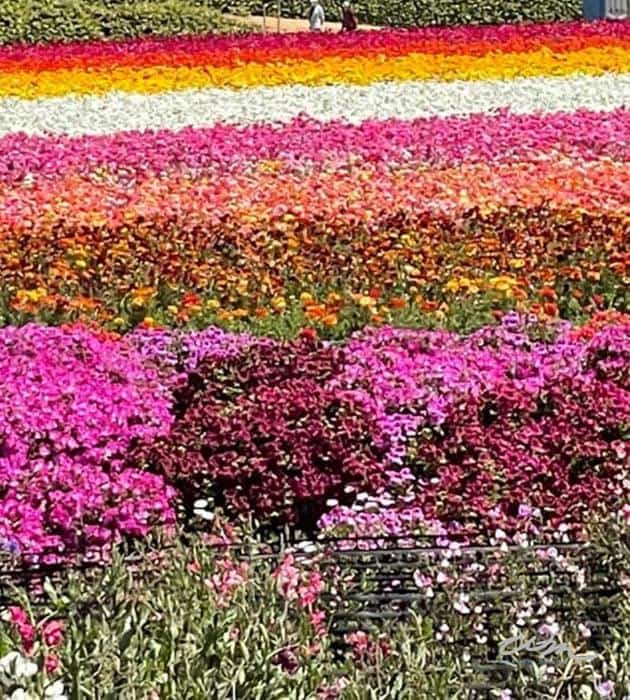
I live in Southern California, where we are lucky enough to have the incredible Los Angeles Flower Market. It is a real treat to visit the flower market and shop for flowers. However, there are many times I don’t have time to go downtown, so I either cut flowers from my own garden or go to our local grocery store. There is no need to spend a fortune on fresh flowers. Inexpensive flowers or grocery store blooms can make a perfect floral arrangement, if you know what to look for.
When shopping for flowers, first, decide how many types of flowers and what colors you want for your flower arrangement. Typically, three to four types of flowers are enough for a basic arrangement. However, there are many times I only use one or two.
Floral Design Tip: Use the freshest flowers
When making flower selections, the most important element is to look for the freshest flowers you can find. Check the bottom of the stems and ensure they are not black or moldy. Check the leaves and the blooms to make sure they are fresh, and there are no brown spots on them.
Understanding flower types
The second thing you want to consider is the flowers and heights you need for the arrangement.
In this section, we’re breaking down flower types into five categories, each one playing a specific role in creating beautiful displays. Think of it as your toolkit for floral design. By understanding the roles of line, form, feature, filler, and foliage, you’ll have all the basics down to craft your own floral creations.
Floral Design Tip: Know your flowers
Learning the role each flower plays in an arrangement is key to the basics of floral arranging.
Line Flowers
Line flowers are tall, linear-shaped flowers that form an outline for designs. Many linear flowers have individua flowers that work their way down a stem, allowing your eyes to follow them from top to bottom. Some examples are gladiolas, stock, delphiniums, and fox gloves.
Form Flowers
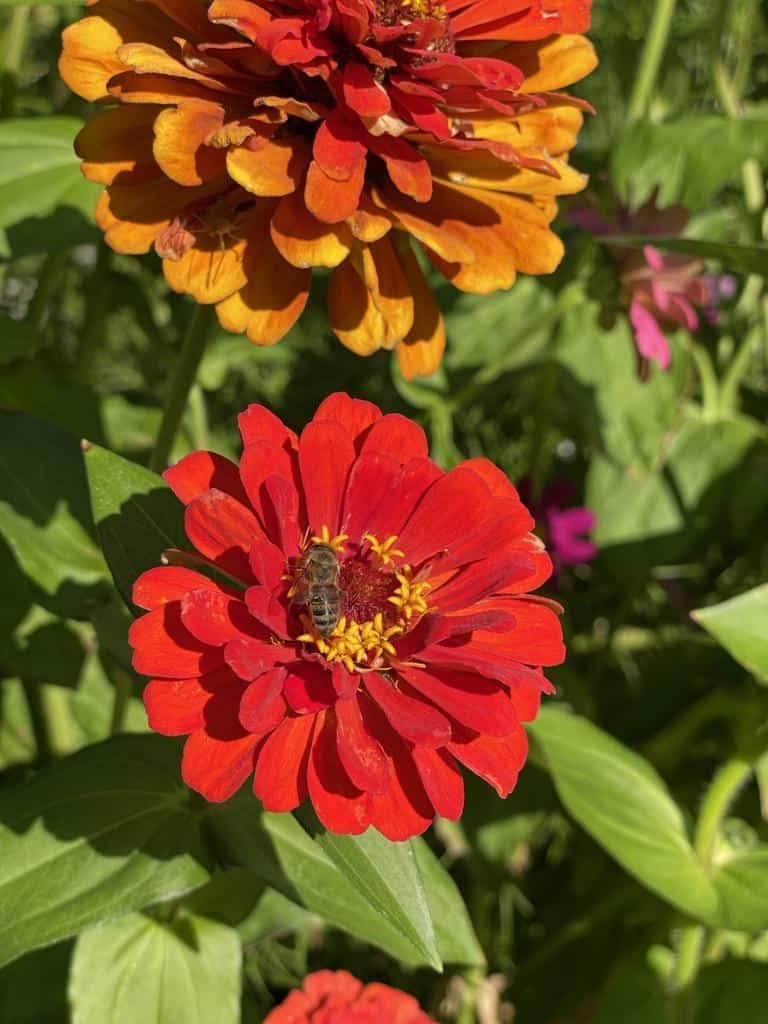
Form flowers make up the most significant part of a flower arrangement and give it weight. Examples include roses, carnations, chrysanthemums, dahlias, gerberas, ranunculus, poppies, and zinnias.
Feature Flowers
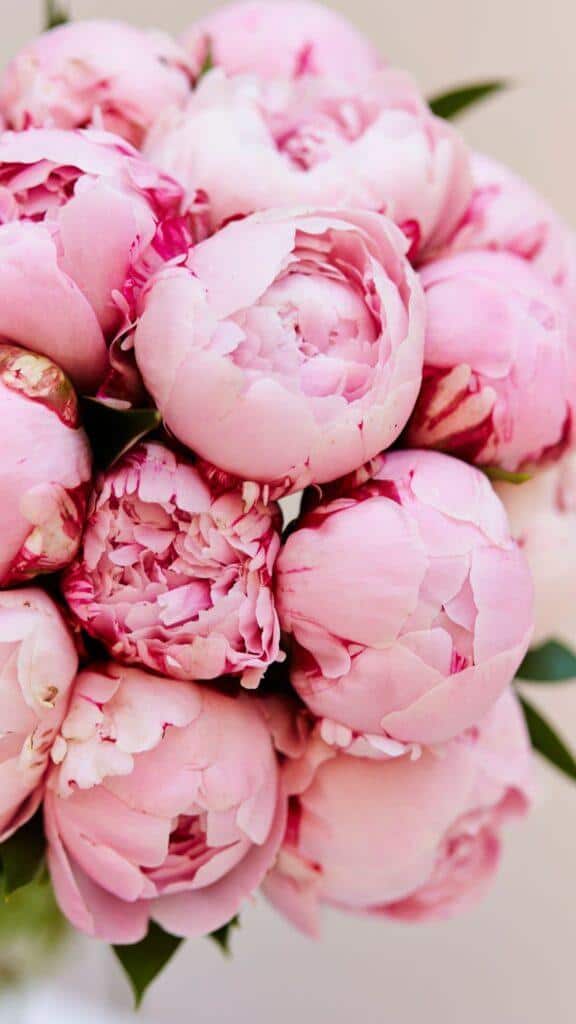
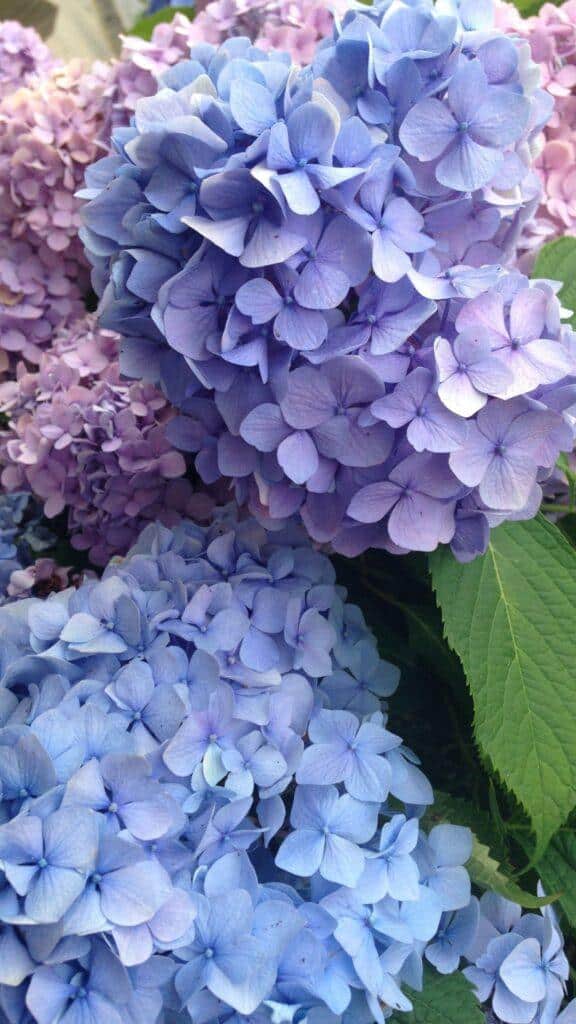
Feature flowers, or focal flowers, are usually the largest, most expensive flowers used in an arrangement. Three to five are often enough. Feature flowers include large roses, hydrangeas, peonies, anthuriums, tulips, and iris. These large flowers often serve as a focal point in an arrangement.
Filler Flowers
Filler flowers are small flowers that are used between the main flowers. Fillers help to give a light, airy look to your flower arrangement. Examples are gypsophila (baby’s breath), waxflower, static, Queen Anne’s, and many more.
Greenery or Foliage
Foliage is the base of most of your flower arrangements. There are many kinds, including different types of eucalyptus, ferns, boxwood, magnolia leaves, pine, and salal (lemon leaves).
On my blog WM Design House, I may sometimes use affiliate links, which means a small commission is earned if you make a purchase via the link. The price will be the same whether you use the affiliate link or go directly to the vendor’s website using a non-affiliate link.
How to make a basic flower arrangement
Today on my trip to the flower market I chose lovely bouquets of roses and hydrangeas. Follow along as I make a simple arrangement for my living room.
Once you are home with your flowers, here is what you need to do.
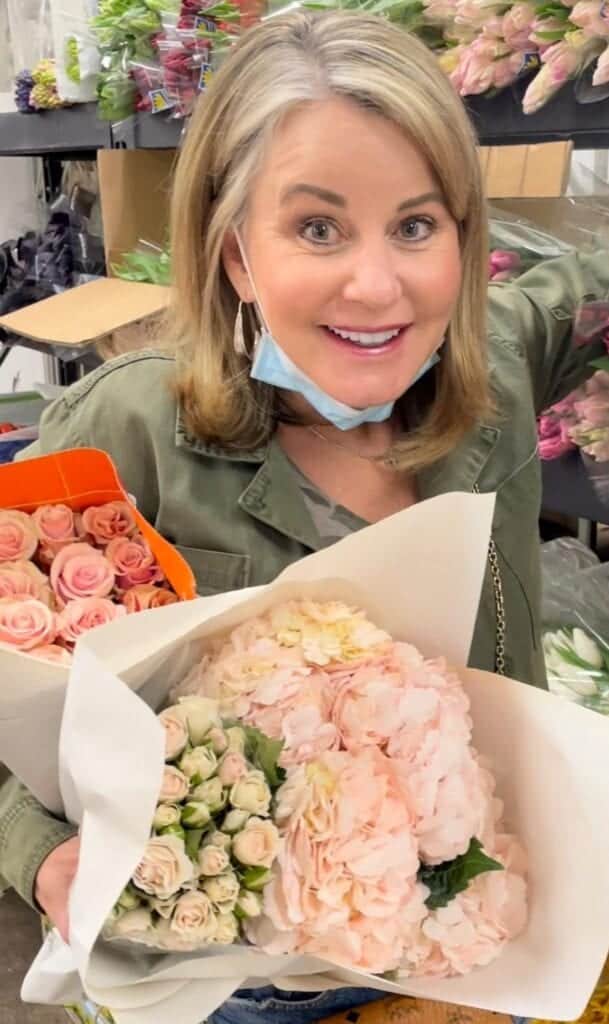
1. Clean your flowers
Flower cleaning is one of the keys to making beautiful arrangements that last.
First, remove all of the wrappers and rubber bands from all of your flowers. Then, remove any outer petals and leaves that may be brown or bruised.
Also, be sure to strip the leaves on the bottom part of the stem that will sit below the water line. You do not want any foliage or flowers to be in your water. This one easy step will help keep your water fresh and clean, ensure proper nutrient uptake, and extend the longevity of your flowers. Plus, if you are using a clear vase, it keeps the design much cleaner and nicer looking, keeping the focus on the beautiful blooms. It’s a simple yet effective practice that significantly enhances the quality and life of your floral arrangements.
Finally, give each stem a fresh cut and place them in a bucket of fresh water, ready to be arranged.
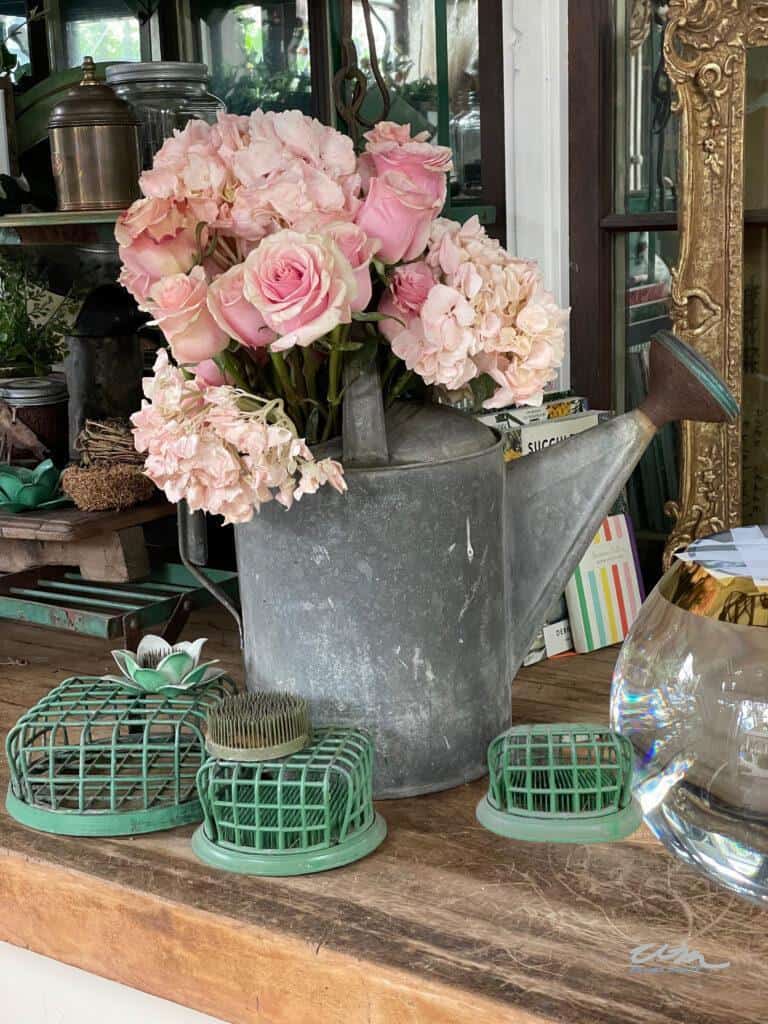
2. Choose your container
Choosing your container is an essential basic for flower arranging.
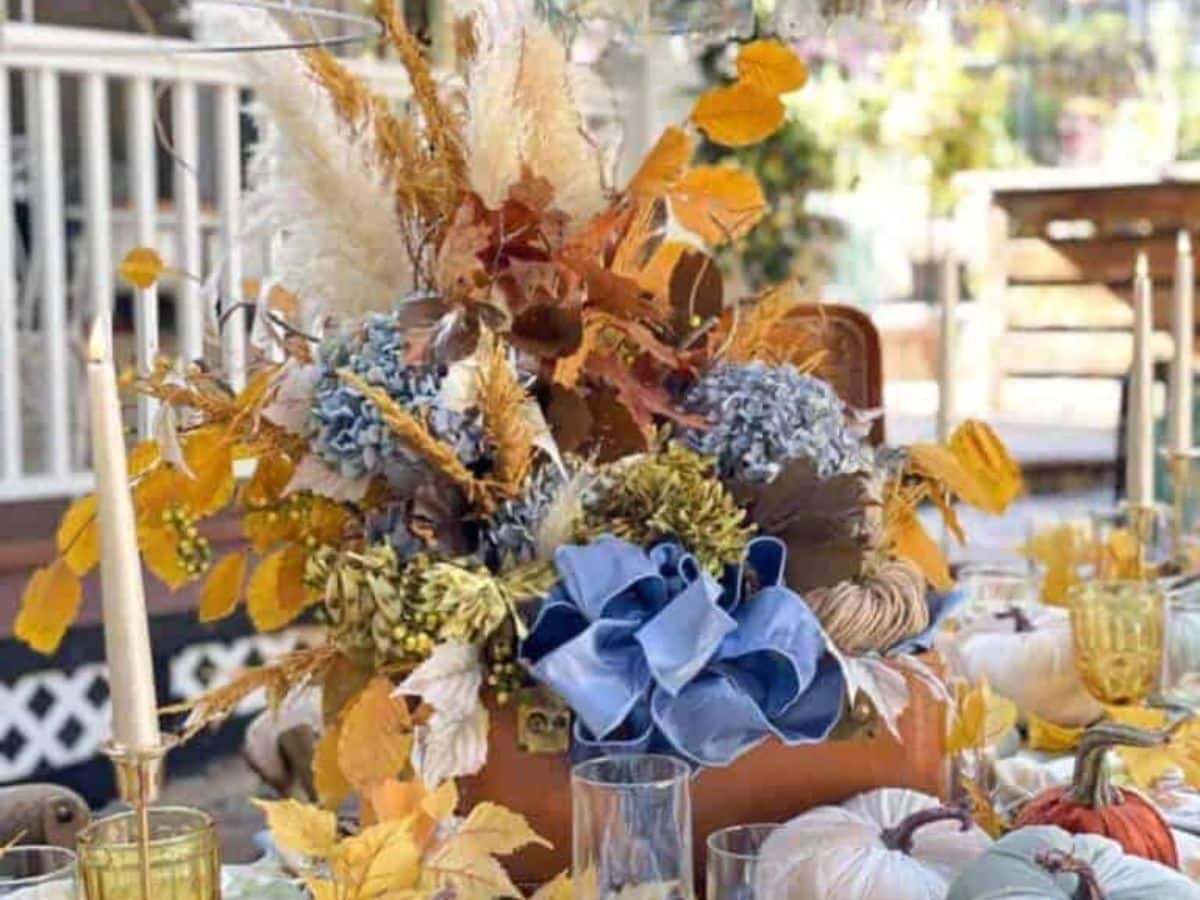
There are so many beautiful options for flower containers. You can use a plain glass vase, a mason jar, or a ceramic pot. Think outside of the box and use something a bit more unusual. I have used watering cans, suitcases, wooden boxes, toolboxes, and other unique items.
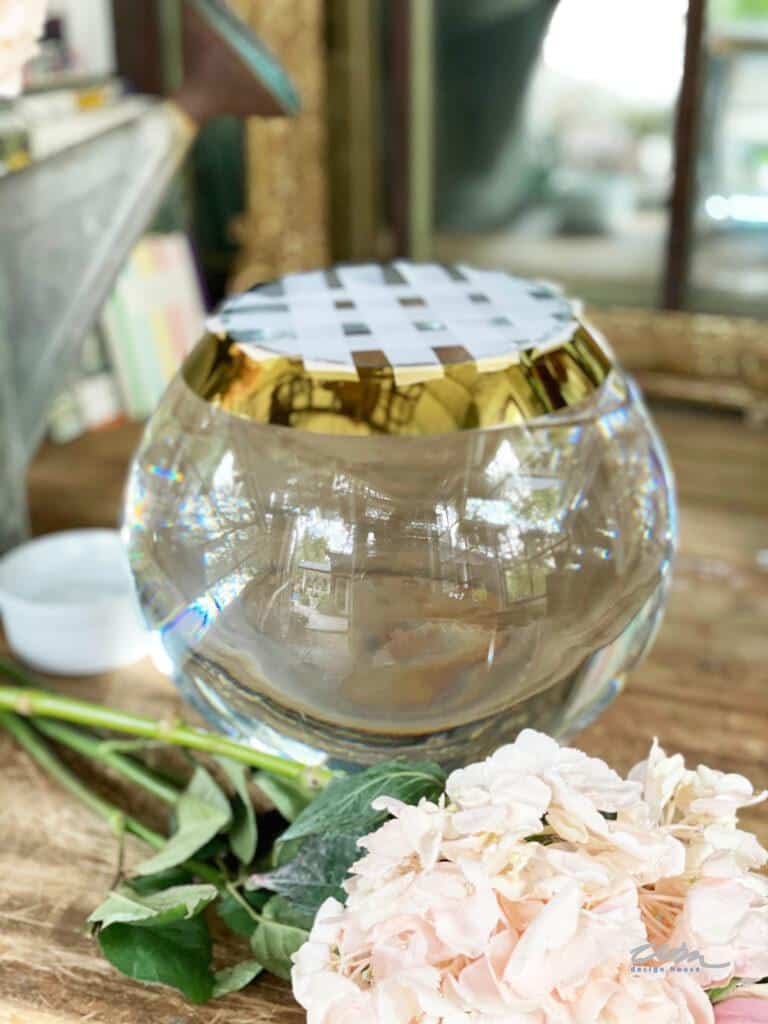
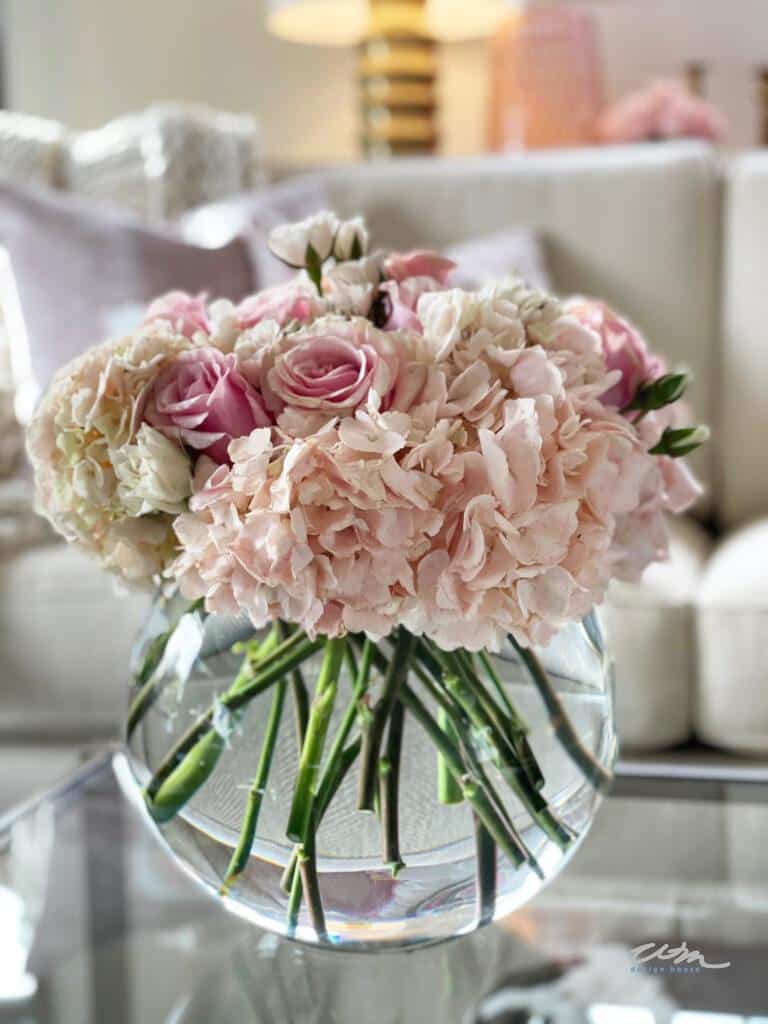
For today’s arrangement, I am using a glass bowl.
Floral design tip: Use a tape grid
I have created a grid on the top using scotch tape. The tape helps keep the flowers in place. You can use this method on several different kinds of containers.
3. Arrange your flowers
For today’s arrangement, I chose not to use greenery, as I wanted it to be quick and straightforward. If you are a beginner, start with something easy like this sweet and simple arrangement.
First, I started with my tallest flowers, the hydrangeas. I placed them with the flower stems on an angle as it creates such a pretty presentation through the clear glass vase. Look how nicely the tape grid helps create a nice overall shape and holds the flowers in place.
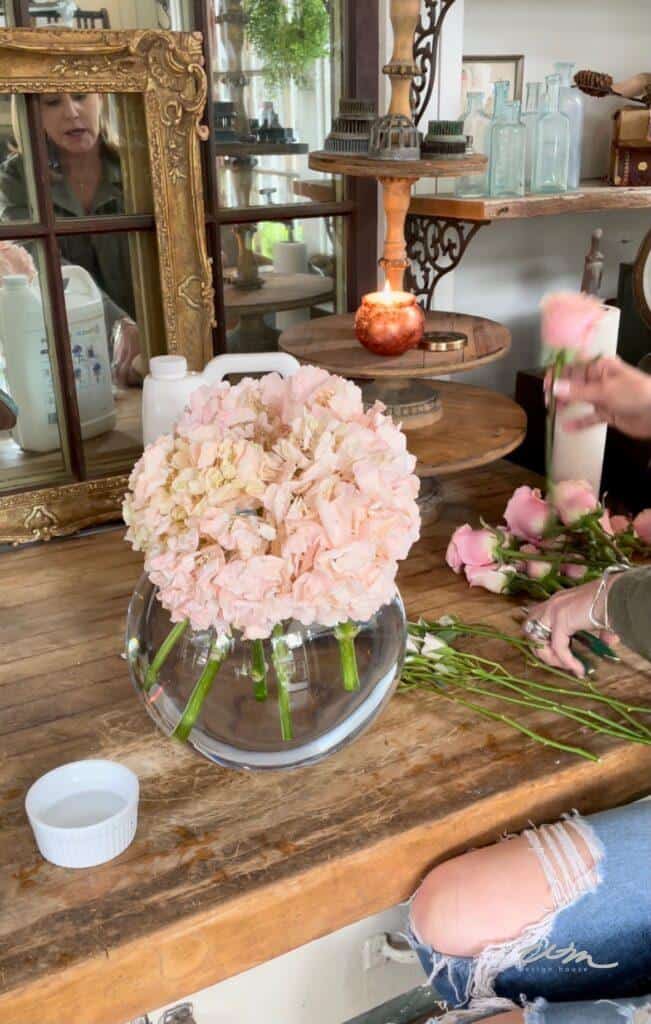
Then I finished by adding a few roses, and we’re done! Yes, it can be as simple as that. And the results are so pretty.
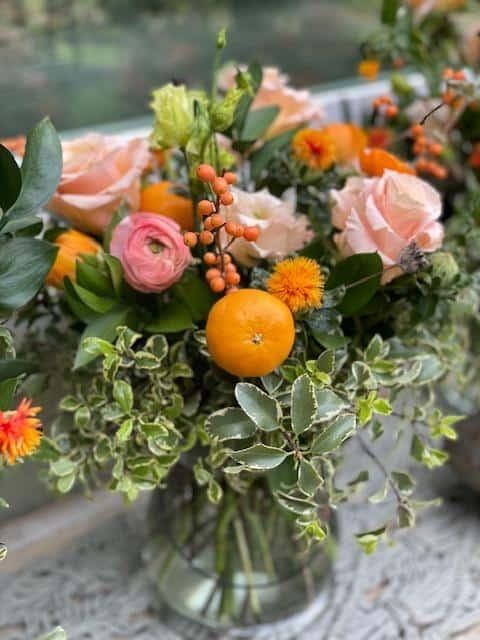
If I had been using greenery, I would first create a base layer with my greenery, and then start adding my tallest flowers, like in the two arrangements below.
Usually, the best way is to place larger flowers first, and smaller flowers next. Then, use filler flowers and add extra leaves of greenery to fill in empty spots. However, there are no set rules when it comes to the art of floral design.
Once you have the basics down, you can get creative and try different types of arrangements. Use your own personal style and find the design elements that speak to you. Experiment with different colors, types of flowers, and containers to change up the overall design. Play with different heights, vary the size of the flowers, and try a unique color palette to bring visual interest. Whether you are creating a simple arrangement for your kitchen table or more elaborate displays to celebrate special occasions, floral design is an art form that anyone can learn and love.
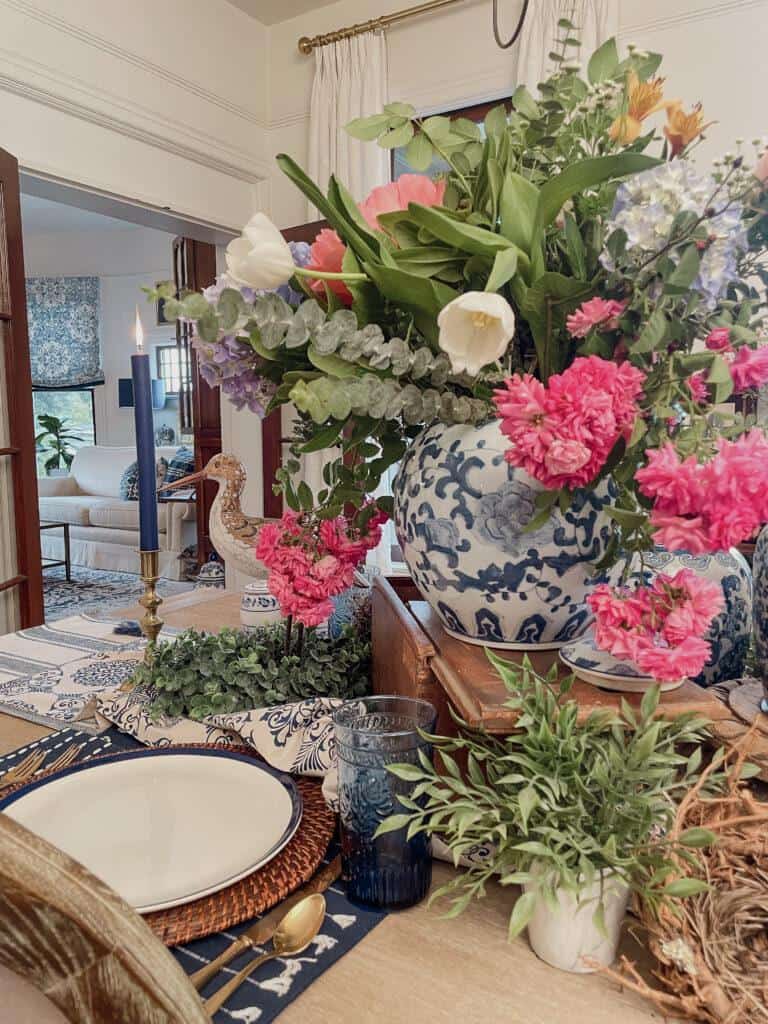
Floral design tip: Use different textures
I also enjoy adding fruits and vegetables to my floral designs. This element adds different textures and character to my bouquets.
Products to keep your flowers fresh longer
To make your fresh floral arrangements last longer, I have a few tips and favorite products to share.
First, I use a product called quick dip. Before inserting the flower into the vase, I put a fresh angular cut on each stem and dip it in a small container of quick dip. This solution helps open the flower’s veins and keeps them fresh.
My other favorite flower designing product is called leaf shine. This stuff is gold in a can. A little spray, and your greenery is so shiny. I used it on all of my green plants around the house.
So, what are you waiting for? Now that you have a good understanding of floral design tops for beginners, you can get started on your very own flower design today! Then, be sure to subscribe to my blog for more inspiration. I can’t wait to see what beautiful creations you design.


If you enjoyed this post, you may also like:
Hydrangea Arrangements: How to Make Them Quick and Easy
How to Make Beautiful Succulent Floral Arrangements
10 Beautiful DIY Dahlia Flower Arrangement or Bouquet Ideas
My Favorite Gardening items



Hi Wendy, I’ve never been to a flower arranging class, but I feel like I know tons more after reading this post. Real flowers have gotten so expensive in retail. It would absolutely be more cost efficient to go to a flower market if you had multiple arrangements to create. Love your rose/hydrangea grouping in the old galvanized watering can. I’m sharing your post Monday evening on All About Home. Thanks so much for coming by and joining in!
Thank you so much Debra. I appreciate you kind comment and for sharing me on your link party.
I had sent you a message on IG a while back. I enjoy reading your beautiful blog, but for some reason I am not
able to comment :((( what platform are you using? I was going to try again and see what can be done. Have you
encountered this issue before?
Love all of your great tips for floral arrangements. I wish we had a large flower market close by to snag some flowers.
Thank you sweet Tammy! You are such a doll. I am so far behind this week, just cant seem to get ahead of the ball. UGH