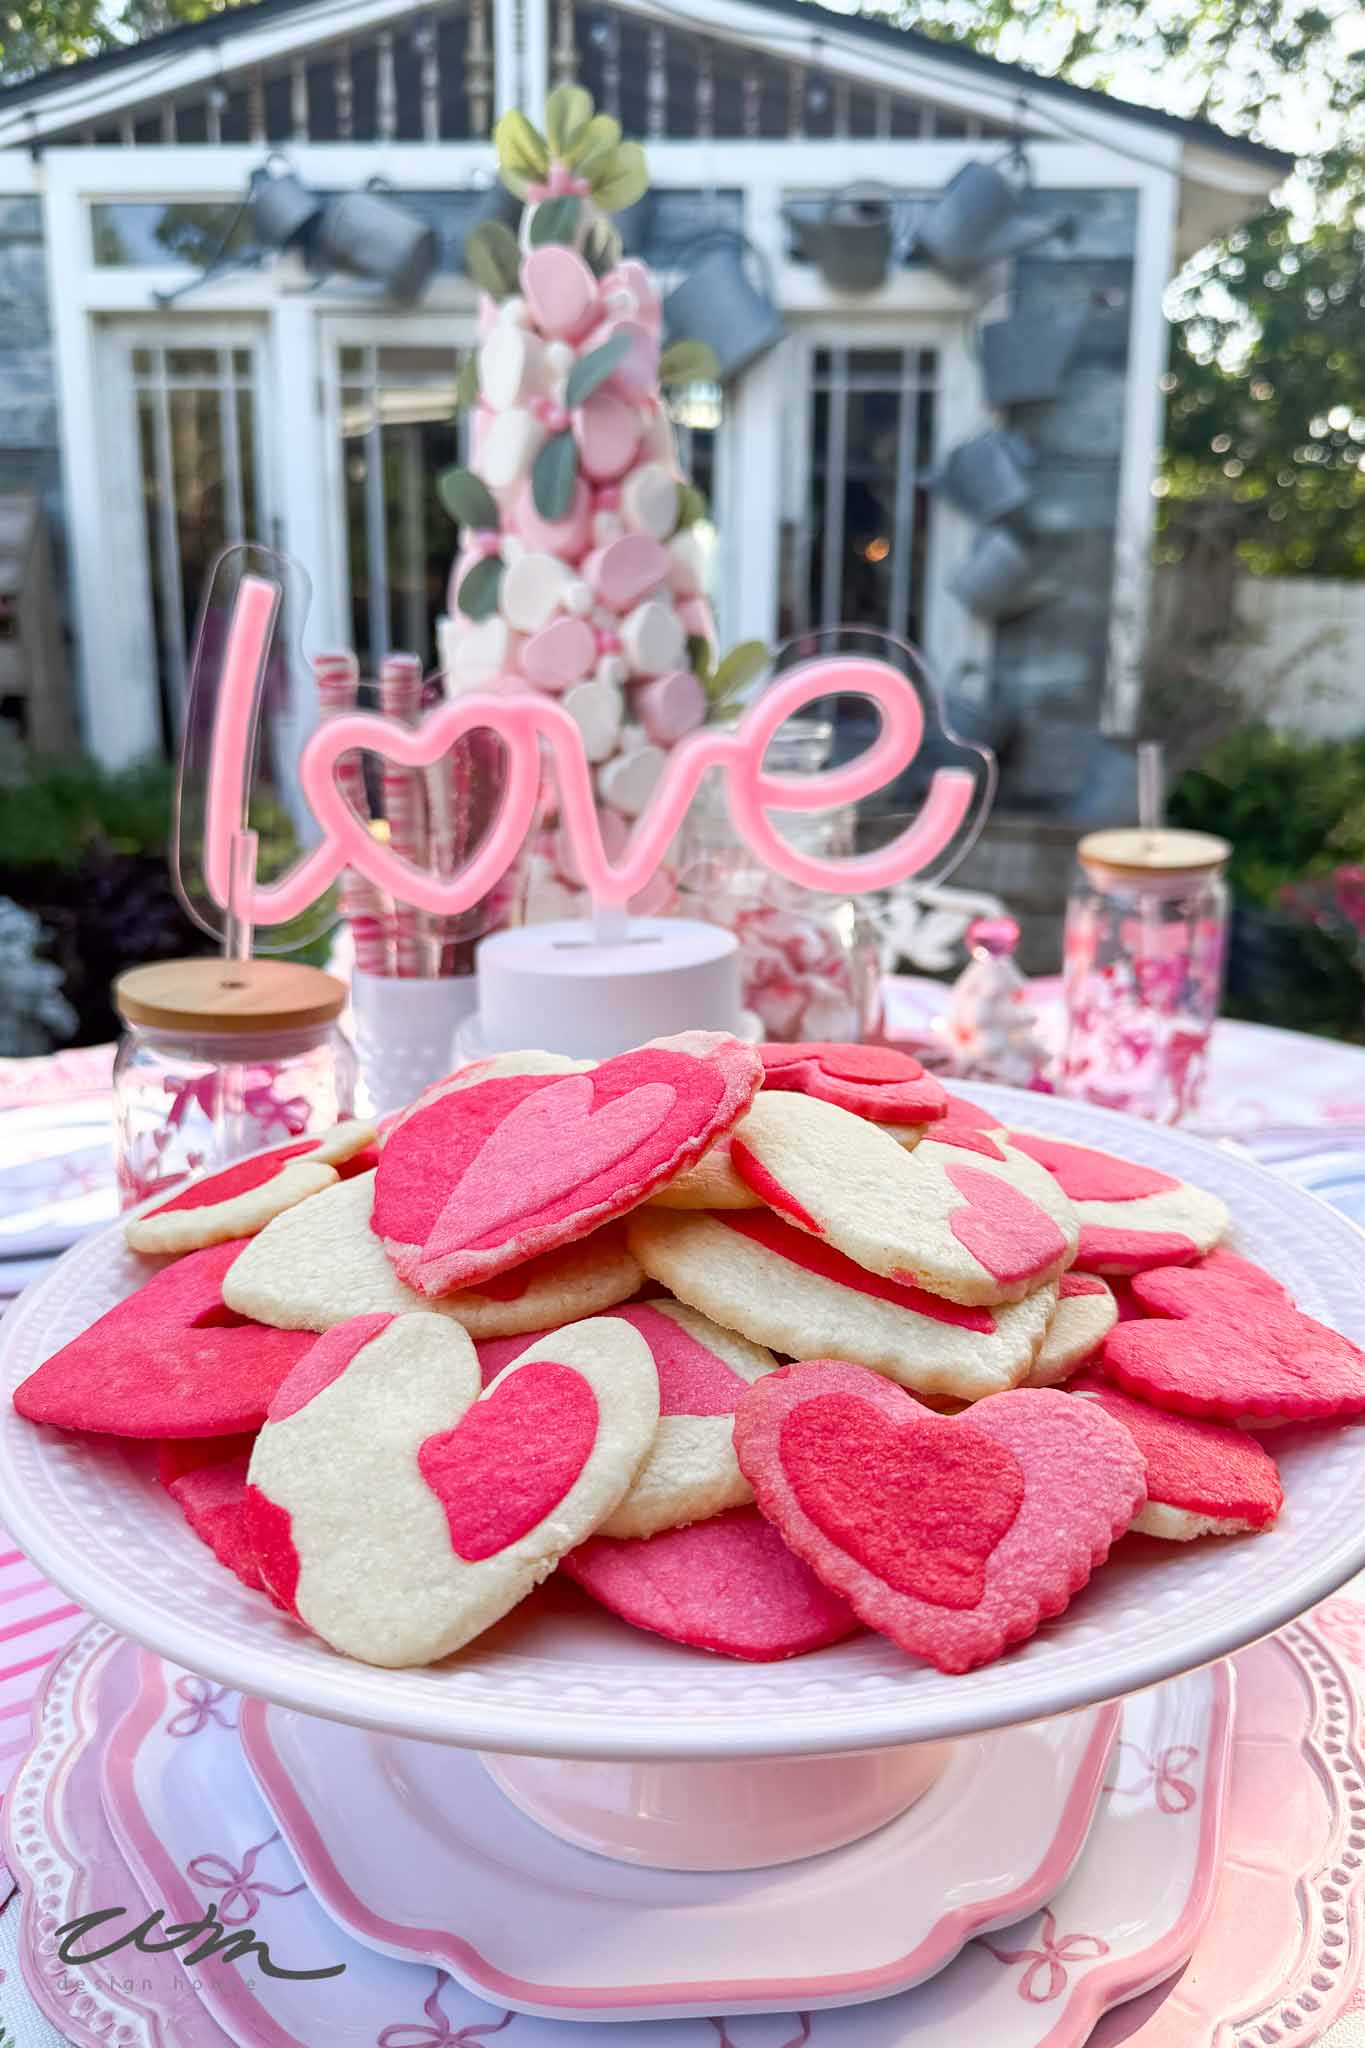
Heart Sugar Cookies with Four Colors (No Icing Needed)
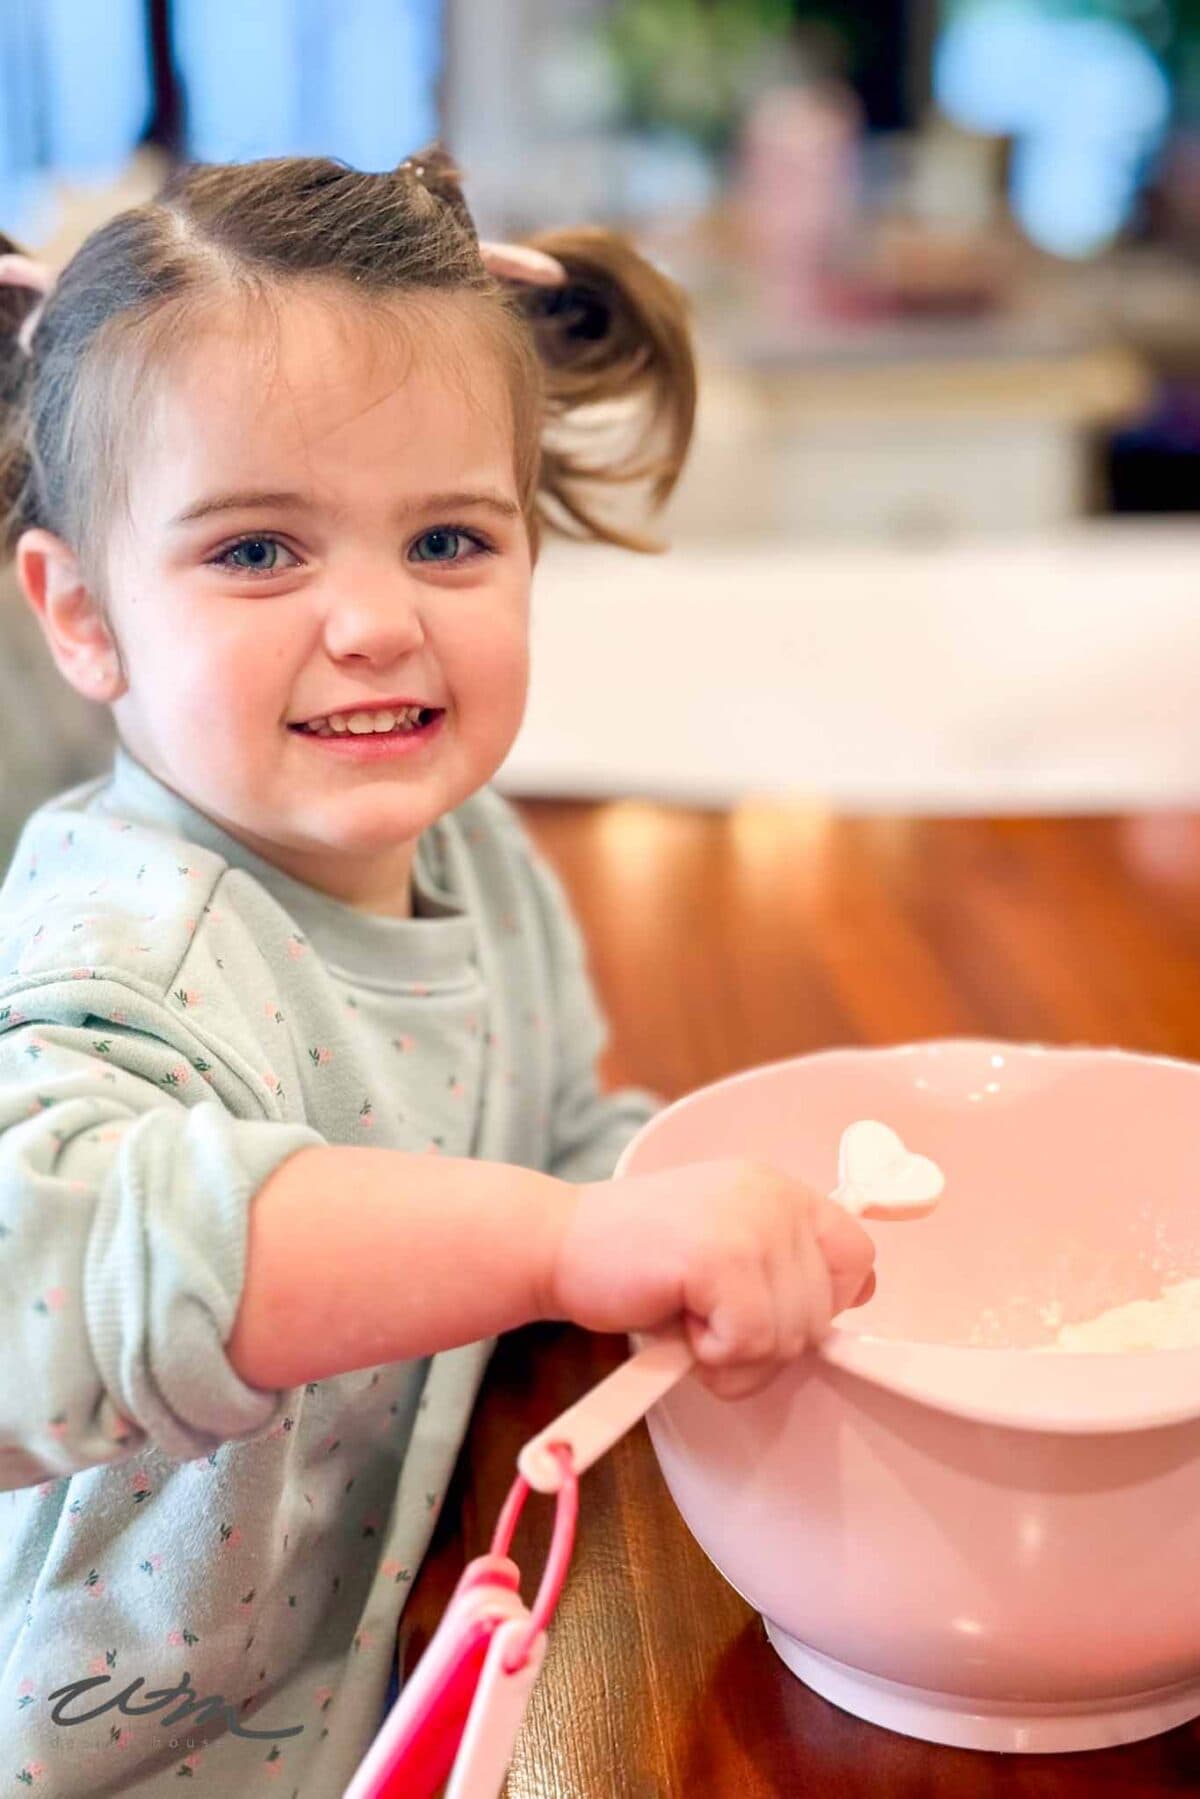
Every year as we start getting ready for our Valentine’s party, my granddaughters and I spend an afternoon in the kitchen making something sweet together. It’s become one of my favorite traditions — flour dusted across the counters, soft pink dough everywhere, and lots of giggles along the way.
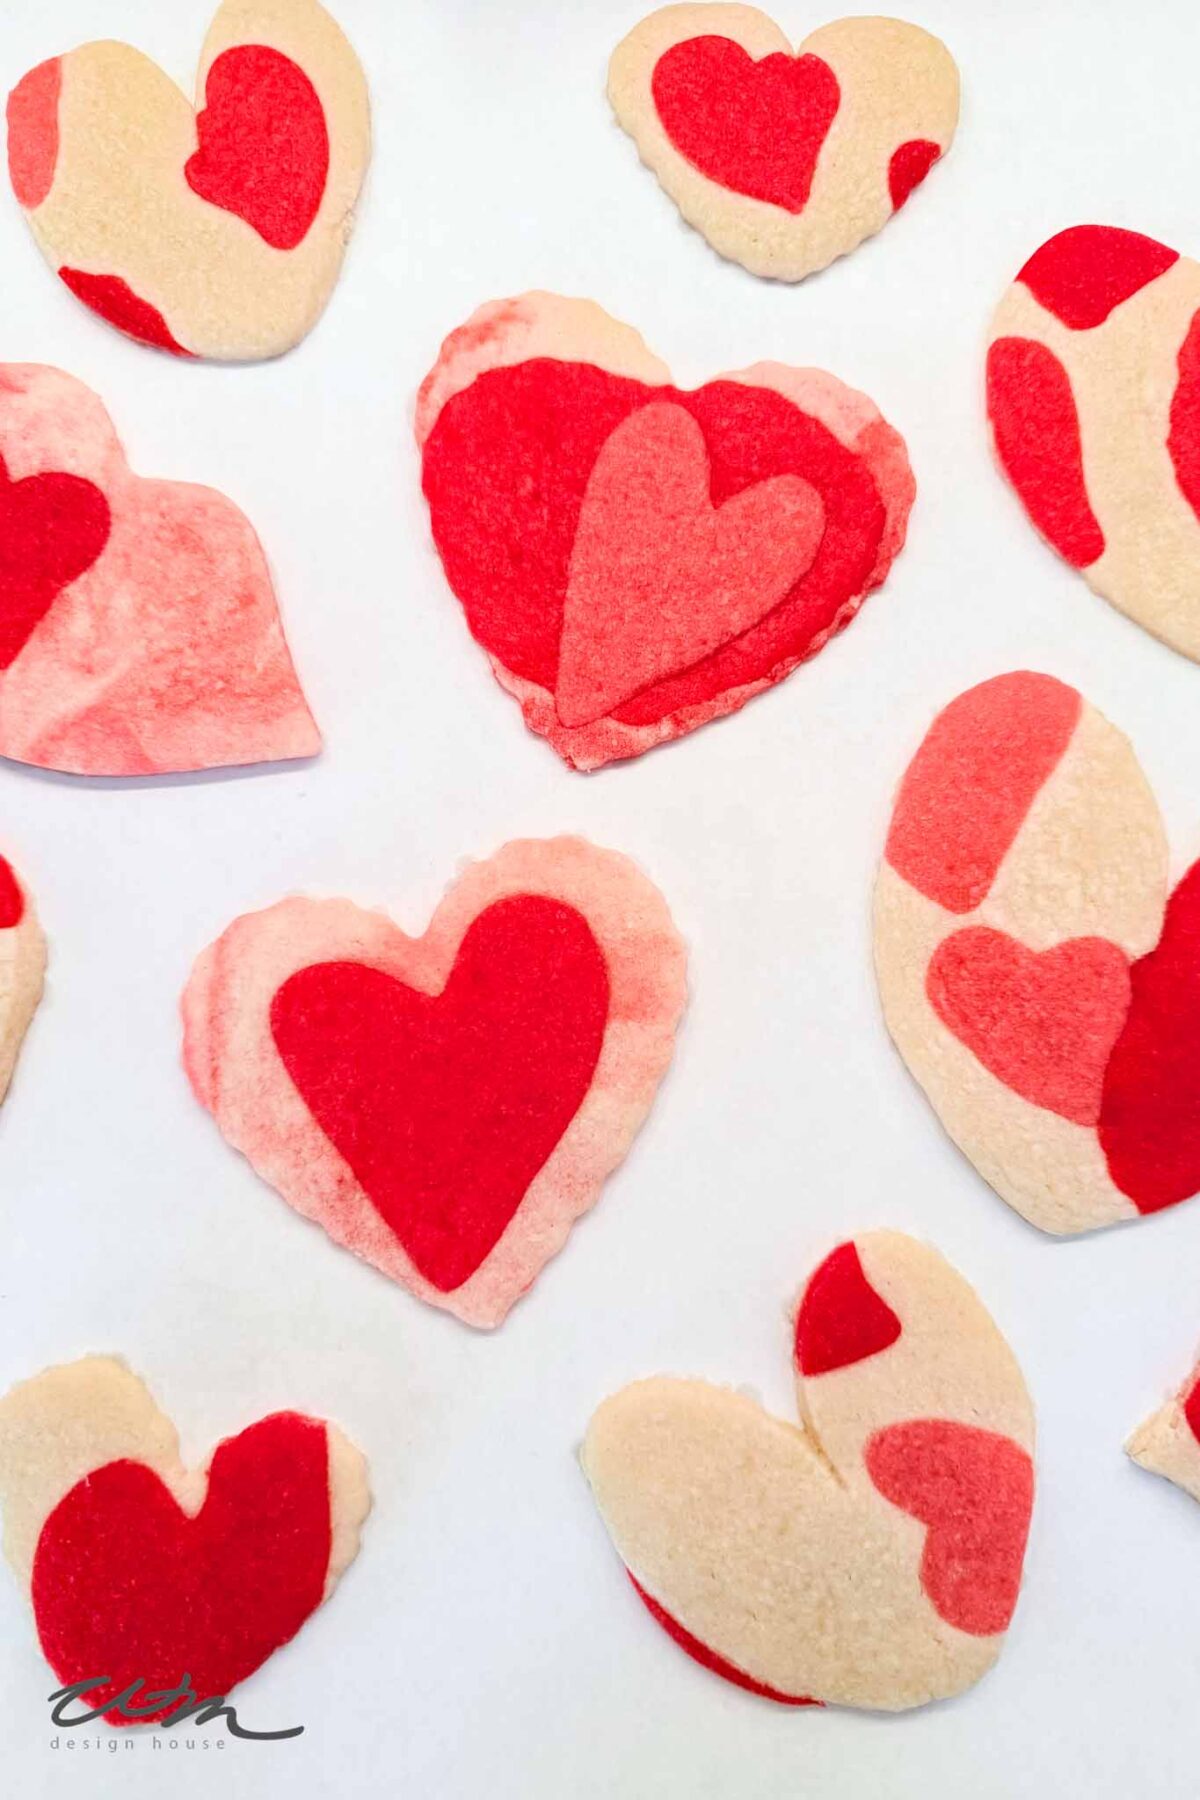
This year, we made heart sugar cookies with four colors of layered dough, and they were just as fun to make as they were to serve. They’re such a sweet addition to any Valentine dessert table — a simple twist on classic Valentine sugar cookies. Instead of decorating with frosting, we colored the dough itself, creating the prettiest pink and red layers baked right into each cookie.
If you’ve ever wanted beautiful sugar cookies without icing, this is such a simple and special way to do it. And because the dough is soft and tender, these layered heart sugar cookies taste just as good as they look.
On my blog WM Design House, I may sometimes use affiliate links, which means a small commission is earned if you purchase via the link. The price will be the same whether you use the affiliate link or go directly to the vendor’s website using a non-affiliate link. Read my full disclosure policy here.
Why You’ll Love These Four Color Heart Sugar Cookies
I love how layering the colors makes these cookies feel pulled together without being fussy. When you cut into the dough and see those soft pink and red layers, it’s such a simple detail — but it really does make all the difference. Heart shaped sugar cookies are charming on their own, but this little technique gives them a fresh twist.
Because the color is built right into the dough, there’s no fancy piping or extra decorating to worry about. They look like decorated sugar cookies without frosting, yet they’re surprisingly easy to make. They’re perfect Valentine heart sugar cookies for parties, gifting, or baking with kids.
And best of all, they stay soft — no crispy edges.

The Secret to Soft Sugar Cookies That Hold Their Shape
When I make homemade sugar cookies for Valentine’s Day, I want them soft and tender, not dry or crisp around the edges. But I also need them sturdy enough to hold their heart shape and layered colors.
This recipe gives you both.
A little cornstarch keeps the texture delicate. An extra egg yolk adds richness. And chilling the dough helps those beautiful layers stay defined when baked.
These four color sugar cookies are soft, buttery, and festive without being fussy.

Ingredients for Soft Four Color Heart Sugar Cookies
This soft sugar cookie recipe uses simple pantry staples, but a few small additions make a big difference in texture.
You’ll need butter and sugar for that classic, buttery base, along with an egg and an extra egg yolk to keep the cookies tender. A little vanilla (and almond extract, if you like it) adds warmth without overpowering the flavor.
For structure, we use all-purpose flour with just a touch of baking powder. The real secret to keeping these heart sugar cookies soft is a bit of cornstarch — it helps create that delicate, melt-in-your-mouth texture without making the cookies spread too much.
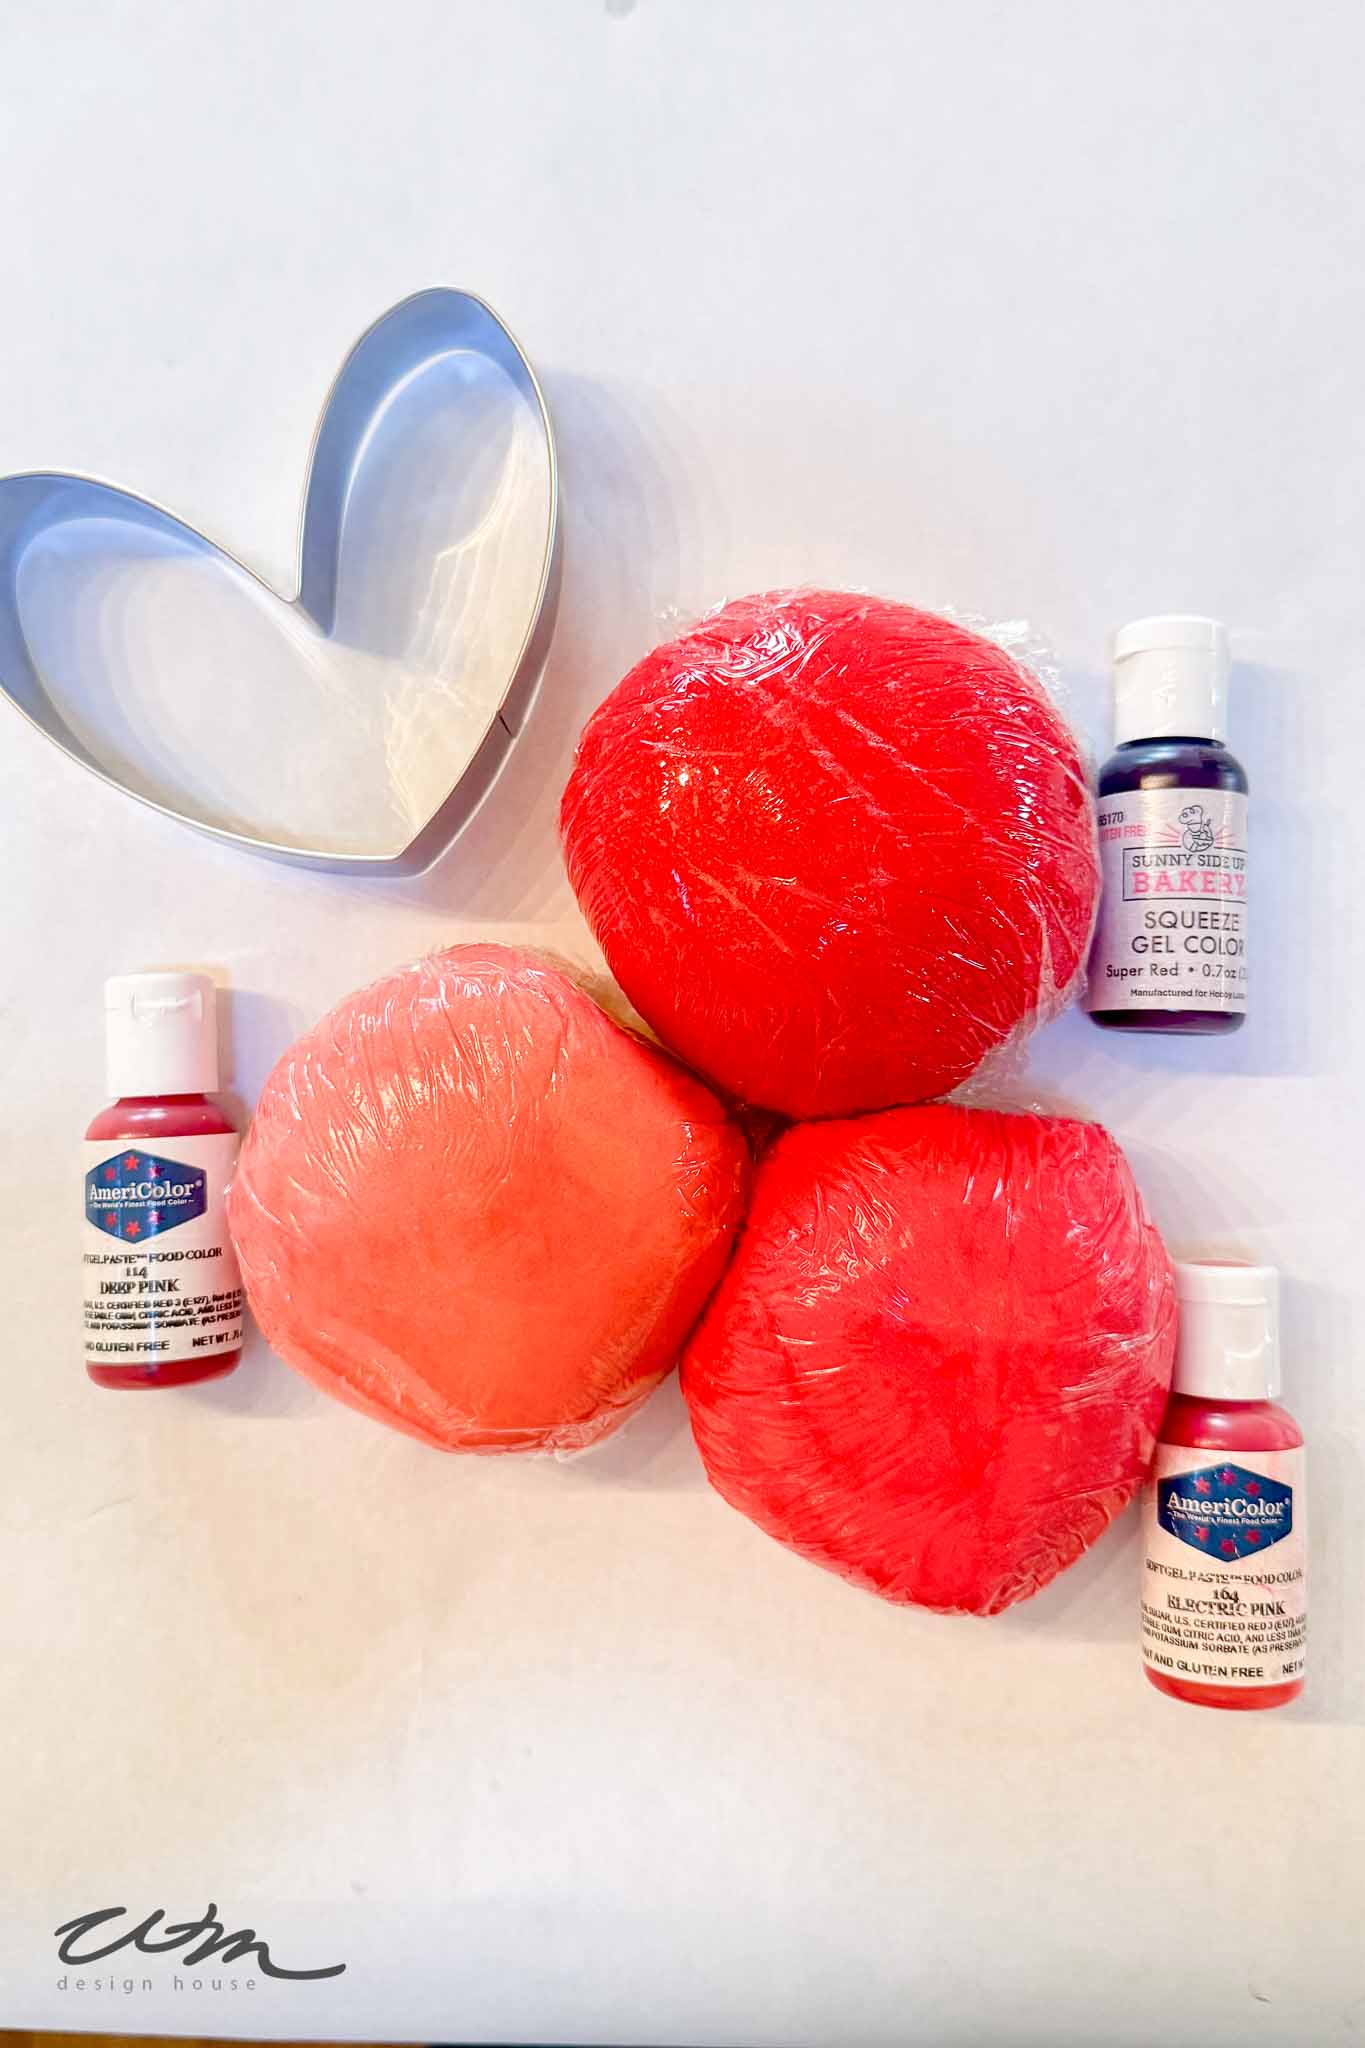
And of course, you’ll need gel food coloring in pink and red tones to create the layered effect. Using gel instead of liquid keeps the colored sugar cookie dough vibrant without adding extra moisture.
You’ll find the full printable recipe with exact measurements below.


How to Make Layered Heart Sugar Cookies
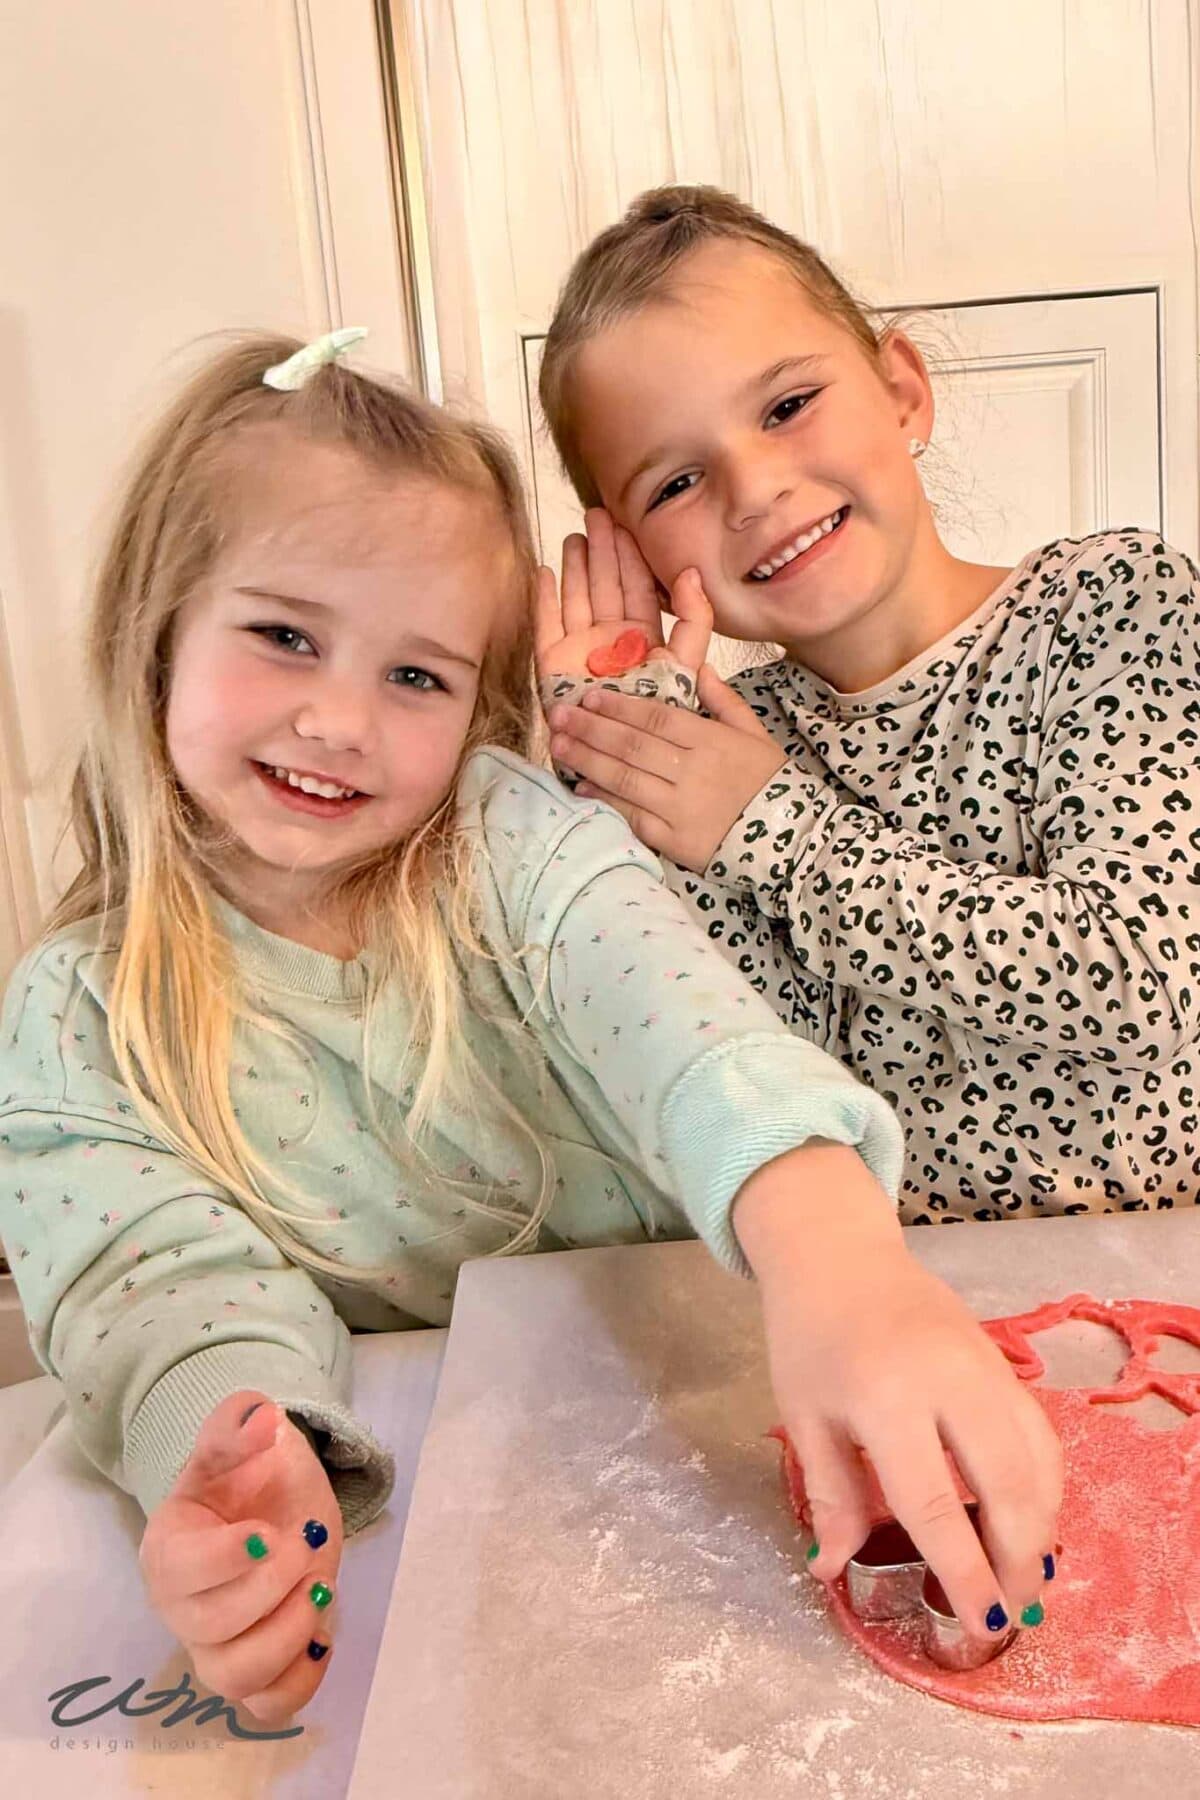
Once your dough is mixed and chilled, the fun really begins. This is the part my granddaughters love most — pressing the colors together and watching the layers form.
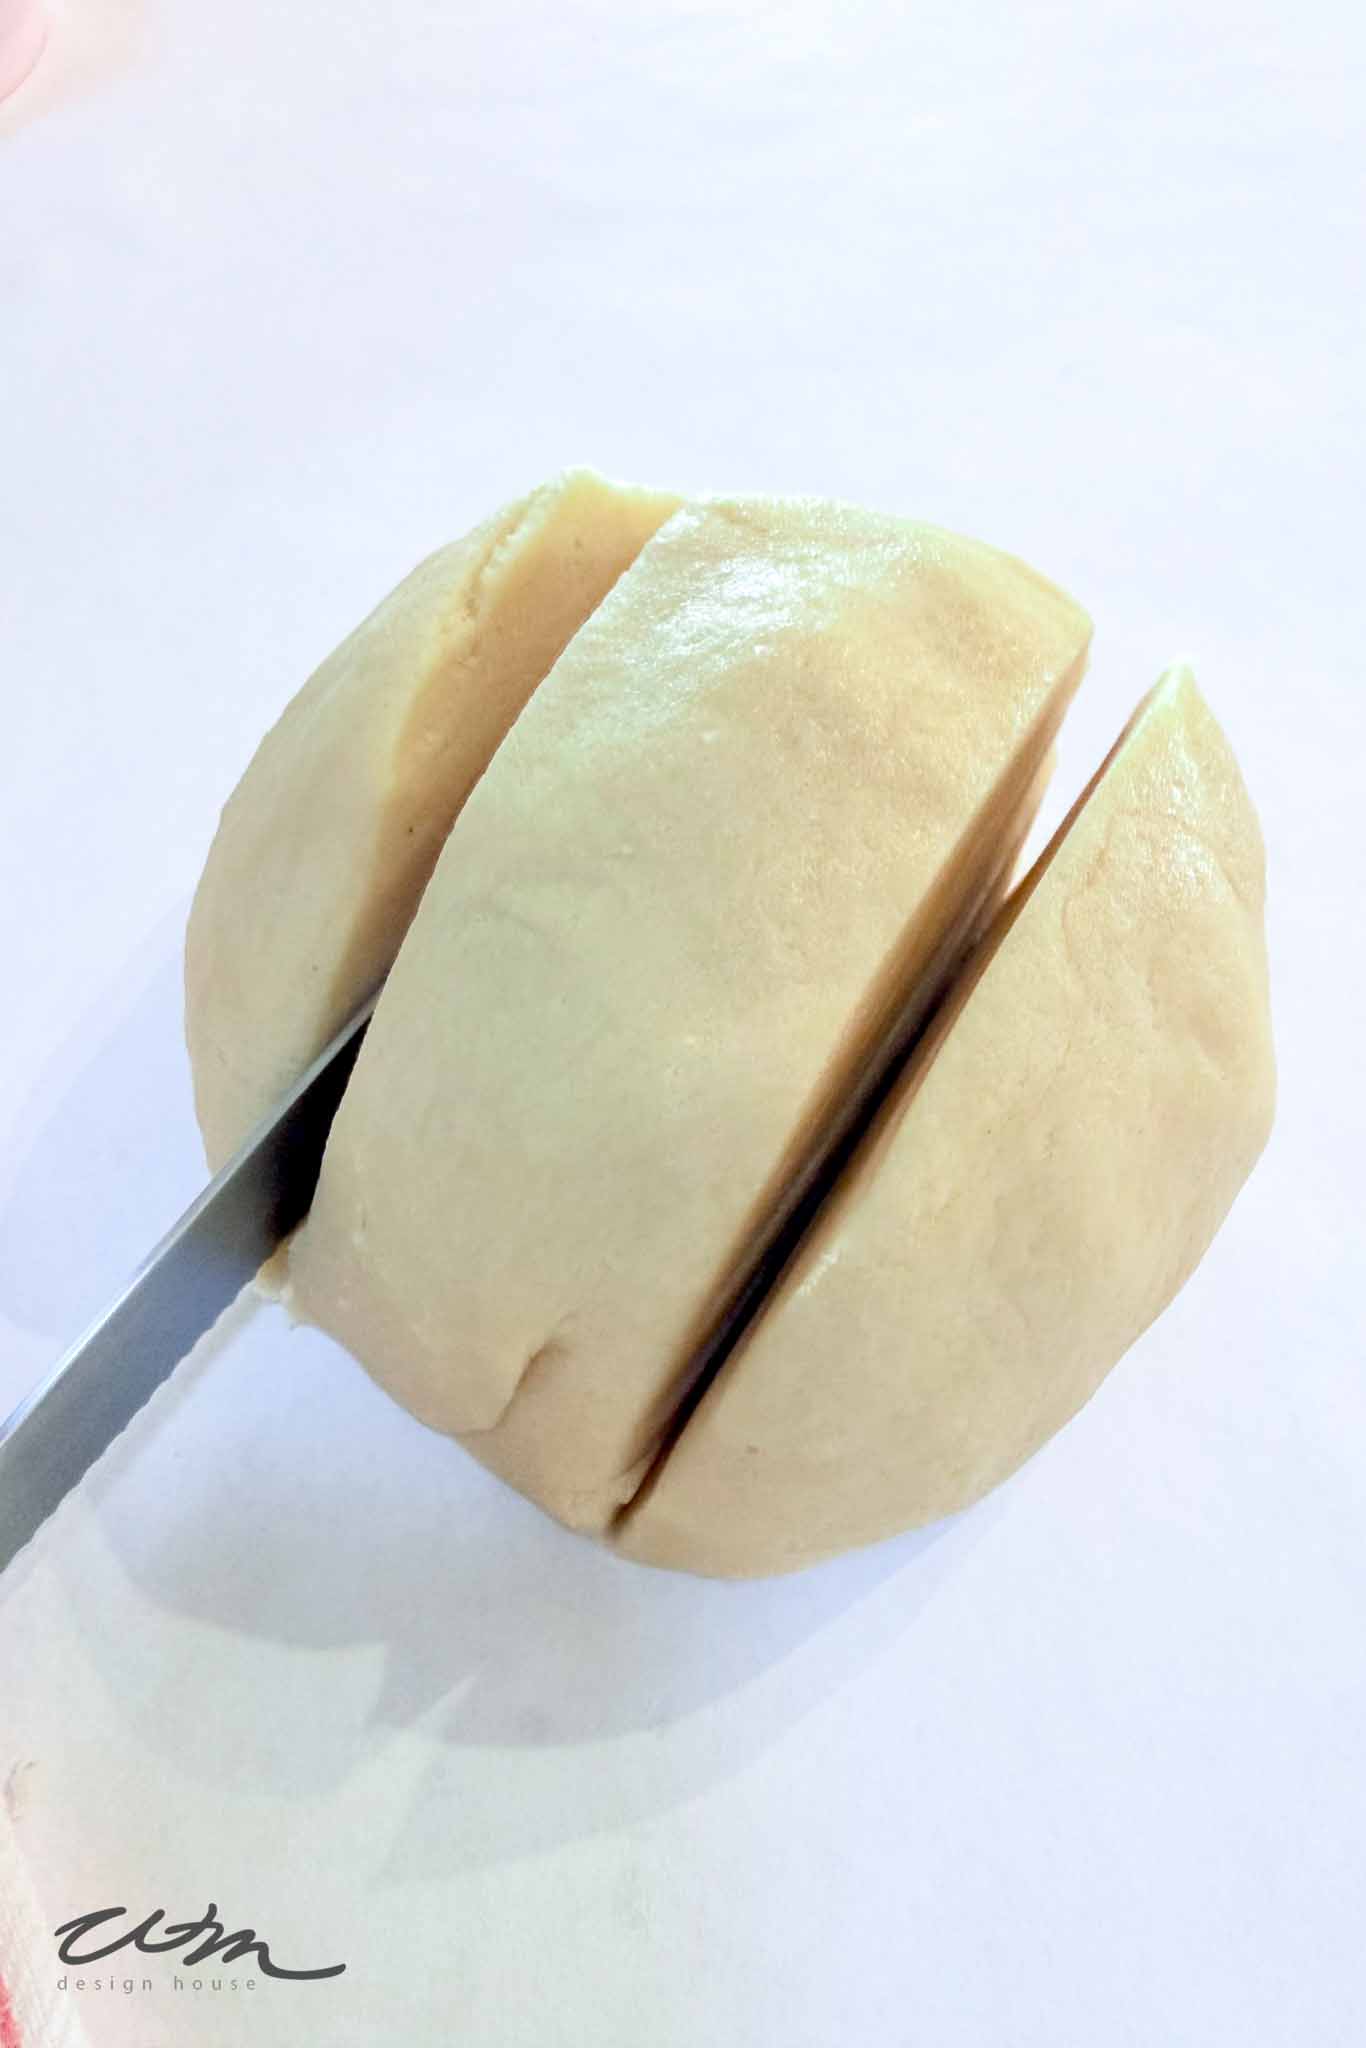
Step 1: Divide and Color the Dough
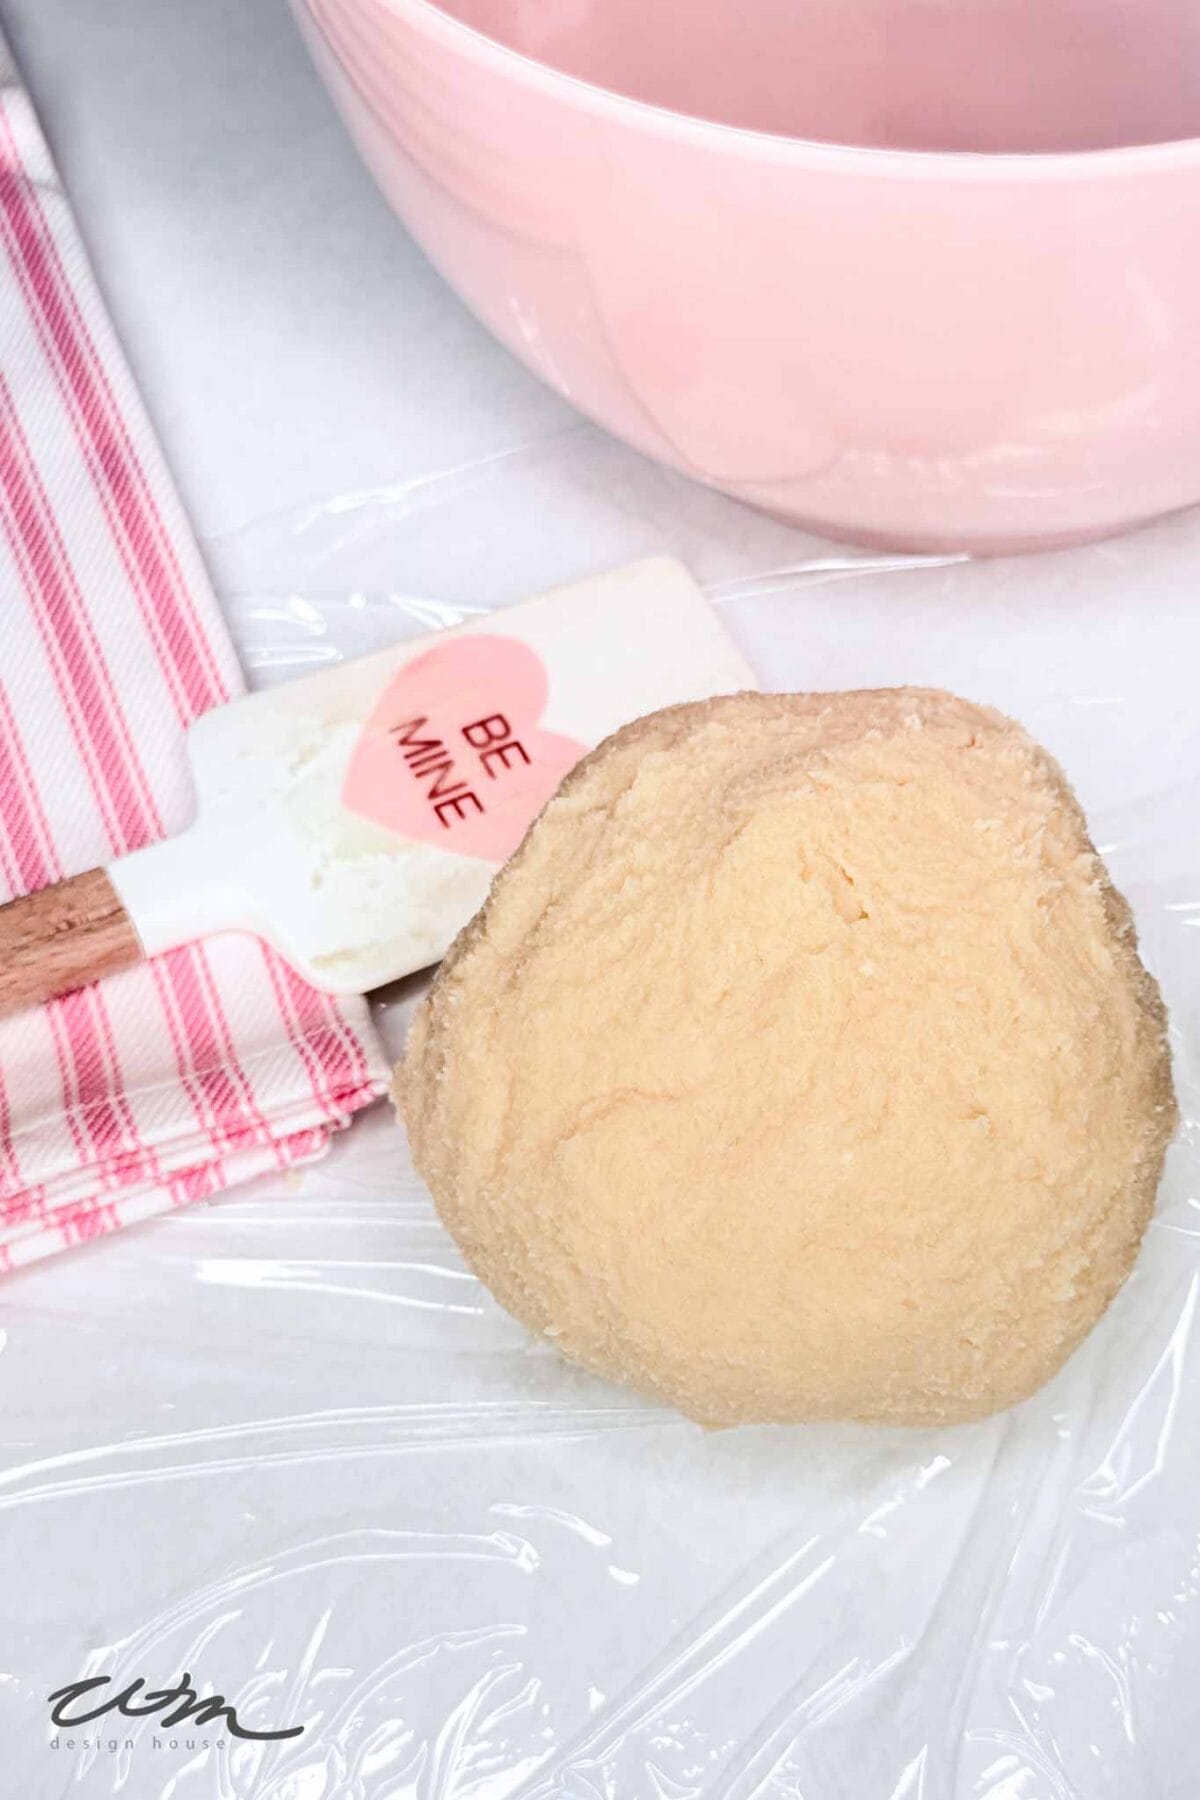
After chilling, divide the dough in half. Put one half in the refrigerator. Then cut the other half into three sections. Tint each section with gel food coloring to create a soft pink, blush, and red dough.Knead the color in gently until it’s evenly distributed.
Using gel coloring keeps the colored sugar cookie dough rich and vibrant without changing the texture.
Step 2: Roll and Cut the Colored Dough
Roll out each of the pink and red dough portions one at a time to about ⅛ inch thick. I like to use an adjustable rolling pin with removable thickness rings on the ends — they help keep the dough evenly rolled without guessing. If you don’t have one, you can use a regular rolling pin and place thin wooden guides or even stacked paint sticks on either side of the dough to keep the thickness consistent.
If you’re baking with young children, though, don’t worry too much about precision. Just let them roll the dough. It doesn’t have to be perfect.

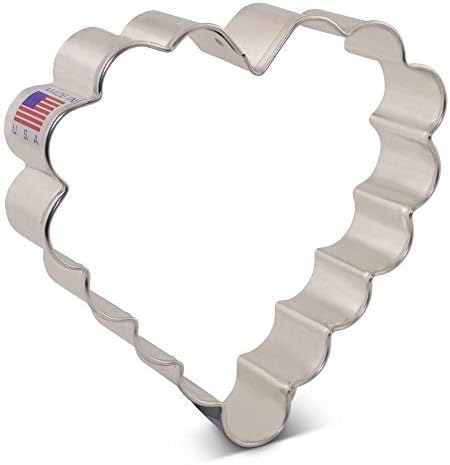
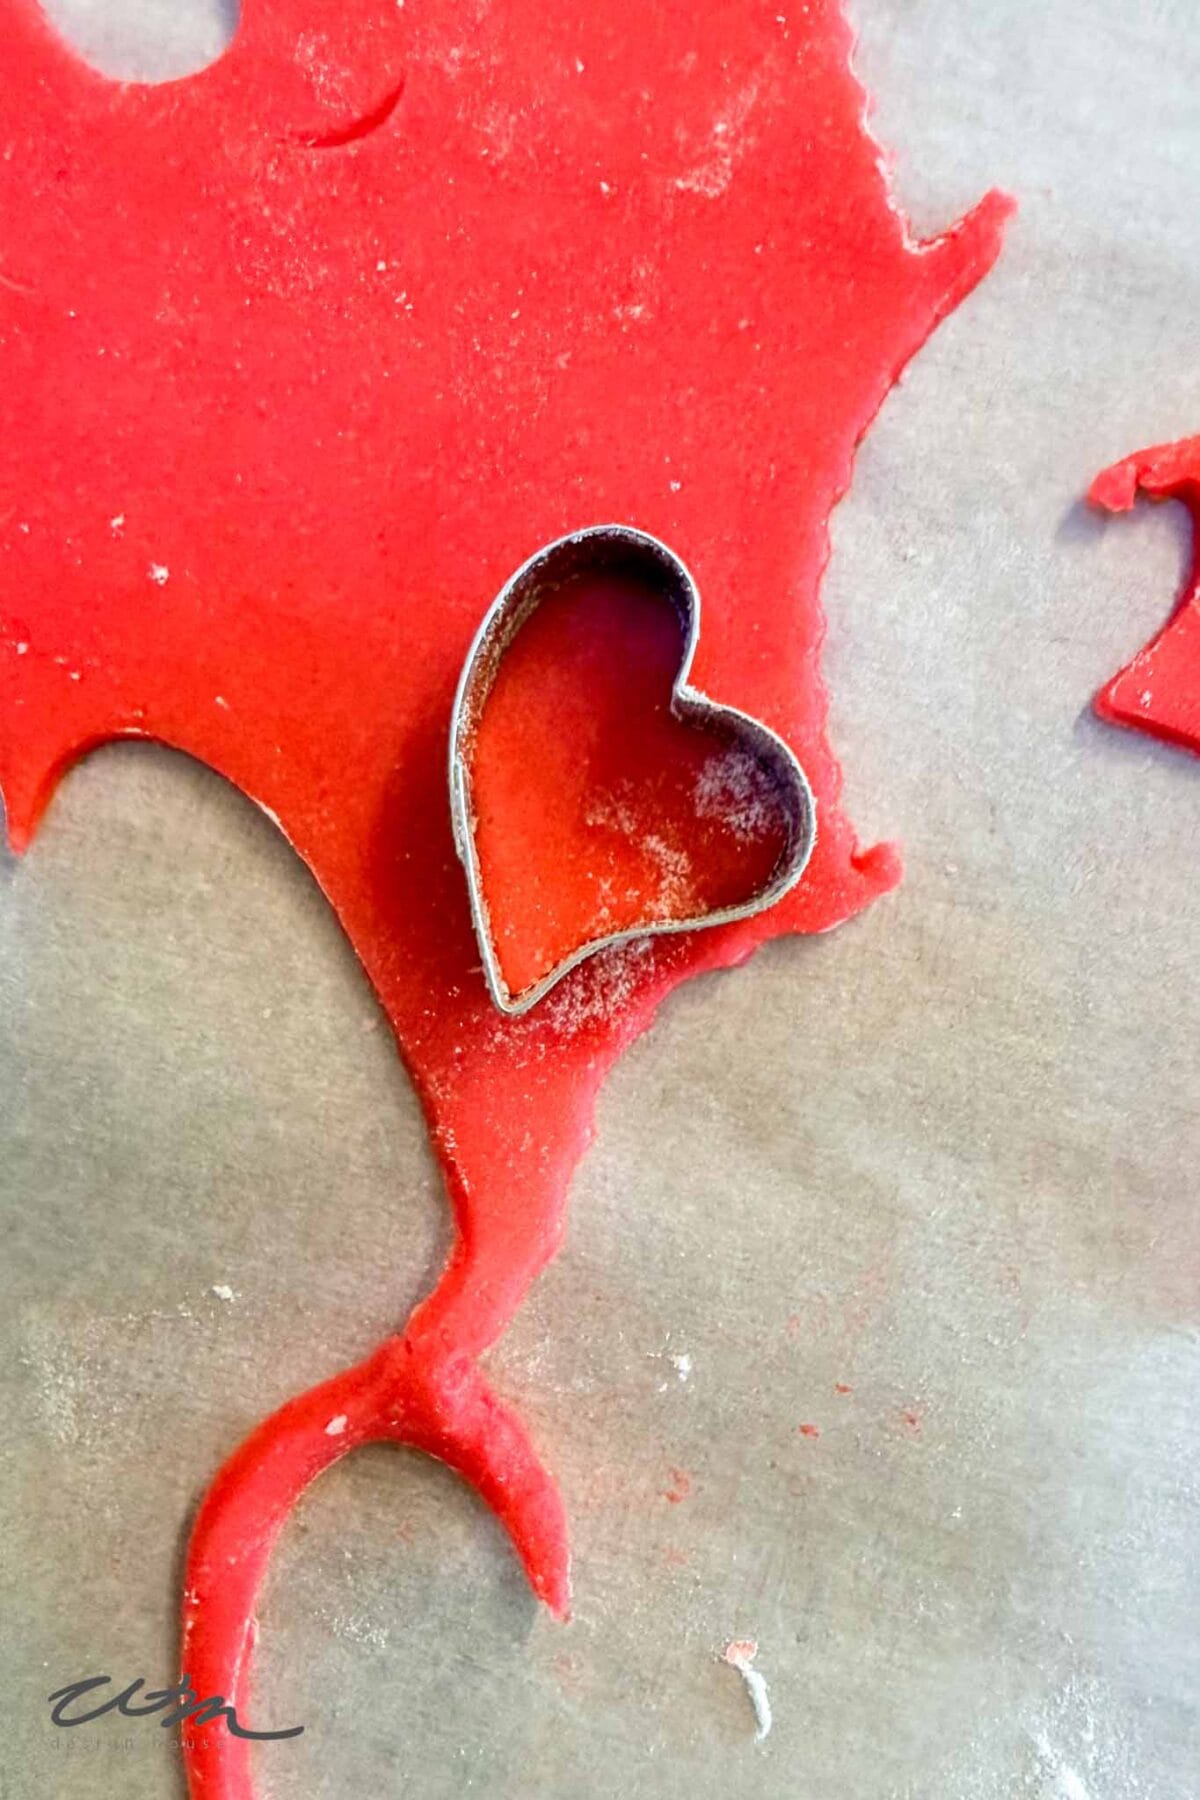
Using small to medium heart-shaped cutters, cut out several hearts in varying sizes.
Set these colored hearts aside carefully — we’ll layer them into the base dough next.

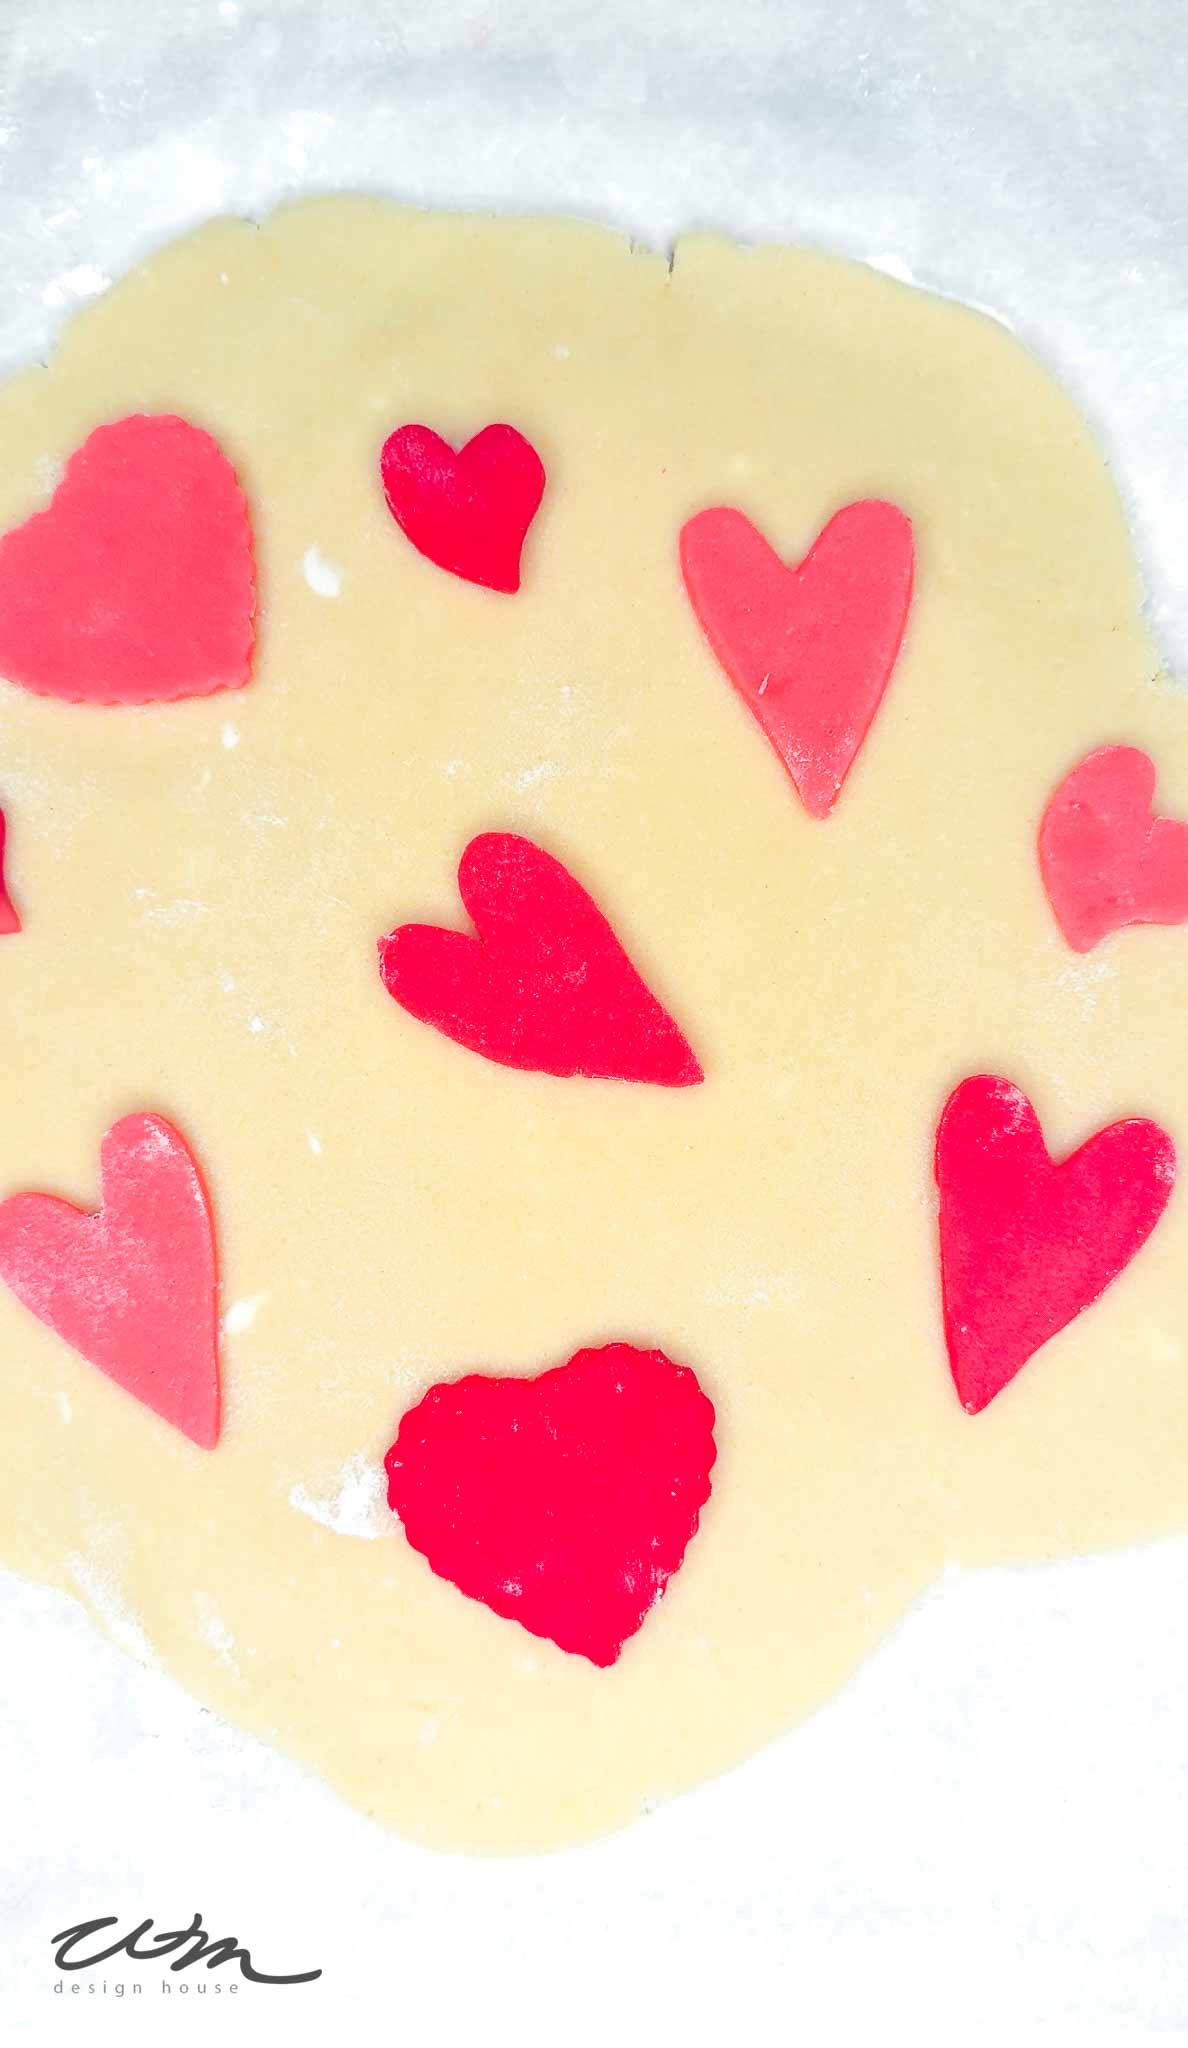
Step 3: Roll the White Dough and Add the Heart Layers
Next, roll out the white dough to about ¼ inch thick. This will be the base for your layered heart sugar cookies.
Arrange the smaller pink and red hearts on top of the rolled white dough, spacing them slightly apart. Don’t worry about perfection — a little variation makes the cookies more interesting.
Once the hearts are placed, lay a piece of parchment paper gently over the top and roll lightly with your rolling pin. This presses the colored hearts into the white dough and secures them in place. Don’t worry if they get a bit distorted as this creates unique and creative cookies.
Once secured, use your larger heart cutter to cut out the final heart sugar cookies, making sure each cookie captures some of the layered color.
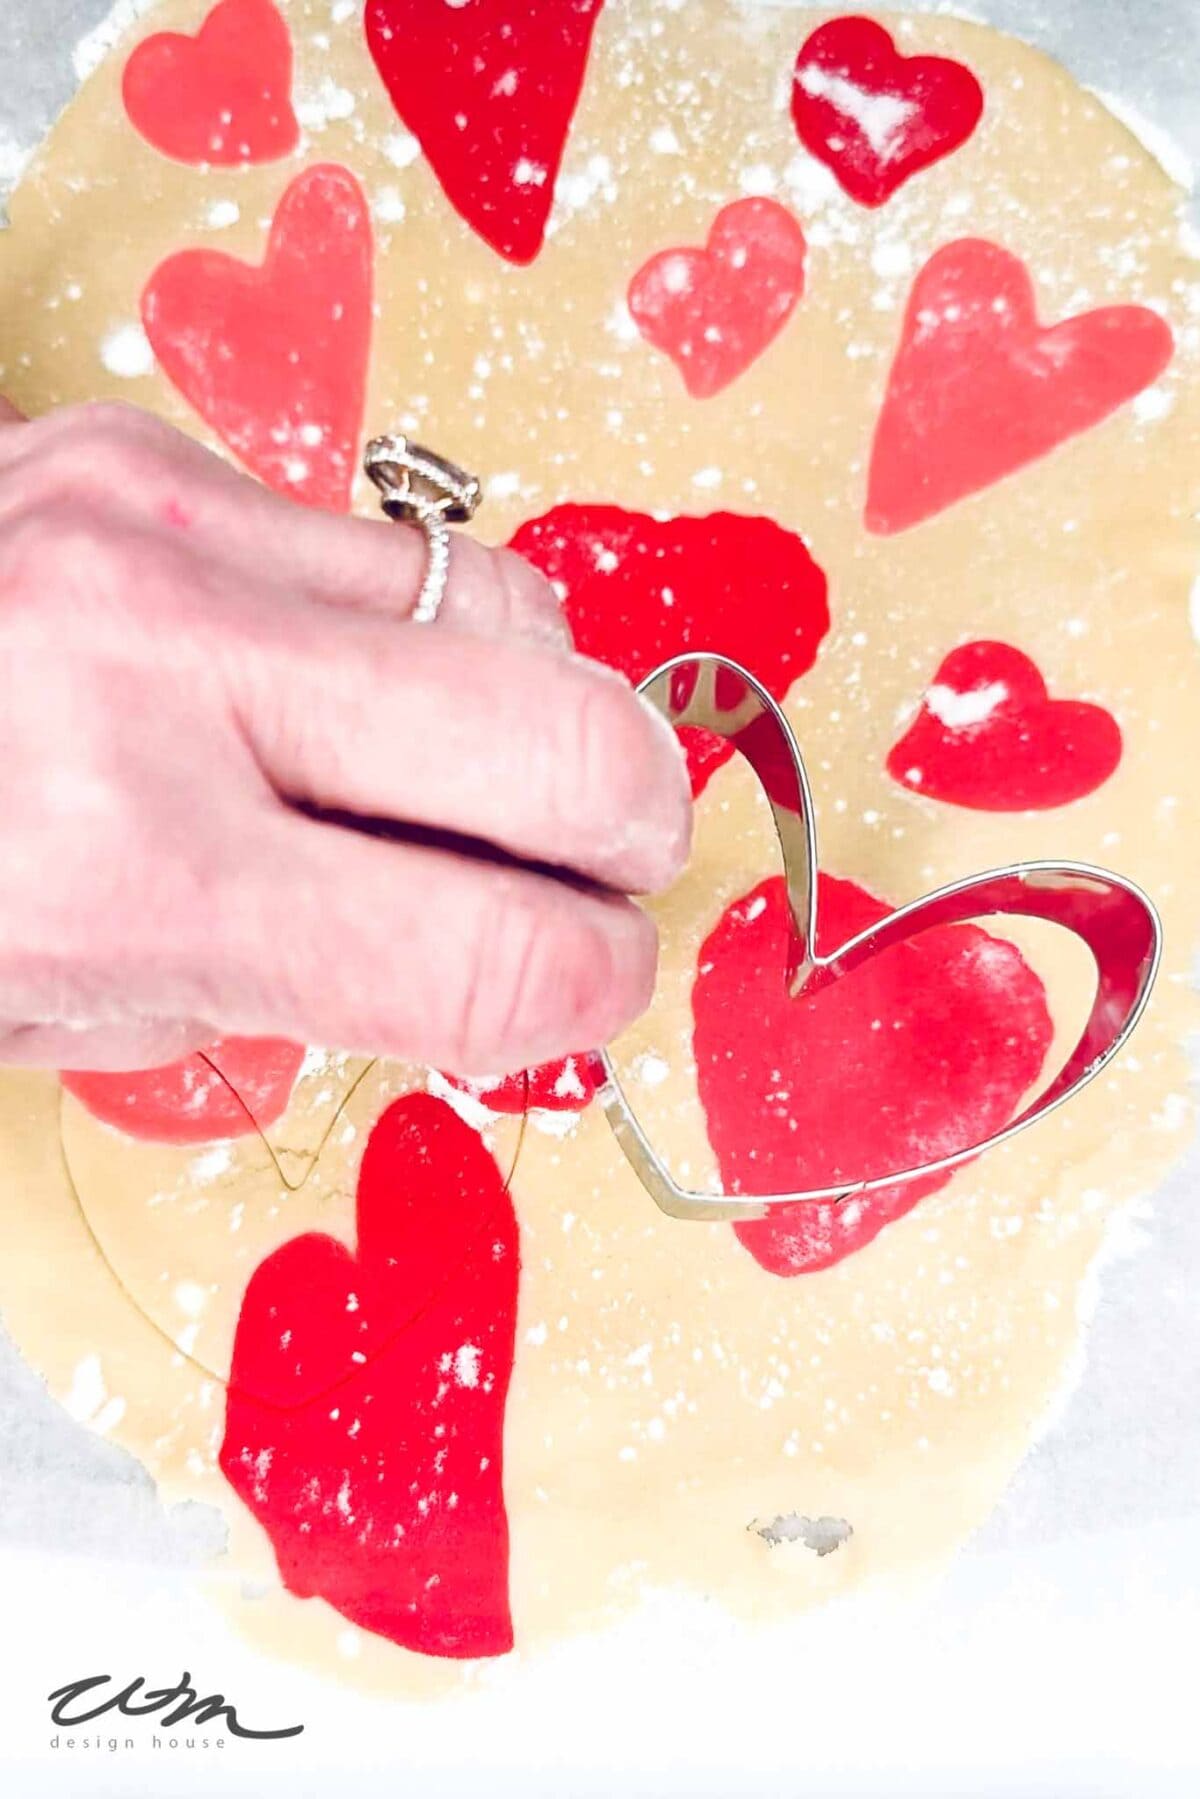
Step 4: Add Additional Hearts by Hand
For a little extra detail, you can press additional small hearts into the larger cut-out cookies using your fingers.
Place the cut cookies on a lined baking sheet and chill for another 10–15 minutes before baking. This extra chill time is one of the secrets to heart sugar cookies that hold their shape.
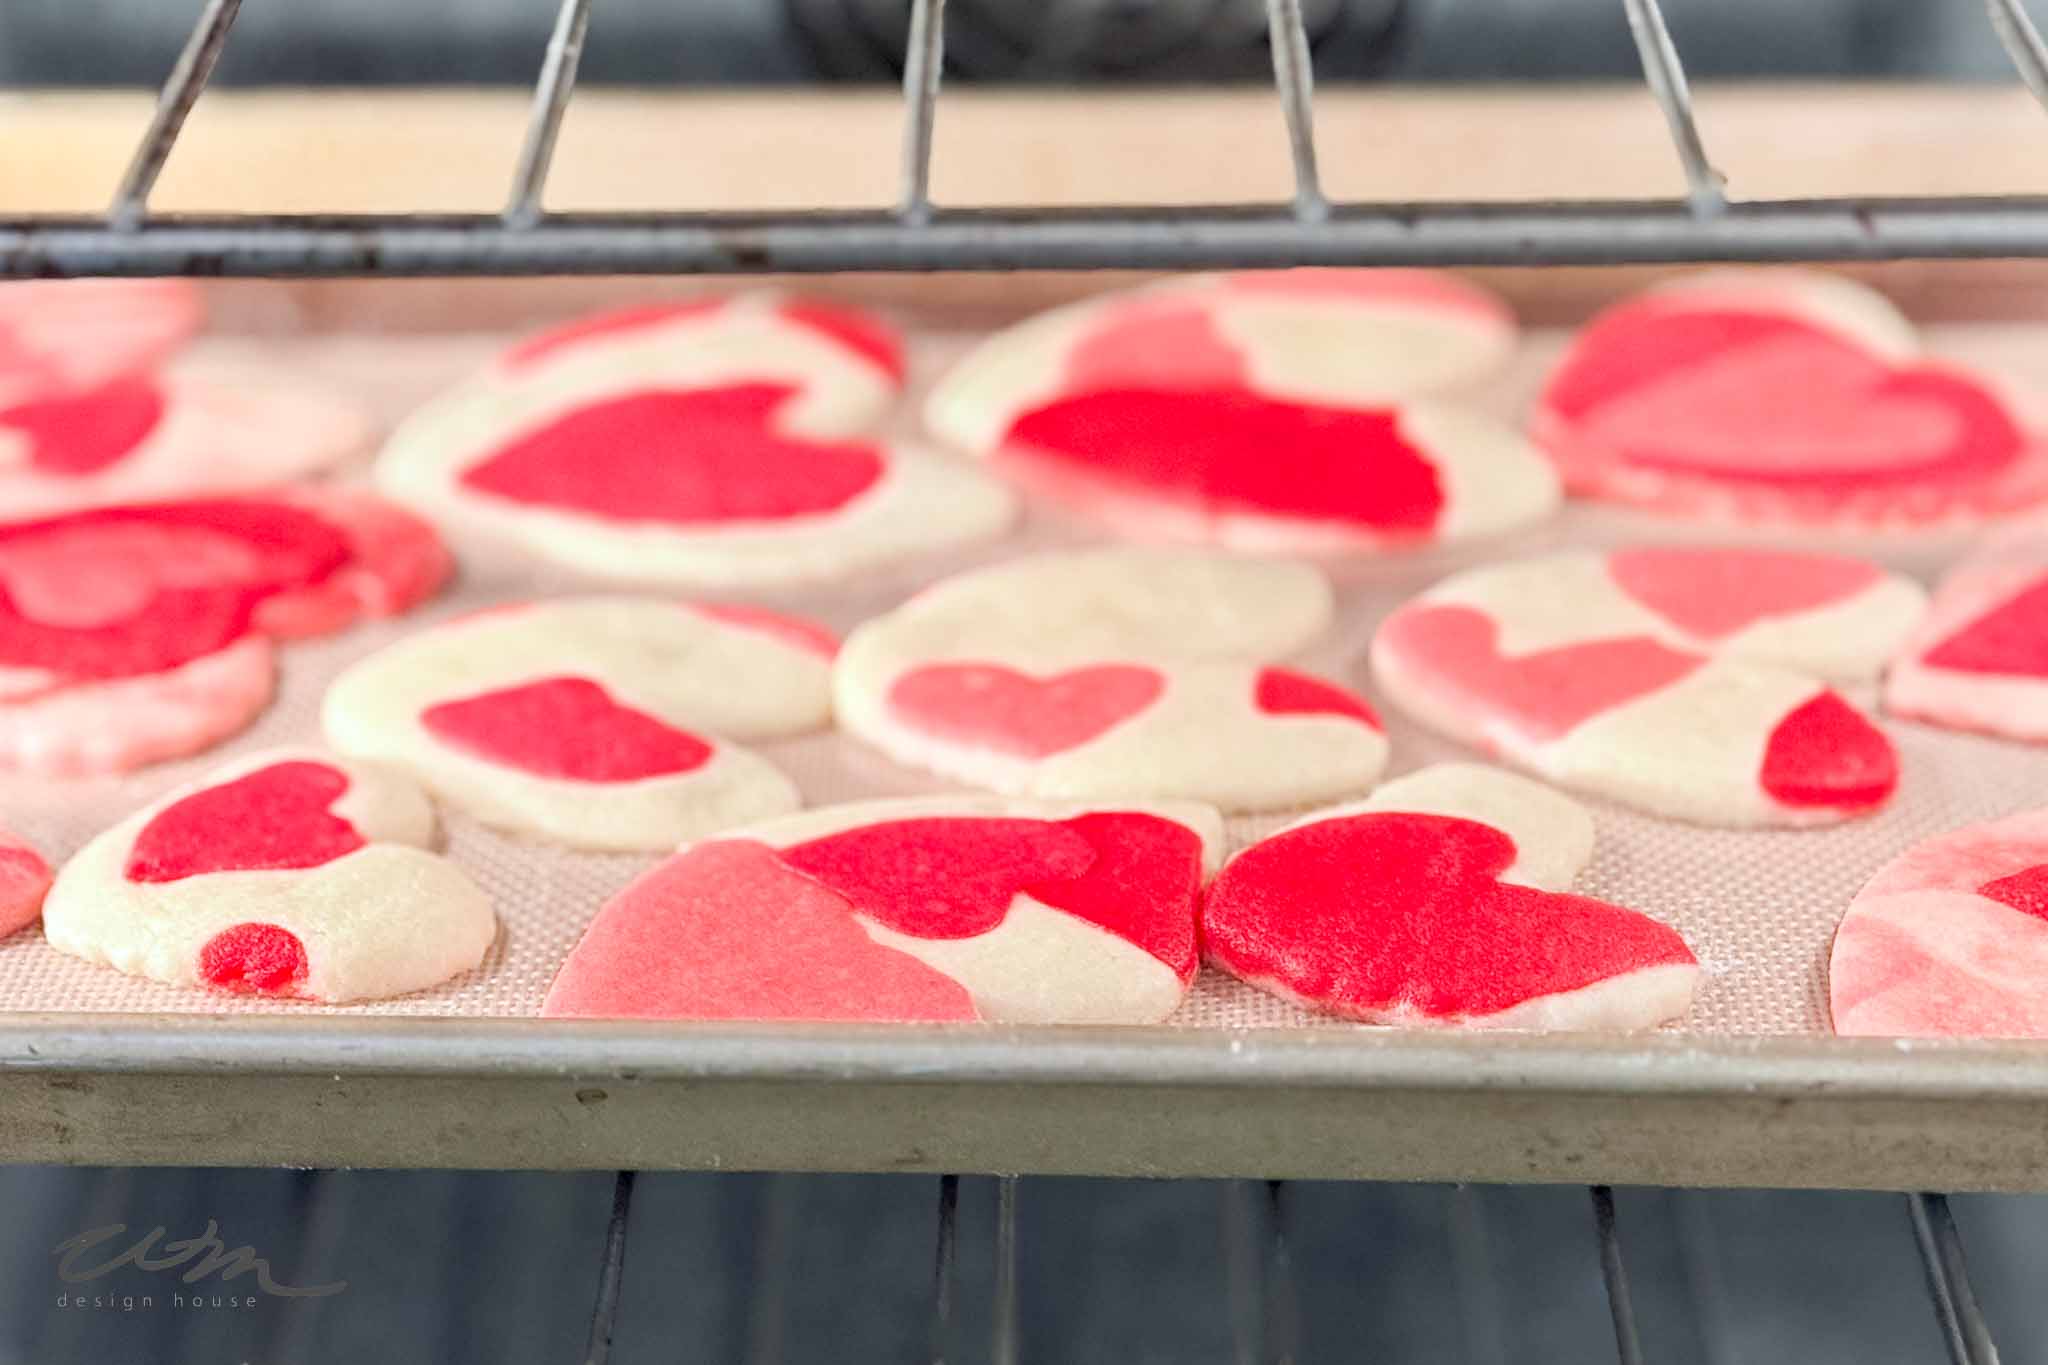
Step 5: Bake Until Just Set
Bake at 350°F for 8–9 minutes. The centers should look slightly underdone and the edges should not brown. That’s what keeps these sugar cookies soft — no crispy edges here.
Let them rest on the baking sheet for about five minutes before transferring to a cooling rack. They’ll finish setting as they cool.
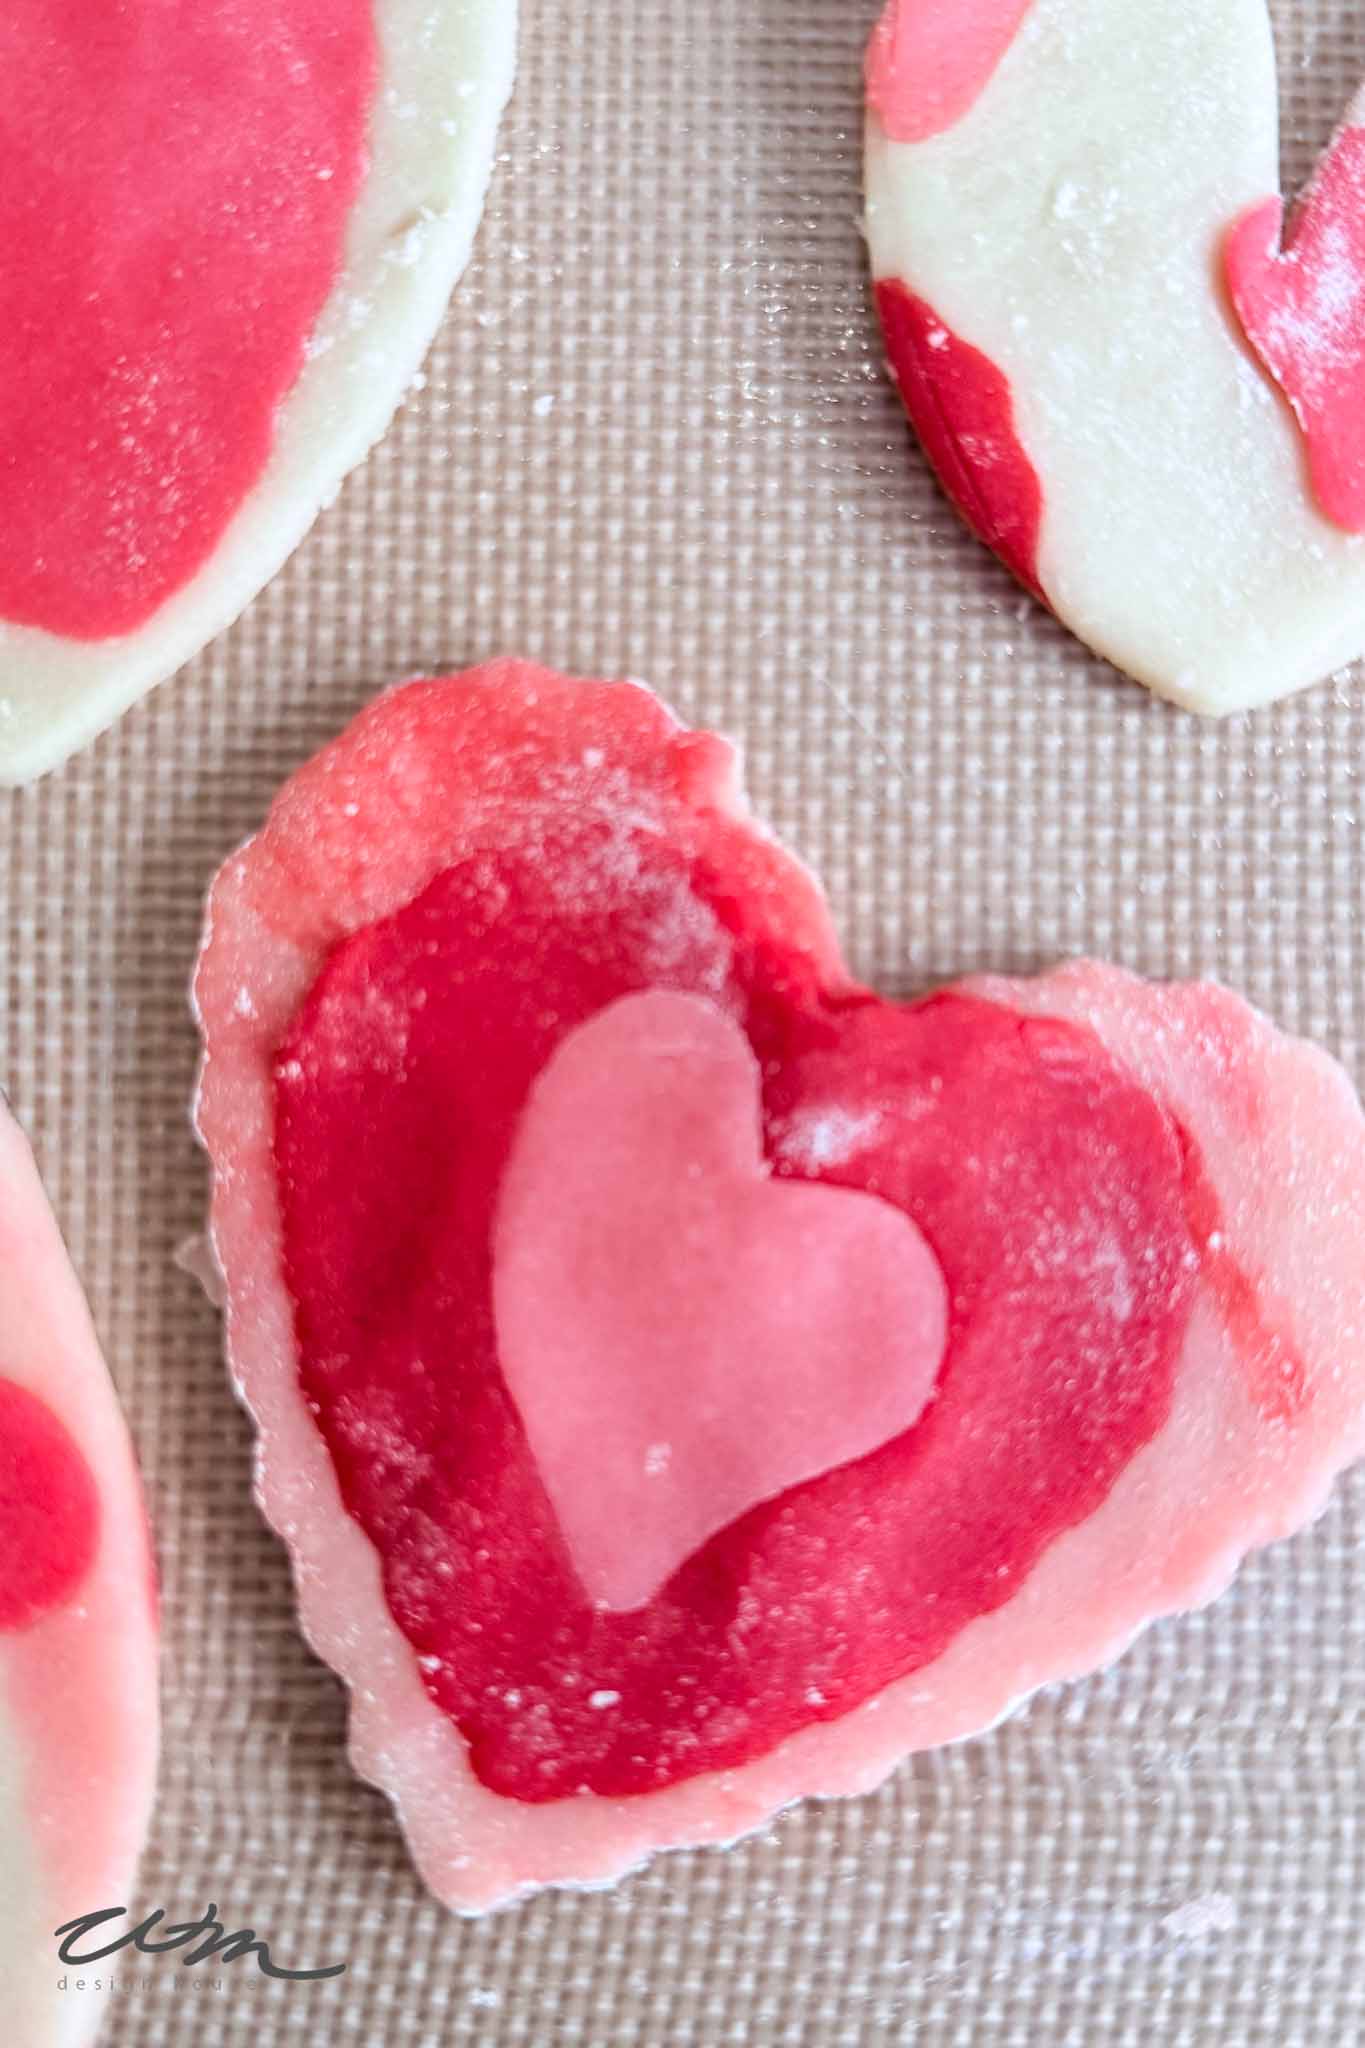
Step 6: Create a Marbled Batch with the Leftover Dough
After cutting your first round of cookies, you’ll likely have leftover scraps of dough in all the different colors. Instead of rerolling each color separately, gently press the scraps together and fold them a few times to create a soft marbled effect.
Don’t overwork it — you want to see ribbons of pink, red, and white, not one blended color.
Roll the marbled dough out to about ¼ inch thick. If you’d like, you can repeat the layering technique by pressing a few more small colored hearts into the surface, then lightly rolling them in with parchment paper just as before.
Cut out more heart shapes and bake as directed.
This second batch always turns out a little different, and I honestly love that. The swirls make each cookie feel unique — simple, imperfect, and still beautiful.
Once you have baked all of the cookies, let them cool completely on a wire rack. You’ll notice how soft they feel — tender in the center, with just enough structure to hold their shape.
The first batch will have those sweet layered hearts embedded in the white dough, and the second marbled batch will look a little more swirled and playful. I love setting them out together. The beauty of these cookies is that each one turns out a little different.
Tips for Keeping Heart Sugar Cookies Soft
If you prefer a softer sugar cookie like I do, a few small details make all the difference.
Don’t overbake them. The centers should look slightly underdone when you pull them from the oven. They’ll finish setting on the baking sheet as they cool.
Roll the dough no thinner than ¼ inch for the final cookies. Thicker dough helps prevent crisp edges and keeps the centers tender.
And always chill before baking. That quick chill keeps the heart shapes defined and prevents spreading.
These little habits help your heart sugar cookies stay soft and buttery — not dry or crumbly.
Perfect Valentine Cookies for Kids
This is such a sweet project to make with children. Instead of worrying about piping frosting or perfect decorations, they get to help cut the smaller hearts and press them into the dough.
There’s something satisfying about seeing the colors come together. It feels creative without being stressful, and every cookie turns out a little different.
These Valentine cookies for kids are just as much about the time spent together as they are about the finished treat.


Make-Ahead Tips
If you’re planning ahead for a Valentine’s party, these four color heart sugar cookies are easy to prepare in advance.
You can refrigerate the dough for up to 48 hours before baking. The baked cookies freeze beautifully in an airtight container for up to two months and stay soft once thawed.
They’re simple to tuck away and bring out when you need them.
Serving Ideas for Valentine’s Day
These heart shaped sugar cookies look beautiful stacked on a cake stand or arranged on a simple platter. I like mixing the layered ones and the marbled ones together for a little variety.
They also make lovely party favors wrapped in cellophane with a ribbon. Or you can tuck a few into lunchboxes for a sweet surprise.
Because the color is built into the dough, they feel decorated without any frosting. It’s such an easy Valentine cookie recipe, but the finished cookies feel special and pulled together.

Print The Recipe

Heart Sugar Cookies with Four Colors (No Icing Needed)
Equipment
- 1 Mixer
- 1 Spatula
- 1 Set of measuring spoons
- 1 measuring cup
- 2 Cookie sheets
- 2 Silpat mats
- 1 Cooling rack
Ingredients
- 1 cup unsalted butter softened
- 1 cup granulated sugar
- 1 large egg
- 1 large egg yolk
- 1 ½ teaspoons vanilla extract
- ½ teaspoon almond extract optional
- 2 ½ cups all-purpose flour
- 2 tablespoons cornstarch
- ½ teaspoon baking powder
- ½ teaspoon salt
- Gel food coloring pink, red, blush
Instructions
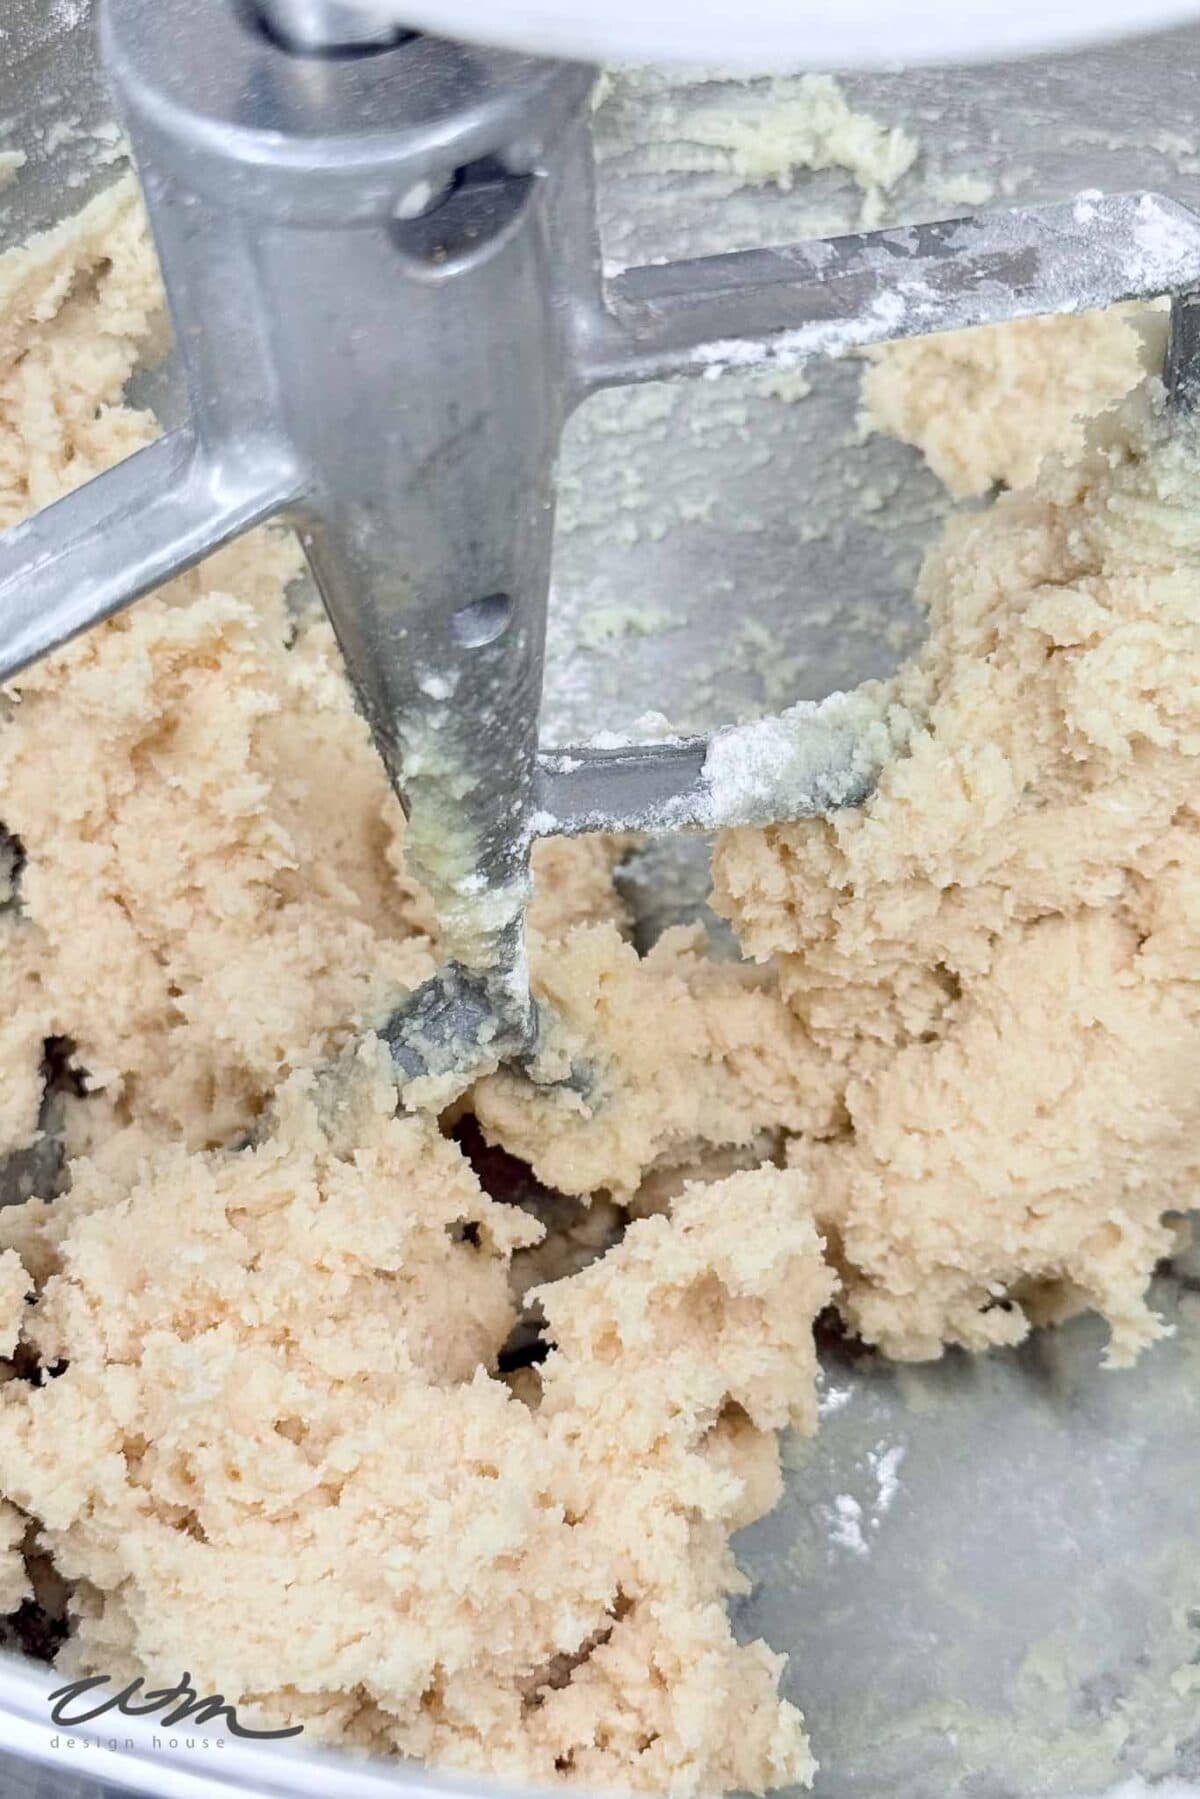
- Cream butter and sugar until smooth and fluffy (2–3 minutes).
- Add egg, egg yolk, vanilla, and almond extract; mix until combined.
- Whisk flour, cornstarch, baking powder, and salt separately.
- Gradually mix dry ingredients into wet ingredients until just combined.
- Chill dough for at least 1 hour.
- Divide dough into four portions.
- Color three portions with gel food coloring (leave one white).
- Roll colored doughs to ⅛-inch thickness.
- Cut small to medium hearts from colored dough; set aside.
- Roll white dough to ¼-inch thickness.
- Arrange colored hearts on top of white dough.
- Place parchment over dough and gently roll to secure hearts.
- Cut large heart shapes from layered dough.
- Chill cut cookies 10–15 minutes.
- Bake at 350°F for 8–9 minutes.
- Remove when centers look slightly underdone and edges are not browned.
- Cool on baking sheet 5 minutes, then transfer to rack.
- Gather leftover dough scraps and gently fold to create a marbled effect.
- Roll to ¼-inch thickness, cut additional hearts, and bake as directed.
Wrapping Up
There’s something about making heart sugar cookies together before a party that just feels right. They don’t have to be perfect — that’s part of the charm.
If you’re looking for soft sugar cookies without icing that still feel festive, these four color heart cookies are such a sweet way to celebrate.

Other fun Valentine’s Day Ideas
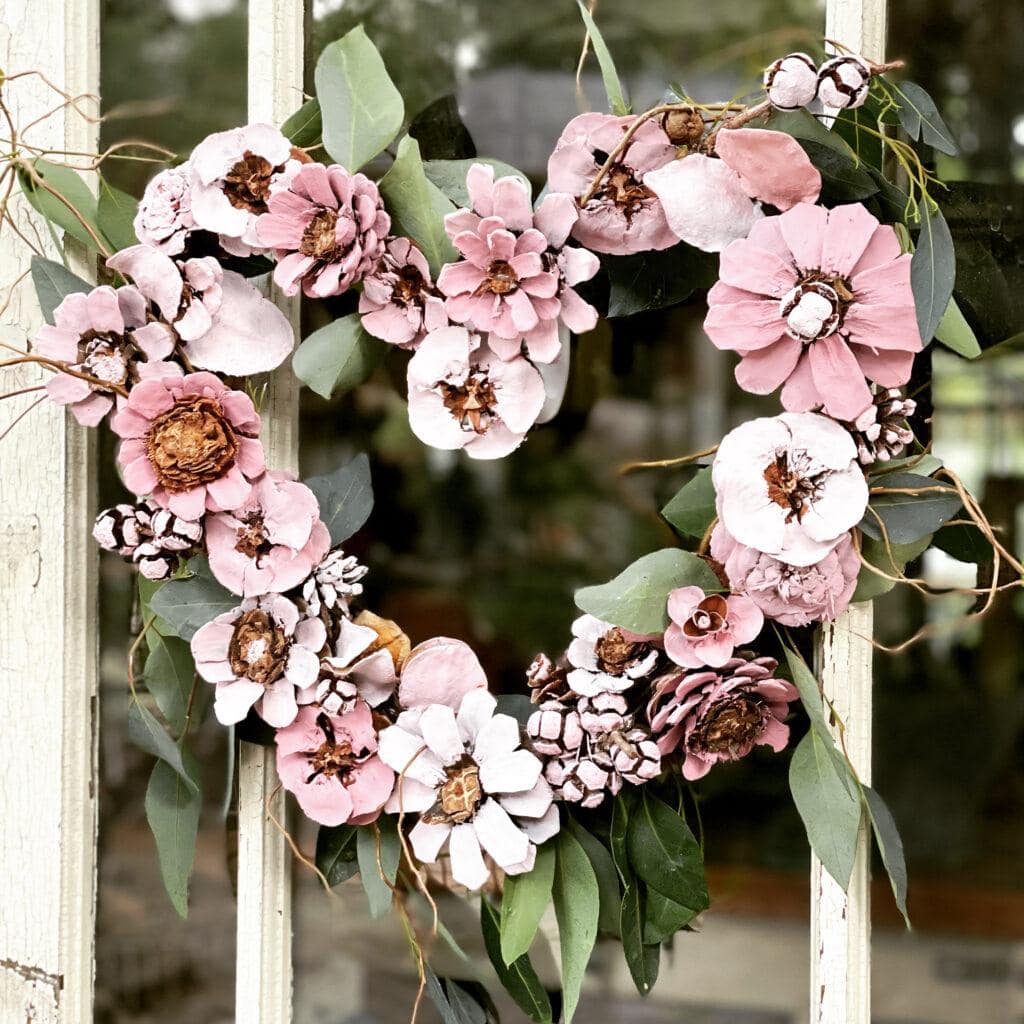
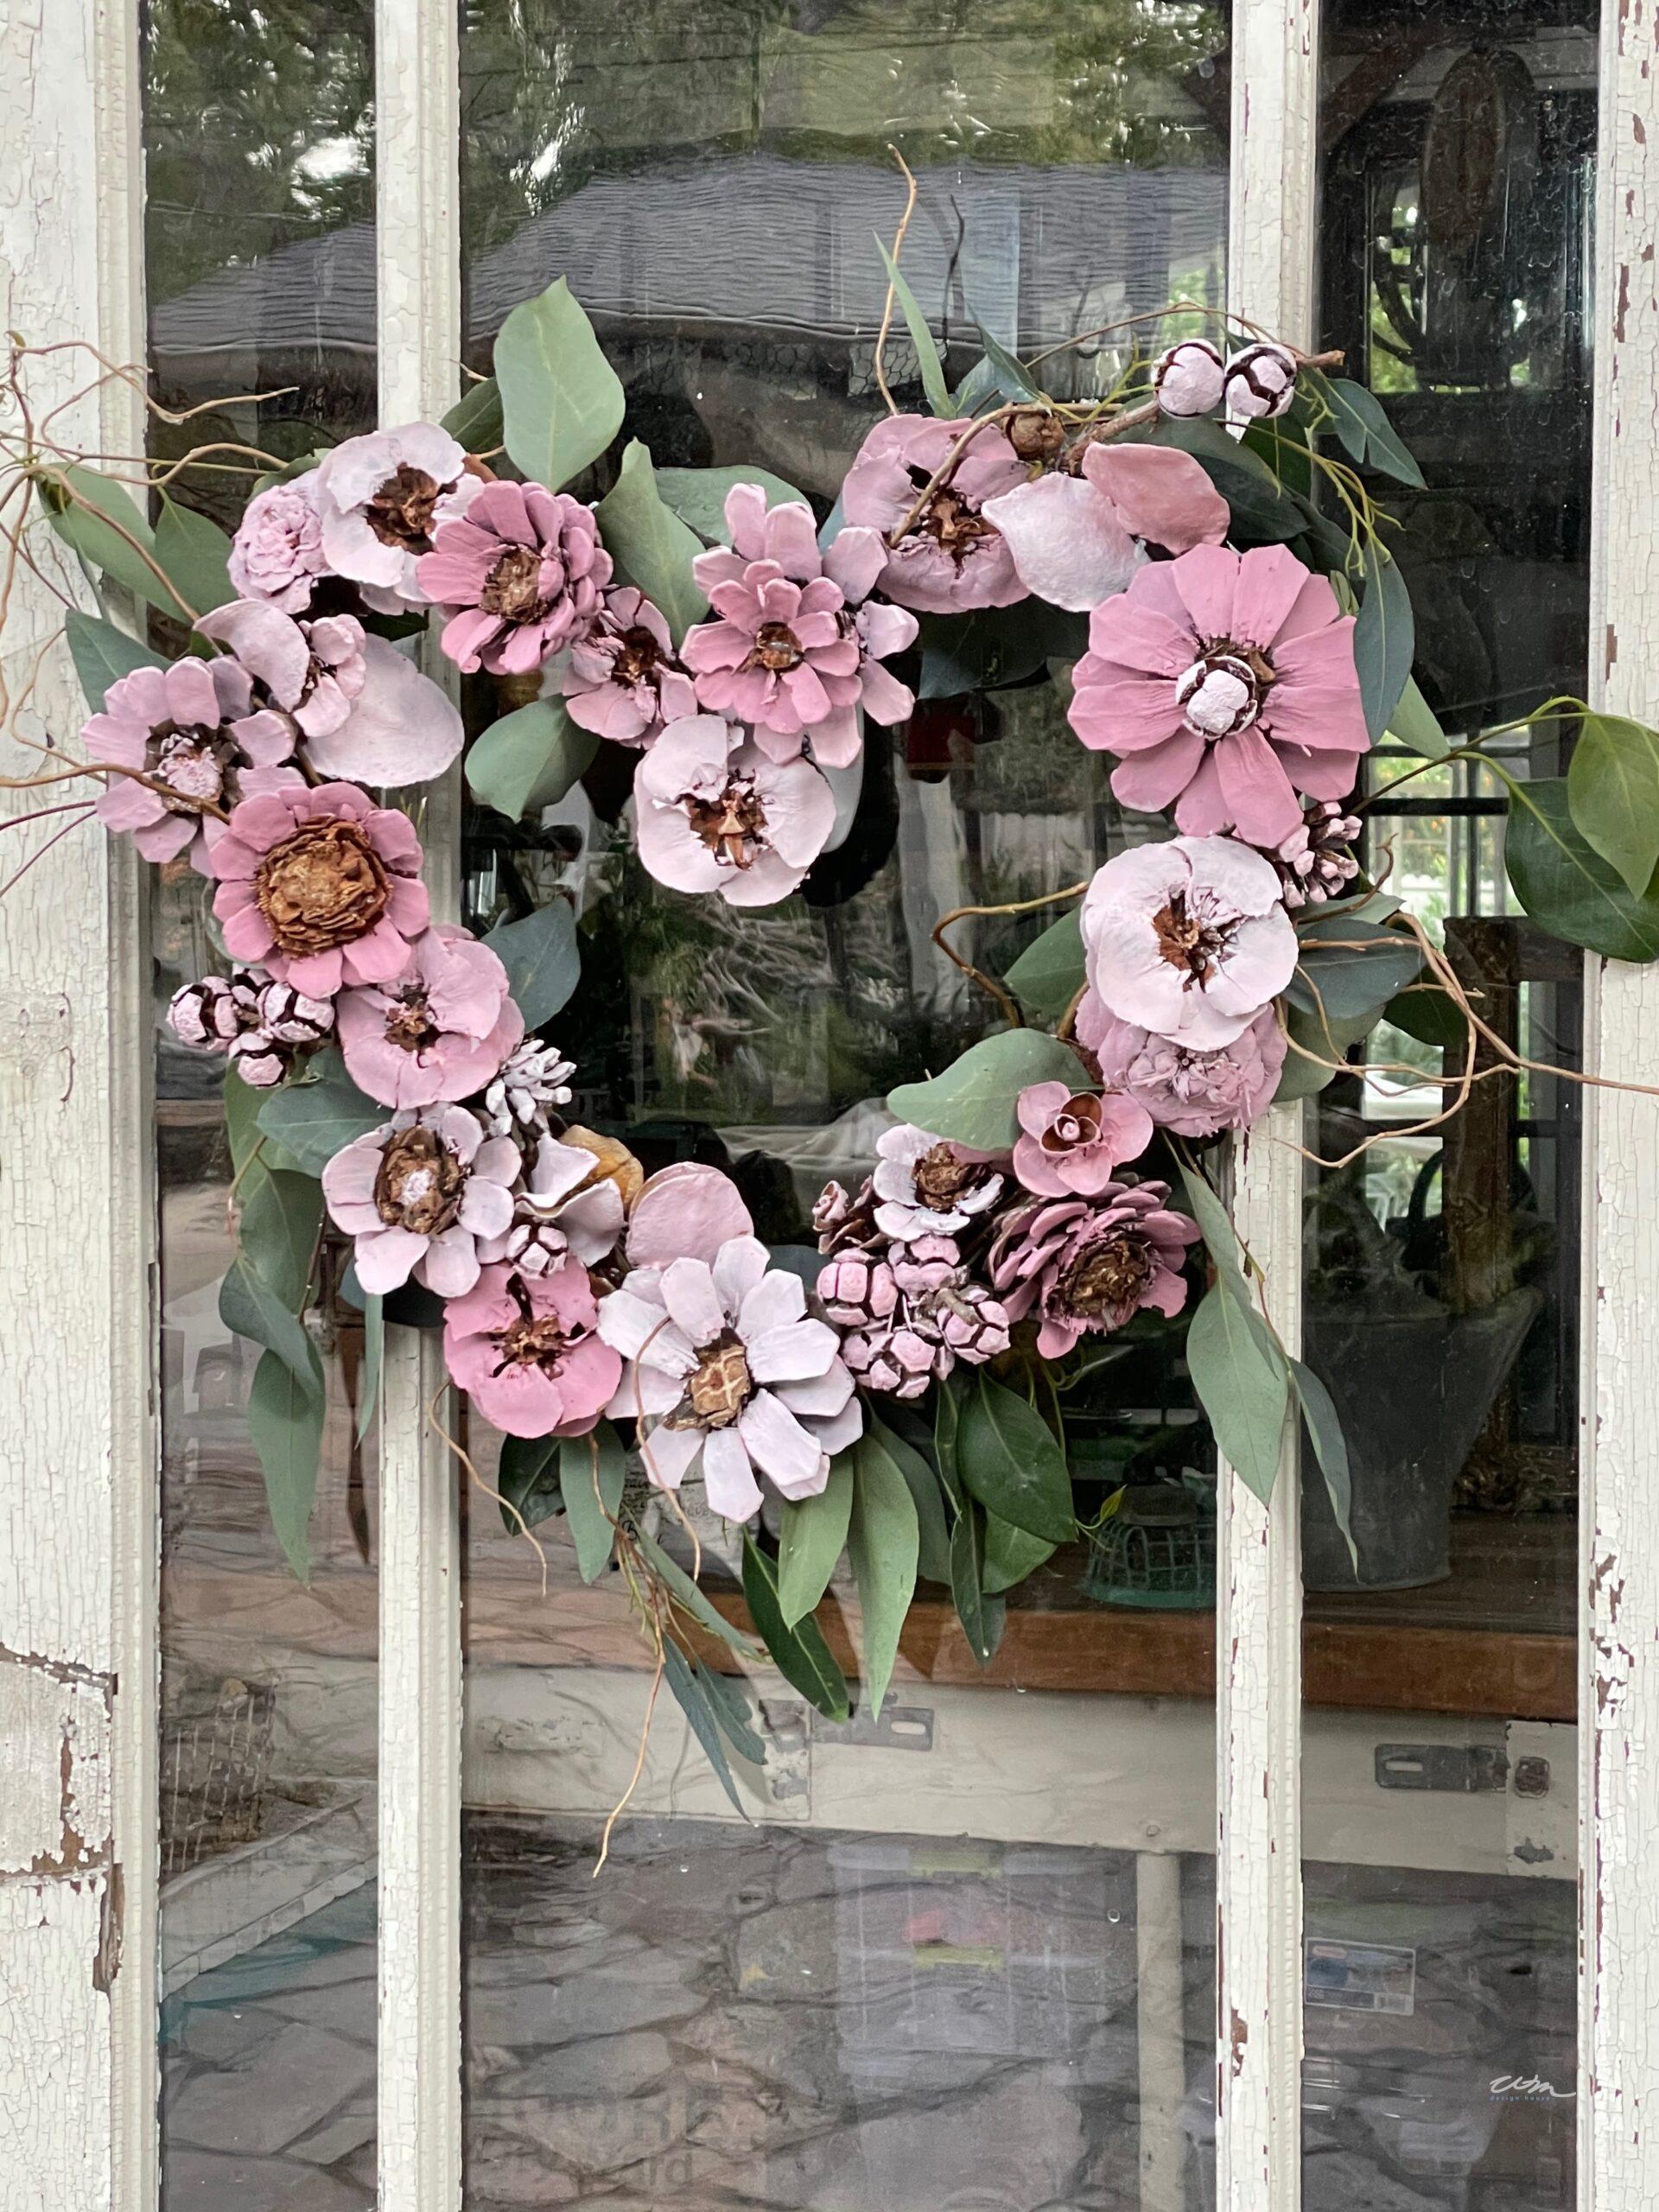
Pink Pinecone Wreath DIY

Pink Velvet Heart DIY No-Sew Pillow


More about me!

Hello, I’m Wendy – a dedicated homemaker with a deep passion for decorating, gardening, cooking, and crafting. I find joy in harmonizing beautiful elements to fashion a space that is both comfortable and inspiring. I will help you create a beautiful home, one project at a time.


Those are so cute Wendy! I will have to make those with my granddaughters.
Thank you Michele, they are super easy for the kids to make! of course we had to have icing for dipping.