
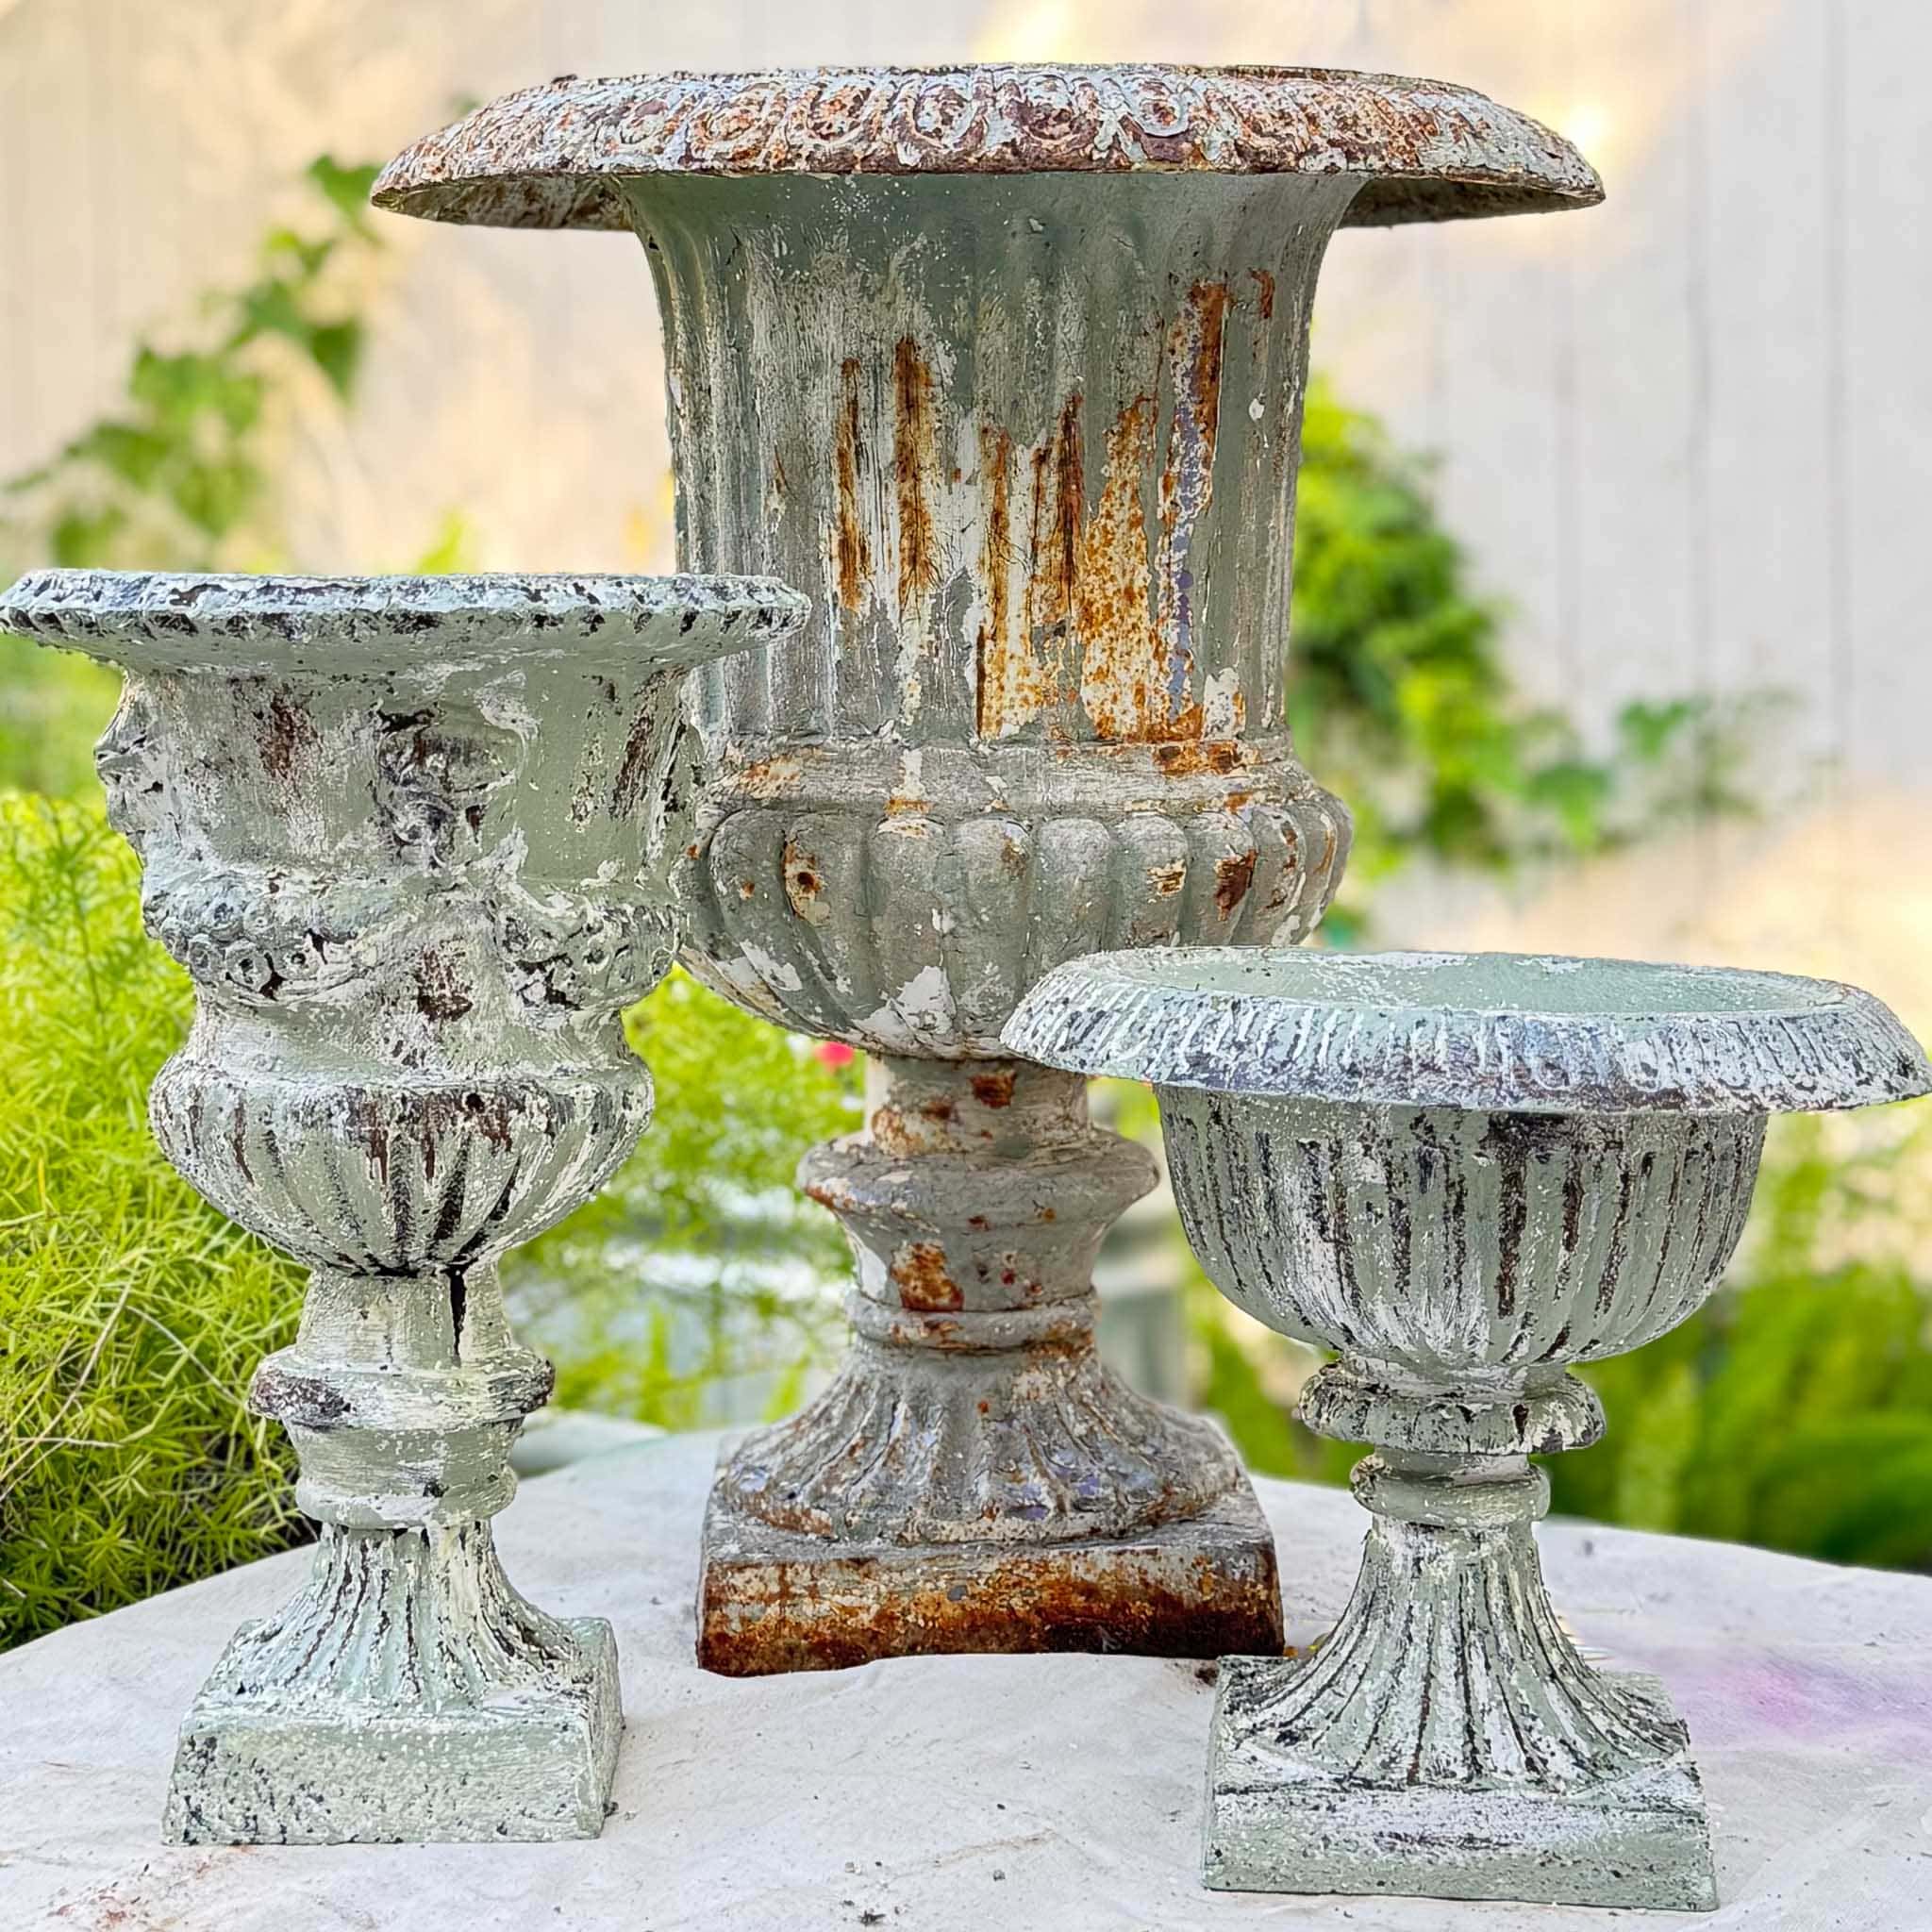
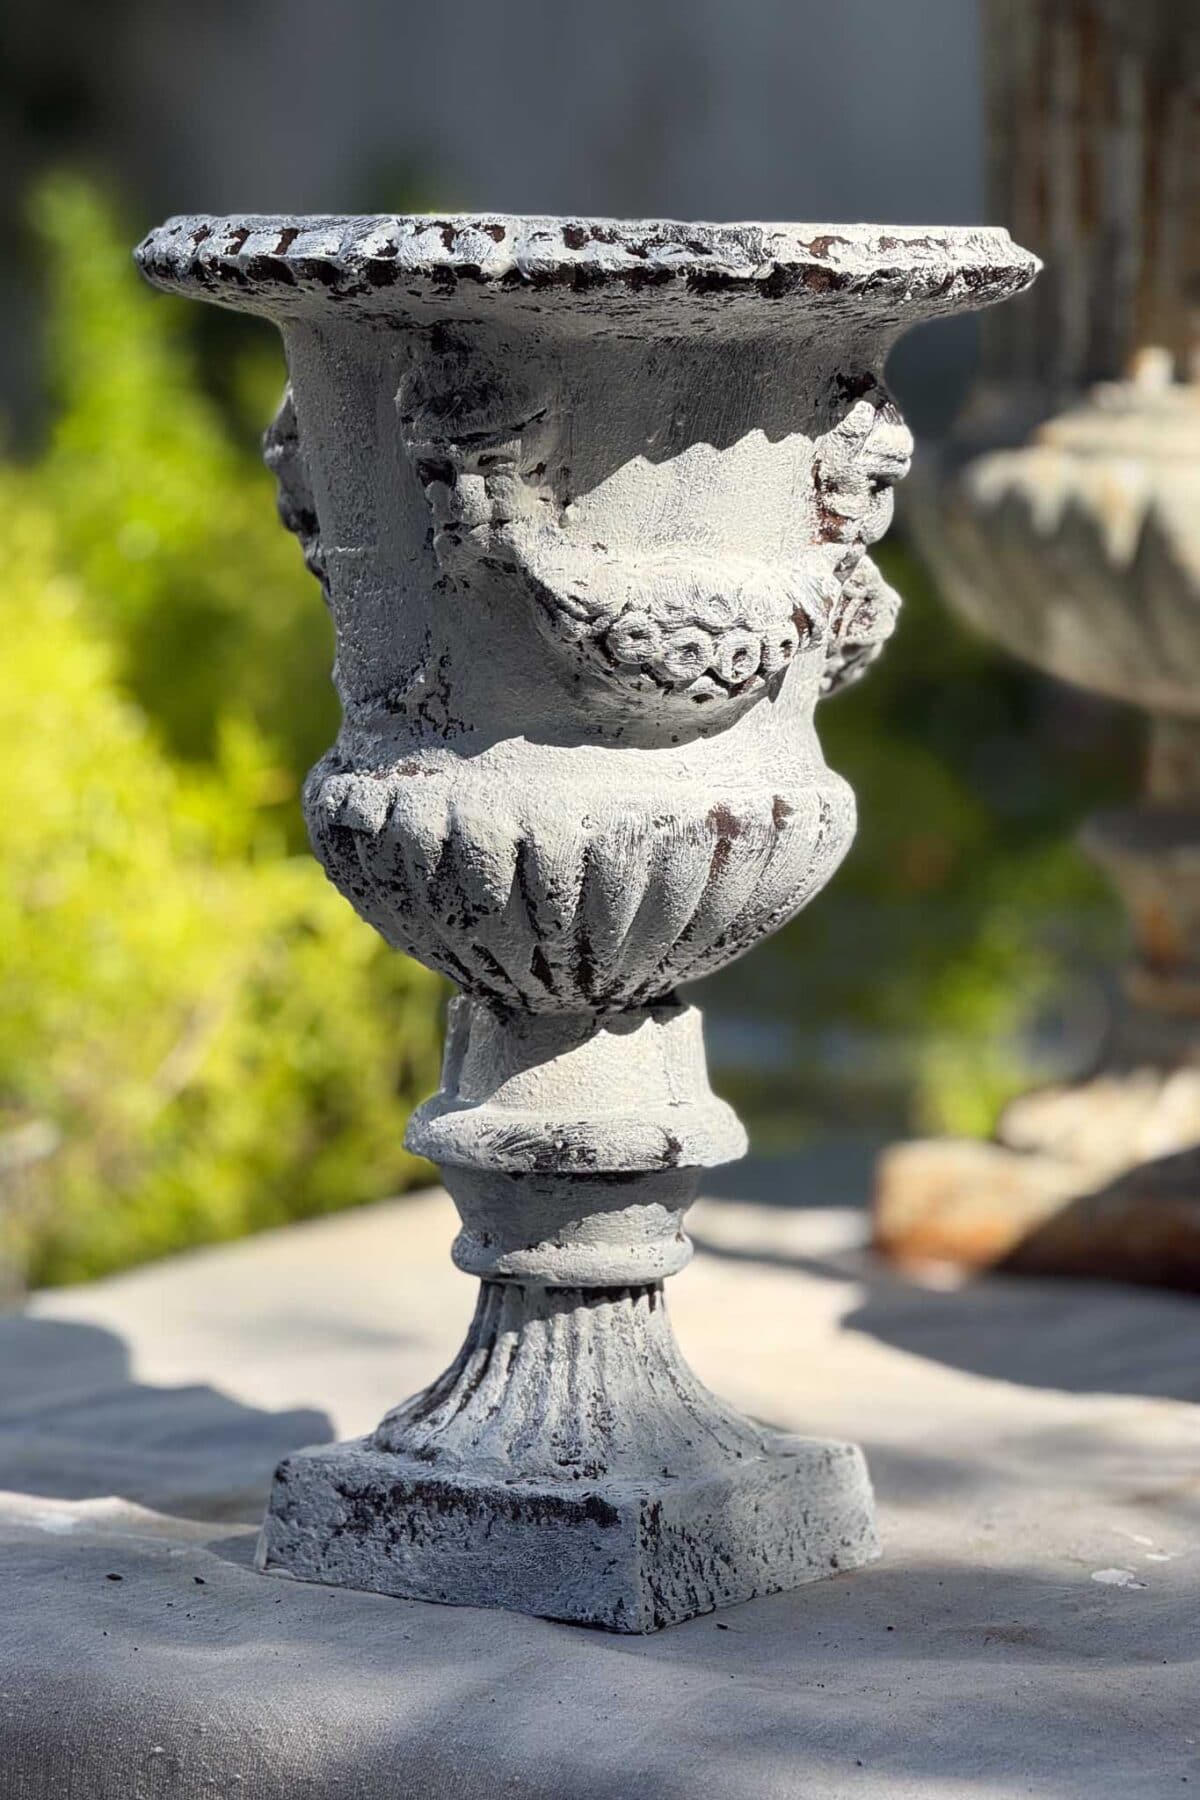
Some pieces in my garden have a finish I love so much that I find myself wishing everything else could catch up to them. That was exactly the case with my large cast iron urn — that soft, mottled, aged patina in shades of grey-green with just the right amount of rust peeking through. It looks like it has been sitting in a French courtyard for a hundred years, quietly collecting character.
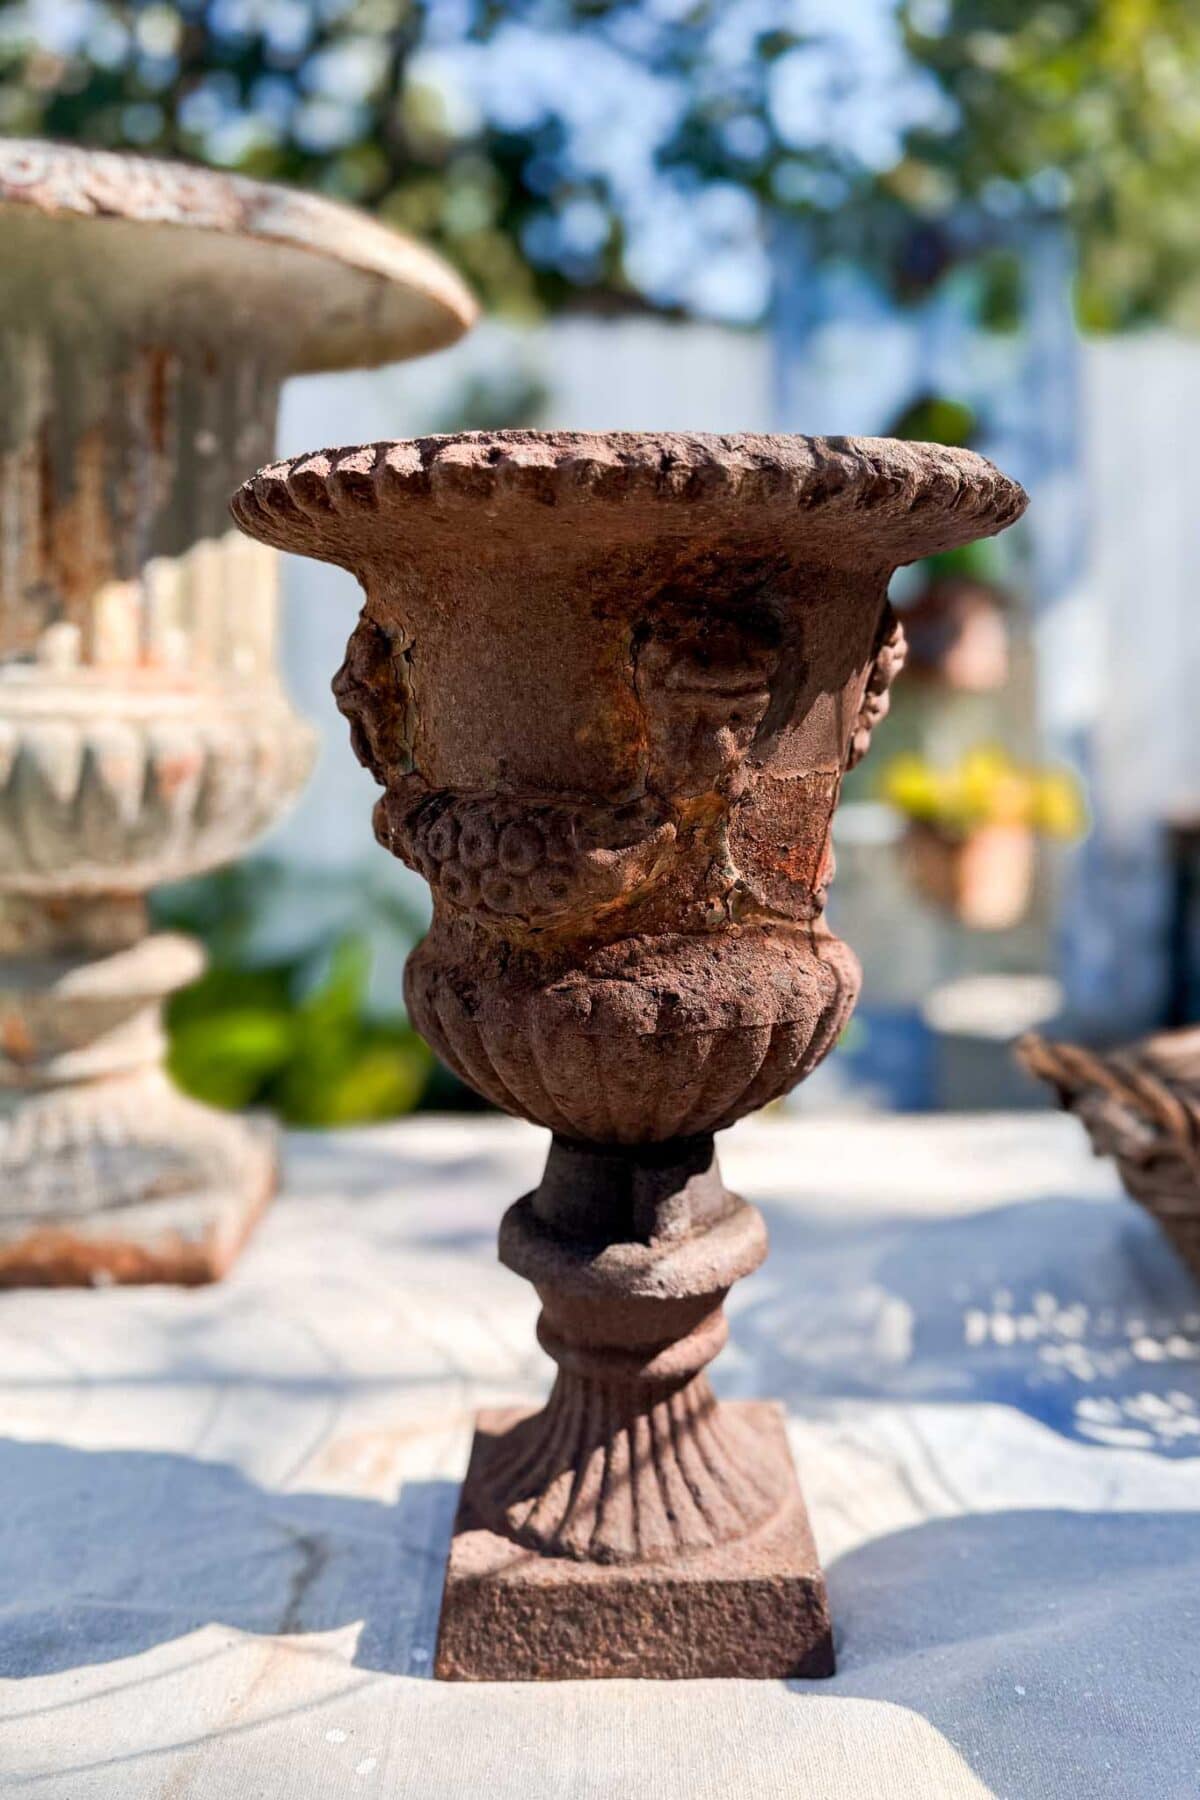
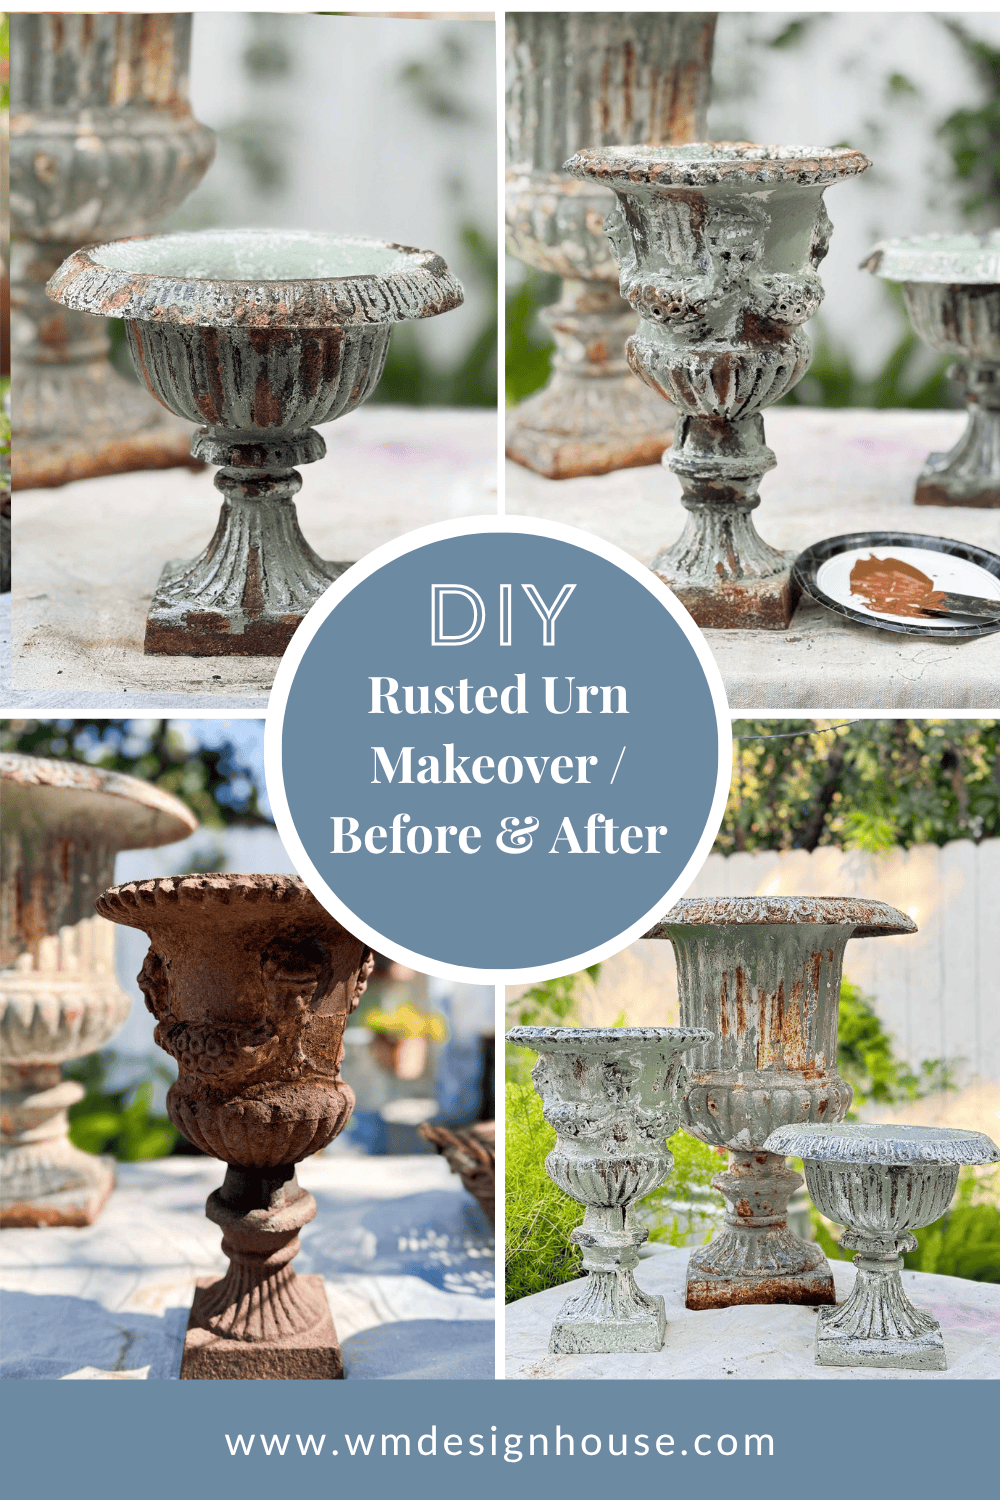
So when I brought home two smaller cast iron urns that were covered head to toe in rust, I knew immediately what I wanted to do. Rather than fighting the rust, I decided to work with it — and give both little urns a DIY aged urn finish to match their big sister. If you’ve been around here a while, you know I never met a new thing I didn’t want to make look old — from my collection of aged terracotta pots to just about anything else I can get my hands on. The best part? This entire project uses simple supplies, there is no “wrong” way to do it, and the more imperfect your technique, the better the finish looks.
Today I am walking you through exactly how I layered paint and furniture wax, to turn two rusty flea market finds into urns that look like treasured antiques.
The Quick Version:
To give rusted urns an aged patina finish, brush on a white base coat, rub furniture wax onto random raised areas and edges as a resist, then layer green paint over the top. Scrape back the green to reveal the chippy base, add rust-colored paint, and do a final scrape and rub to blend the layers. The result is a weathered, French-country patina that looks decades old.
On my blog WM Design House, I may sometimes use affiliate links, which means a small commission is earned if you purchase via the link. The price will be the same whether you use the affiliate link or go directly to the vendor’s website using a non-affiliate link. Read my full disclosure policy here.
Why Paint Over Rust Instead of Removing It?
This is the question I get asked most, so let’s tackle it first. For decorative pieces like these, all that rust actually works in your favor. The texture underneath the paint is what makes the finish look genuinely old — every bump, pit, and rough patch catches the layers of color differently, which is something you simply cannot fake on a smooth surface. If your urns are shedding loose, flaky rust, a quick brush-down first will help the base coat grab, but there is no need to strip them back to bare metal. The rust is part of the charm, and in this technique, it becomes part of the finish.
Supplies You’ll Need
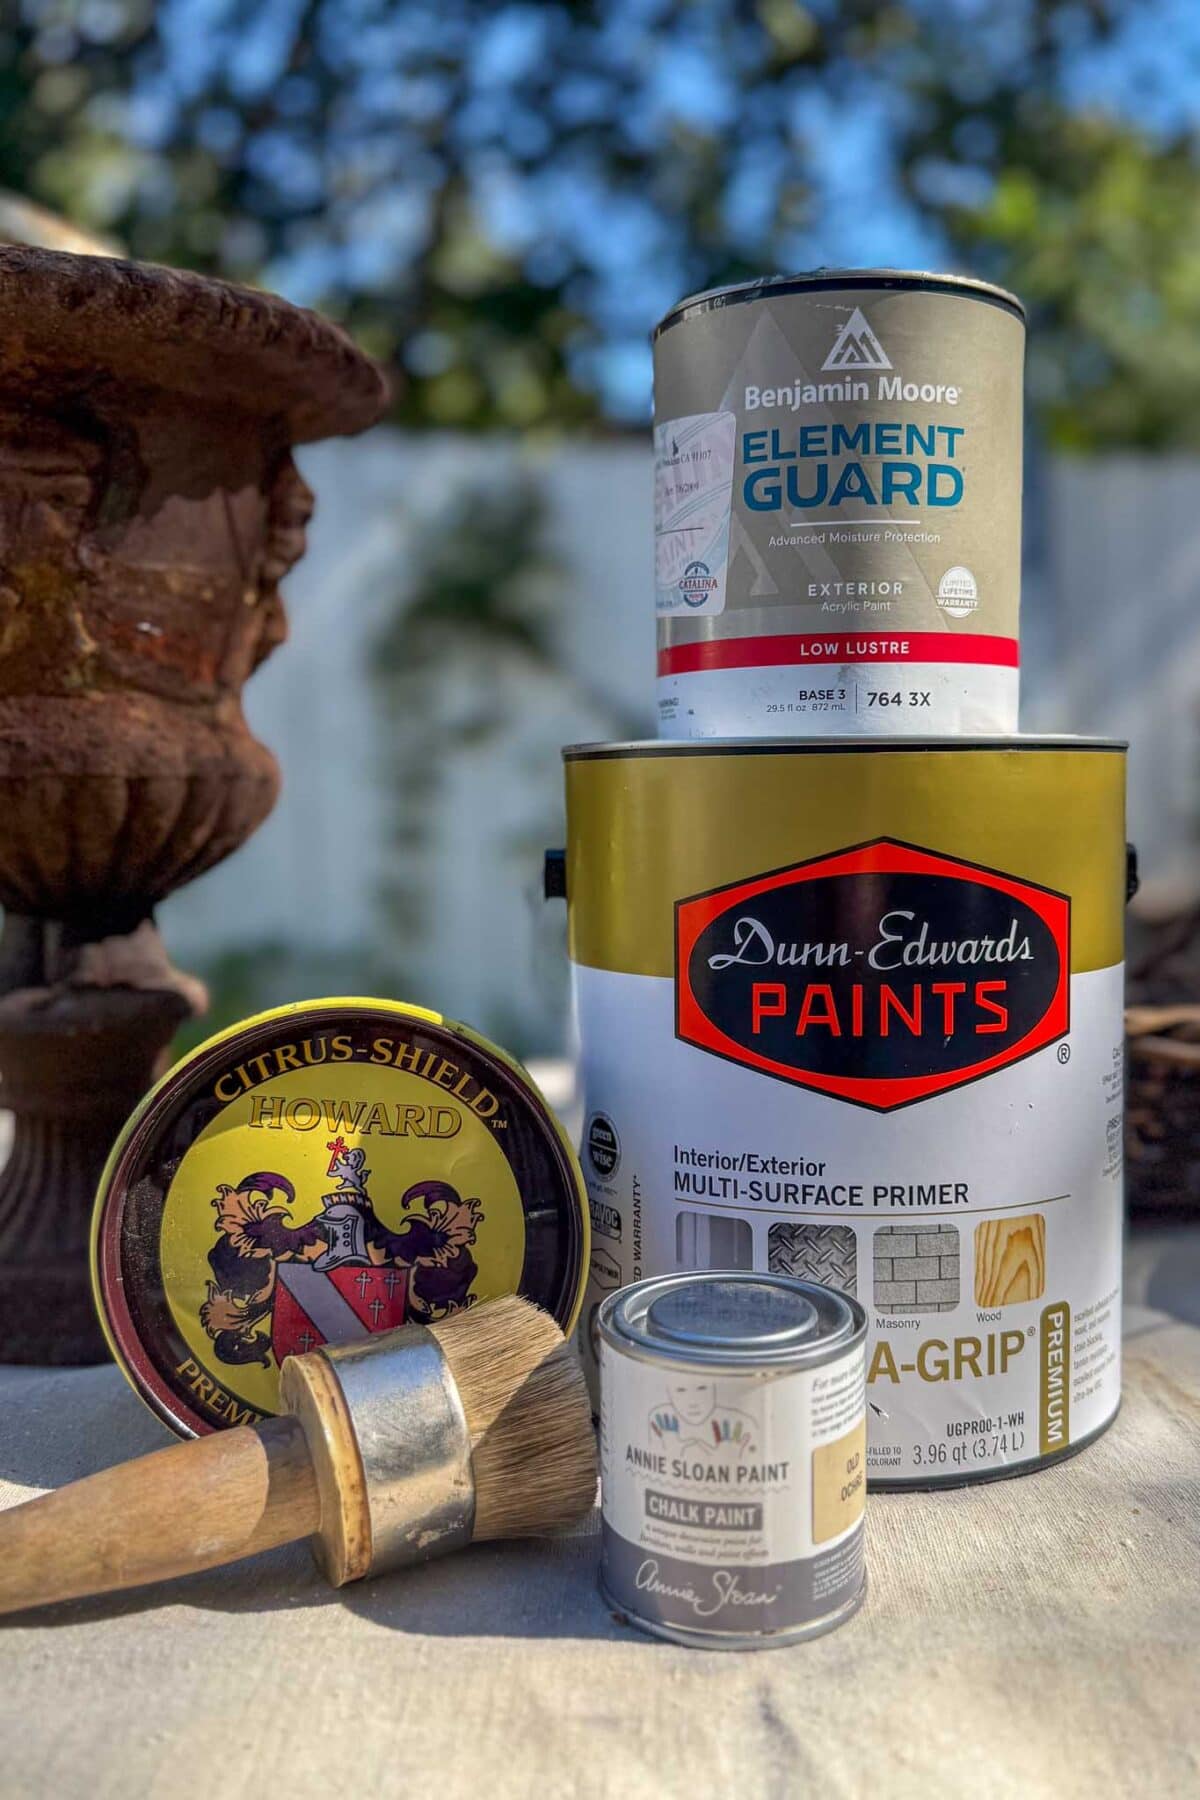
- White paint (for the base coat)
- Green paint (your main patina color — choose a soft, muted sage or grey-green)
- Rust-colored paint
- Furniture wax
- A scraper
- Paint brushes and rags
- Urns (new or old)
Tip from wendy’s craft room:
If you have an existing piece you are trying to match, keep it right next to you the whole time. I set my large urn on the work table beside the small ones and checked against it constantly. It is so much easier to match a finish when the inspiration piece is an arm’s length away.

How to Paint an Urn to Look Vintage
Gather everything from the supply list below before you begin. Many of these supplies I already had on hand, and I’d encourage you to use what you have wherever you can — this is a wonderful project for shopping your own stash first, and it keeps the cost down to almost nothing.
Step 1: Start with a White Base Coat
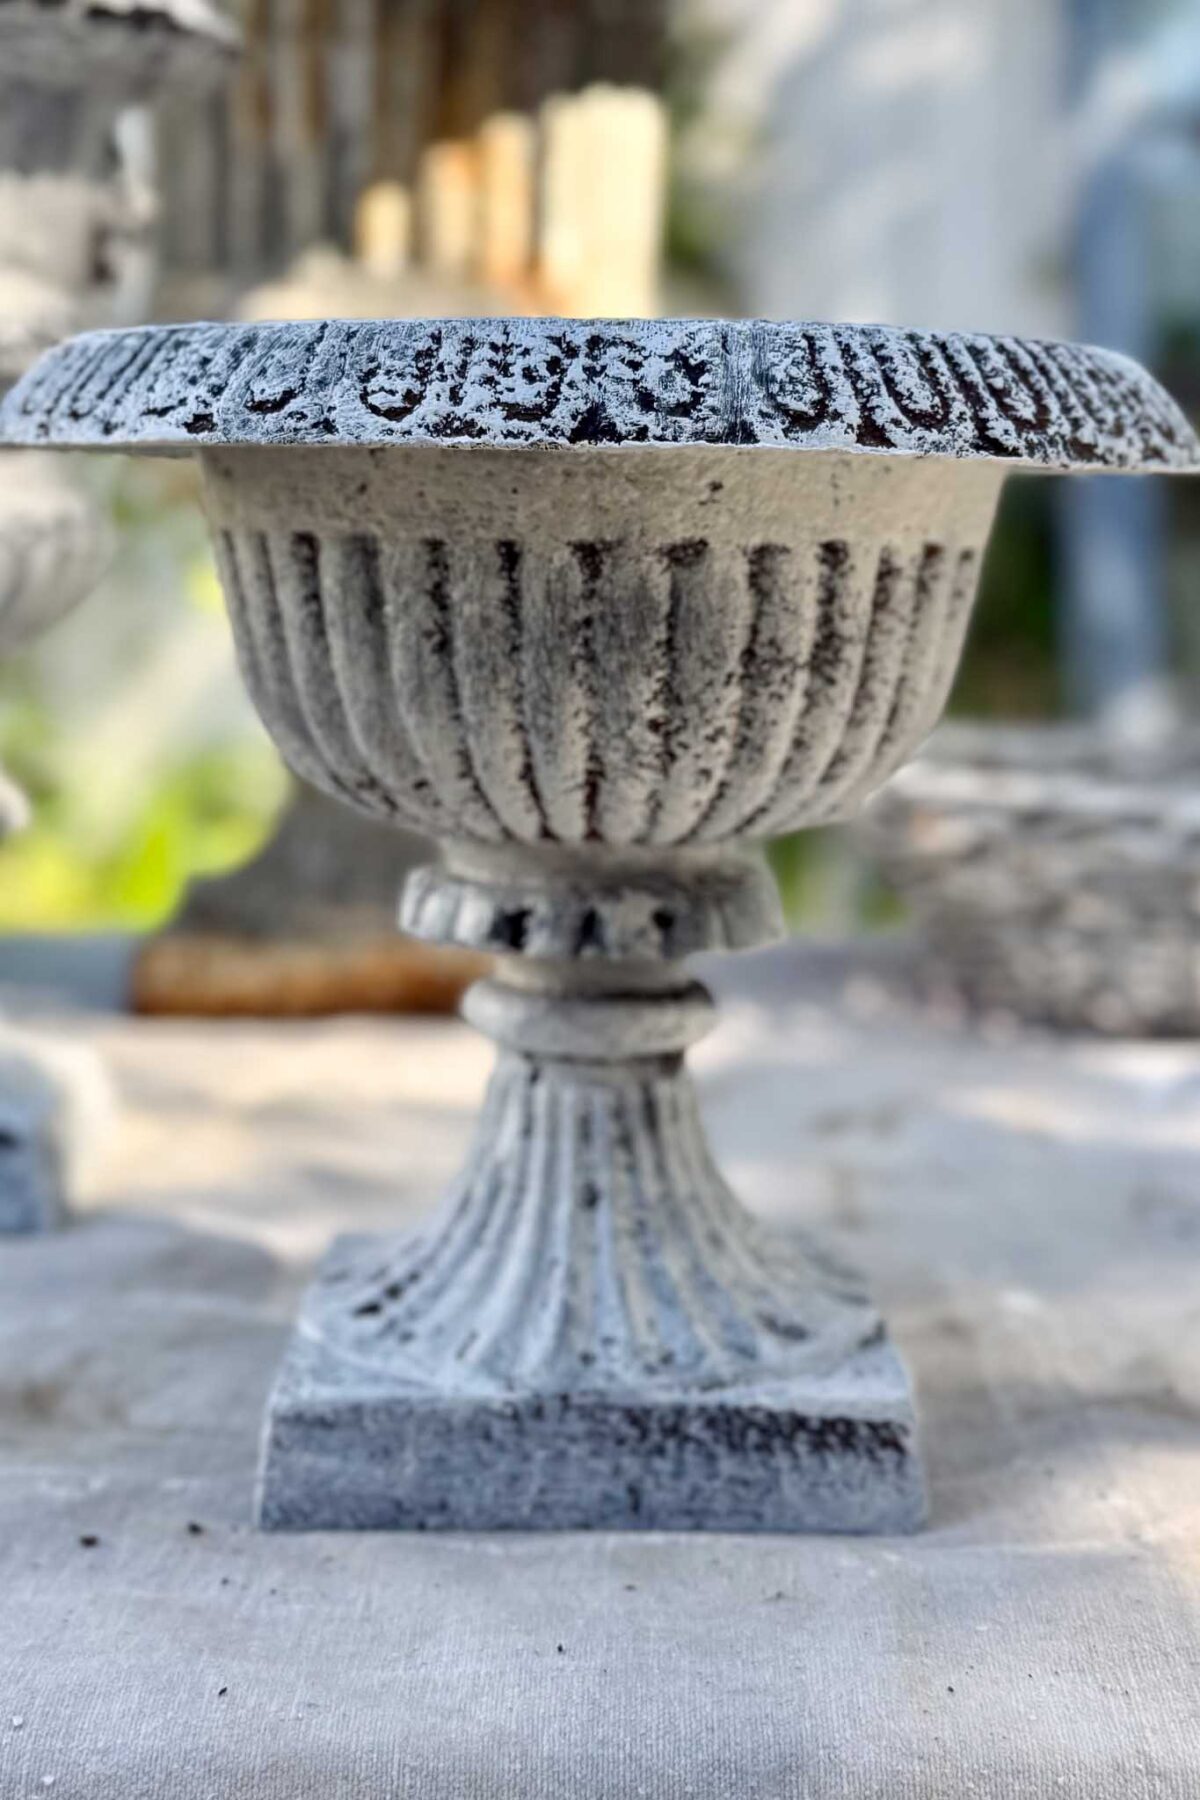
First things first — I gave both urns a coat of white primer paint. This might feel counterintuitive when the goal is an aged, moody patina, but the white base coat does two important jobs. It gives all the layers that follow something consistent to sit on, and it becomes the pale, chalky color that peeks through in all the spots where the finish gets scraped and rubbed away later. Those little flashes of white are what read as decades of weathering. Don’t worry about getting perfect coverage here — a slightly uneven coat only adds to the final effect.
Step 2: The Furniture Wax Secret
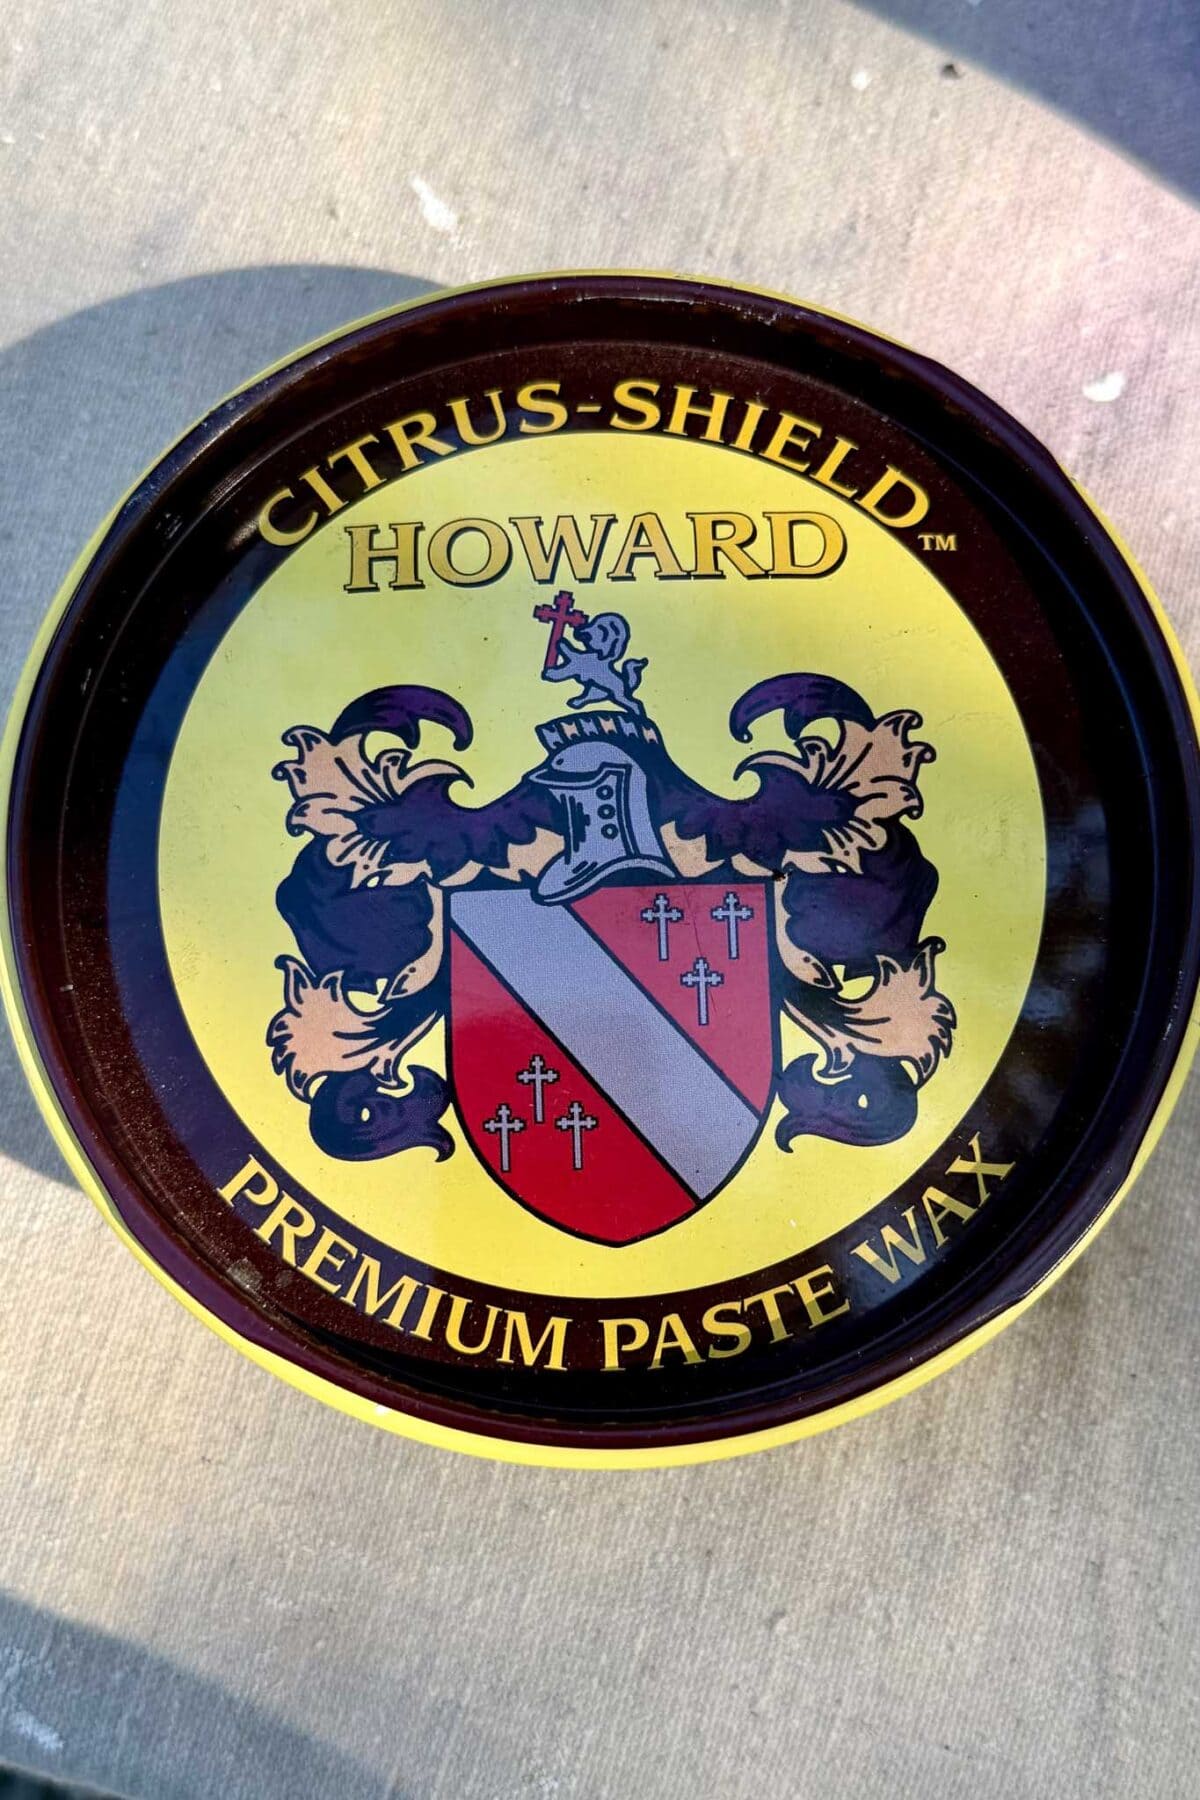
Here is the step that makes this whole technique work, and it is the one most people skip: before the green layer goes on, rub furniture wax onto the urn in random patches. The wax acts as a barrier — wherever it sits, the next layer of paint cannot fully adhere. That means when you come back later with your scraper, the paint lifts away effortlessly in exactly those spots, leaving behind the most naturally chippy, vintage-looking patina.
Focus your wax on the places where a real urn would wear over time: raised details, edges, the rim, the base, and the high points of any decorative molding. Be random about it, and keep it to patches rather than coating the whole urn — you want paint to stick everywhere else. One thing to know going in: the wax dries clear, so you won’t be able to see exactly where you’ve applied it. Work section by section and keep track as you go, because those hidden waxed patches are precisely where your chippy finish will appear later. Nature doesn’t distress things in tidy patterns, and neither should you.
Furniture wax is one of my favorite aging tricks — I used it a little differently to add texture and depth to my DIY cement planter Pottery Barn dupe, if you want to see another way to put it to work.
Step 3: Layer On the Green
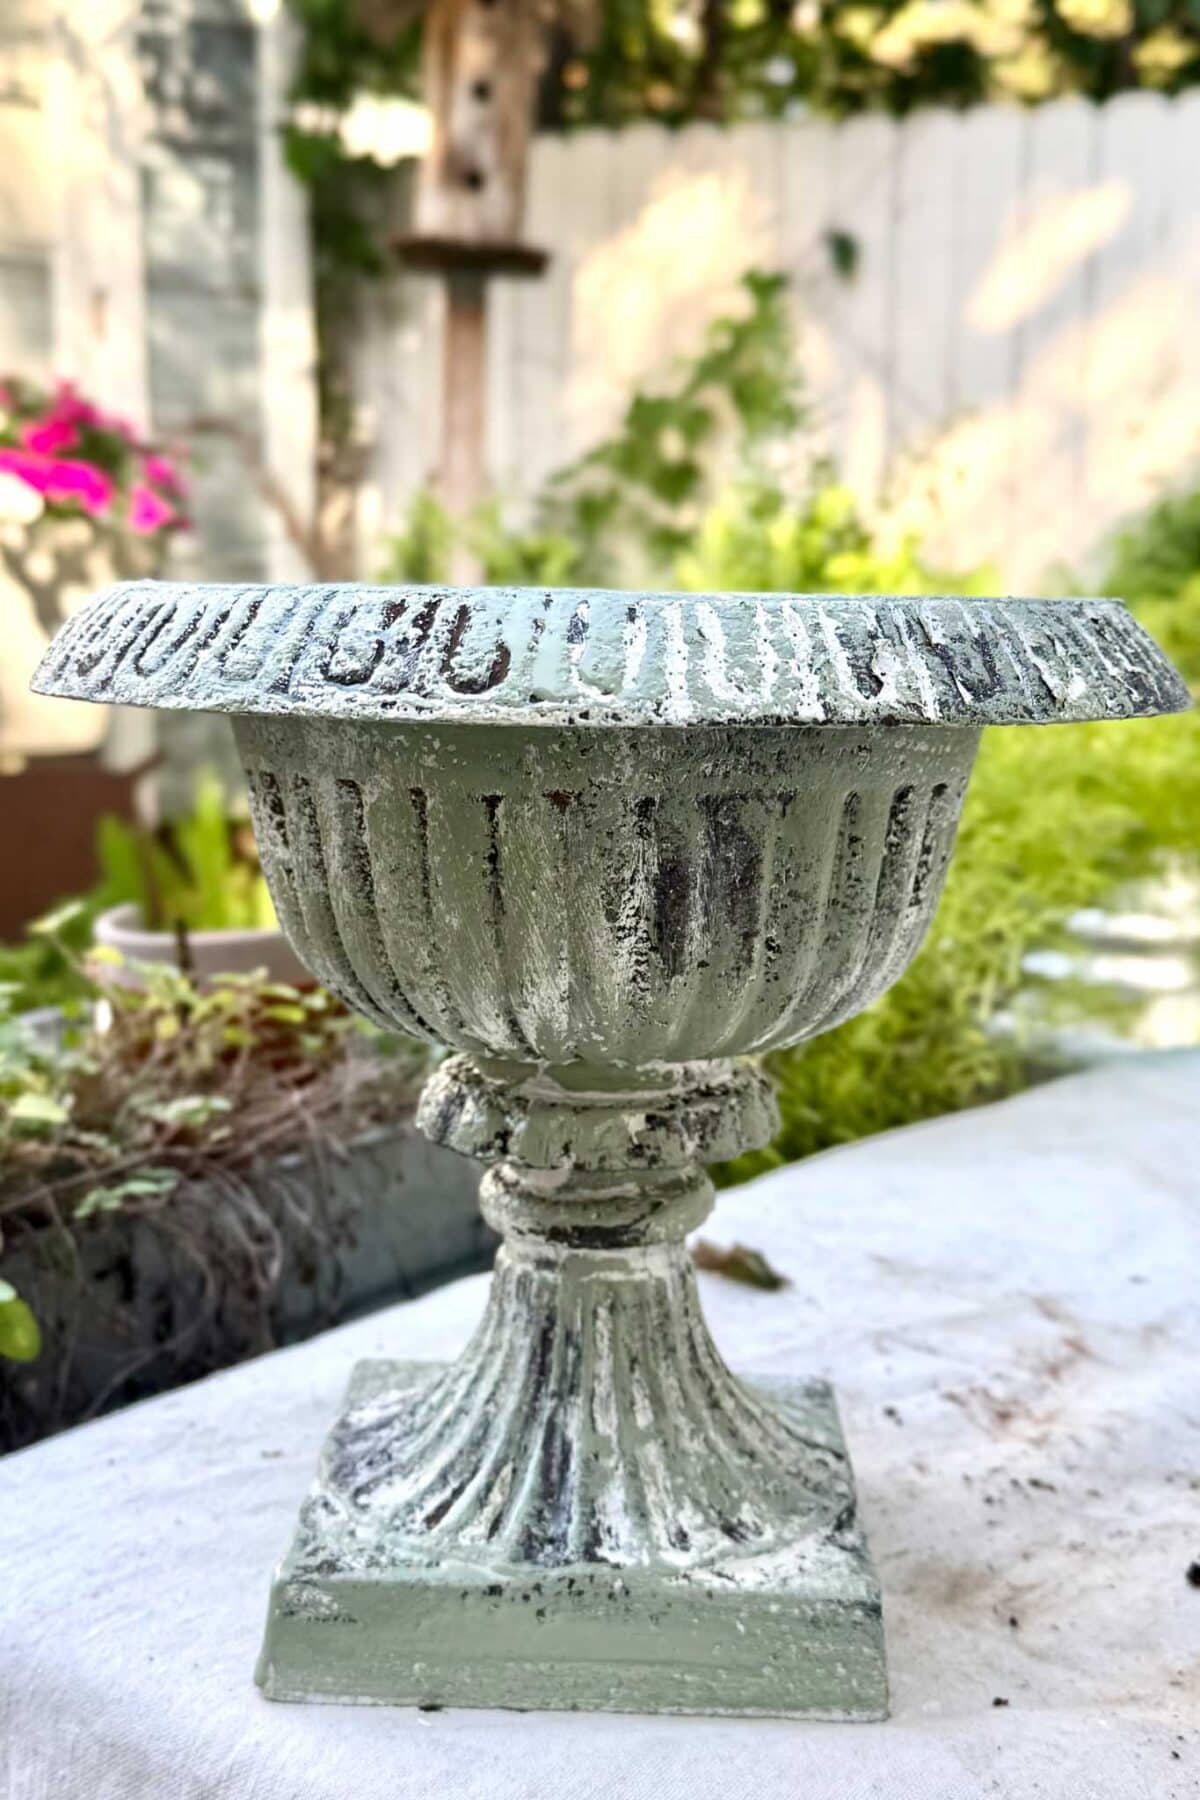
With the wax in place, brush on your green coat. This is the main color of the finish — the soft, aged green that gives the urns that grown-in-the-garden feeling. Again, imperfect application is your friend here. Let the brush strokes be a little uneven, let some areas go on heavier than others, and don’t fuss over drips or thin patches. Every inconsistency becomes character in the finished piece.
Step 4: Scrape Back the Green
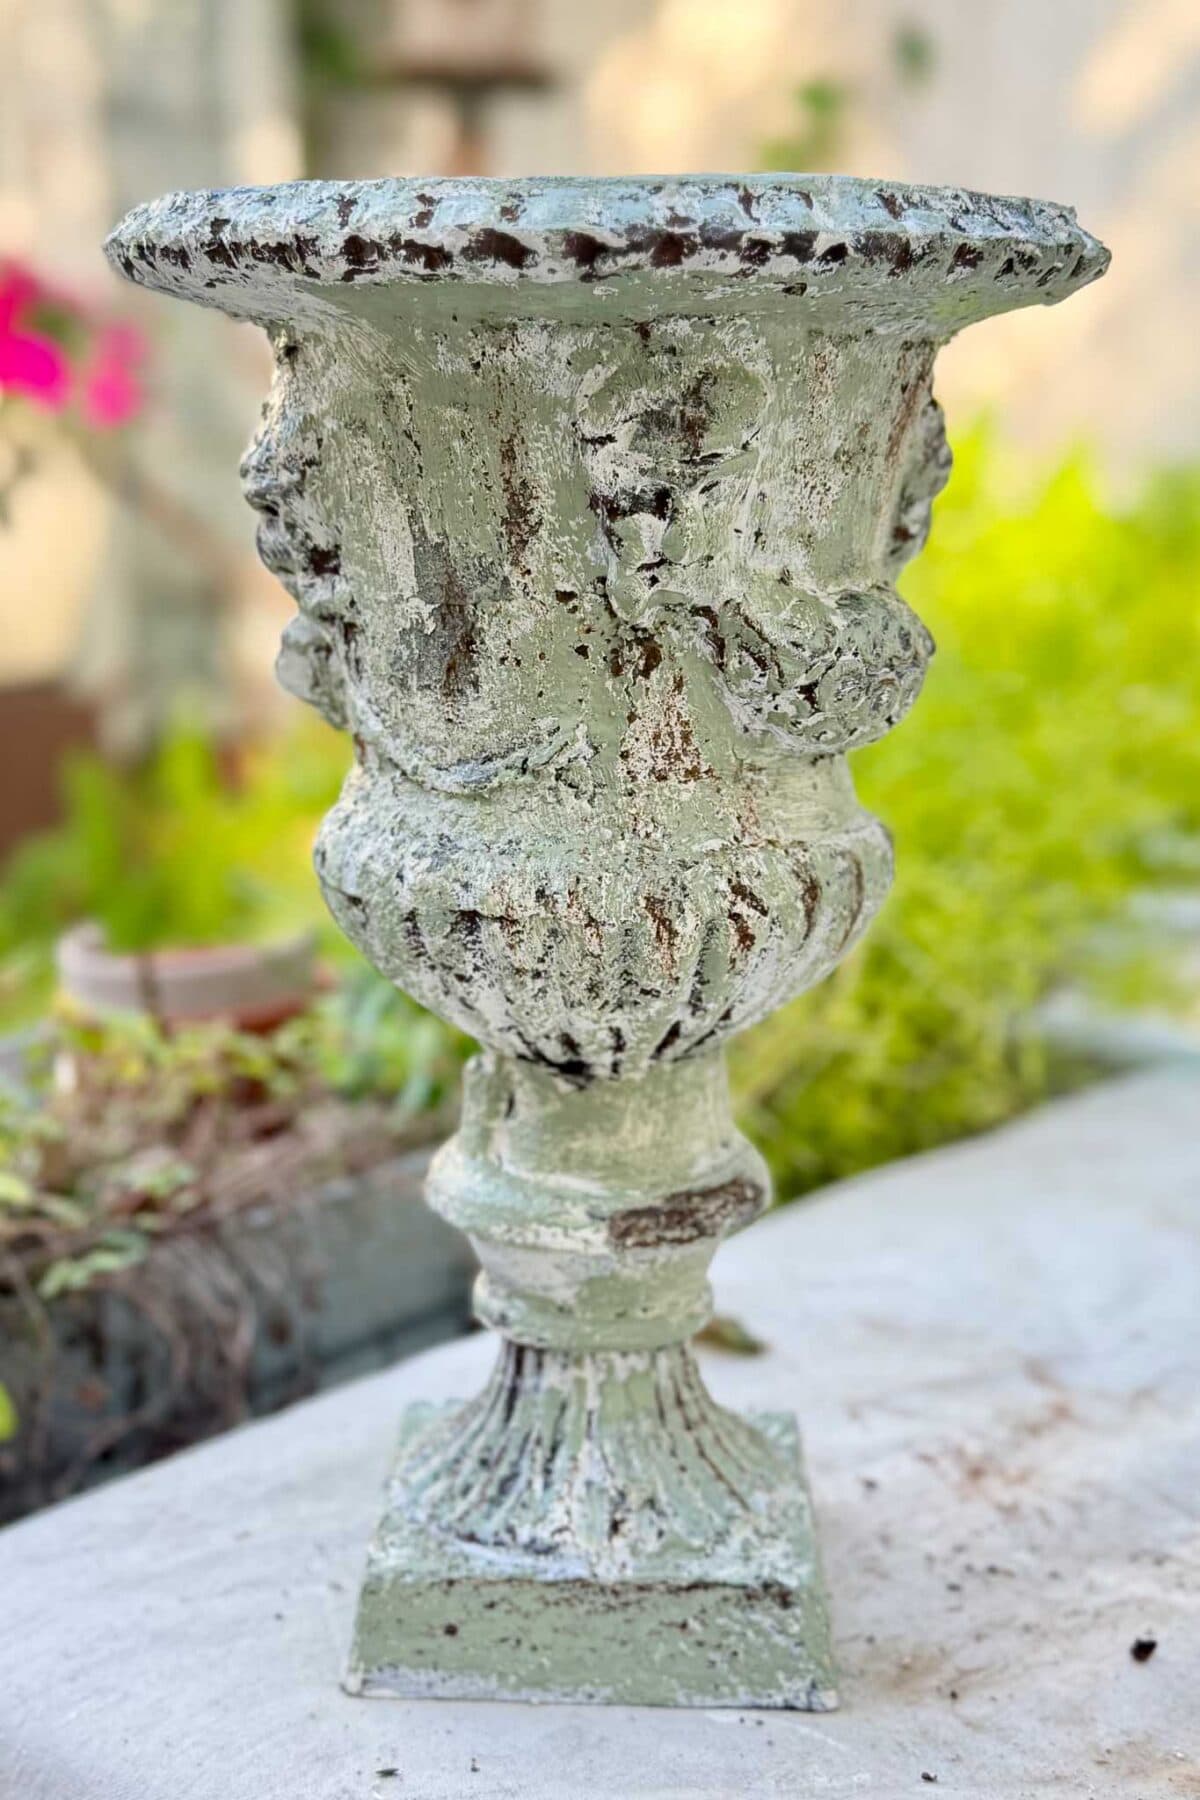
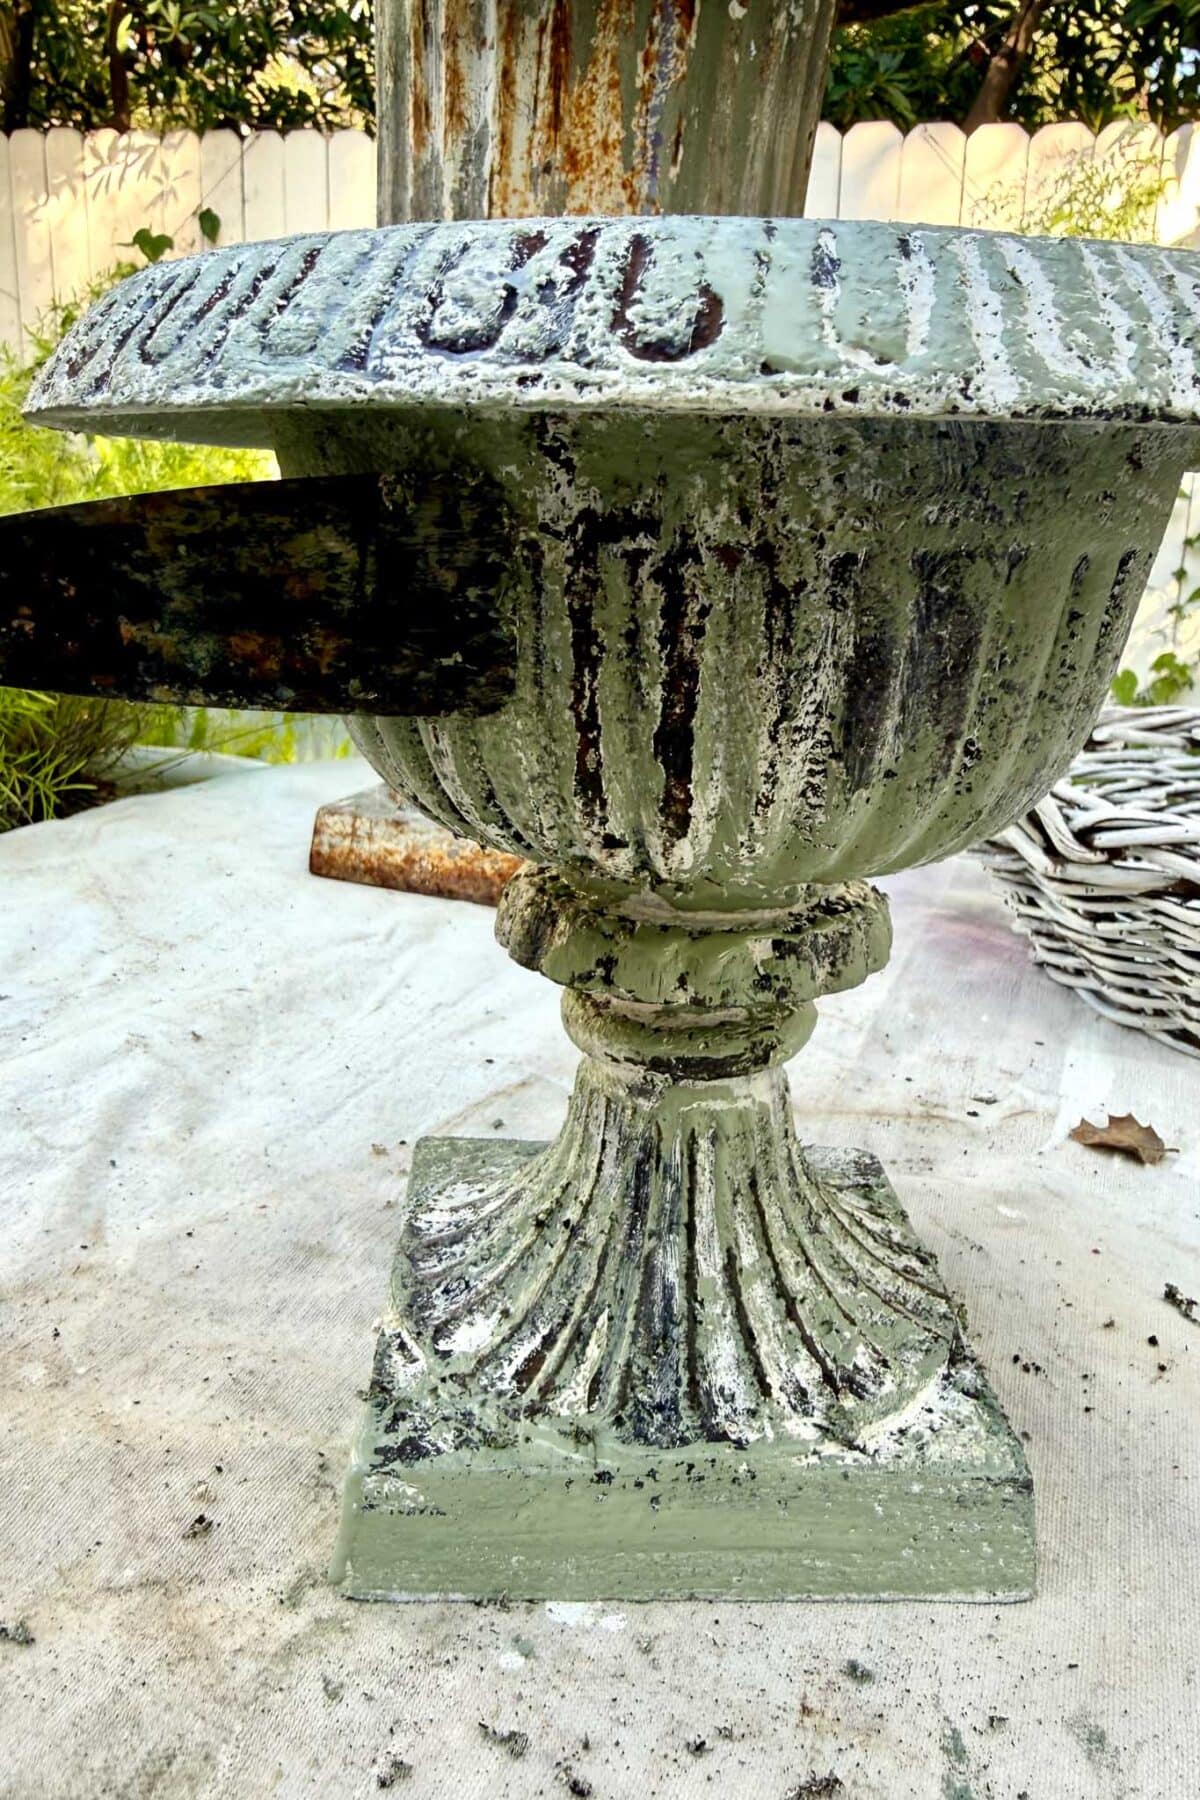
This is where the magic of that furniture wax finally shows itself. Once the green coat has set up, take your scraper and a rag and work back over the urn — the paint will lift away easily everywhere you tucked wax underneath, revealing the chalky white base beneath and giving you that first layer of chippy, worn character. Concentrate on the edges, the rim, the raised molding, and the high points, and let the scraping feel natural and uneven. Don’t rush past this step thinking you’ll do all your distressing at the end — building the aged look in stages, layer by layer, is what gives the finish its depth and keeps it from looking like a single flat coat of paint.
Step 5: Add a Little Bit of the Rust Tones
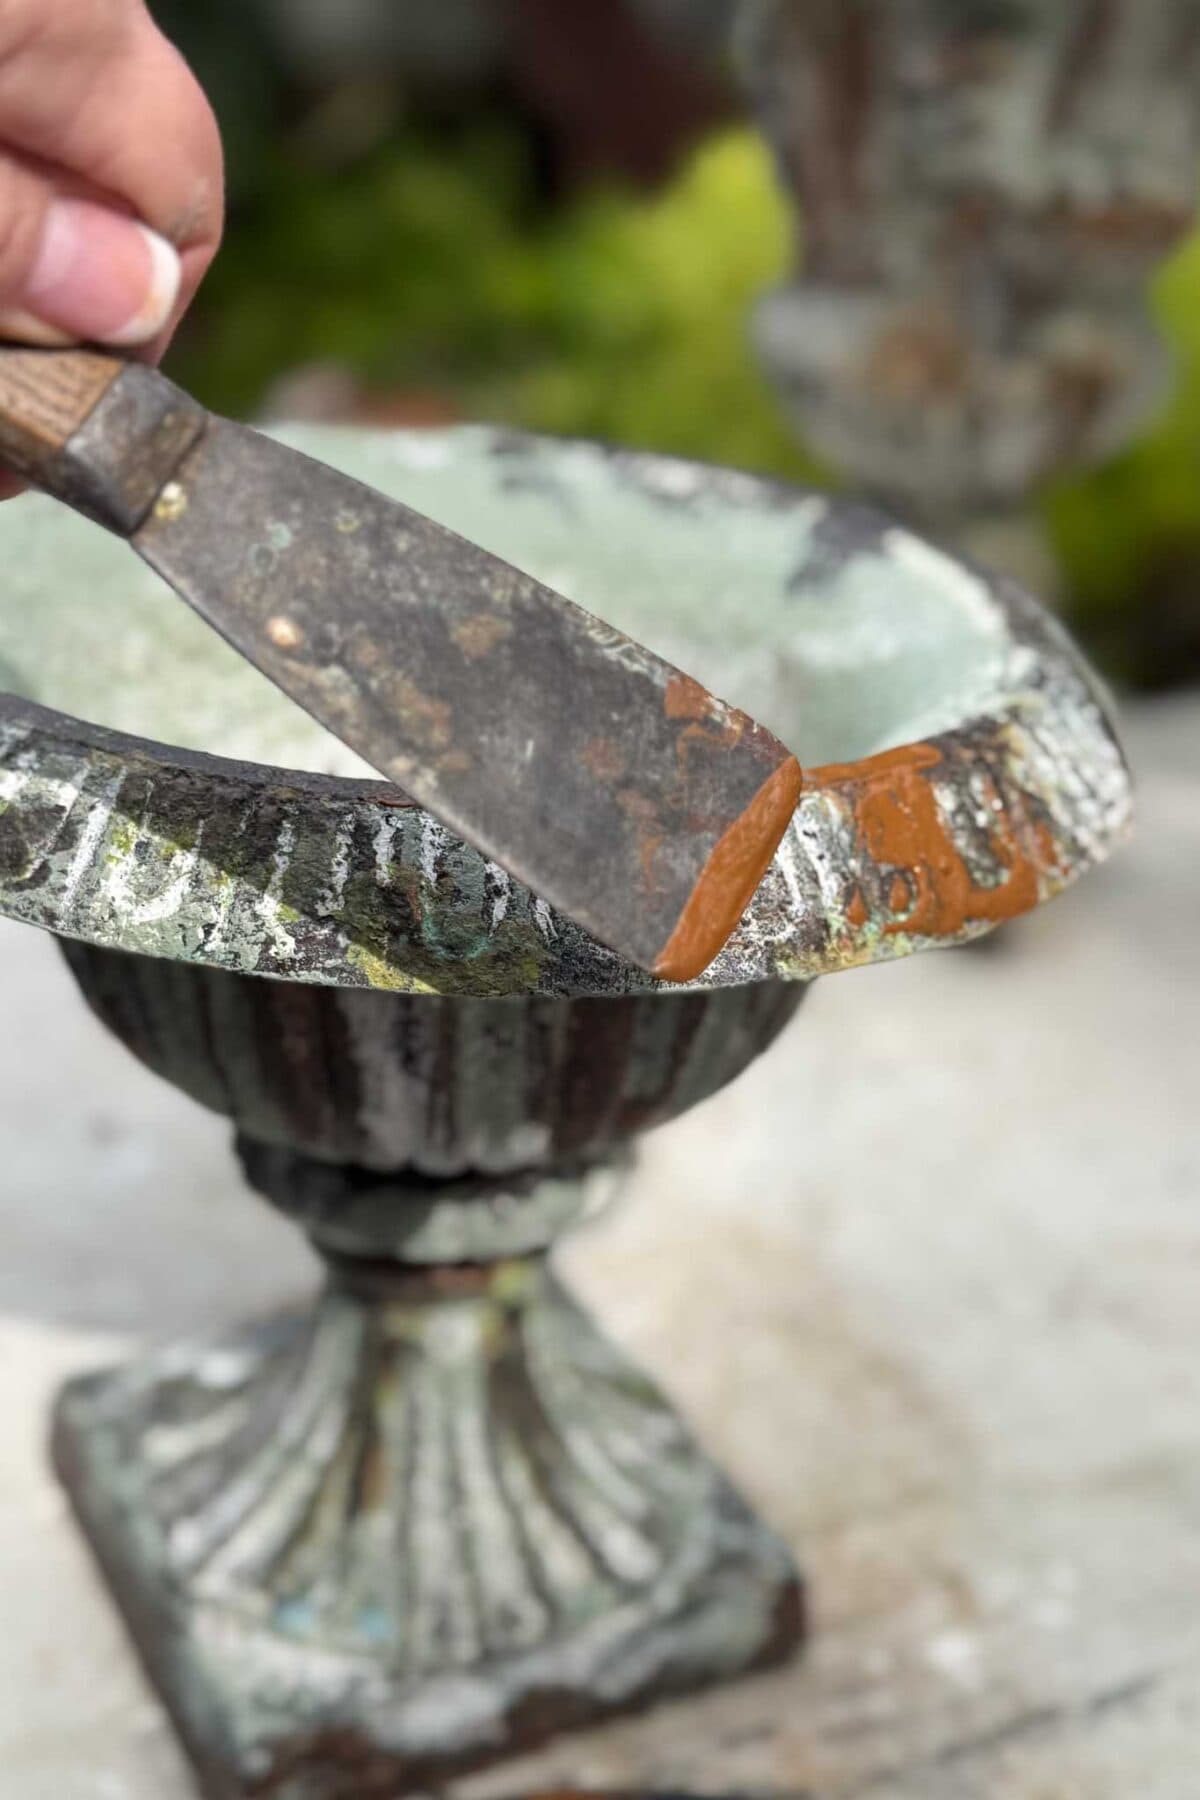
Once the green was scraped back to my liking, I layered in the rust-colored paint. This is where the urns really started to come to life. I dabbed and placed the rust color into crevices with a spatula, along edges, and in streaks running down from the rim — everywhere real rust would naturally bloom and bleed on an old iron urn. A rag is helpful here; you can dab some on and then rub most of it back off, leaving just a haze of rusty warmth behind.
Step 6: Final Scrape, Rub, and Distress
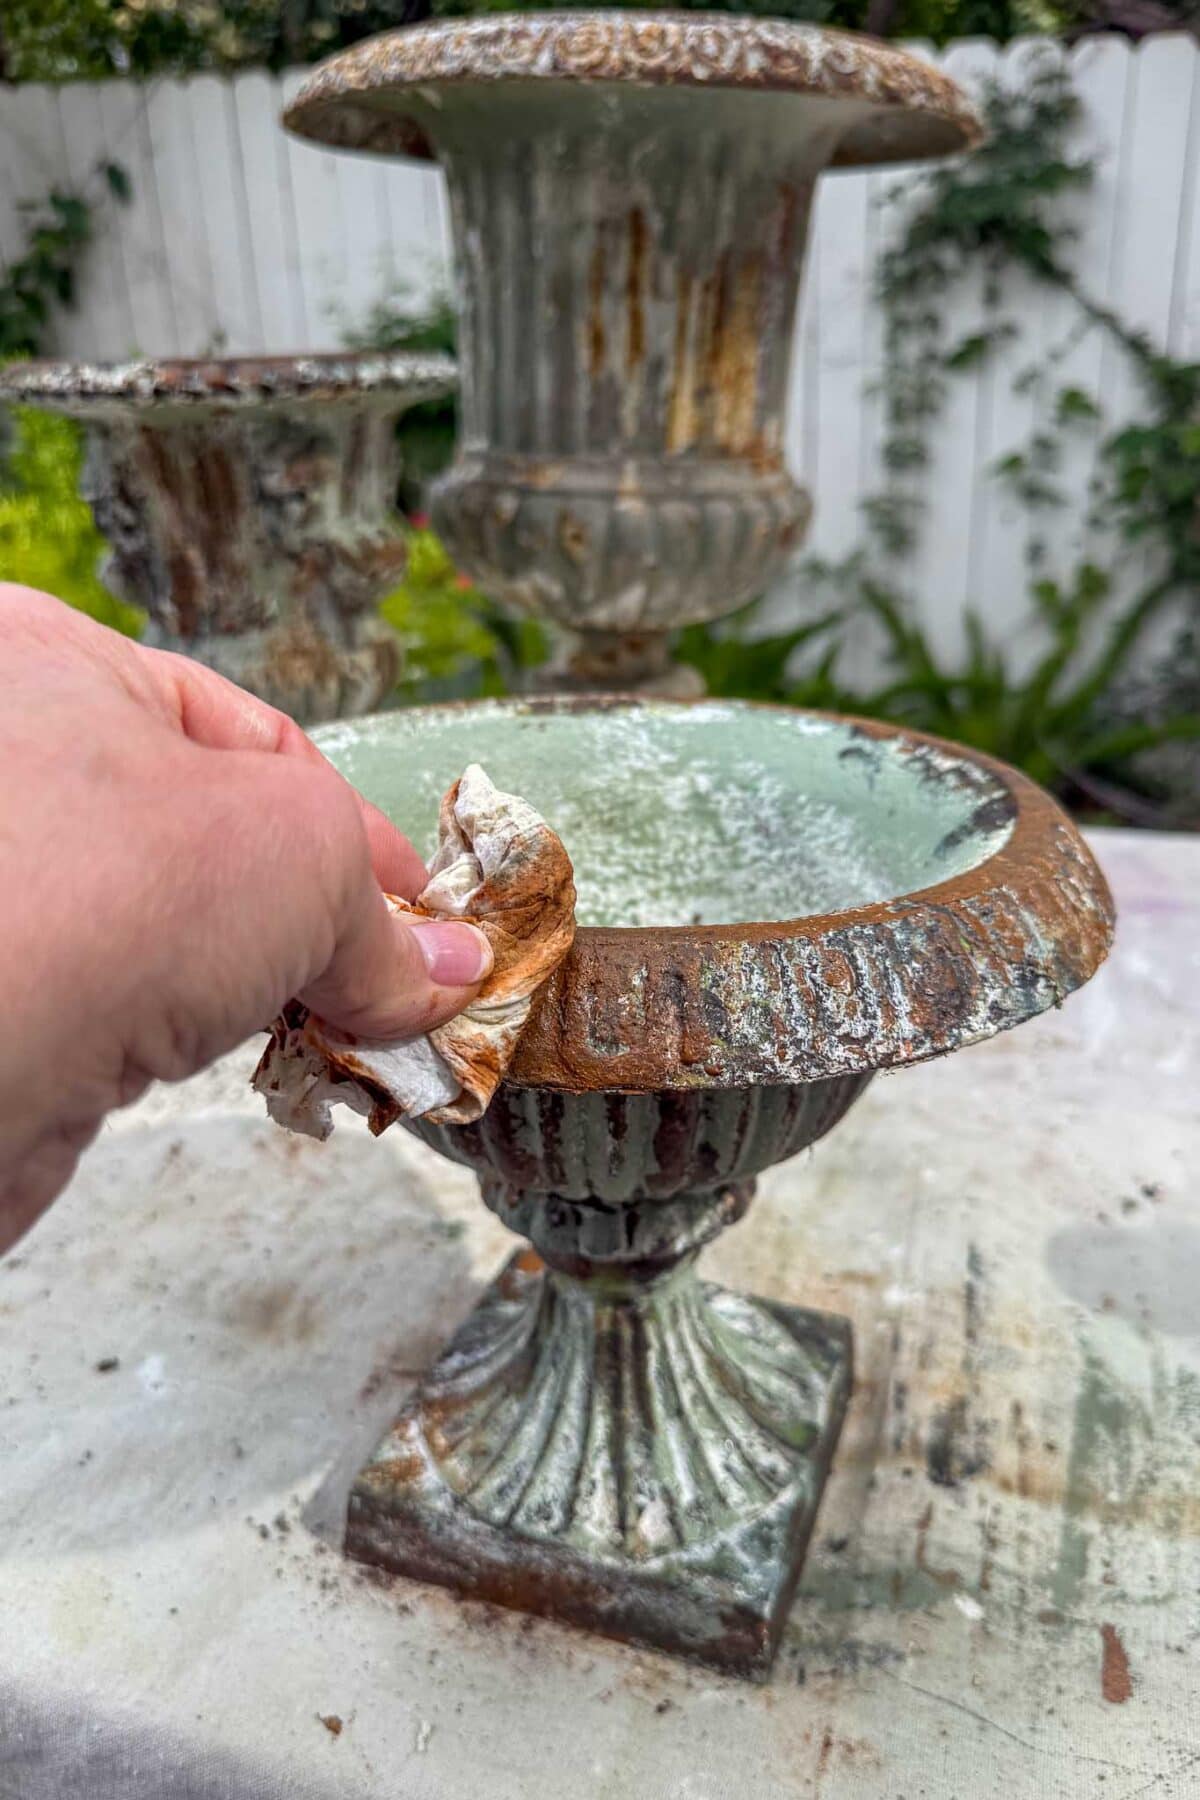
Now for one last pass. Once everything had set up, I went back over both urns with my scraper and a rag — knocking back the rust layers over the high points, rubbing edges, and blending everything until the layers read as one aged, weathered whole rather than separate coats of paint. Because you already distressed once after the green, this final pass is more about refining and tying the colors together than starting from scratch. This is where the white base peeks through, the original rust shows itself in spots, and it all comes together. You can also go back and add a little bit of white or green if you feel needed.
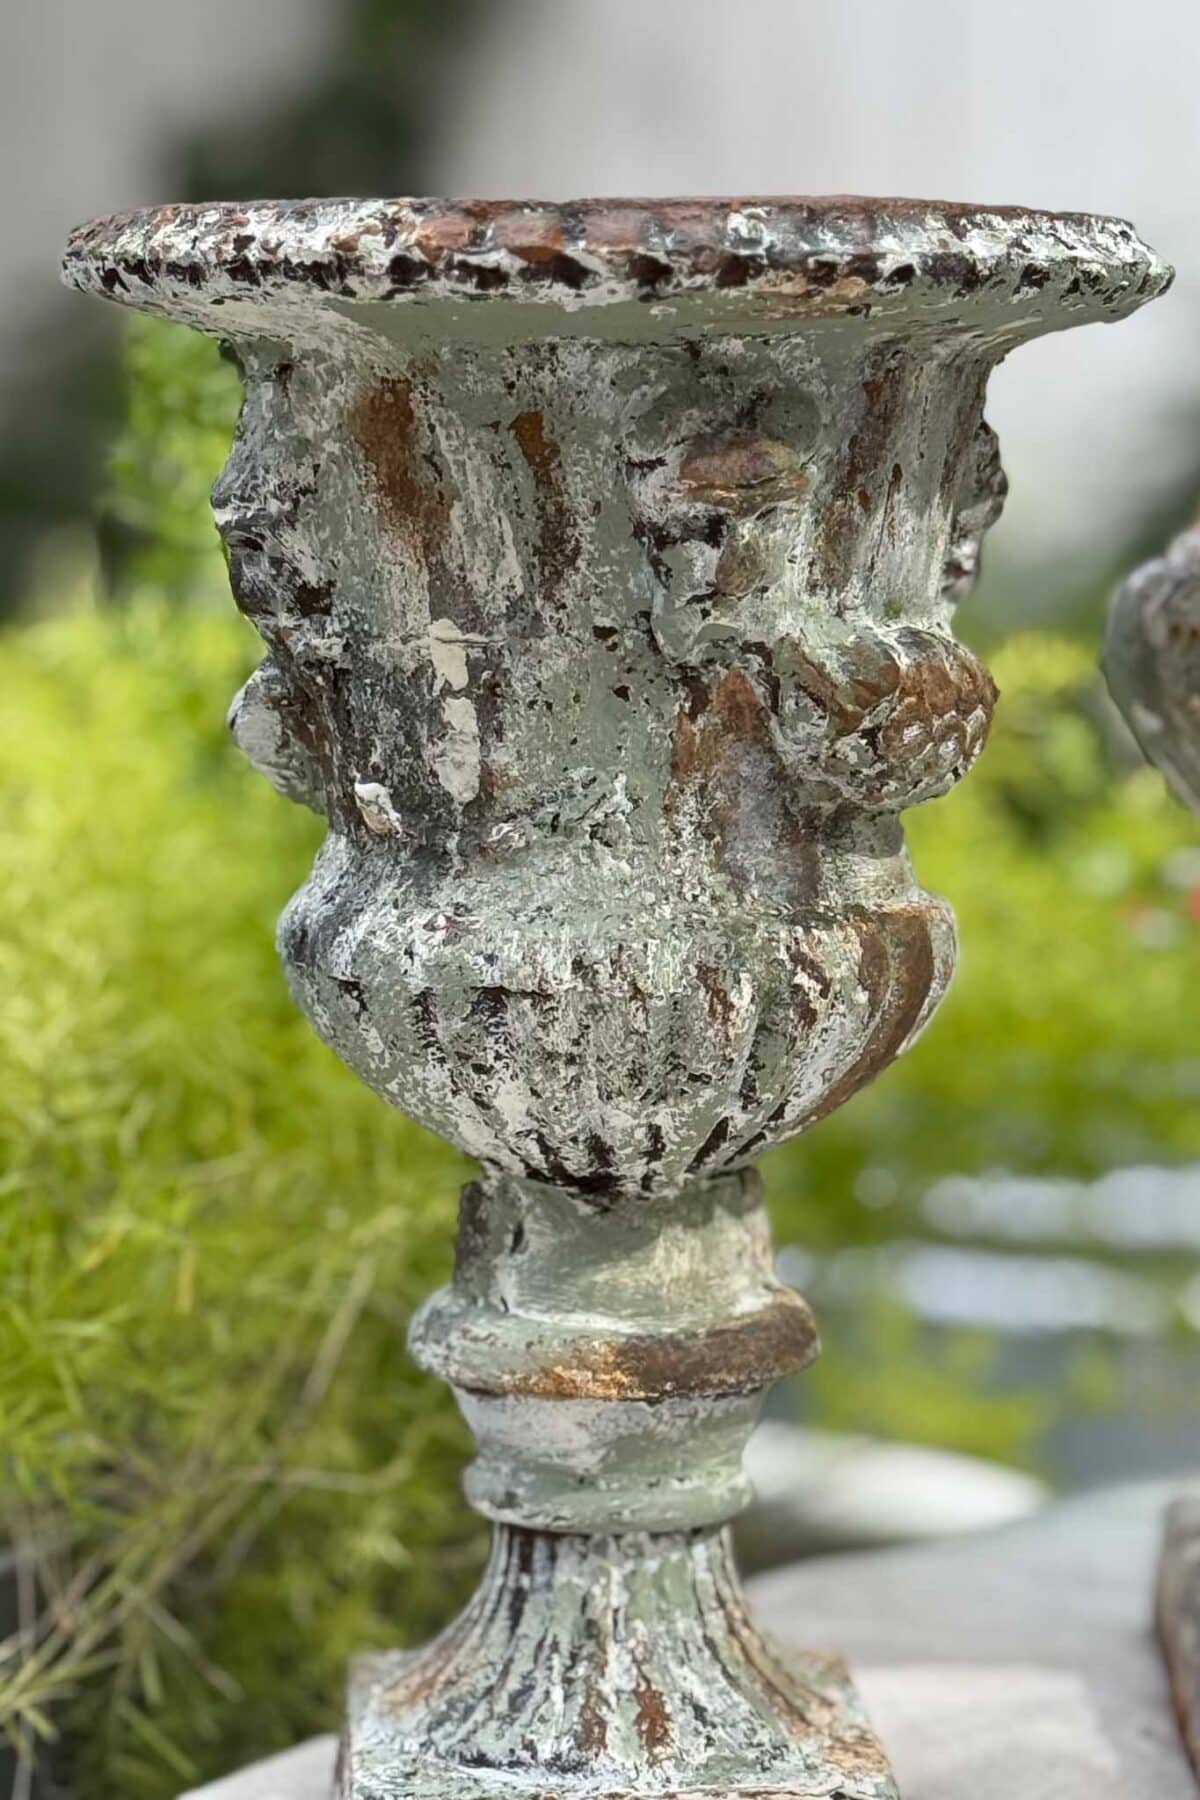
The Finished Urns
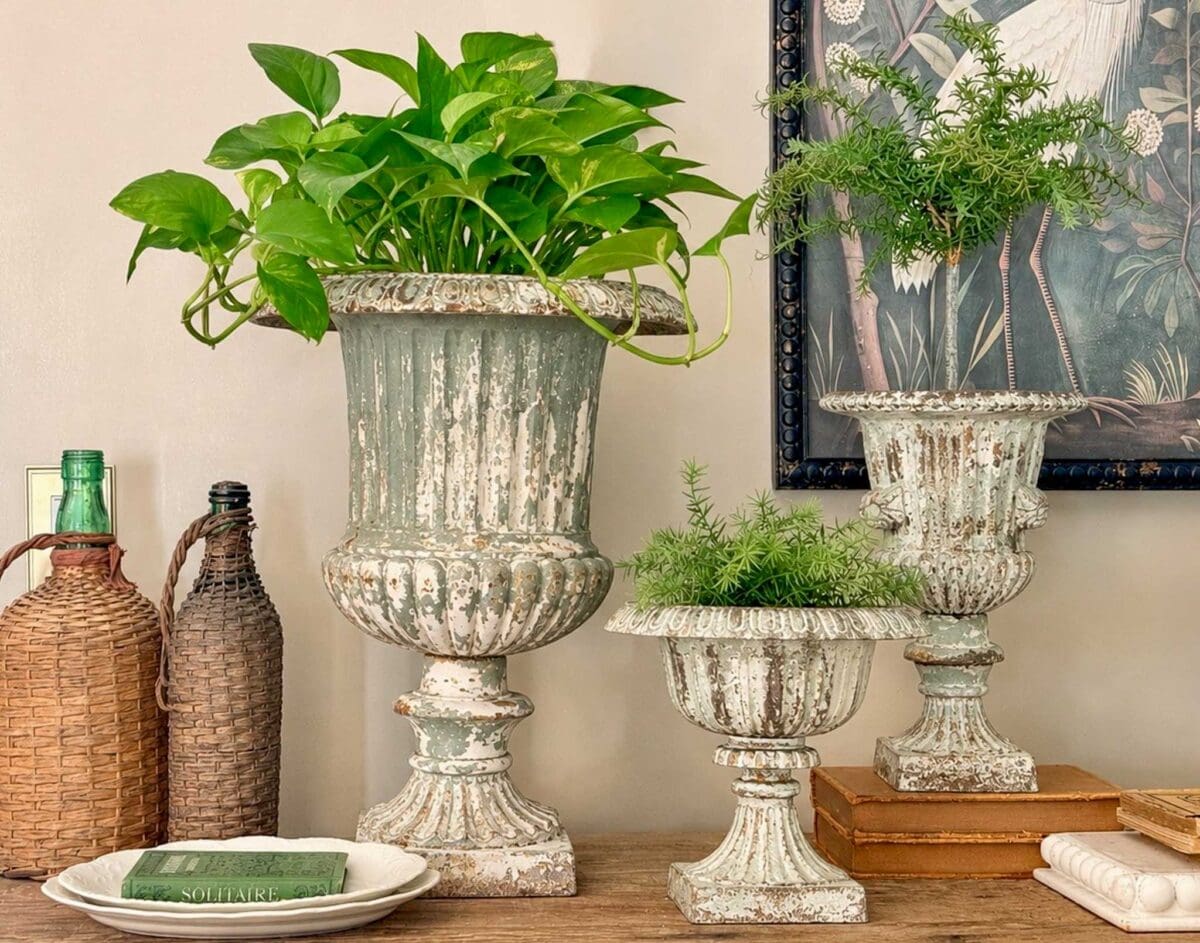
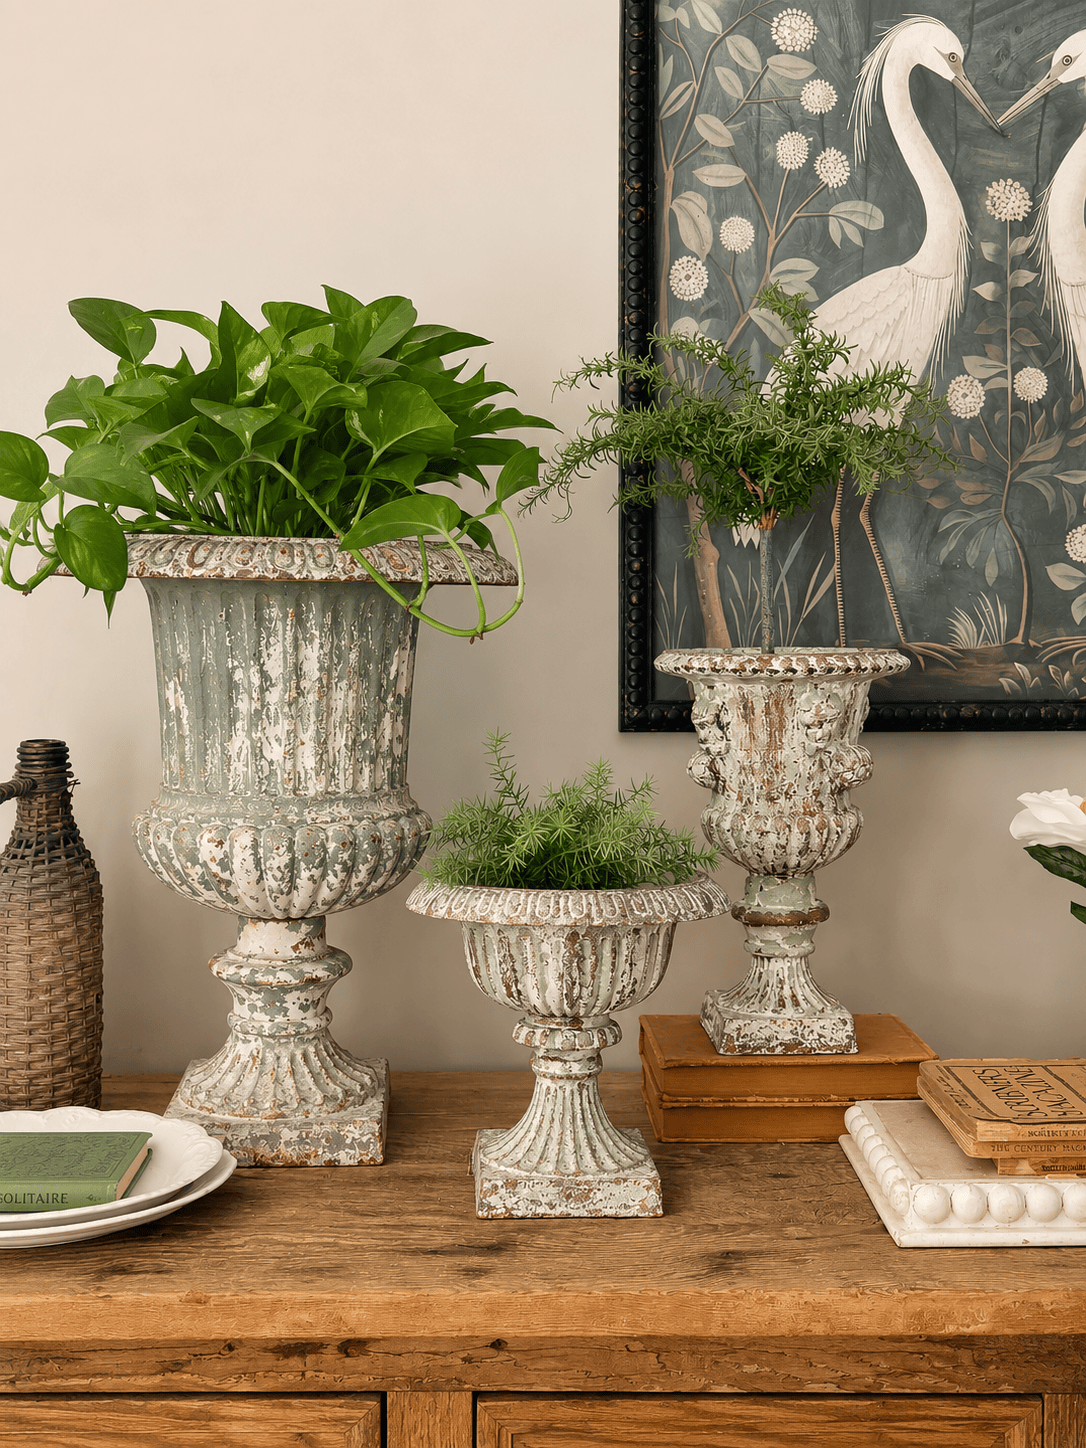
I am completely smitten with how these turned out. What began as two rust-covered flea market urns are now a matched trio with my large urn — and they have already found their way into my home and in my garden vignettes, planted up and holding their own like they have been here for generations. The mottled greens, the chalky whites, the warm rust tones, and those little pops of true patina all work together beautifully.
The very best part of this project is that it is nearly impossible to mess up. Every scrape, smudge, and uneven layer only makes the finish more convincing. If you have been eyeing a rusty urn at a flea market — or hiding one in the garage because you weren’t sure what to do with it — I hope this gives you the nudge to bring it back to life. You could even apply this same technique to a new urn.
I have styled these on my entry table, and I love admiring them every day as I walk in the door. If you want to see how the whole vignette came together, take a peek at my full entry table styling post.
Facts and Questions
Very little, which is part of the appeal. If you start with inexpensive flea market or thrift store urns, the main cost is the paint and supplies — and a single set of the base, green, rust, copper, oxidation spray, and furniture wax will carry you through many projects. Compared to buying a genuine antique cast iron urn, which can run into the hundreds, this is a fraction of the price.
Plan for an afternoon of hands-on work spread across a day, since the finish is built in layers and each one needs to mostly dry before the next goes on. The painting and scraping itself moves quickly, but don’t rush the drying time between coats — that patience is what gives the patina its depth.
Yes. While I used cast iron here, this layered paint-and-wax method works beautifully on resin, concrete, and terracotta urns too. The colors and the furniture wax resist behave the same way on any of these surfaces, so you can age a lightweight resin urn just as convincingly as a heavy iron one.
Flea markets, estate sales, thrift stores, antique malls, and online marketplaces are all great sources. Don’t pass over urns just because they’re rusty or have chipped paint — those are the ideal candidates, since the existing wear only makes the finished patina look more authentic.
A Few Final Tips
- Work in layers and let each one mostly dry before the next — the finish builds its depth from the layering.
- Match as you go. Check against your inspiration piece after every layer, not just at the end.
- These urns live happily indoors or outdoors — the weather will only continue the aging process for you, and honestly, that’s a feature, not a flaw.
Shop the Post

How to Give Rusted Urns an Aged Patina Finish
Equipment
- 1 Scraper
- 1 Paint brush
- 3 Rags
Materials
- White paint base coat
- Green paint main patina color — soft sage or grey-green
- Rust-colored paint
- Clear furniture wax

Instructions
- Apply the white base coat. Brush a coat of white paint over the entire urn. Uneven coverage is fine — this pale base is what peeks through later.
- Add the furniture wax resist. Rub furniture wax onto random raised areas, edges, the rim, and the base. Use patches, not full coverage. The wax keeps the next layer from sticking so it scrapes away easily. It dries clear, so track where you apply it.
- Layer on the green. Brush your green patina color over the urn, letting the application stay a little uneven for character.
- Scrape back the green. Once the green has set, scrape and rub over the waxed areas to reveal the chalky white base and create the first chippy, worn layer.
- Add rust tones. Dab and brush rust-colored paint into crevices, edges, and streaks below the rim. Rub most of it back with a rag, leaving a warm haze.
- Do a final scrape and blend. Once everything sets, scrape back high points and rub the layers together until the colors read as one aged, weathered finish. Match against your inspiration piece and stop when you love it.
Happy crafting!


More about me!

Hello, I’m Wendy – a dedicated homemaker with a deep passion for decorating, gardening, cooking, and crafting. I find joy in harmonizing beautiful elements to fashion a space that is both comfortable and inspiring. I will help you create a beautiful home, one project at a time.
I love this idea Wendy. So nice to have a collection that now sit well together.
So perfectly aged and “matched” to each other. You are a wizard at this!!!