How to Make Lighted Garden Spheres Out of Hula Hoops
Learn how to beautify your outdoor space with this step-by-step tutorial on how to create lighted garden spheres from hula hoops.
Gazing out in your garden on a dark summer’s night can be so peaceful. The only thing that makes it better is if your garden is lit with beautiful lights.
If you want to add some lighted globes to your garden, you can easily make them yourself using hula hoops! Follow these simple steps, and you can make lovely lighted garden spheres.
What Are Lighted Garden Spheres?
You may have seen lighted garden spheres, sometimes called garden globes, available for purchase at home and garden stores. They can vary in size from small to extra large. You can place them throughout your garden for added light and decoration. For example, garden spheres can be placed on top of a pot, in a tree, or on a patio.
Using lighted décor in your outdoor space adds a lot of extra charm once the sun goes down. I love this easy DIY lighted garden sphere because they not only look beautiful during the day but are simply magical when lit up at night.
Here’s What You’ll Need:
- Three hula hoops (I like these since they come in sections, and you can intertwine them together)
- Paddle wire
- Black spray paint
- Two to three strands of fairy lights, depending on the length. The hula hoops total 30′ if you use all of the sections.
- A small flowerpot
- One decorative bird’s nest
- One decorative bird


How to Make Lighted Garden Spheres
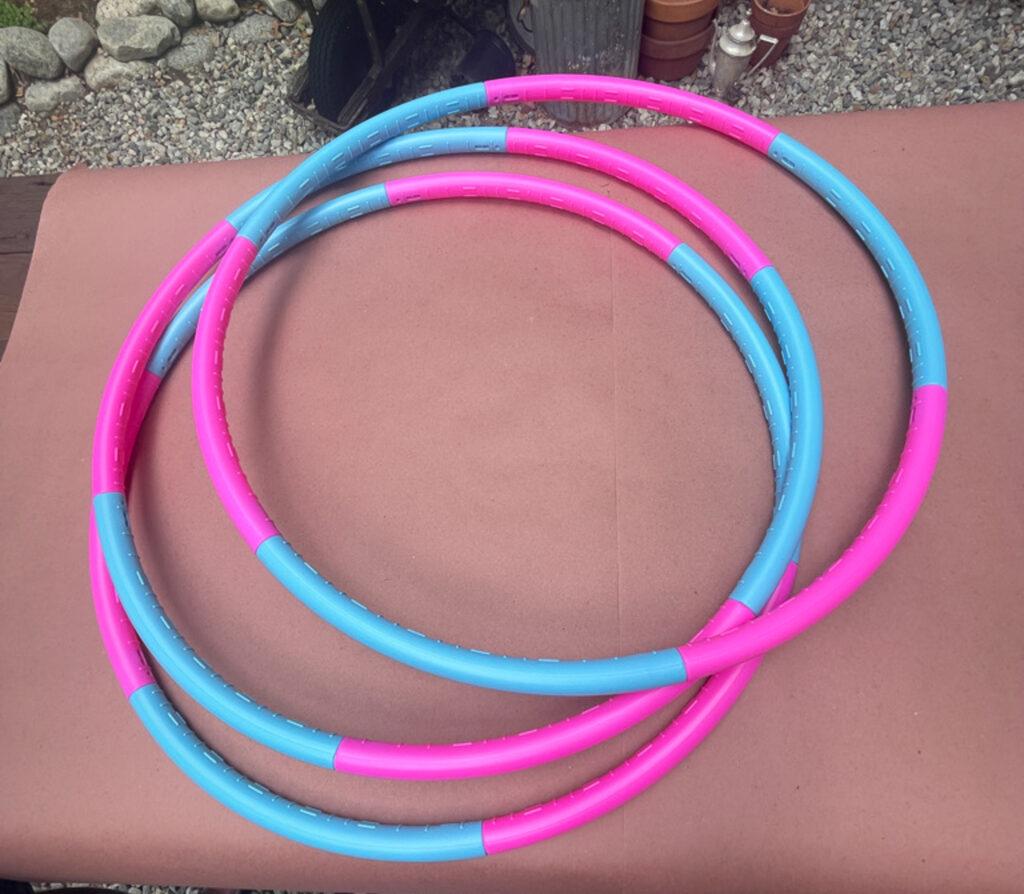
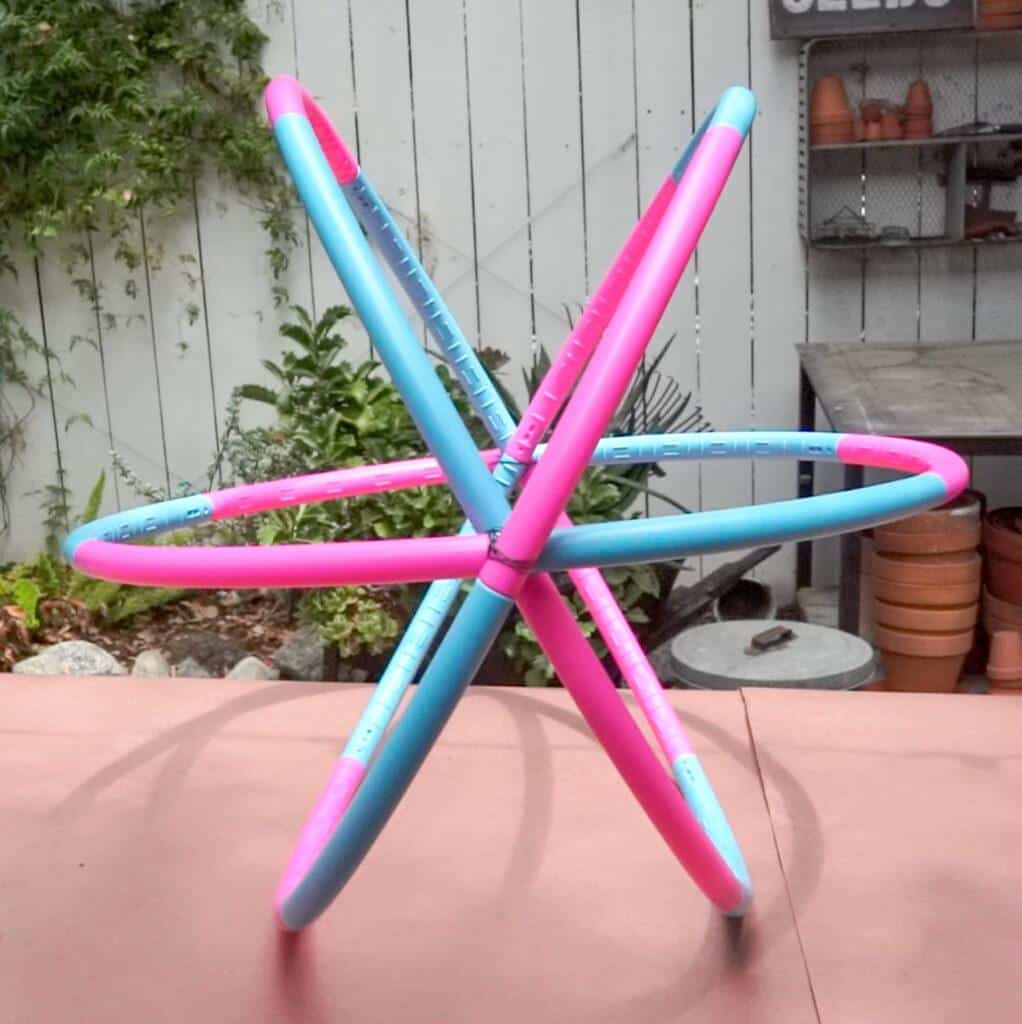
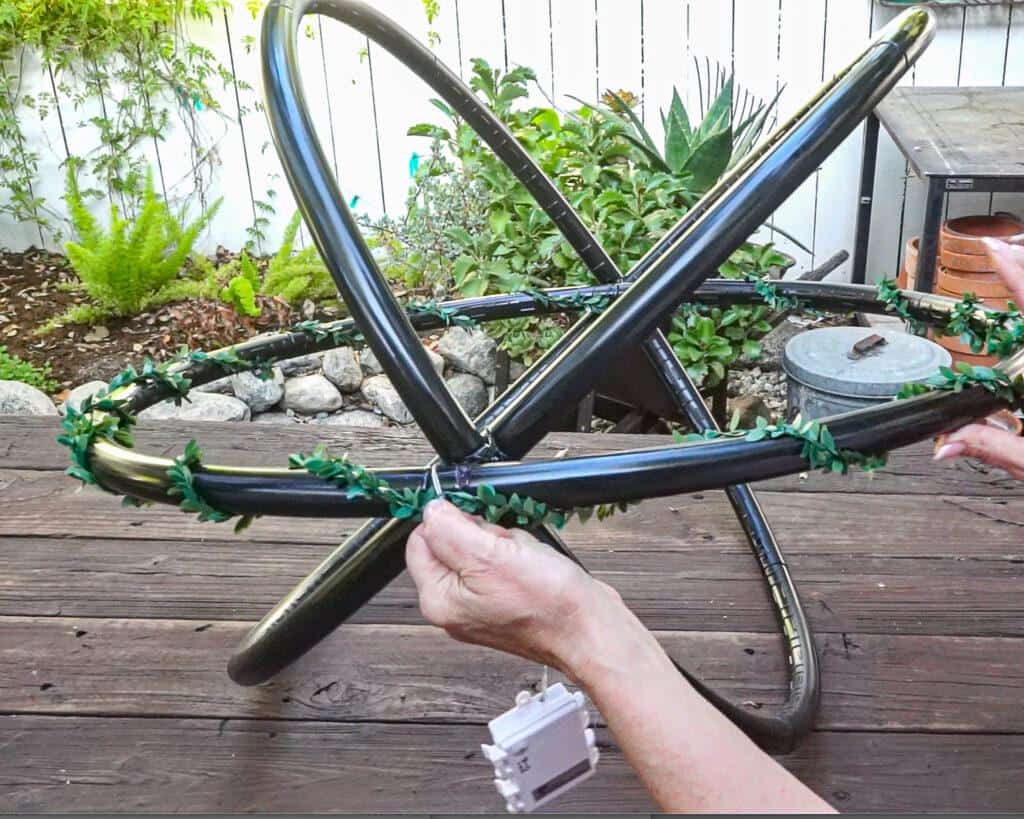
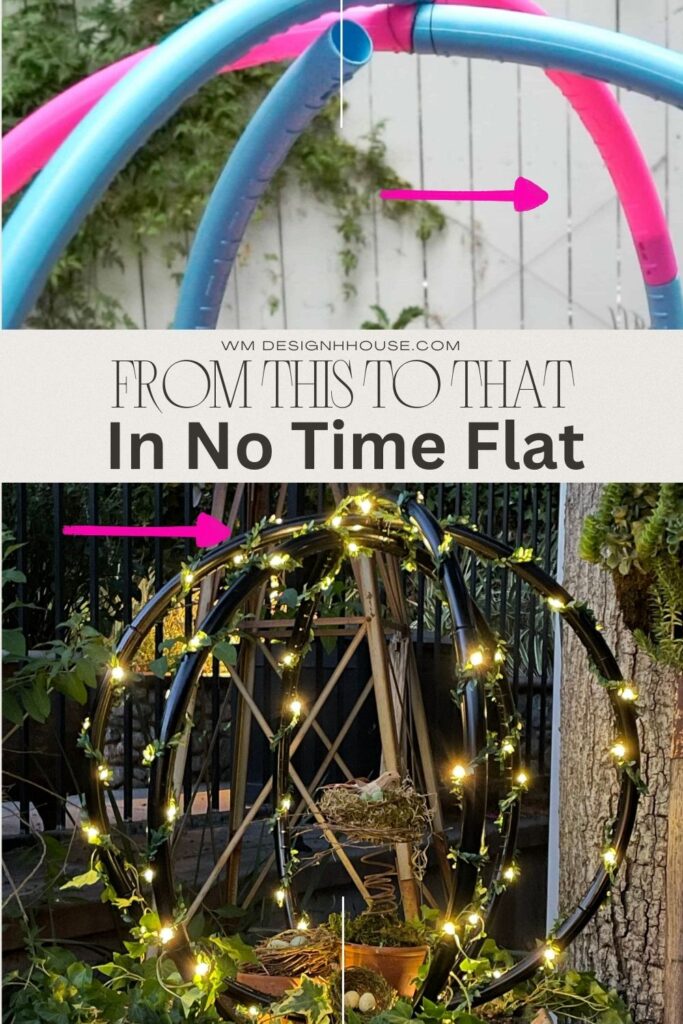
- Put two of the hula hoops together. Insert one hula hoop inside of the other at an angle. You want to divide the space into thirds.
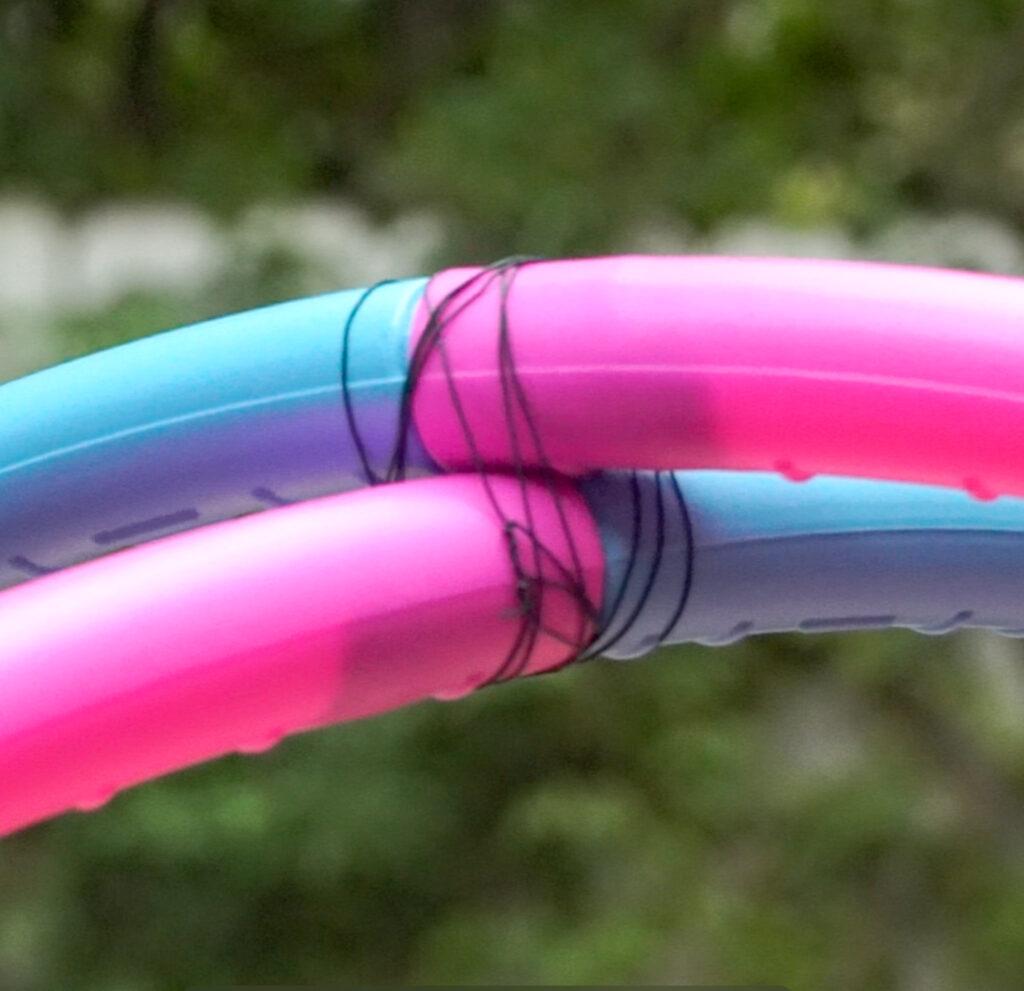
2. Wire the ends together as in the image below.
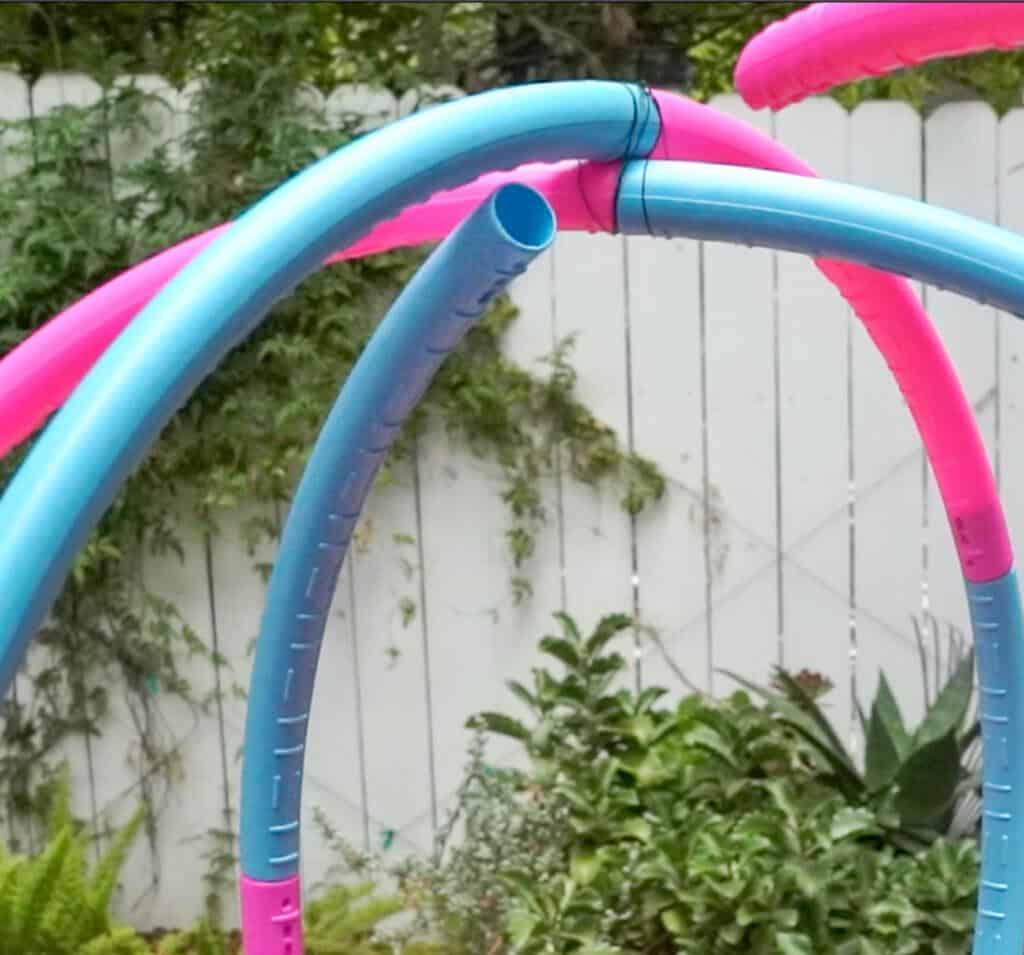
3. To add the third hula hoop, put together the last hula hoop except for the last piece. Then, insert the hula hoop into the other two hula hoops and attach the third hula hoop on top of the other two.
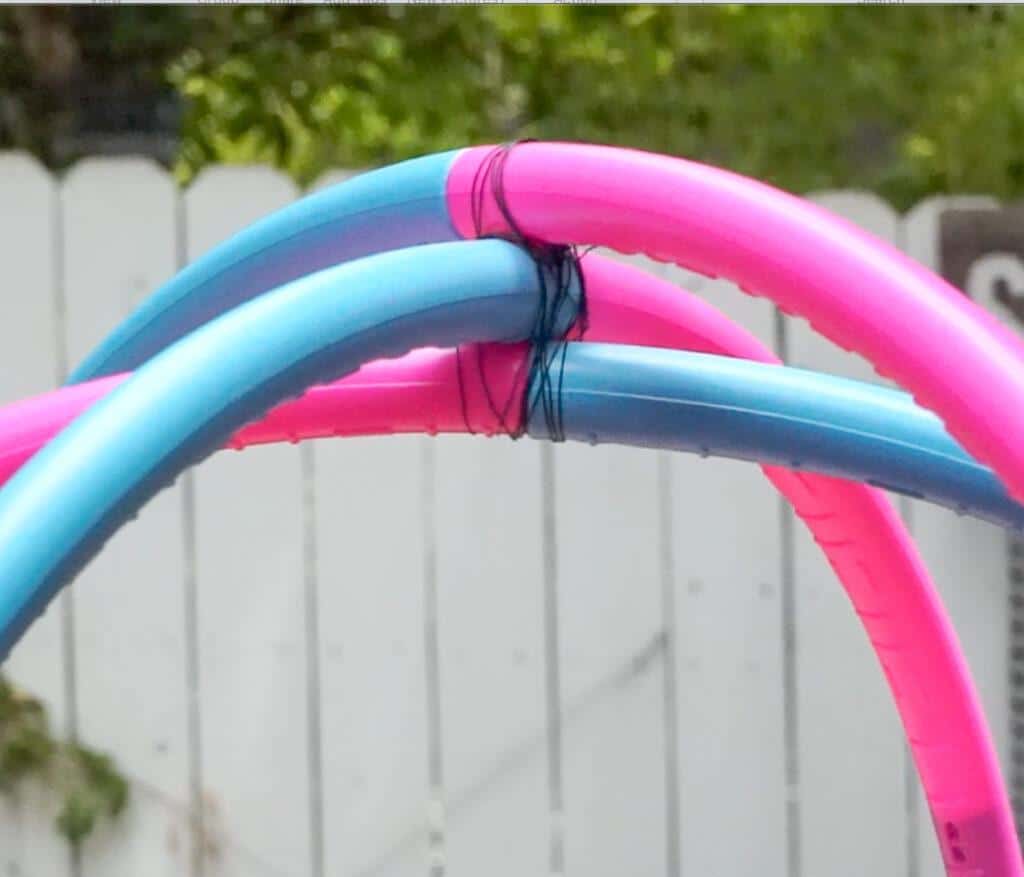
4. Now, wire the three hula hoops together on both ends.
This is how the assembled hula hoops should look to form the completed shape of your lighted garden spheres.
Watch the Quick Tutorial Here
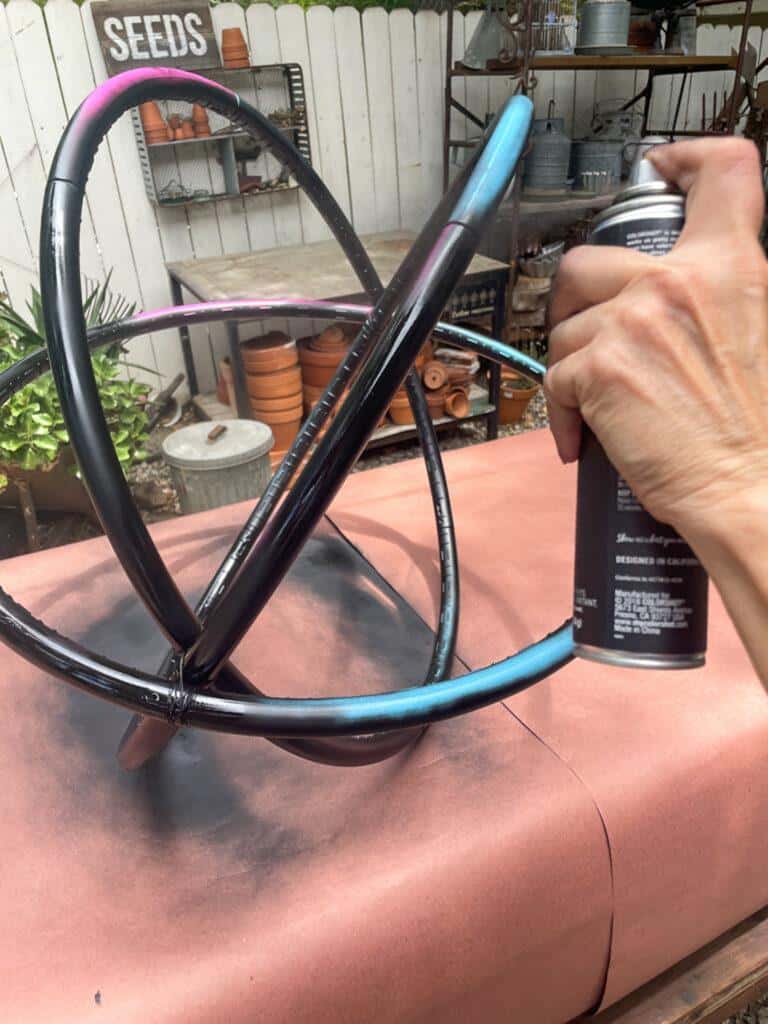
5. You are now ready for spray paint. I used matte black Rustoleum paint.
For this process, you will want to take your time. Do one side, let it dry, then turn it over and spray the other side. Once you have put your last coat of paint on, let it sit and dry overnight for 24 hours.
6. The next day, you can add your light strands.
I used three light strands of greenery 10′ long each, as seen in the image below.
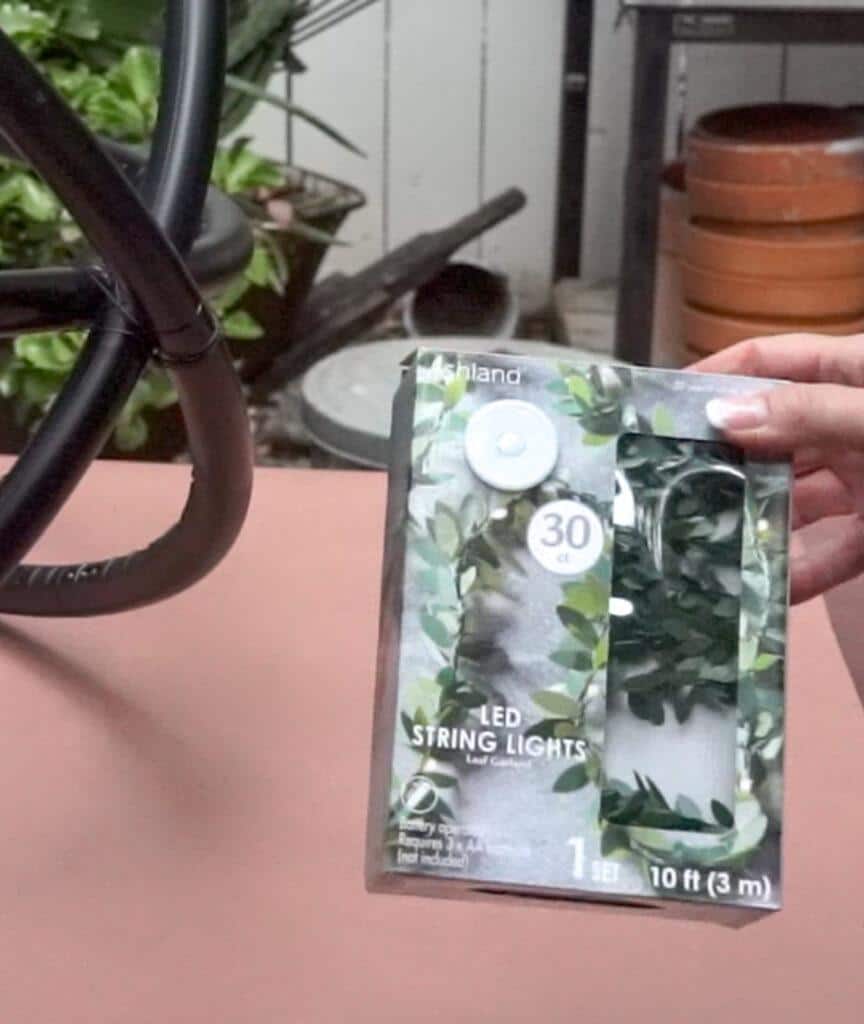
If you use these lights, you will only need to use two strands.
Start at the bottom, where the three hoops are wired together.
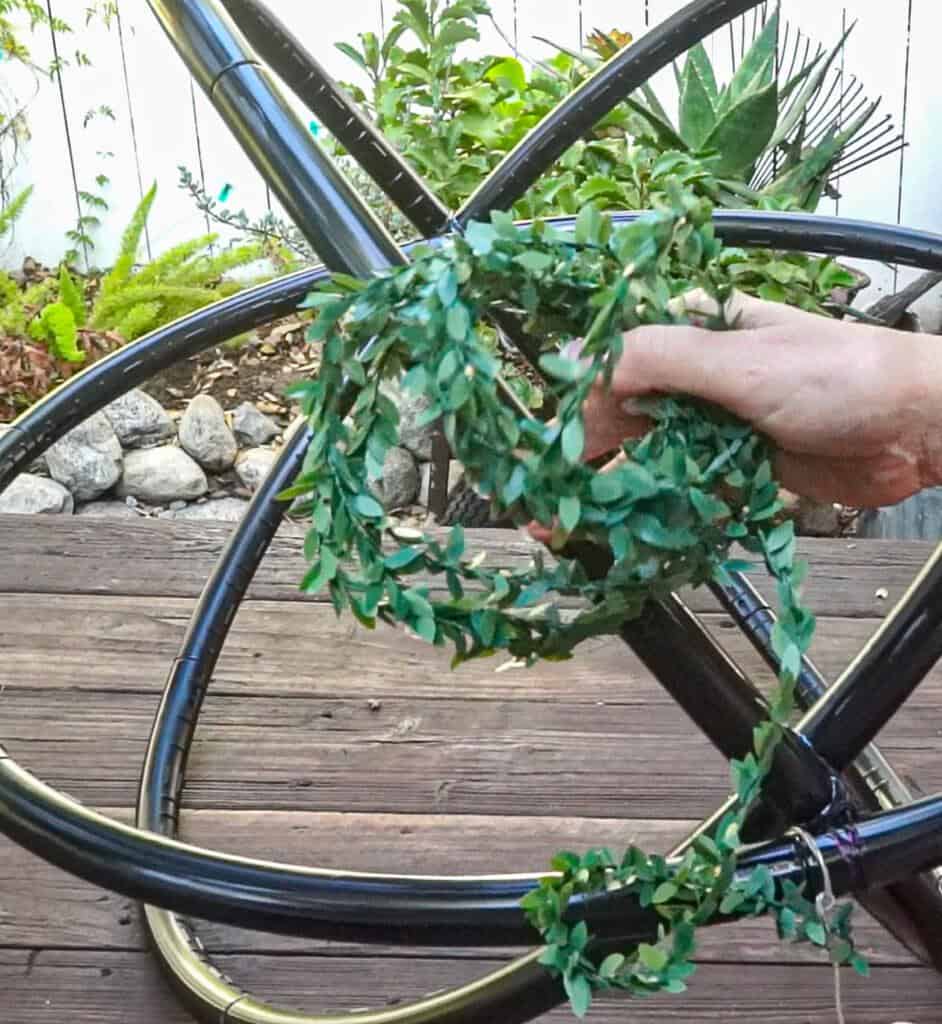
7.Tie on the first strand of lights. Be sure to leave some leeway for the controller as you will be setting the controller in a flowerpot.
8. Start to wind the lights around the hula hoop until you have come to an end. Then, repeat this same process with the rest of your lights.
Finding the Perfect Spot For your Garden Sphere
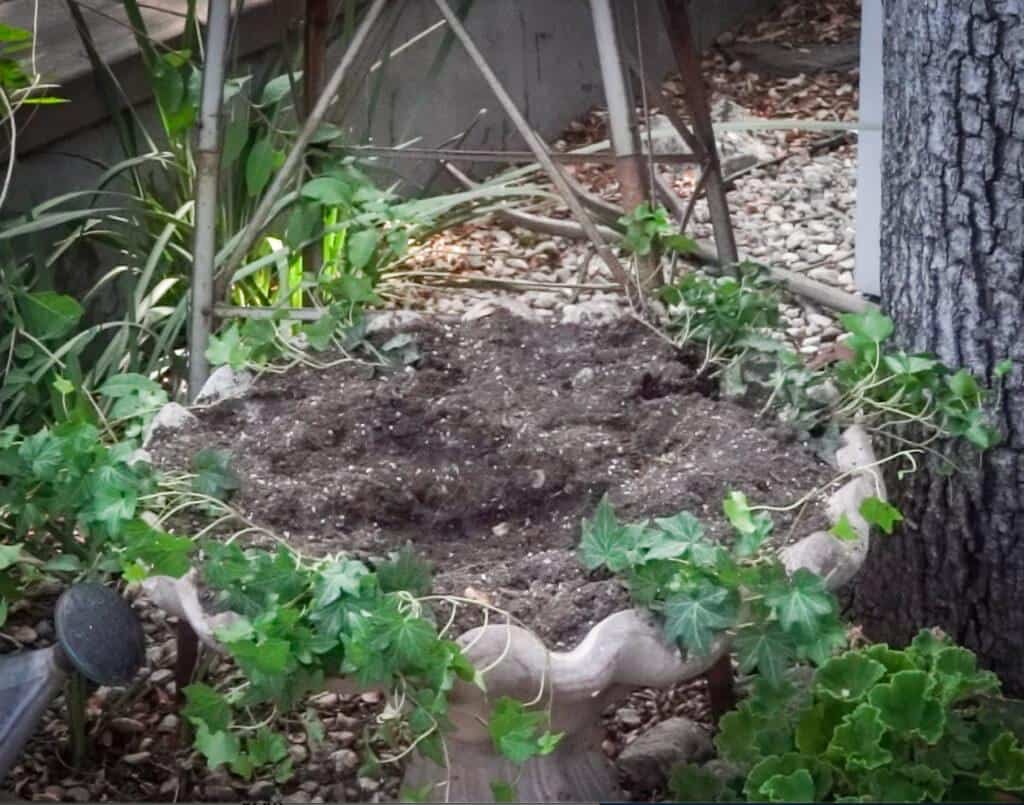
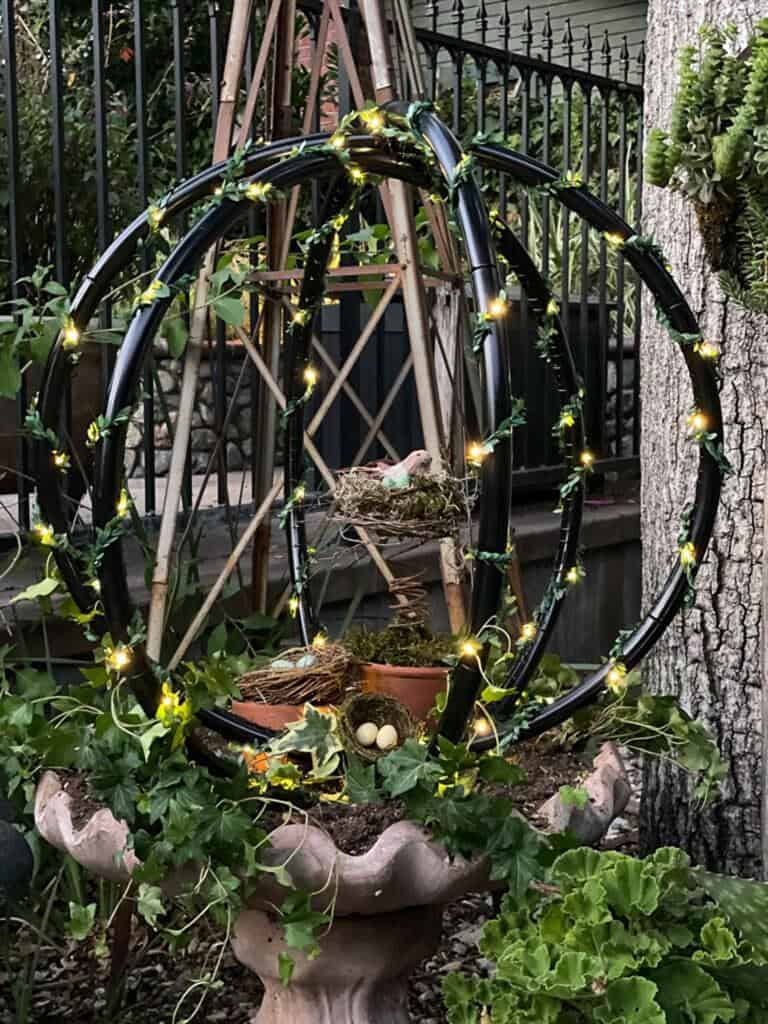
I have had this empty bird bath, and I can’t seem to grow anything but ivy. It looks like this will be the perfect home for my lighted garden sphere, and I will be able to see the twinkling lights at night out my window.
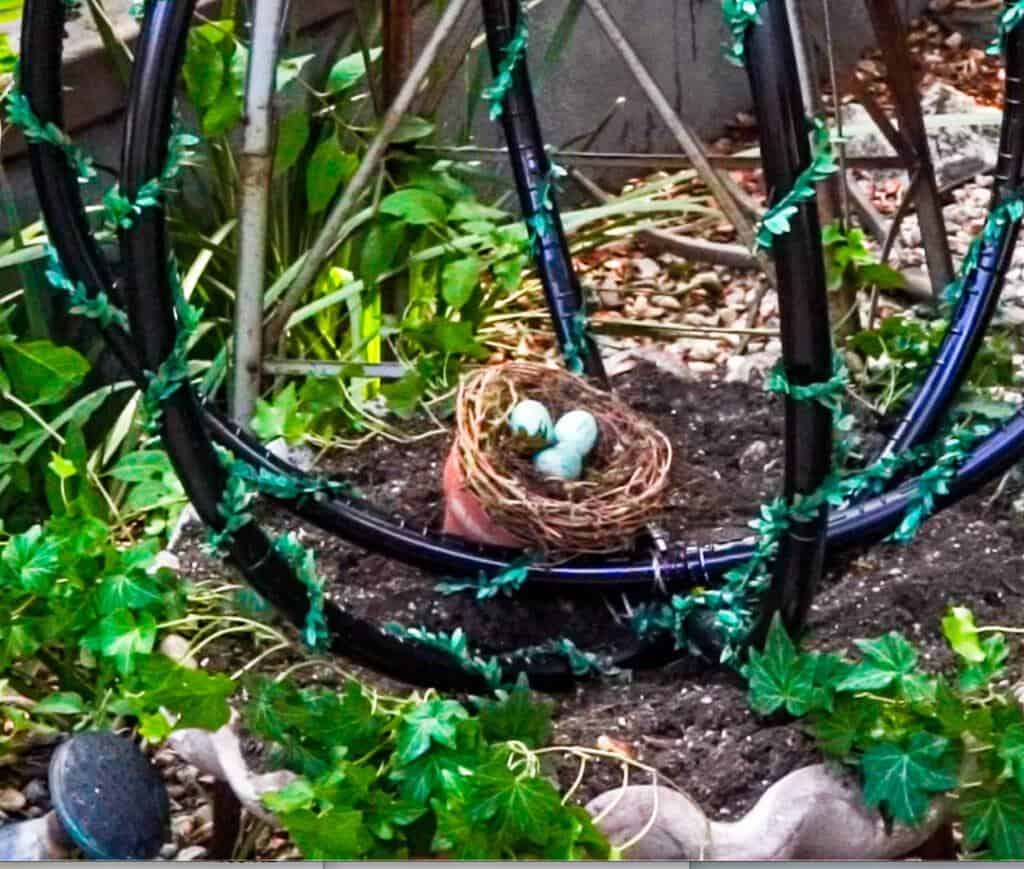
First, I placed the sphere on top of the bird bath. Next, I put the light controllers in a flowerpot.
Cover the controllers with some moss or a bird’s nest as I did.
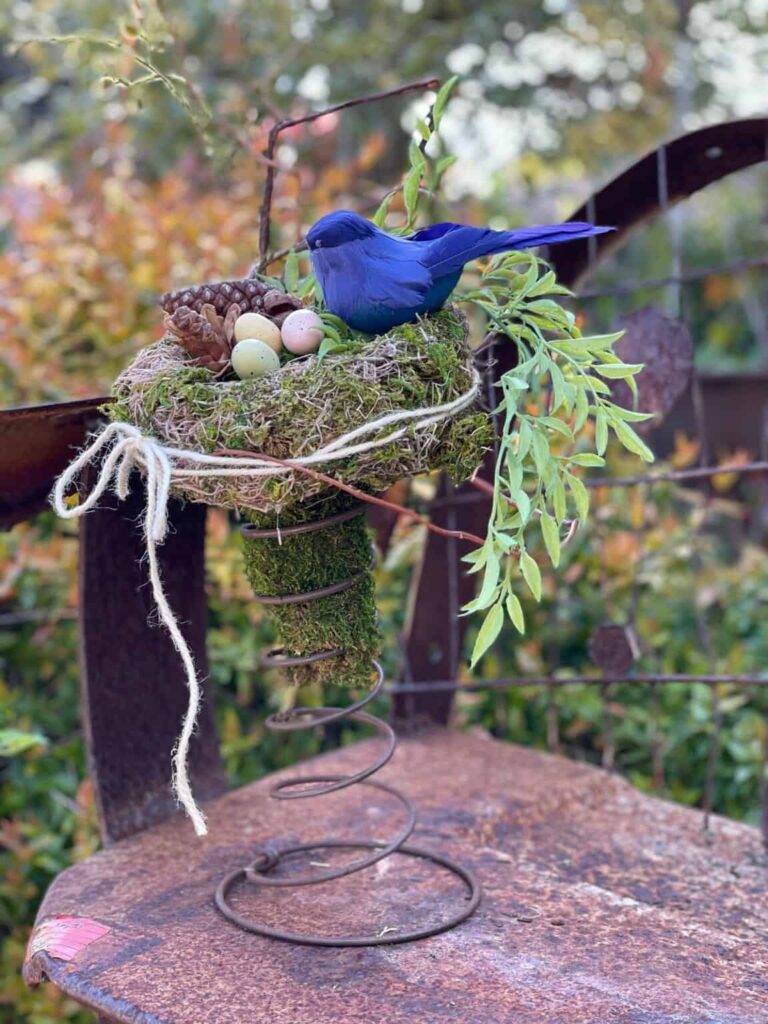
I also added a flowerpot craft that I made recently where I placed a bird’s nest on top of a box spring. I just thought it looked cute sitting inside of the sphere.
You can see the tutorial for this project here: Old Bed Spring Crafts: 10 Fabulous Trash to Treasure Ideas.
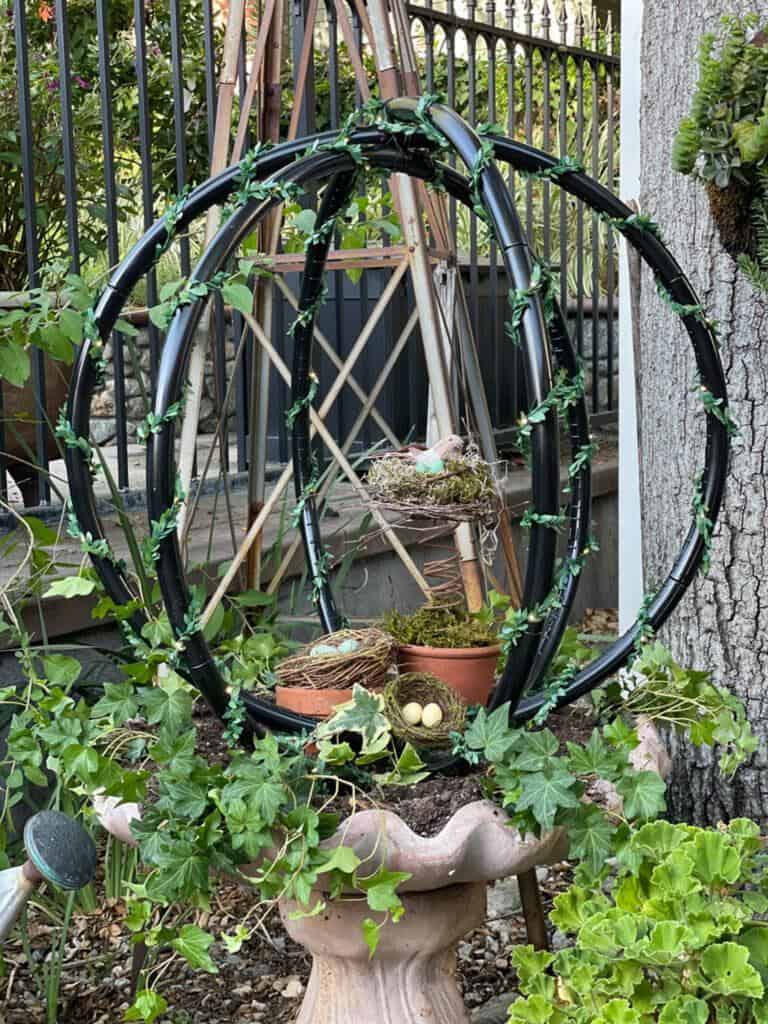
You could also place your lighted garden spheres in a large flowerpot, lay them on the ground in your flower bed, or hang it from a tree. Can you imagine three or four of these hanging from your tree? Dreamy! of course, you would have to be sure you had a remote for the lights.
If you loved this post, be sure to subscribe, so you never miss a new tutorial.
I’d also love to hear from you in the comments below – what kind of projects would you like to see next?
Hula Hoop Garden Sphere
Equipment
- Wire cutters
- Paper to protect your table
Ingredients
- 3 hula hoops that come in sections
- 1 can of black spray paint
- 1 spool wire
- 2-3 strands of garland with fairy lights
Instructions
- Put two of the hula hoops together. Insert one hula hoop inside of the other at an angle. You want to divide the space into thirds.
- Wire the two ends together.
- Add the third hula hoop, put together the last hula hoop except for the last piece. Then, insert the hula hoop into the other two hula hoops and attach the third hula hoop on top of the other two.
- Wire the three hula hoops together on both ends.
- Spray paint your three hula hoops the color of your choice.
- For the painting process, you will want to take your time. Do one side, let it dry, then turn it over and spray the other side. Once you have put your last coat of paint on, let it sit and dry overnight for 24hours.
- Add your greenery strands with lights
- Tie on the first strand of lights near where you wired the three hoops together. Be sure to leave some leeway for the controller as you will be setting the controller in a flowerpot.
- Start to wind the lights around the hula hoop until you have come to an end. Tie the garland end to the hula hoop. Then, repeat this same process with the rest of your lights.
- Place the sphere on top of the bird bath. Next, I put the light controllers in a flowerpot so you would not see it.
- Cover the controllers with some moss or a bird's nest as I did.
- I also added a flowerpot craft that I made recently where I placed a bird's nest on top of a bed spring. I just thought it looked cute istting inside of the sphere.
- Another option is to place your lighted garden spheres in a large flowerpot, lay them on the ground in your flower bed, or hang it from a tree. Can you imagine three or four of these hanging from your tree? Dreamy! of course, you would have to be sure you had a remote for the lights.
Related Posts
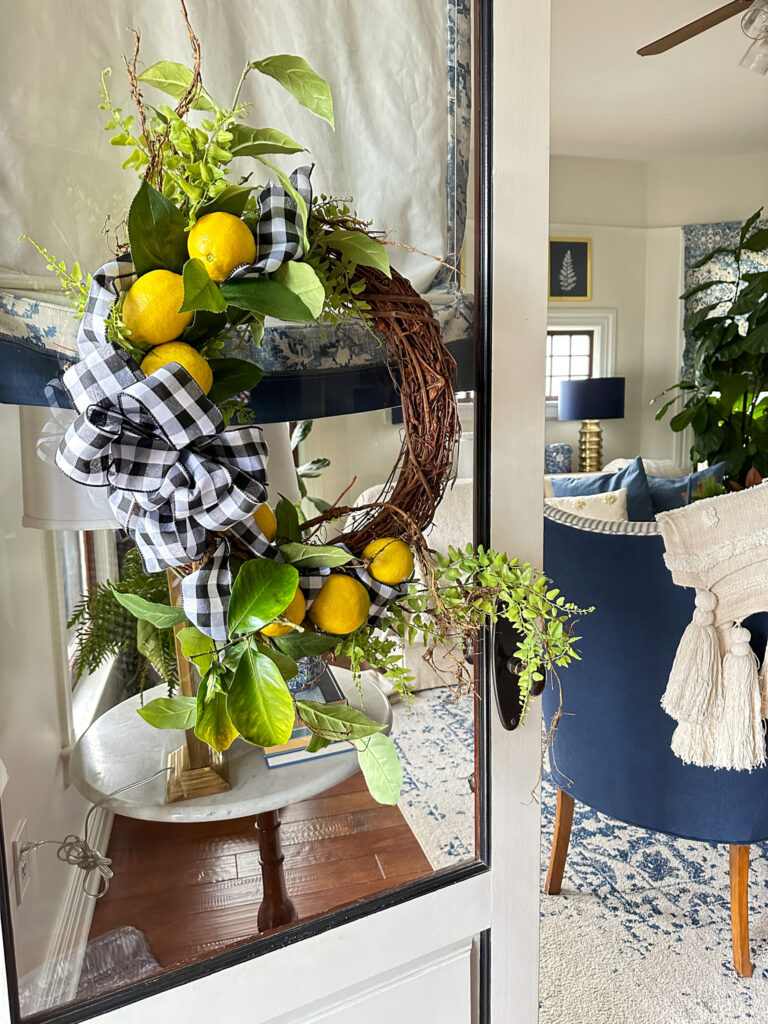

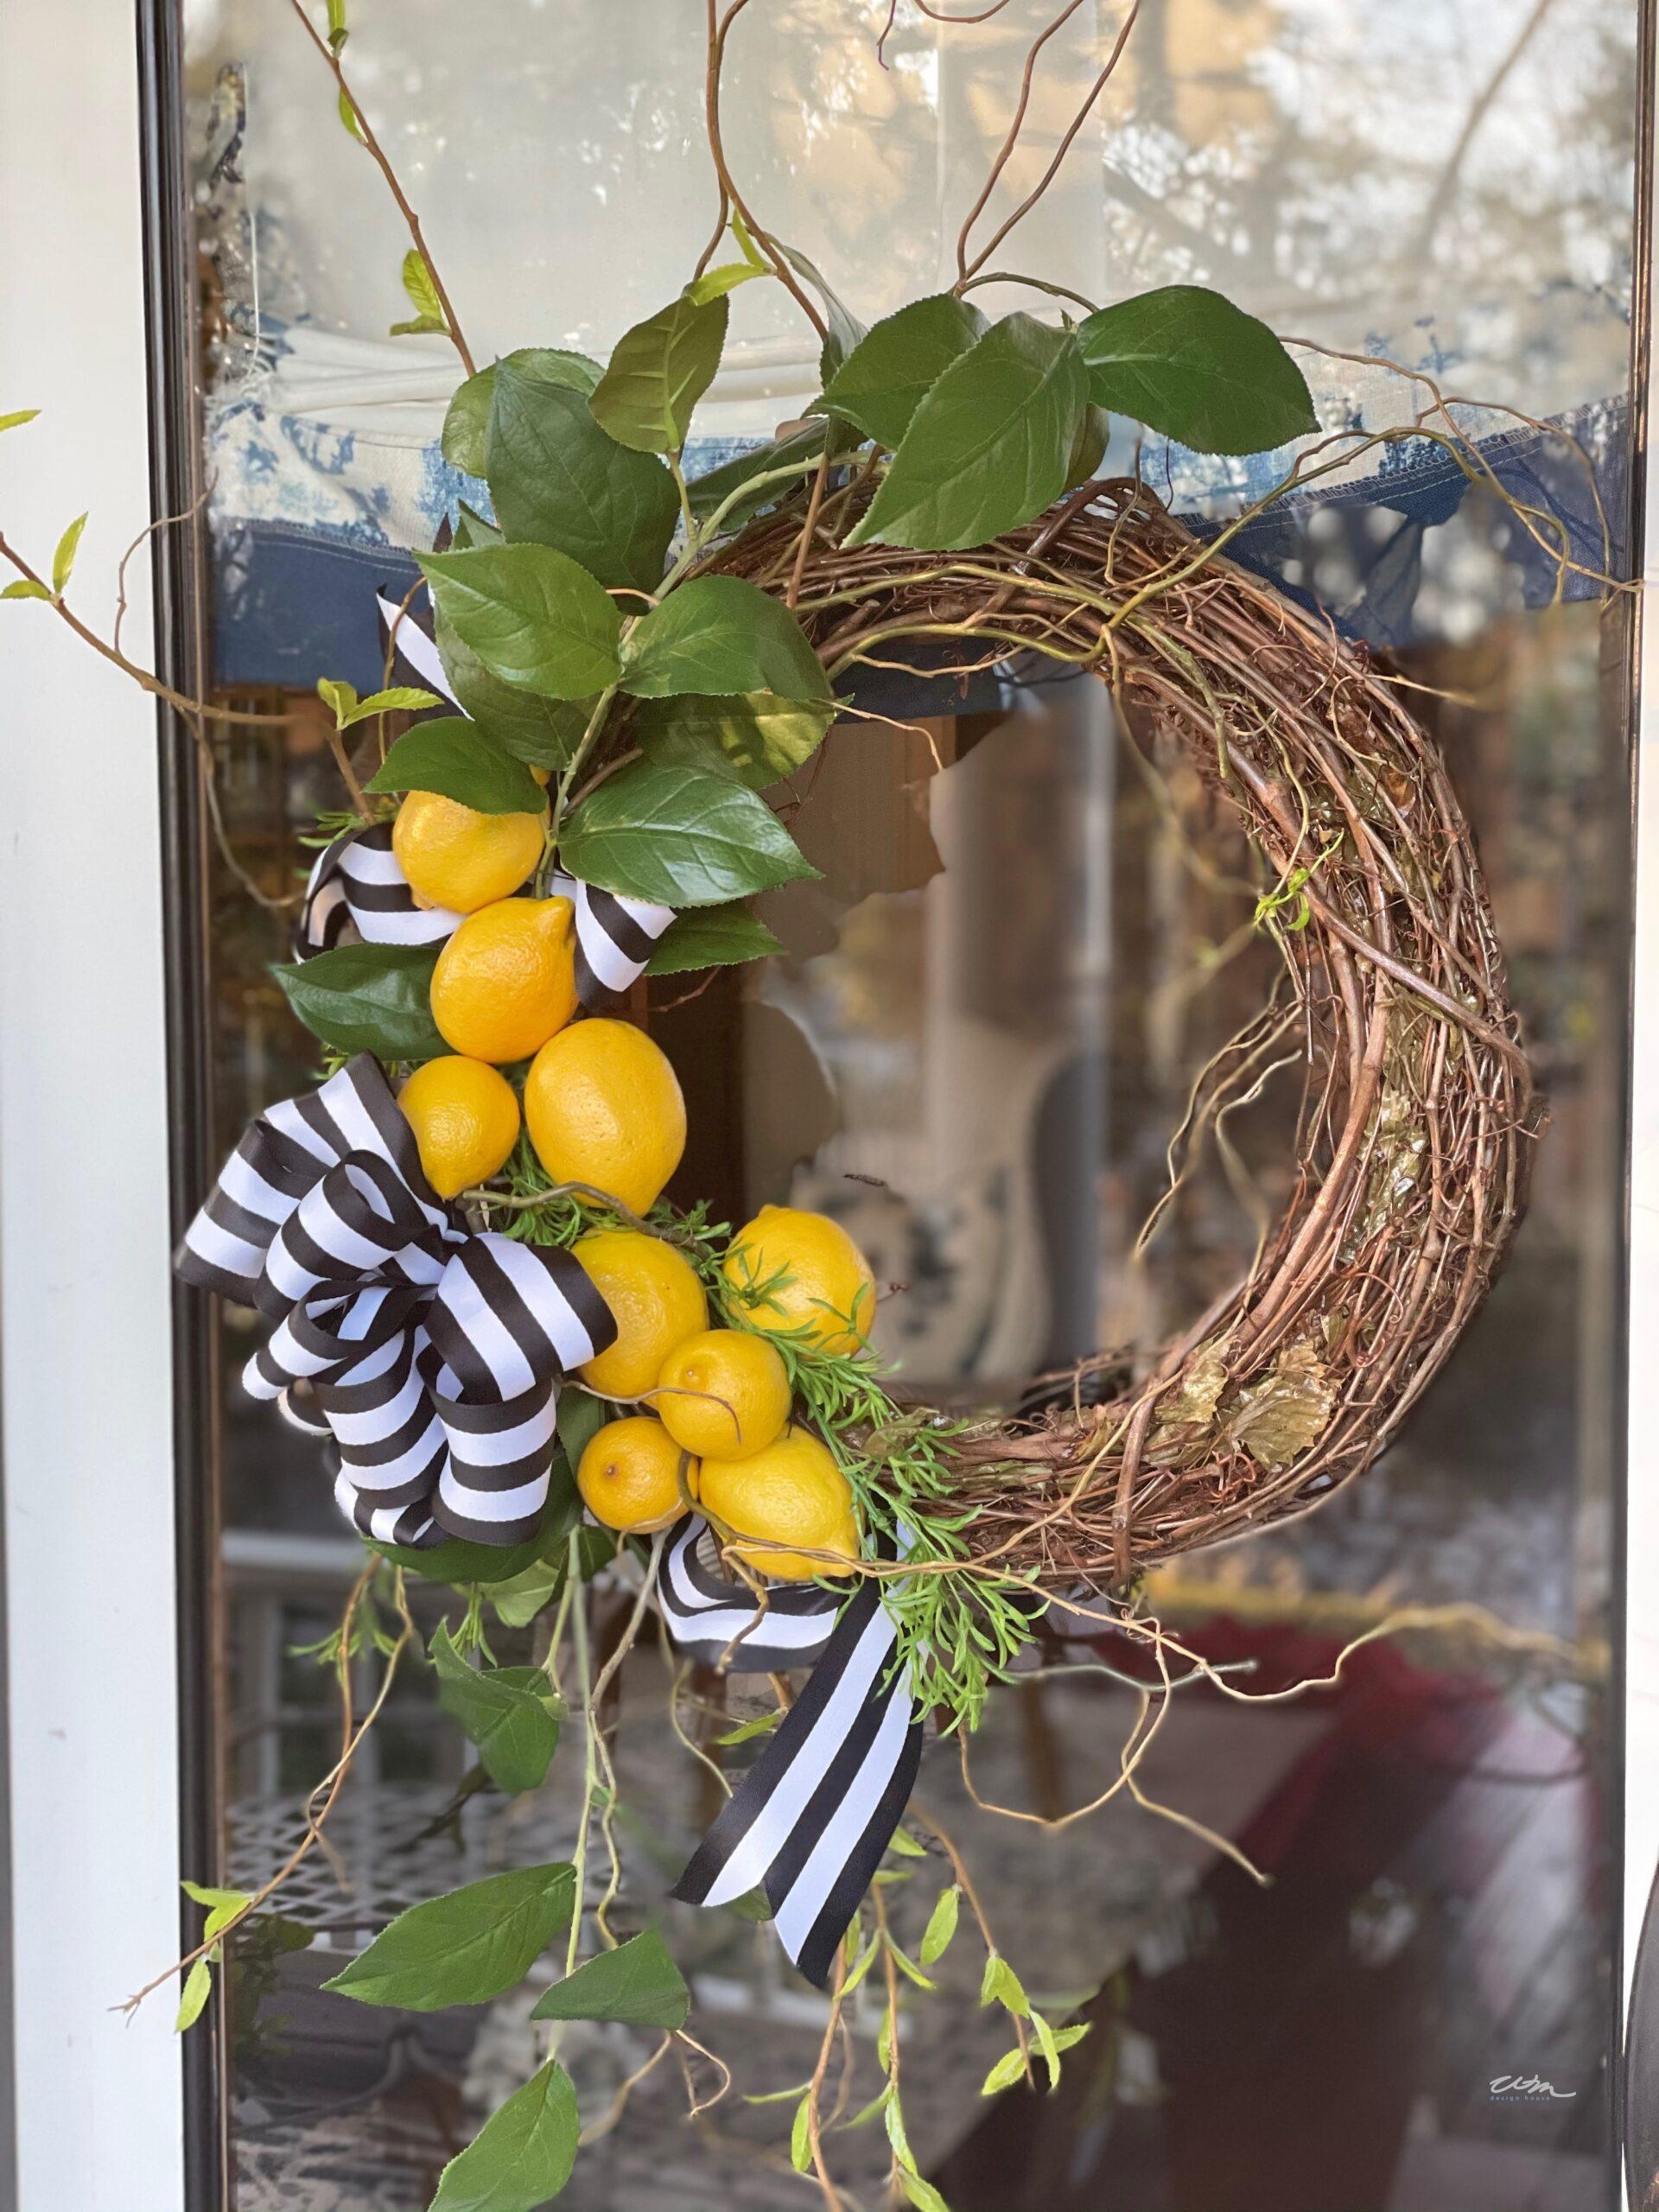
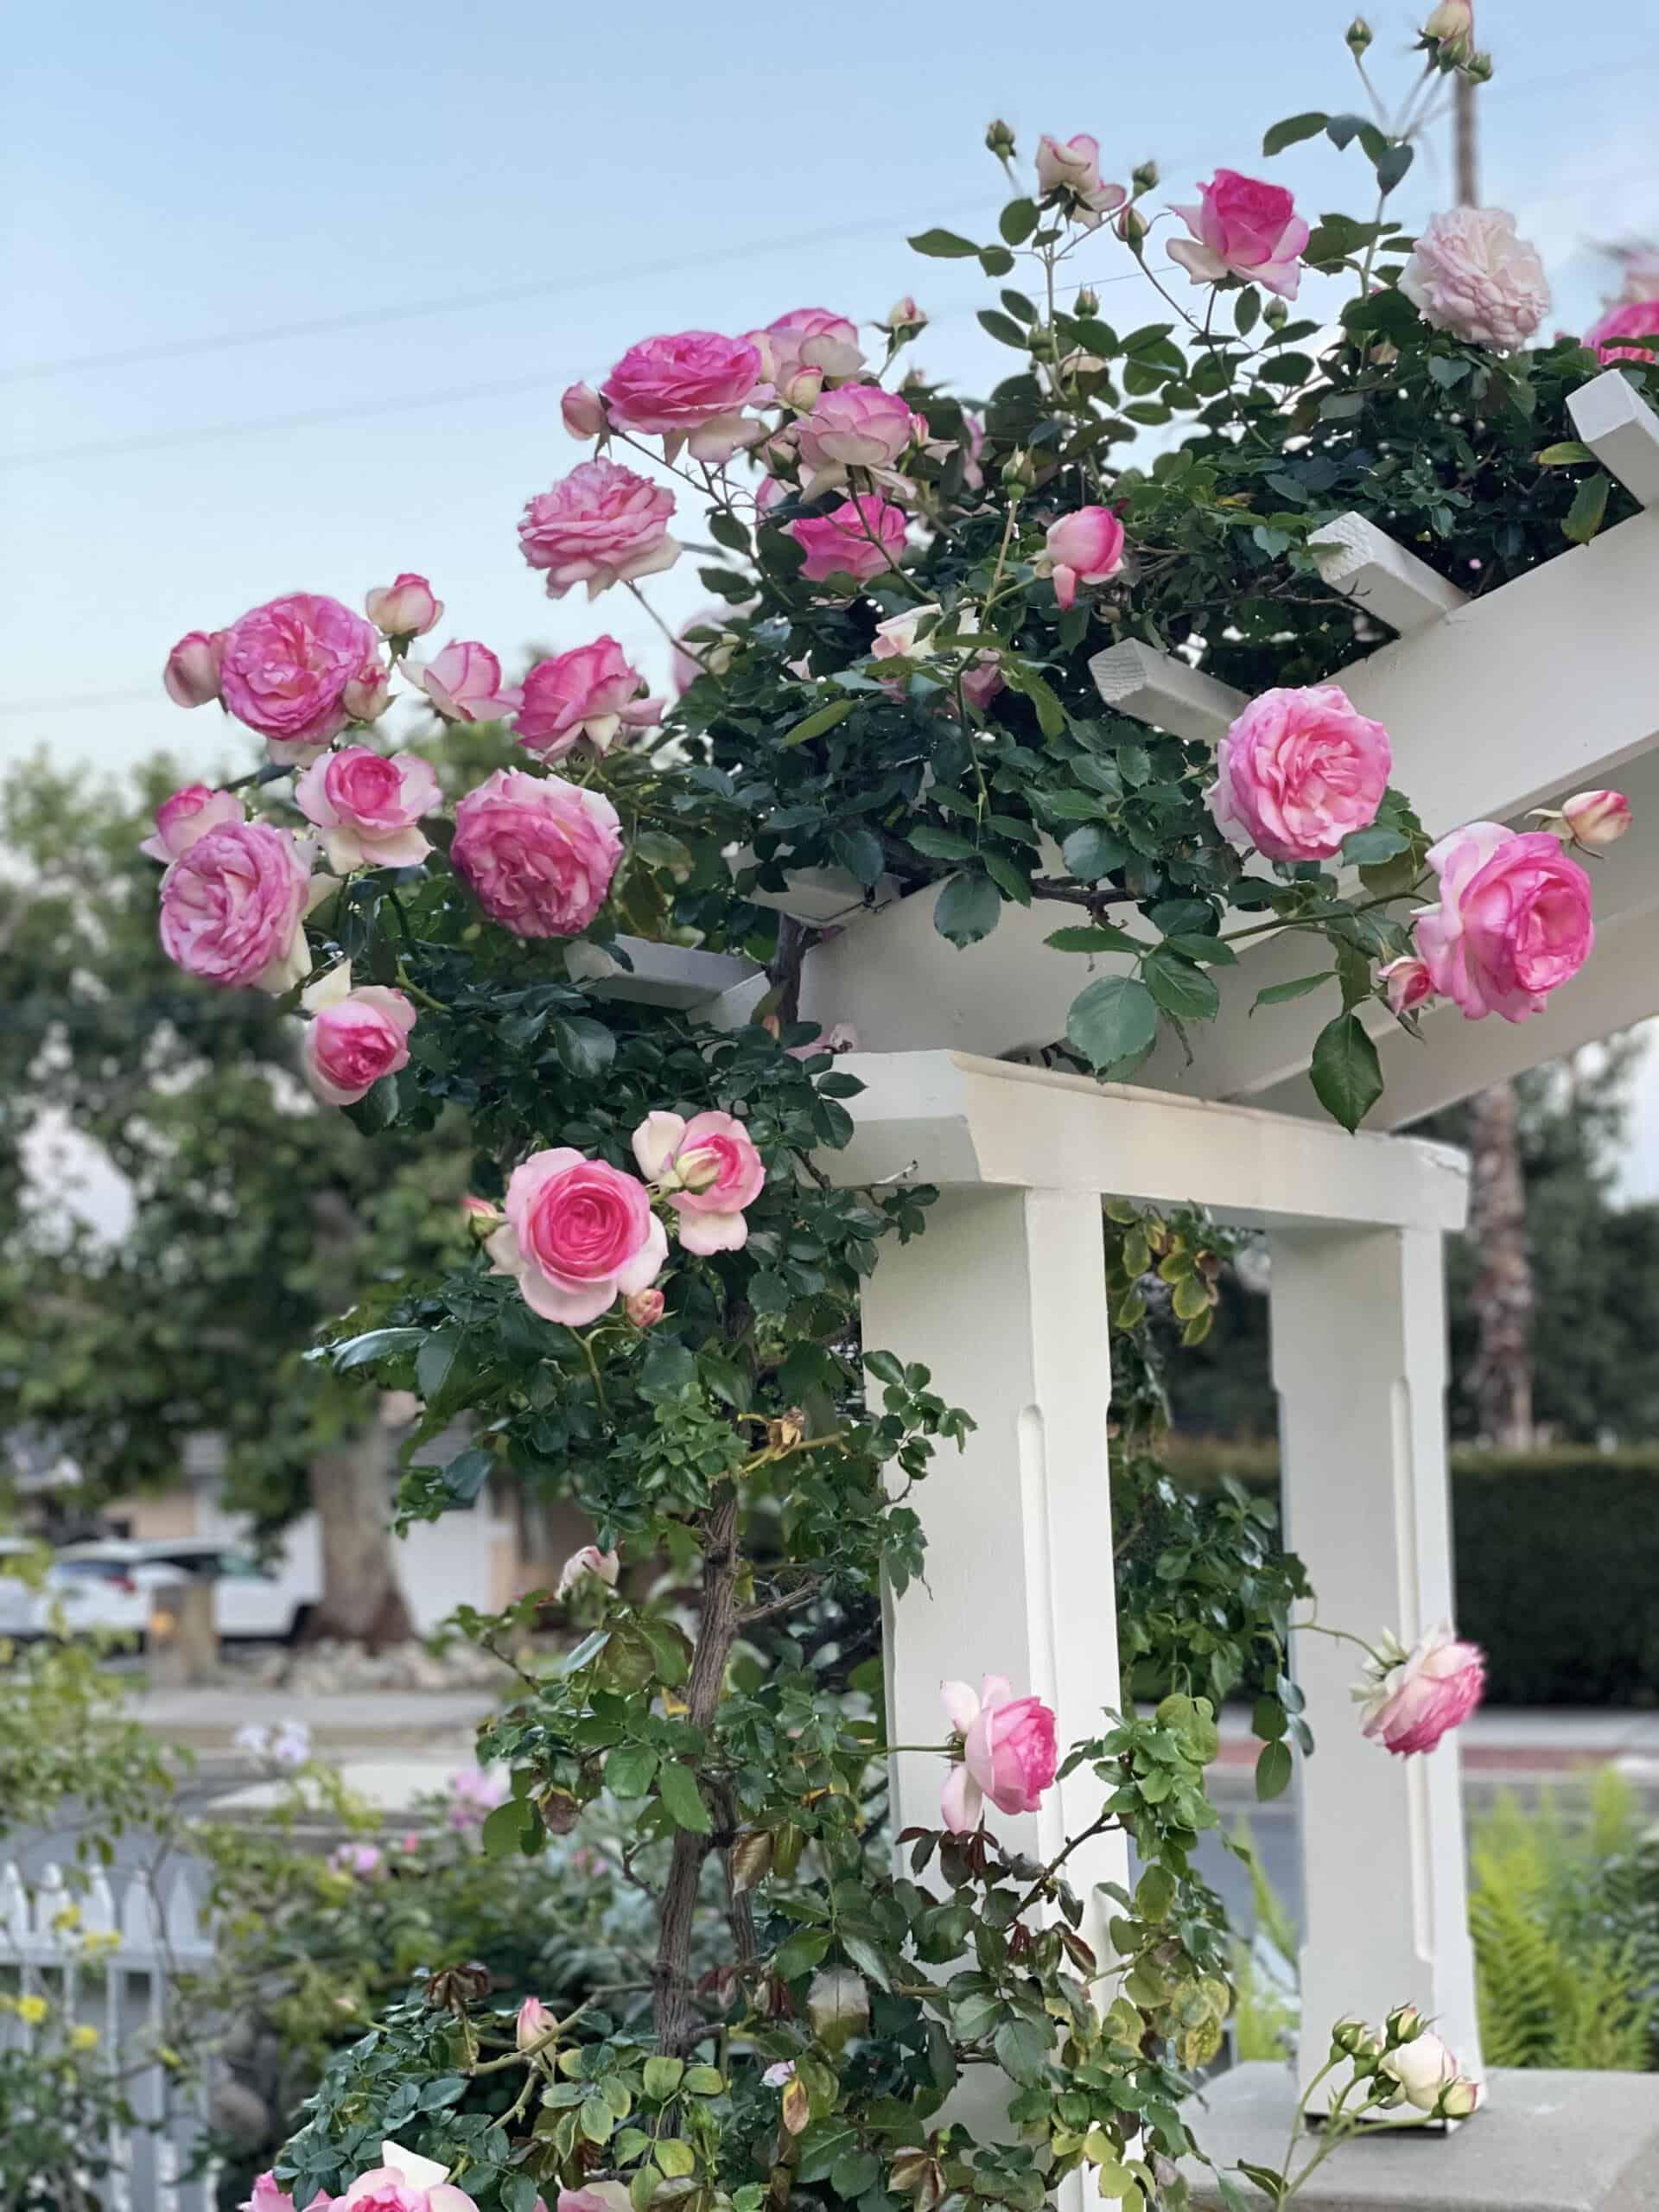
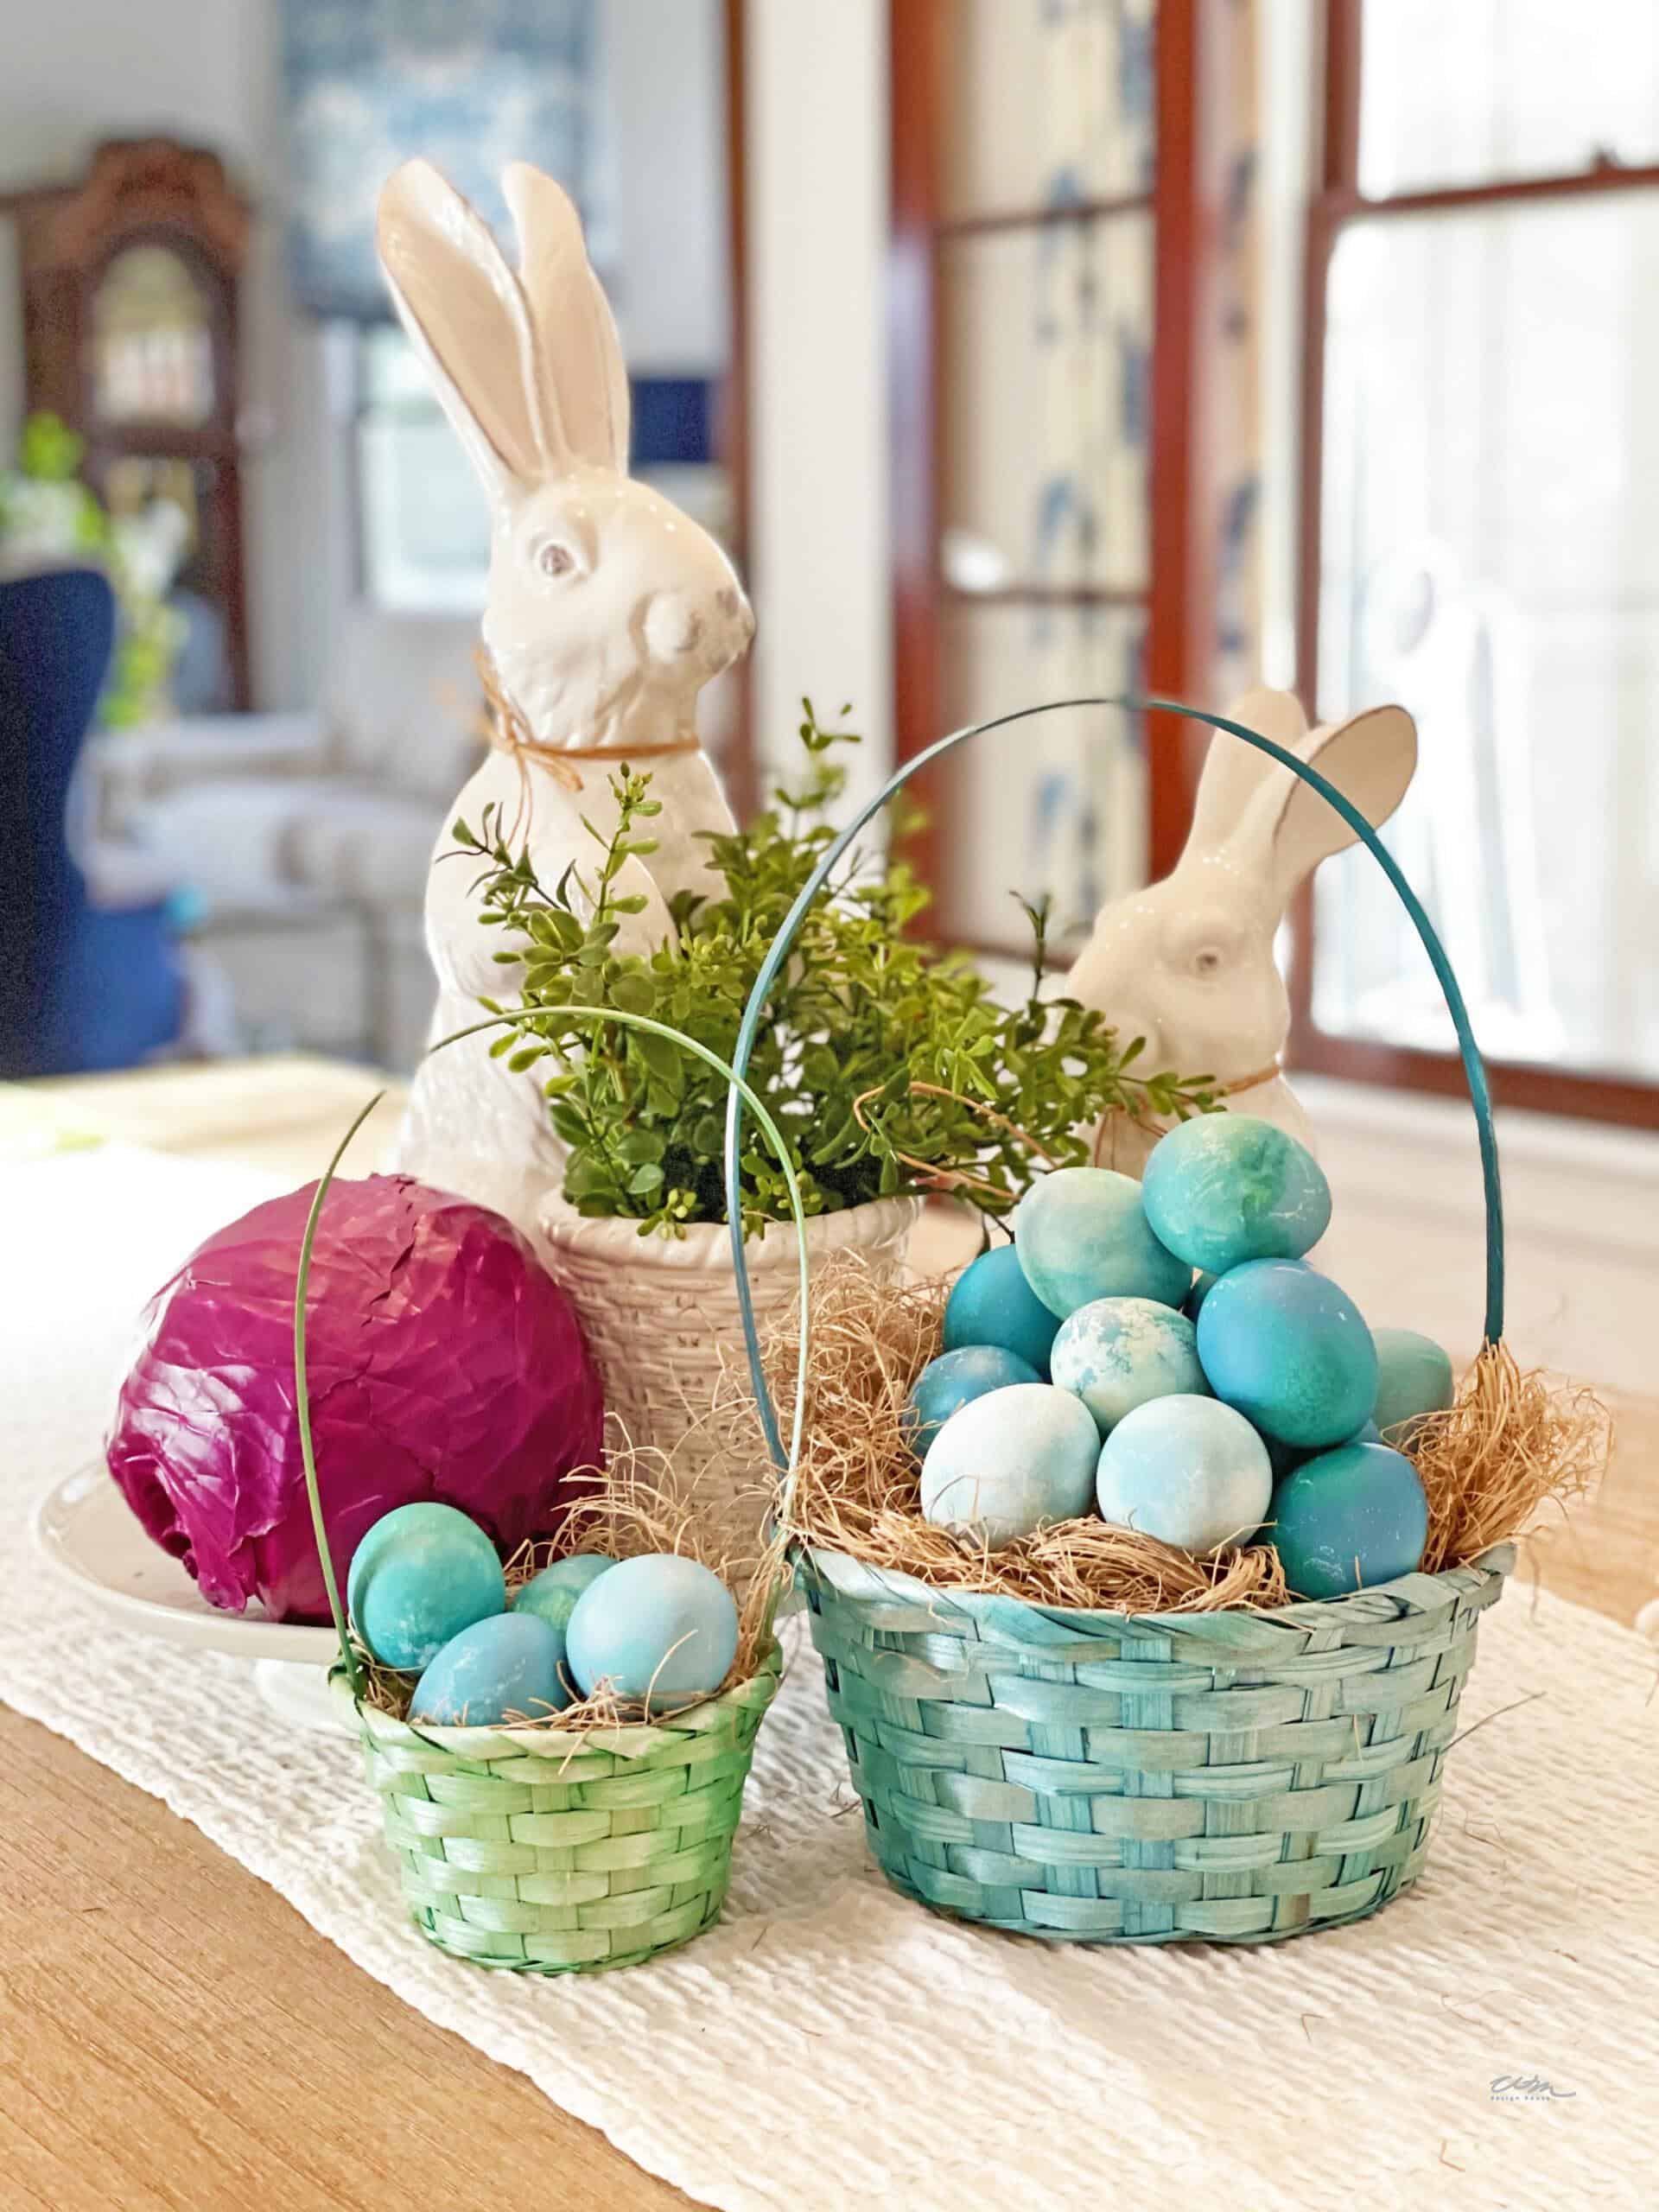
And just in case you love this look but are not up to making your own.
Here are a few you might like.


Great idea♥️
Thank you Mary, we certainly enjoy this sphere in the garden.
This is so cute! What a great idea! Fairy lights in the garden are the best :))
Thank you Kim. I agree, they add so much to the garden outside
This is such a fun idea! I’m going to have to find some hula hoops!
Make sure to hula hoop for a while before you make this sphere :))) I tried and it fell right to the ground, LOL
What a cute DIY Wendy! I love it!!!
Thank you Stacy!
I love the project but also love how you styled it! Well done, my friend!
Thank you Missy, it was a fun project, I would love to have a few hanging form the tree.